[FINAL, FINAL] CLASS ANNOUNCEMENT #7 (Apr 11, 2018): Thanks to those of you who have responded to the Questionnaire. The feedback is extremely helpful. If you haven't responded yet and you participated in the class - or even if you didn't participate - please fill that out and I will gift you 20 Breath of the Wild screenshots from my Switch.
[FINAL] CLASS ANNOUNCEMENT #6 (Apr 9, 2018): We've reached the end of the homework extension period and this class officially comes to end. What a month! It's been a thrill to see each of you forge your characters, learn new things, share tips with each other, and offer critiques along the way.
This thread will be open indefinitely but it's officially at the end of it's "class lifespan" meaning I won't be able to commit weekly time to it anymore and I will unpin it from the forum topics list. I'll pop in occasionally if I see activity but you all are more than welcome to keep working on their characters here if you wish!
UPDATE: Closing post on page 44 and XP has been added to each participating account.
CLASS ANNOUNCEMENT #5 (Mar 28, 2018): Week 4's stream is archived and available via the Past Events button on the Live Event page. Also a reminder that I'm extending the 'deadline' of this month and will be keeping this thread alive through the end of the first week in April. Hopefully that gives you all a bit more time to get your characters done!
CLASS ANNOUNCEMENT #4 (Mar 26, 2018): Week 3, done! Thanks to everyone who submitted by Sunday. I'm quite impressed by the neutralization and retoplogy work I've seen. It's a lot of work and I can see that effort in the WIPs and especially completed submissions.
Week 4 - the final week - dives into adding color to our model, primarily in the form of creating textures. Check out this week's breakdown a little further down in this description and see you tomorrow at the Live Event!
CLASS ANNOUNCEMENT #3 (Mar 19, 2018): Week 2 is accomplished and I'm finally caught up on submissions! Thanks to everyone who submitted by Sunday. We have some impressive character concept sculpts underway. In fact, I have yet to bestow a grade lower than an A this week.
Week 3 continues our 3-week character building production. Specifically we're going to look at pursuing an animation friendly version of our character - both how and why we would do this. See you tomorrow at the Live Event! Don't forget to RSVP.
CLASS ANNOUNCEMENT #2 (Mar 12, 2018): Week 1 is done! Thanks to everyone who submitted by Sunday. It's been a lot of fun seeing your caricature work and concept art choices.
Week 2 begins the 3-week process of building a character based on the concepts we choose. Don't forget to RSVP to the Live Event tomorrow - See you then!
CLASS ANNOUNCEMENT #1 (Mar 5, 2018): Class is in session! Today officially begins the BC2-1803 class. Please check the syllabus below for Week 1's focus and assignments. Begin watching the pre-recorded courses if you haven't already and begin looking for a cool, stylized character design for creating in 3D this month. The first Live Event is tomorrow at 2pm EST - SEE YOU THERE! 😎
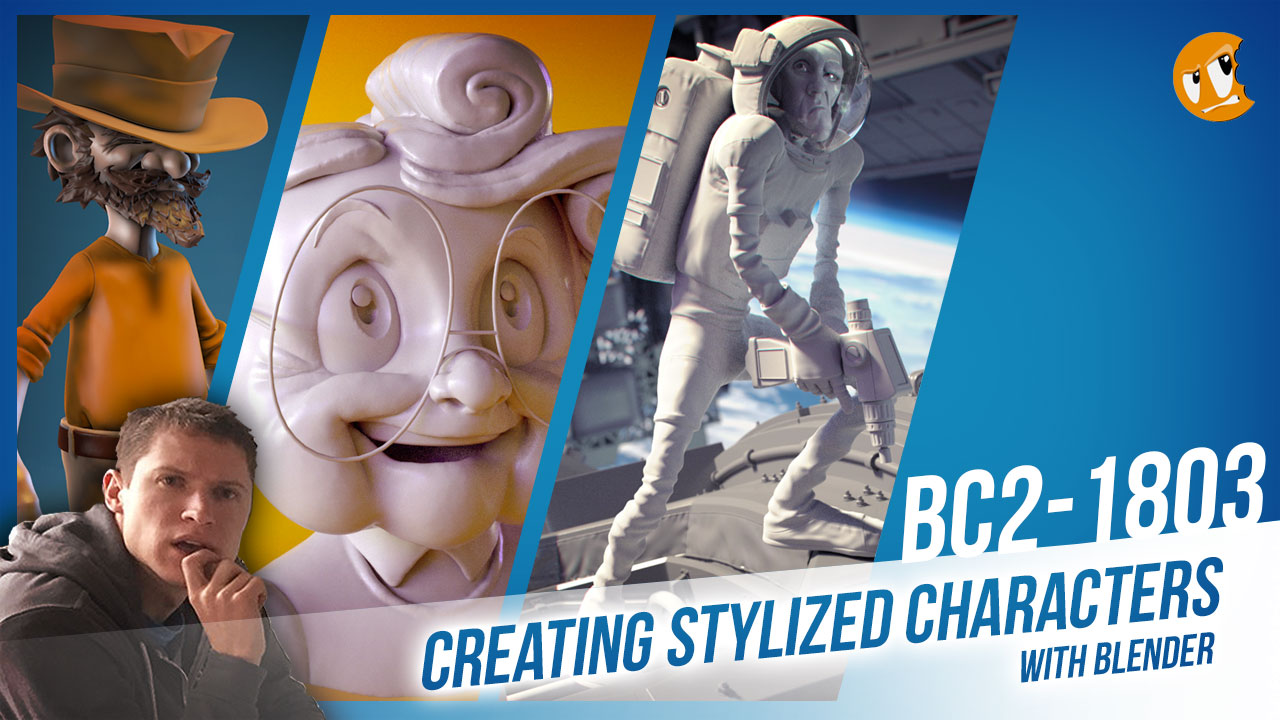
Welcome to the CGCookie Class: Creating Stylized Characters with Blender! This class is designed to teach you everything you need to know about building stylized 3D characters. If you’re diligent in watching all content and hitting homework deadlines, by the end you will have a modeled and textured stylized character! It’s an intermediate-to-advanced class which means you’ll do best by having some experience with Blender and 3D modeling before committing to this class.
This is the second "Class" format where Citizen members are invited to focus together on a particular topic/skill for a month. Participation looks like this:
WHEN? The class will take place from March 5th through March 31st
 Abstract: Stylization is any deviation from realism. Thus it’s a broad spectrum from slight liberty away from reality to extreme abstraction of reality. This week we're going to sift through various examples of stylized characters, noting their qualities, and categorizing a spectrum of stylization.
Goal of the Week: Train your eye and mind to stylize your perception. Practice simplifying and exaggerating reality. Loosen up your sculpting approach (gestural sculpting).
Pre-recorded course to watch: Art of Sculpting: Caricature Chapter
Week 1 Live Event (Already happened and archived!)
Homework:
 Abstract: Story plays a big part in stylization. Not necessarily ‘narrative’ but background, personality, and purpose. The success of a character is strengthened by its developmental arc. The best artists create characters that are more than the sum of its pixels; more than the sum of its brush strokes and polygons; more than its final render.
Goal of the Week: Develop a story for your character; one that can fuel your creative workflow for the rest of the month. Then channel that story into the first stage of sculpting.
Pre-recorded courses to watch:
Week 2 Live Event (Don't forget to RSVP)
Homework:
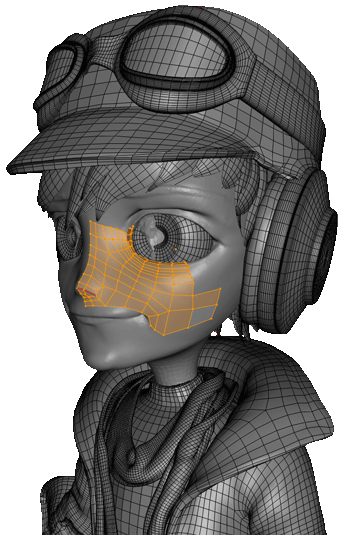 Abstract: At this point a decision needs to be made about our character sculptures: A) Leave it as a sculpture or B) optimize it for ‘production’. Leaving it as a sculpture means it’s a static sculpture that can be painted, rendered, or 3D printed but not animated. Optimizing it for production means you turn your sculpture into a model that’s easiest to work with up to and including animation. If you opt for optimization, this week is mostly a technical and problem-solving task. We need to both retopologize our mesh and also neutralize it if the sculpt is posed.
Goal of the Week: Understand the concept of “production-friendly” and practice retopology.
Pre-recorded courses to watch:
Week 3 Live Event (Don't forget to RSVP)
Homework:
 Abstract: Like Dorothy, our characters have so far lived in a black and white world. This week we’re leaving Kansas and adding color. There’s many methods for creating our character texture(s) including hand-painting, baking maps that accent the painting process (great for the less painterly character artists), as well as photo-sourcing. There's also a couple different formats: Vertex Colors and UV/Textures.
Goal of the Week: Get comfortable with painting textures.
Pre-recorded courses to watch:
Week 4 Live Event (Don't forget to RSVP)
Homework:
This thread is reserved for CG Cookie Citizens that are participating in the "Creating Stylized Characters with Blender" class. Its purpose is to serve as central communication for all participating Citizens (excluding Hobby plan Citizens) to ask me and each other questions and to post homework. As the instructor of the class, I will be monitoring this thread on a daily basis (especially Mon-Thurs) throughout the month of March to review homework and answer questions.
Free members are welcome to observe the thread but please respect that communication is reserved for Citizens.
How did I miss this one? Beautiful hand painted textures ![]() swikni ! Easy a 9/10!!
swikni ! Easy a 9/10!!
Would you like to go even further BEYOND?!
There's a few maps you can generate/make that would make your character look in Sketchfab more like in the render. If you don't have access to an specialized software to generate them, you can easily-ish create them in blender too. The possible candidates are metallic, roughness and Ambient Occlusion. There's a few more that could be useful. Here's a helpful video that explains what each do.
For these maps you paint white where you want the effect to show up, black where you don't, a shade of grey will soften the effect. You could generate them, but they are so simple I think you can do it faster by hand.
AO on the other hand has to be generated, in Blender you can bake it in the render tab. Use a small (512x512 or less) test texture first to be sure you are getting the desired effect, baking can sometimes take a long time to finish.
There's also the thickness map, it's used to make the subsurface scattering effect, but it's a little tricky: You are supposed to invert the normals of the mesh and change the ambient occlusion distance setting from the "world" tab from 10 to around 1. Then you bake an AO map but the result is supposed to be the thickness map. Personally I wasn't able to get a good thickness map in blender, I used Substance Painter to generate one and it was miles better and faster. Maybe someone knows a better way to do it.
Anyways, the other maps can be done in Blender and shouldn't take more than an hour, and the end result will make your character pop out even more!
If you want to get an idea on how the maps affect the model, I went nuts for mine's and filled all the map slots! It's in page 38 and you can inspect the model by pressing ( I )!
One more thing, if you are going to do the extra maps, don't use the viewport's render mode, use it's material mode instead. Also when you are going to bake a map, first move the object to an empty layer, and be sure it's just that object in that layer. Have fun!
Noooo ah man, that's terrible. Hate to hear about the flooding. Thanks for joining us this month ![]() silentheart00
silentheart00
Beautifully painted. I love the contrast in the wood texture and the faux sheen on the blade.
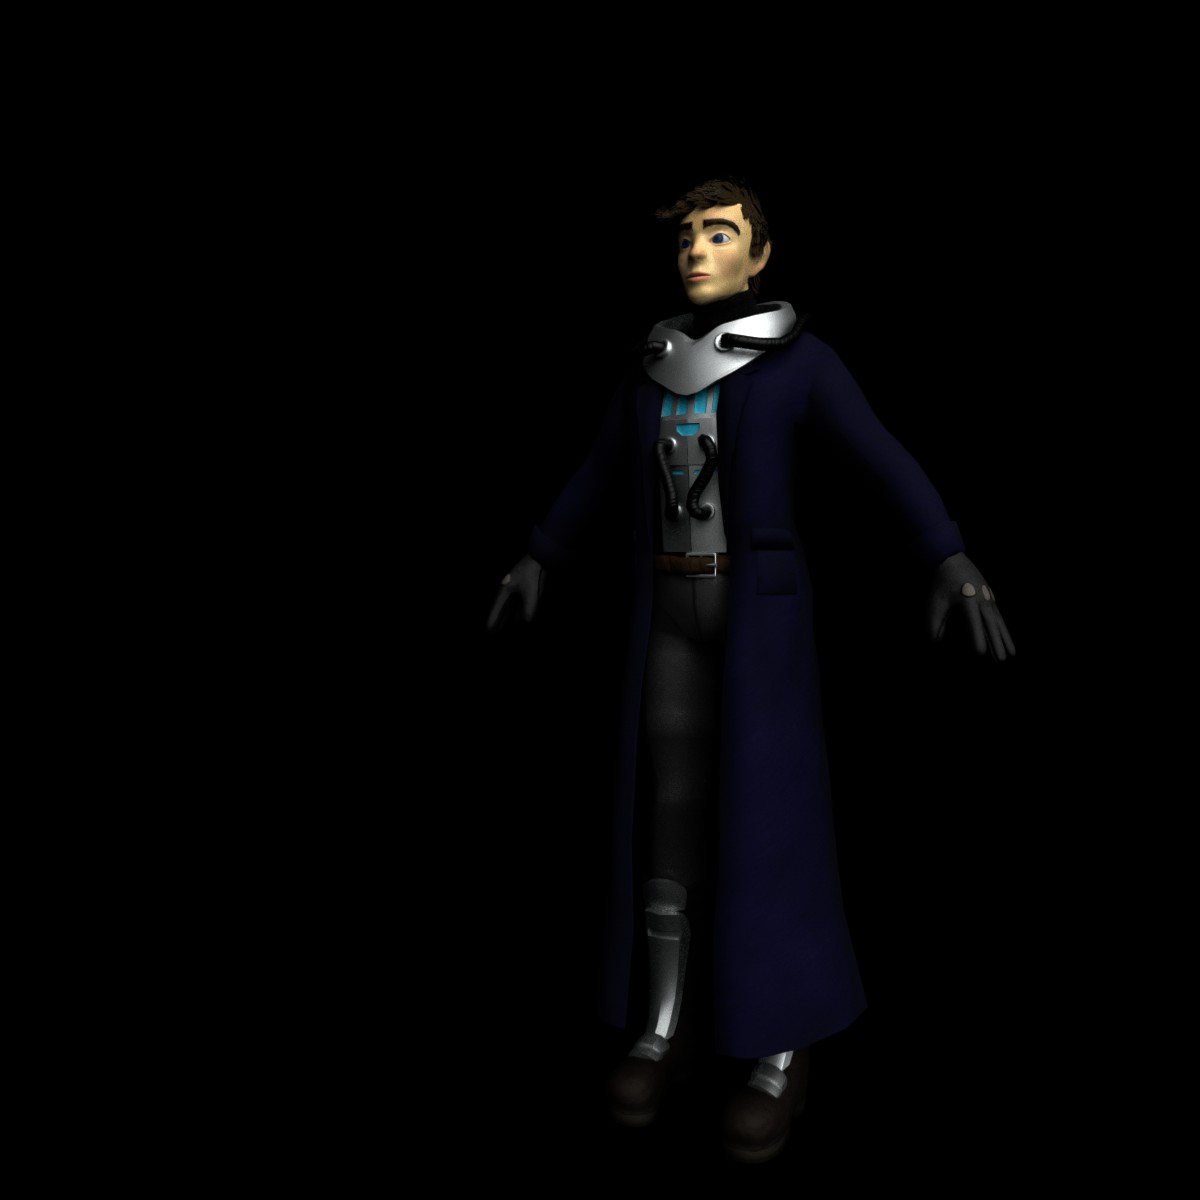
This will be my final entry for this class. I still don't think this model is finished but I have to end this. This class was why I joint CGCookie and it was very good. I learned a lot. Now I will go and look for an other Course, there seems to be a lot of interesting topics on this website.
Homework Submission Week 3.
Retopo took a loooot longer than I thought it would. It really took some time to get back into it, and also having the patience for it after mainly doing sculpting for a long time. I'm pretty happy with the result in the end though. The final result will have a subdivision surface modifier added, as well as particle hair, but I figured this would be better for reviewing the retopology. I've also added a link to the robo-orb exercise. Now on to painting, I'm excited to see this finished!
https://cgcookie.com/exercise/completing-the-robo-orb-retopology/exercise_submissions/13208
the high level of subsurf modifier makes it difficult to see the retopo work.
hope this helps... :D
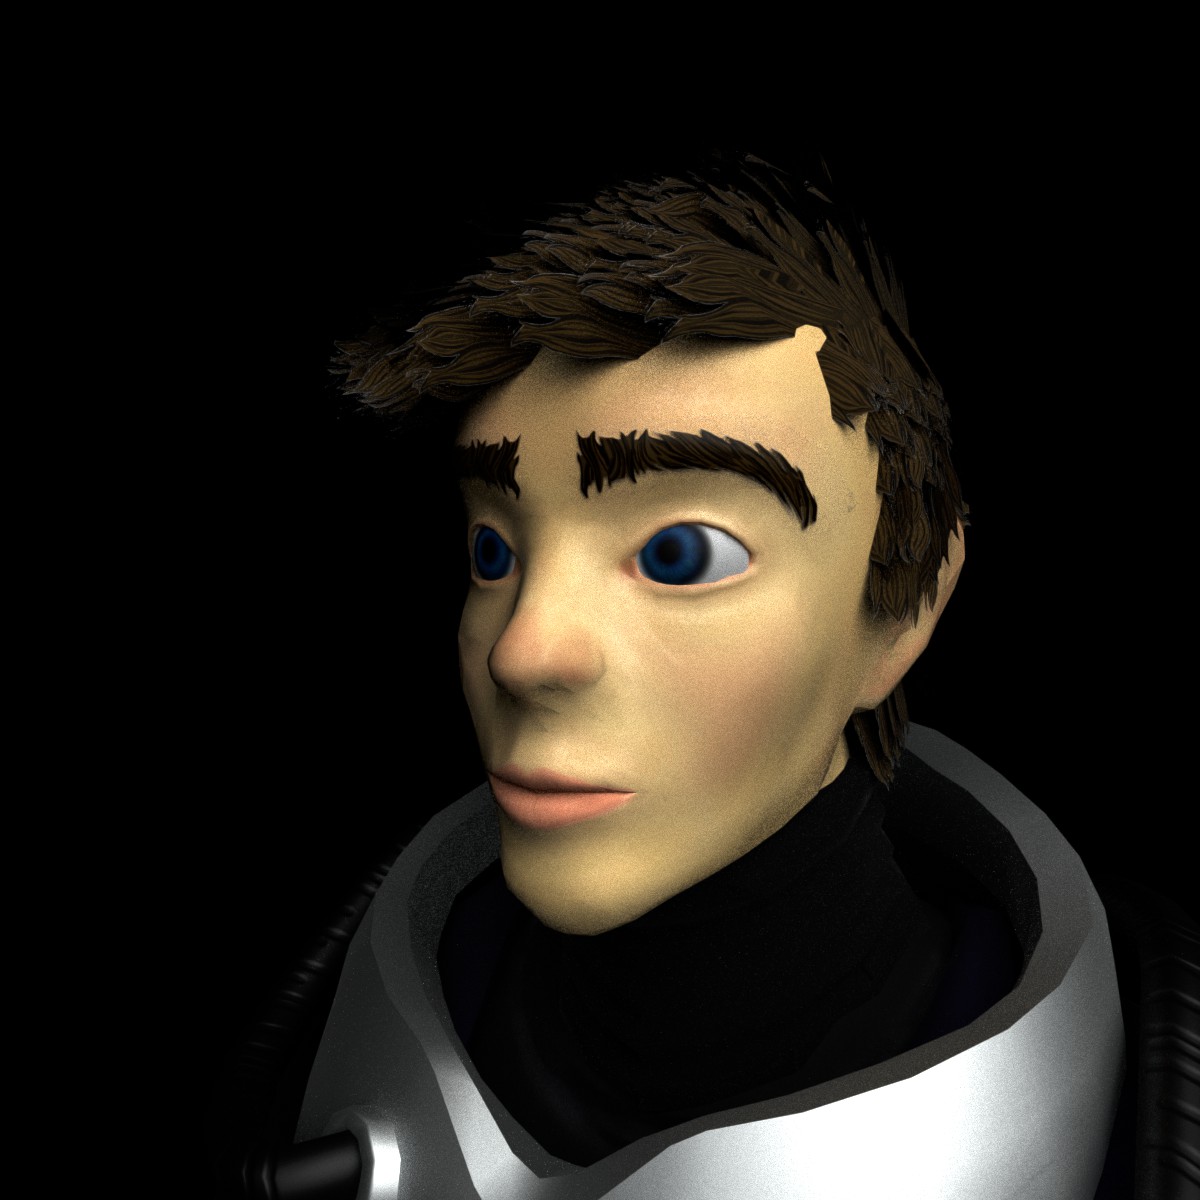
Edit: Portrait Progress shot
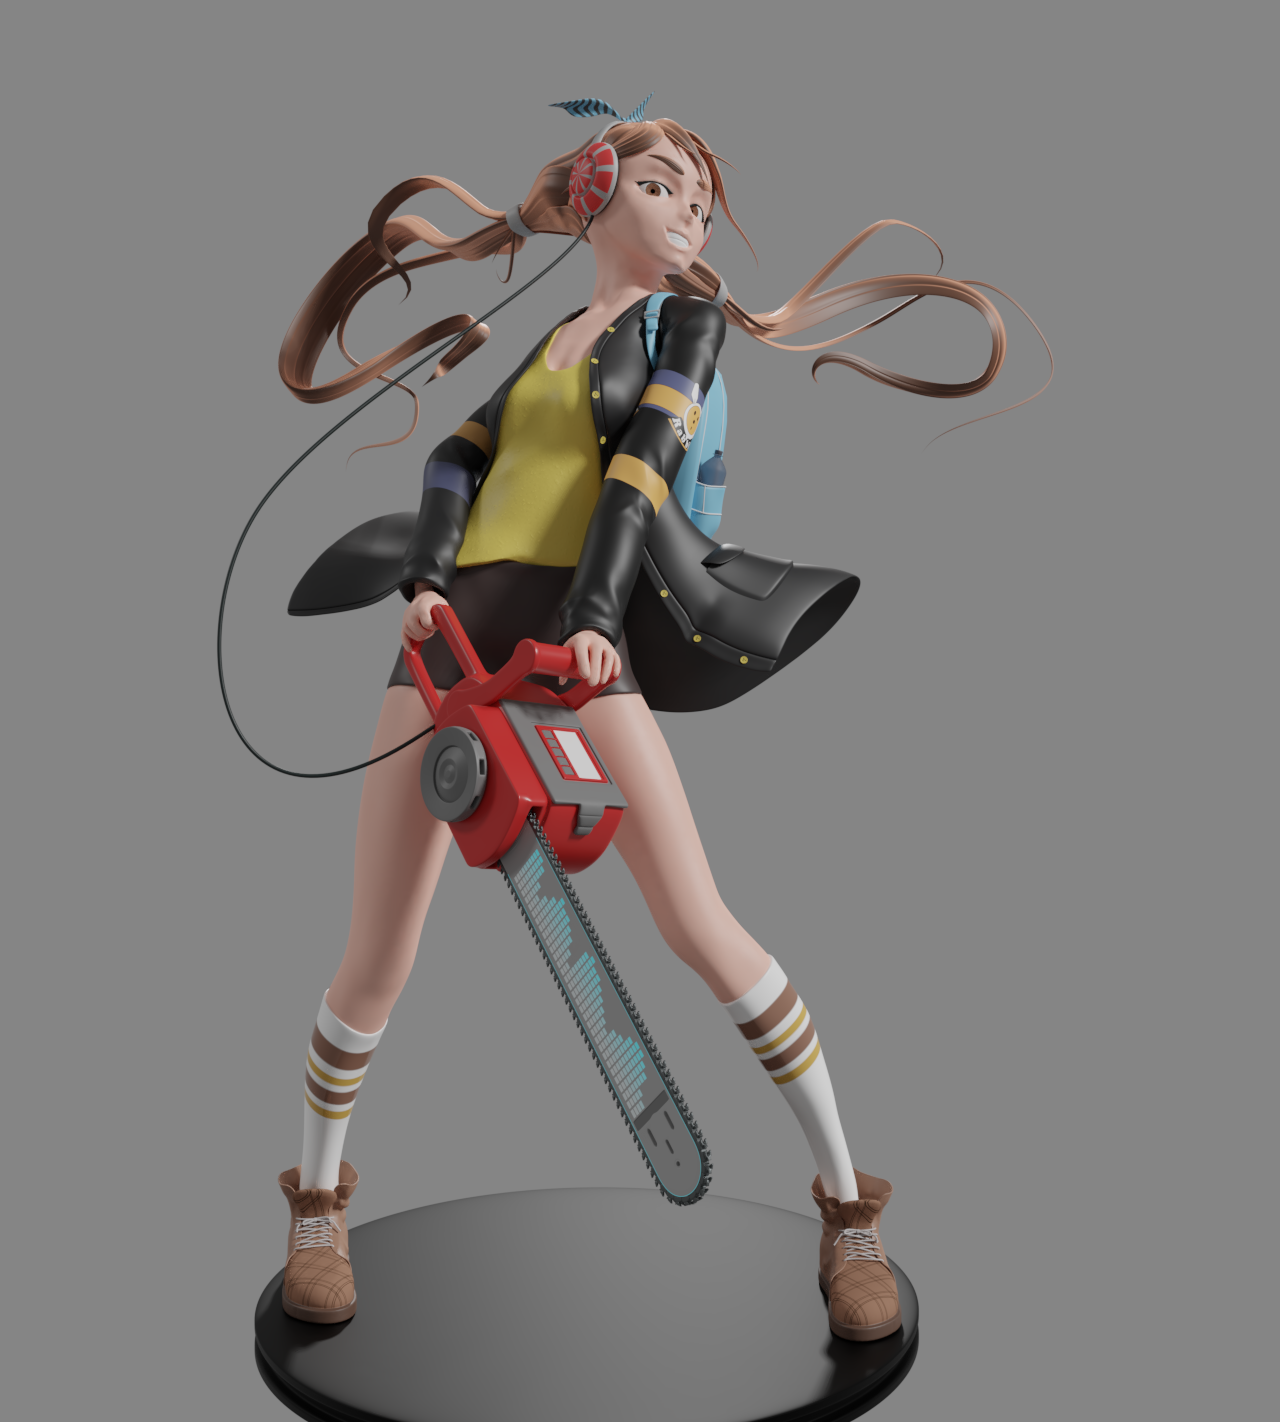
Texturing Progress: I'm not really sure how much longer this forum is going to be open, so I thought I'd at least drop by and post what I've managed to get done. Trying to lean a bit more towards a hand painted style, and its getting there slowly but surely. Over the last week I made a second version of the model with around 15k tris, but opted to go with a slightly modded version of the original retopologized model, landing at 19.8k tris(down from 24k), and after several iterations of UV unwraps, I have created one that I think I'm comfortable with(until I find and obvious seam somewhere, anyway) and I am moving forward with it. Currently Adam has 5 different texture groups: Head and Eyes, Hair, Metals, Glow, and everything else. For the final iteration of the textures I plan to bake together the head, hair, metals, and glow onto one texture set. Here is a screencap of what I have right now.
Right now I think I'm almost done with the body, jacket, and gloves. I plan to add a bit more of my own personal touches over the generated belt texture and pants, and maybe a bit of wear and tear over the boots. The face has been completely untouched at this time, and the hair has a stylized/hand painted appearance(not so visible from this angle). I also might try to ease in the transition into the pockets using textures... or get rid of the actual mesh object and just paint it in.
Edit: Removed older image as to not let this post get too big. I've put a bit of work into the face at this point, and have come to the realization that I am missing eyelashes... Once again, not sure when the thread is locking, so here is a near complete portrait shot. The eyes need a bit of sharpening as well as a few other touch ups.
Any thoughts thus far?
Homework Submission Week 4
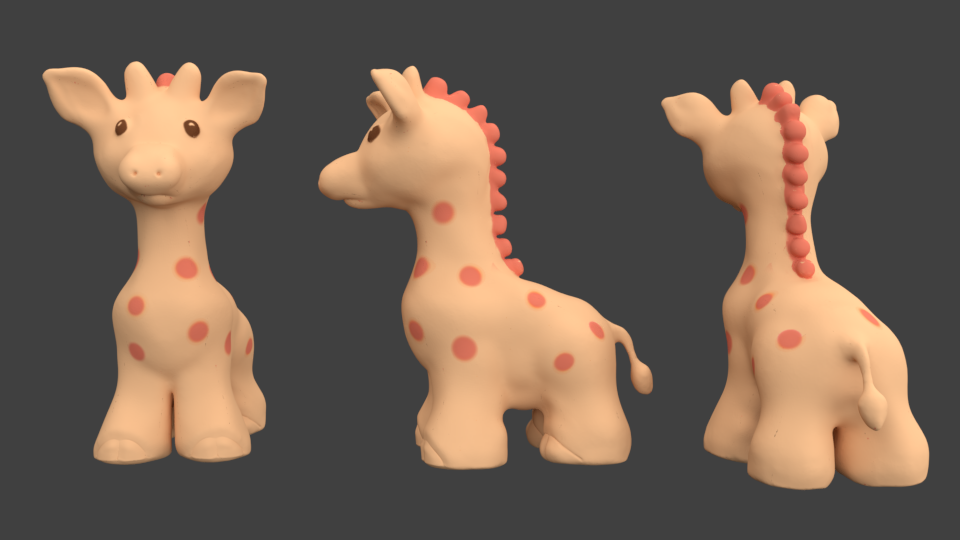
Before of anything you guys are posting such a beautiful painted models, that I become really shy to show anything what did and have to admit to myself that this advanced class was higher than my abilities.
Inspite of that really learnt a lot this month, was not sure whether can sculpt a relatively simple giraffe on your level, then had a little practice and understanding how those re-topology and texture painting things are.
Next time would like to come back stronger, it was fun to participate with the big lesson to myself that just watching tutorials and the theory are totally different things than doing it
BC2-1803 Homework submission week 4 pt 1:
Definitely still a work in progress, but closing things out for the class. Thanks again everyone!
No worries man. You finished the character and it looks great and ready. It's more important that you chose to make something of your own skill level than struggle with too difficult model and eventually give up.
My oh my...somehow blender corrupted my file. The size seems relevant to the retopo character, but all I see now is a default scene setup and a cube... Good thing I got a backup but it's like 1,5 week old with a lot of progress lost.
Maybe there is a way to recover the file?