Becoming great at anything requires constant practice and that is especially true with 3d modeling. If you're here it's probably because you want to become a better digital artist. I myself want to improve my 3d modeling and texturing skills and that means I need to model a ton in order to become better.
Building a consistent habit is the path to becoming great and with that I wanted to provide a challenge to anyone else here who wants to join me. The challenge will be to model one new 3d model daily for 30 days.
The goal of this is not to create amazingly realistic models, but to get you practicing your modeling skills daily. You are not competing with anyone here but yourself.
Each day this post will be updated with the object to model based on that week. Below are the rules and guidelines to make this more interesting:
Themes
To make this more interesting, every week will focus on one theme. Each theme will represent a set of 7 objects that are relatively easy to model, but each have unique elements to them to challenge you in different ways.
The themes for the next 4 weeks include: Home, Weapons, Props, Nature
Rules
Submissions
Post a rendered image of your completed model. While texturing won't be required, it is highly encouraged.
HOME (June 1 - June 7)
For this week we'll focus on objects found around the home. Typically these objects are relatively easy to model and reference. You are free to get as creative as you want with these as long as you modeling what is requested for that day.
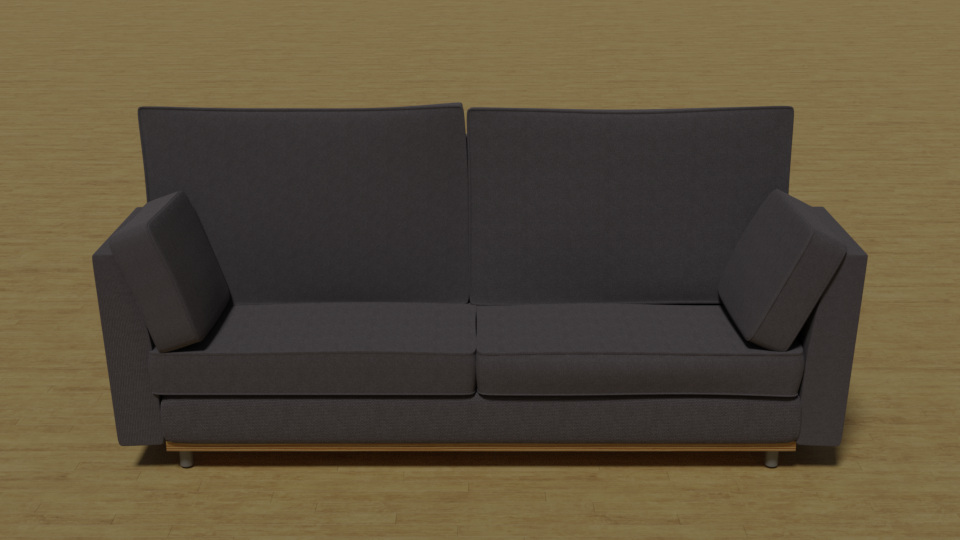
June 1 - Sofa
June 2 - Lamp
June 3 - Book Shelf
June 4 - Coffee Table
June 5 - Lounge Chair
June 6 - Shag Rug
June 7 - Floor Speakers
Week 1 is Done! Congrats on making it through the first week of this modeling challenge. On to week 2.
WEAPONS (June 8 - June 14)
For this week we'll focus on creating hand held weapons. Think melee weapons. These usually have a mixture of primitive and complex shapes. You may use sculpting during these models, and some may actually require it to achieve the look you want.
June 8 - Axe
June 9 - Combat Knife
June 10 - Spear
June 11 - Shuriken
June 12 - Spiked Bat
June 13 - Sickle
June 14 - Nunchucks
PROPS (June 15 - June 21)
This week will be focused on props you might commonly see in games or background scenes. These can be reused to add "filler" to an environment. These props mostly reside outside.
June 15 - Barrels
June 16 - Tires
June 17 - Filled Trash Bags
June 18 - Concrete Barrier
June 19 - Shipping Container
June 20 - Dumpster
June 21 - No Object
June 22 - No Object
Vegetation
This week will be focused on organic plants and objects you'd find out in nature. Think of these as natural props.
June 23 - Grass Clumps
June 24 - Rocks
June 25 - Flowers
June 26 - Bushes
June 27 - Hollow Log
June 28 - Vines
June 29 - Trees
CHALLENGE COMPLETED
This officially ends the challenge, technically it's 29 days but we have another challenge starting up on Monday so use Sunday as a way to gather reference photos and start your next modeling challenge with vehicles!
Thank you for everyone that participated in this challenge. Some objects were easy, others were challenging and I hope you learned some new tips and techniques. This challenge was about keeping a habit going and learning some new techniques and use different tools to create something you may not have otherwise. It was great seeing all the new renders on a daily basis. Good or bad, you've created something and that's what matters. See you all in the next challenge!
I'm in! Just to clarify, is this just for mesh modeling, or is sculpting allowed? If so, how much sculpting is acceptable?
![]() williamatics I'll clarify that in the original post, but sculpting is perfectly fine. I suppose this is more about pushing and pulling verts for an end result.
williamatics I'll clarify that in the original post, but sculpting is perfectly fine. I suppose this is more about pushing and pulling verts for an end result.
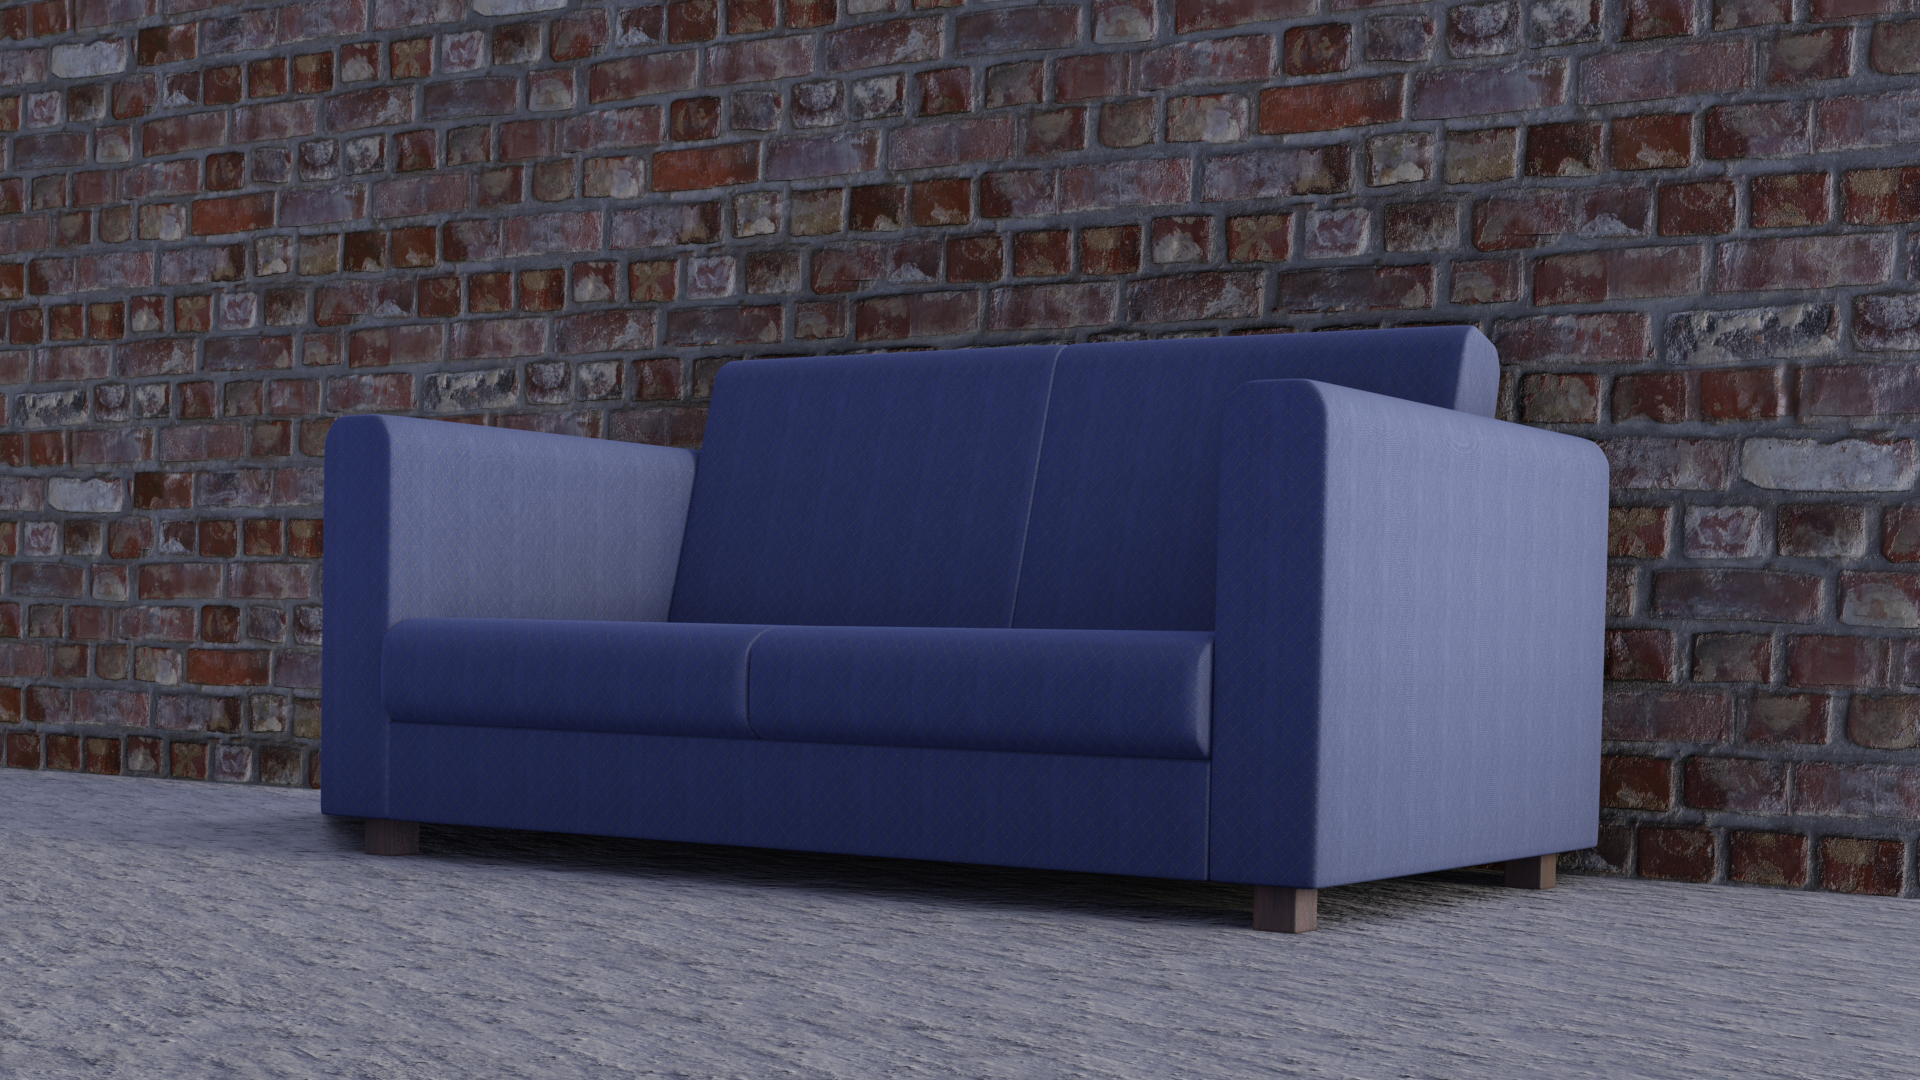
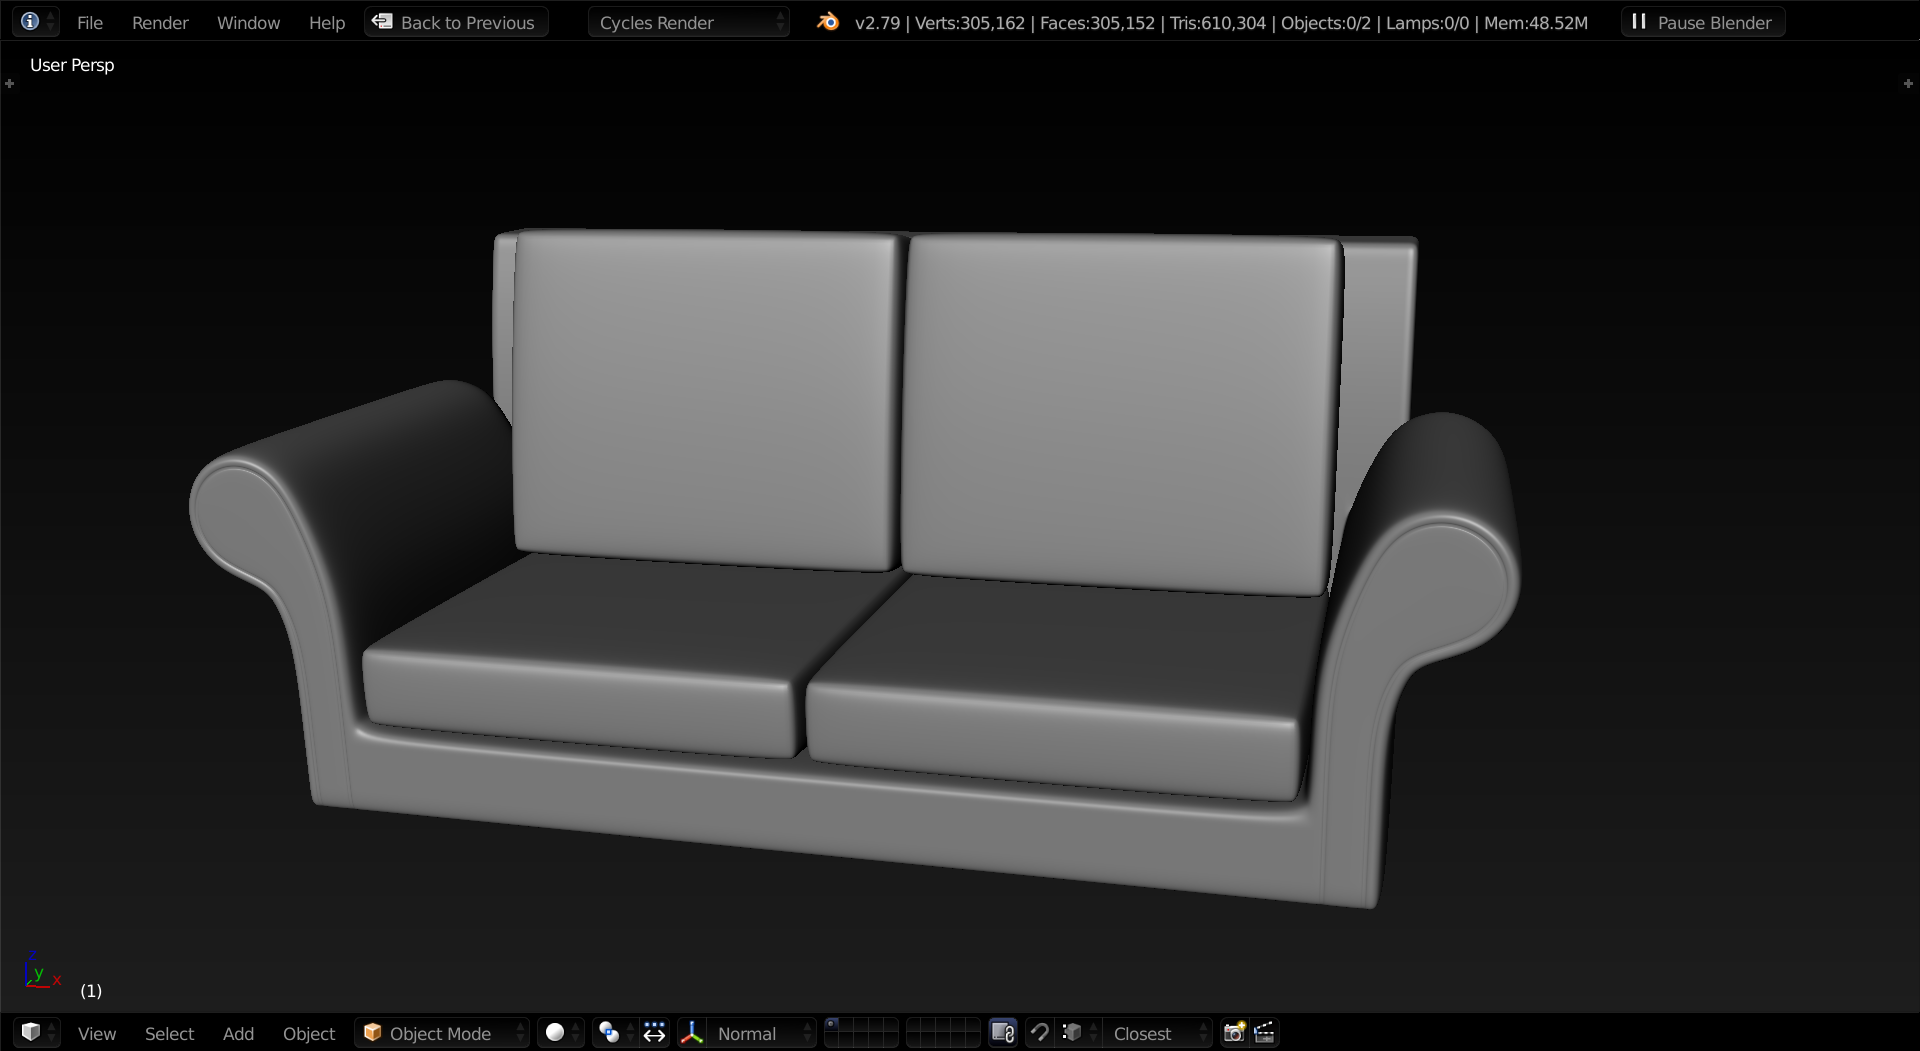
Alright here is my render for today:
Without Textures
With textures
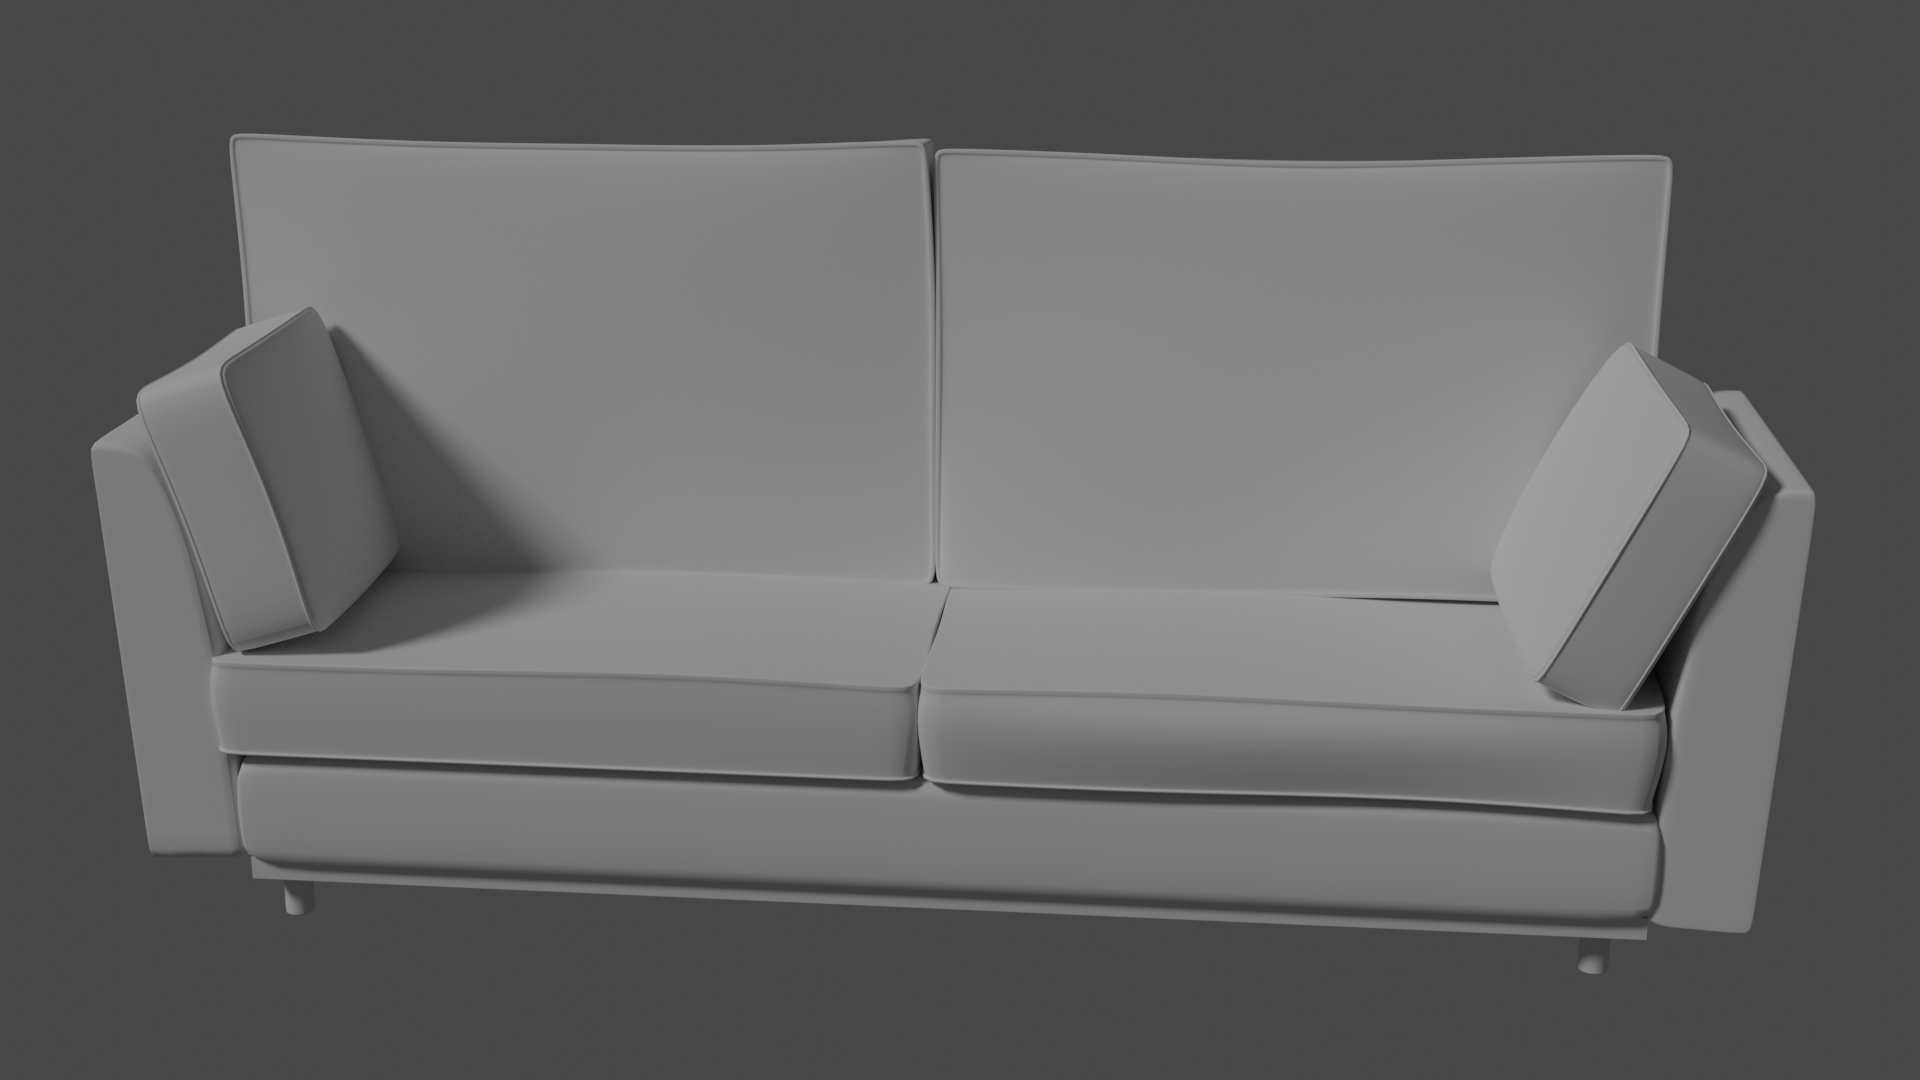
![]() jgonzalez nice sofa 😊 I'm curious about those rims sticking out too, as well as how did you get cushions to be dented like that? Looks much more natural than my stiff cushions.
jgonzalez nice sofa 😊 I'm curious about those rims sticking out too, as well as how did you get cushions to be dented like that? Looks much more natural than my stiff cushions.
Interesting, a tad late in the day for me but this could be a very interesting thing to keep up with. I hope to participate soon!
For the "rims", I used a few loop cuts to make a thin border of faces all around then extruded them along the normals (ALT+E). For the dents and such, that was just pushing and pulling verts with proportional editing enabled. That's how I also got parts of the cushion to look pointed.
The process for just about everything I did on the sofa was as follows:
Thanks to everyone who participated on day one, didn't expect much with it being a Saturday and all but nice to see some submissions other than my own. On to day three!
![]() jgonzalez thanks for explaining your process, never would have thought of that but I think it's brilliant you made use of simple techniques to get these awesome results. Lesson learned, simplify your process and don't overcomplicate things!
jgonzalez thanks for explaining your process, never would have thought of that but I think it's brilliant you made use of simple techniques to get these awesome results. Lesson learned, simplify your process and don't overcomplicate things!
Curious about today's subject though... it's already Sunday June 2nd over here and I'm itching to get started!!
Maybe you could post the next subject before you go to bed for us European people who live wayyy in the future? 😇
I am pretty new to blender but thought I would give it a try by allocating some time and at the end of the time see what I had. I have never really modelled before so hopefully this challenge will help.
Its a wall socket and this is as far as I got. Its all quads and I should have planned it out better at the start but that's what being new does I guess. For the mesh I started out with the idea of it being mirrored but did not get around to it in the end which is why there is no edge loop the whole way around
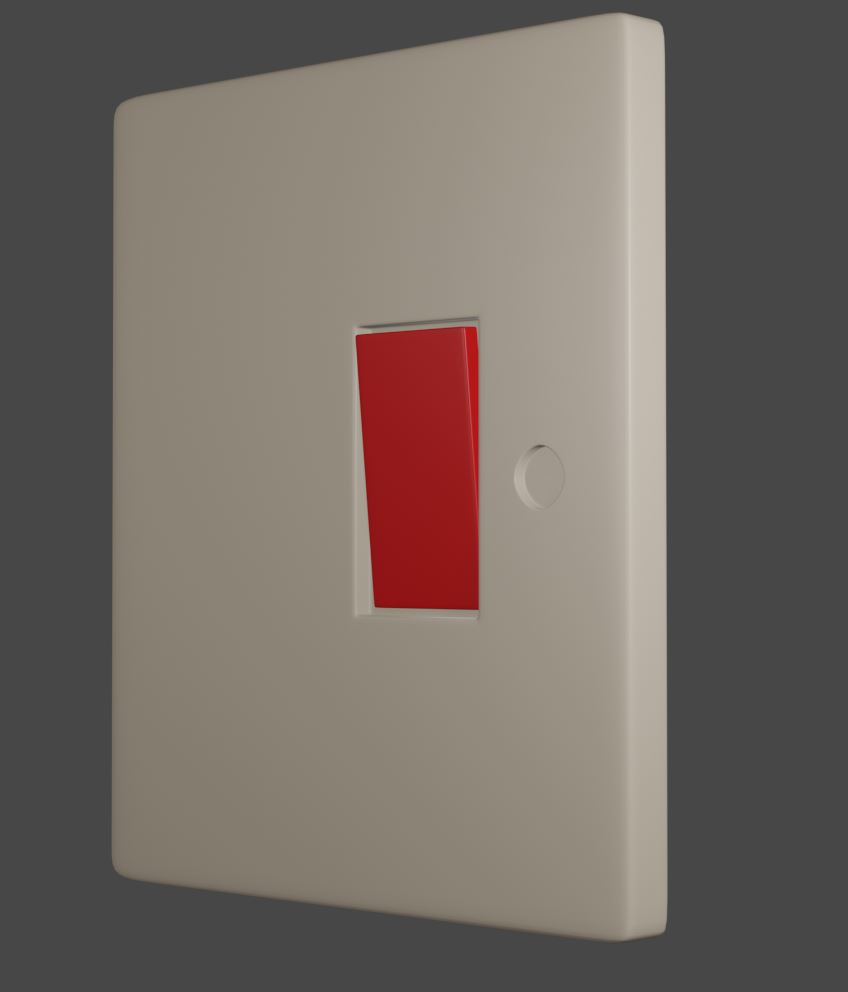


Not really able to texture just yet but will work on it.
thanks
ssmurfmier1985 Actually I don't mind doing it at night. As long as it's once a day that's fine. I posted today's object to model. I'll update it every night starting tonight.
iimparare I appreciate the effort, but please stick to the object selected for the day. The theme is HOME but there are 7 objects within that theme that will be provided daily to model. Day one was a sofa, day two is a lamp.
Great idea Jonathan, just finished rendering day one, I only saw your post this morning ( Germany time).
This is really good for me, because I sort of got stuck. I am really slow, so having a deadline is a great stimulation and it's fun!
So here's my sofa:
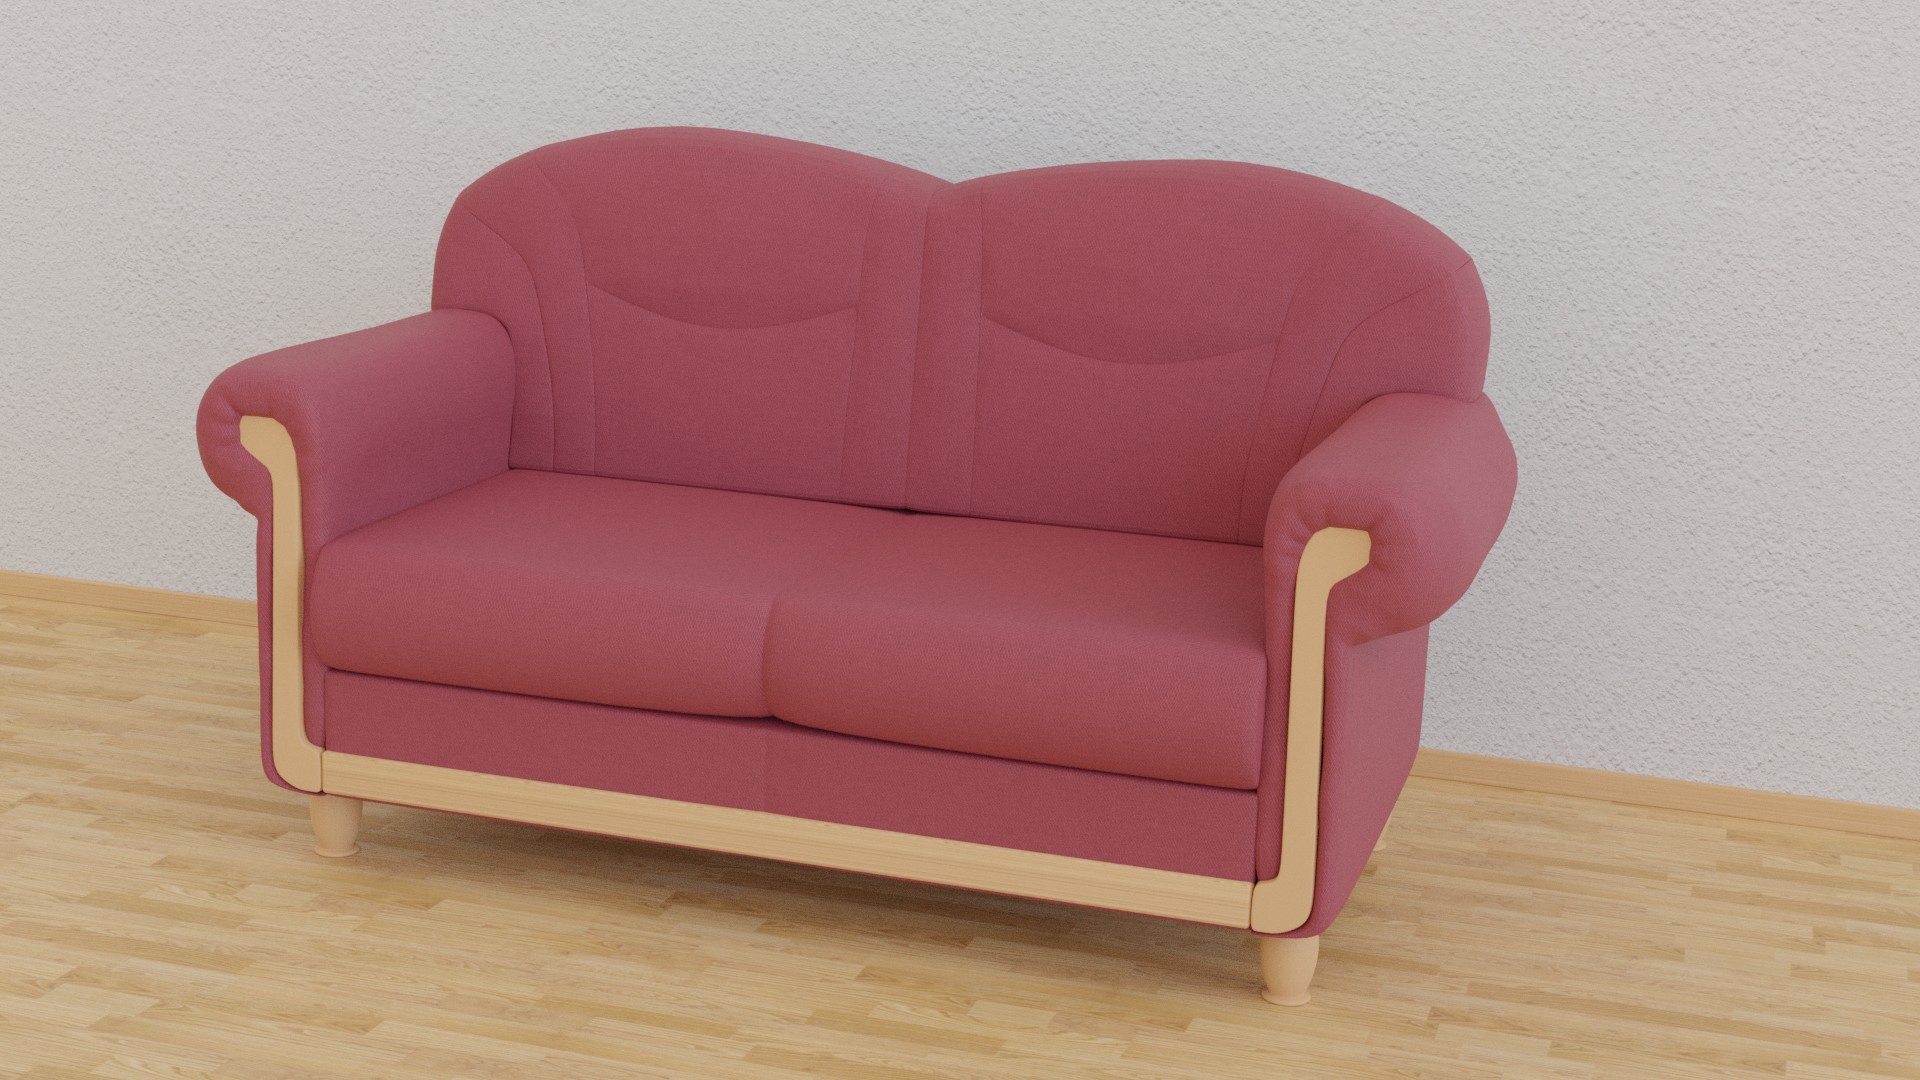
I gave up on sculpting, because it made it look like leather;) But still, it's not about realism now, is it?
I will have a four day time-out, because I will be going to Holland to visit my family, but as I understand, that won't be a problem.
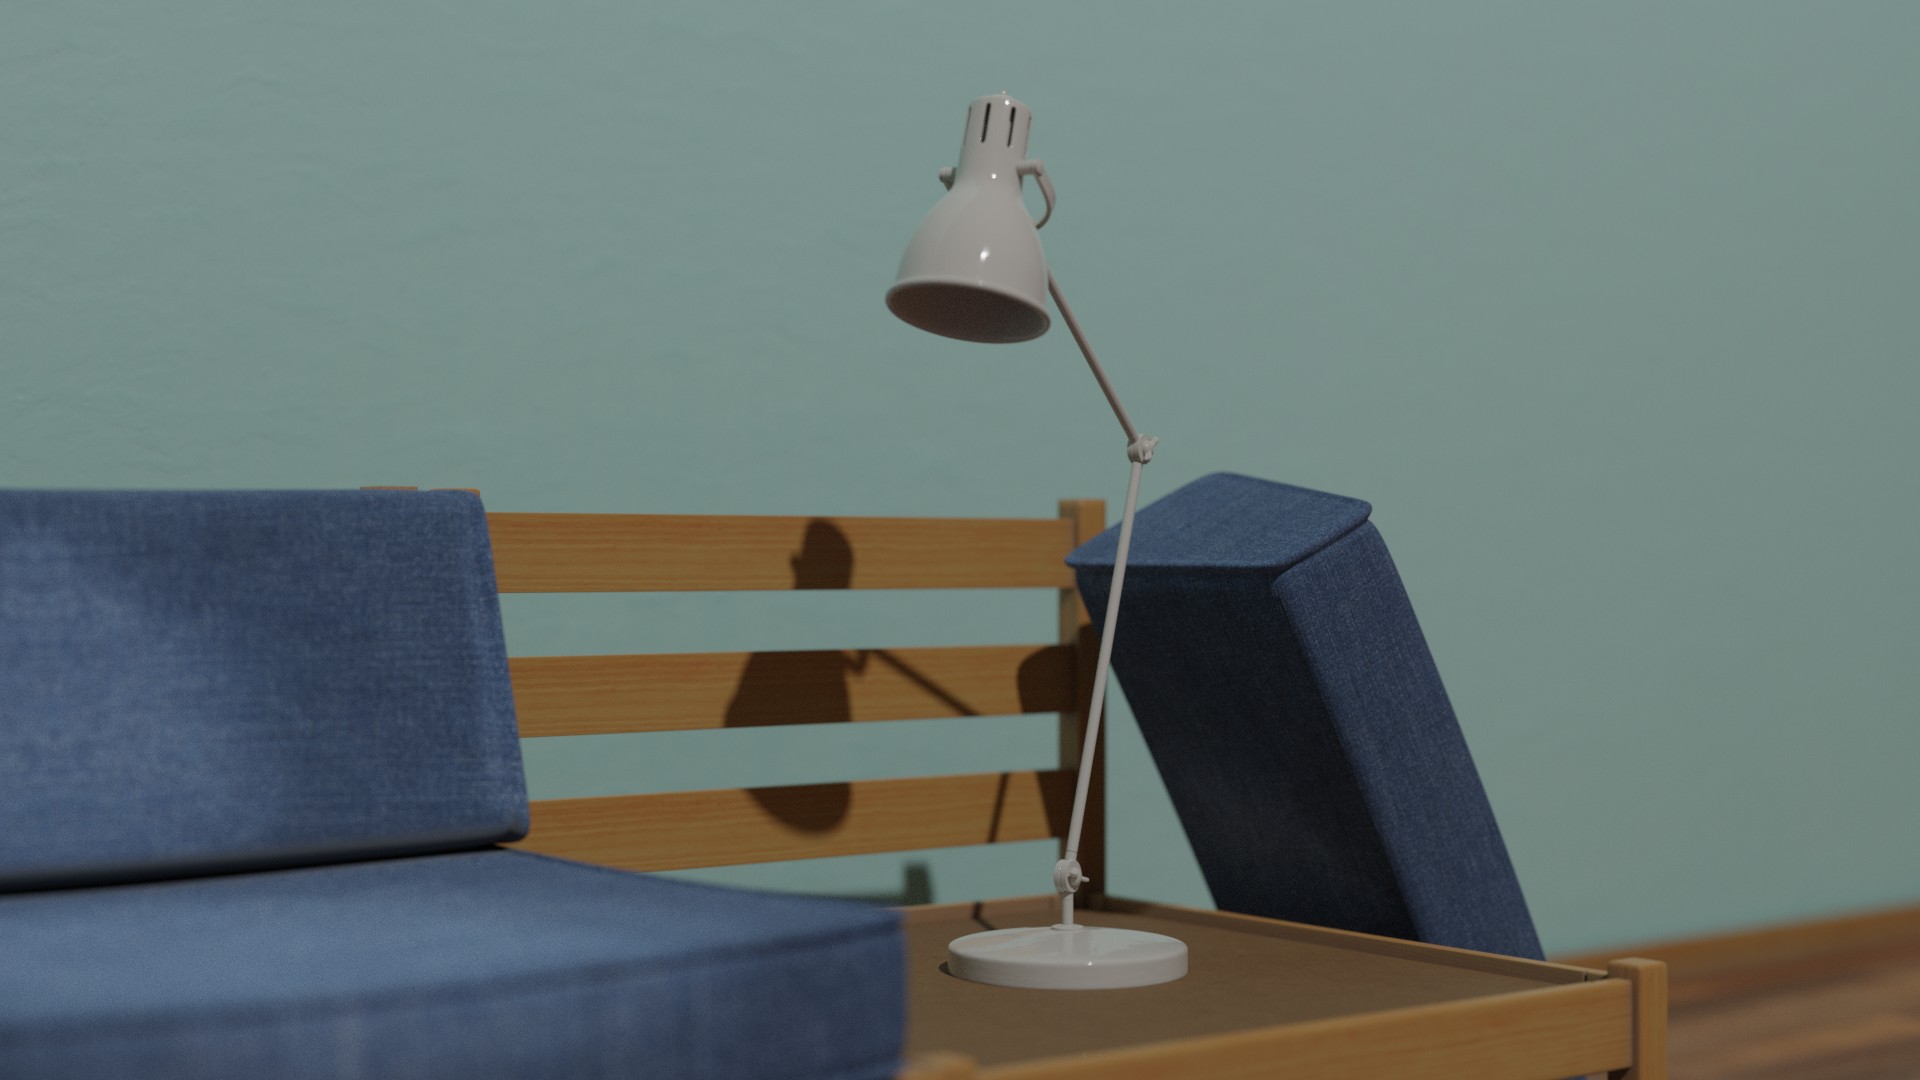
Here is my render. Didn't use any textures for it. It's based off a lamp I have in my place. Need to figure out how to cast lighting with emissive objects and have SSS for the glass. I did learn a quick way to create wires using the path curve.
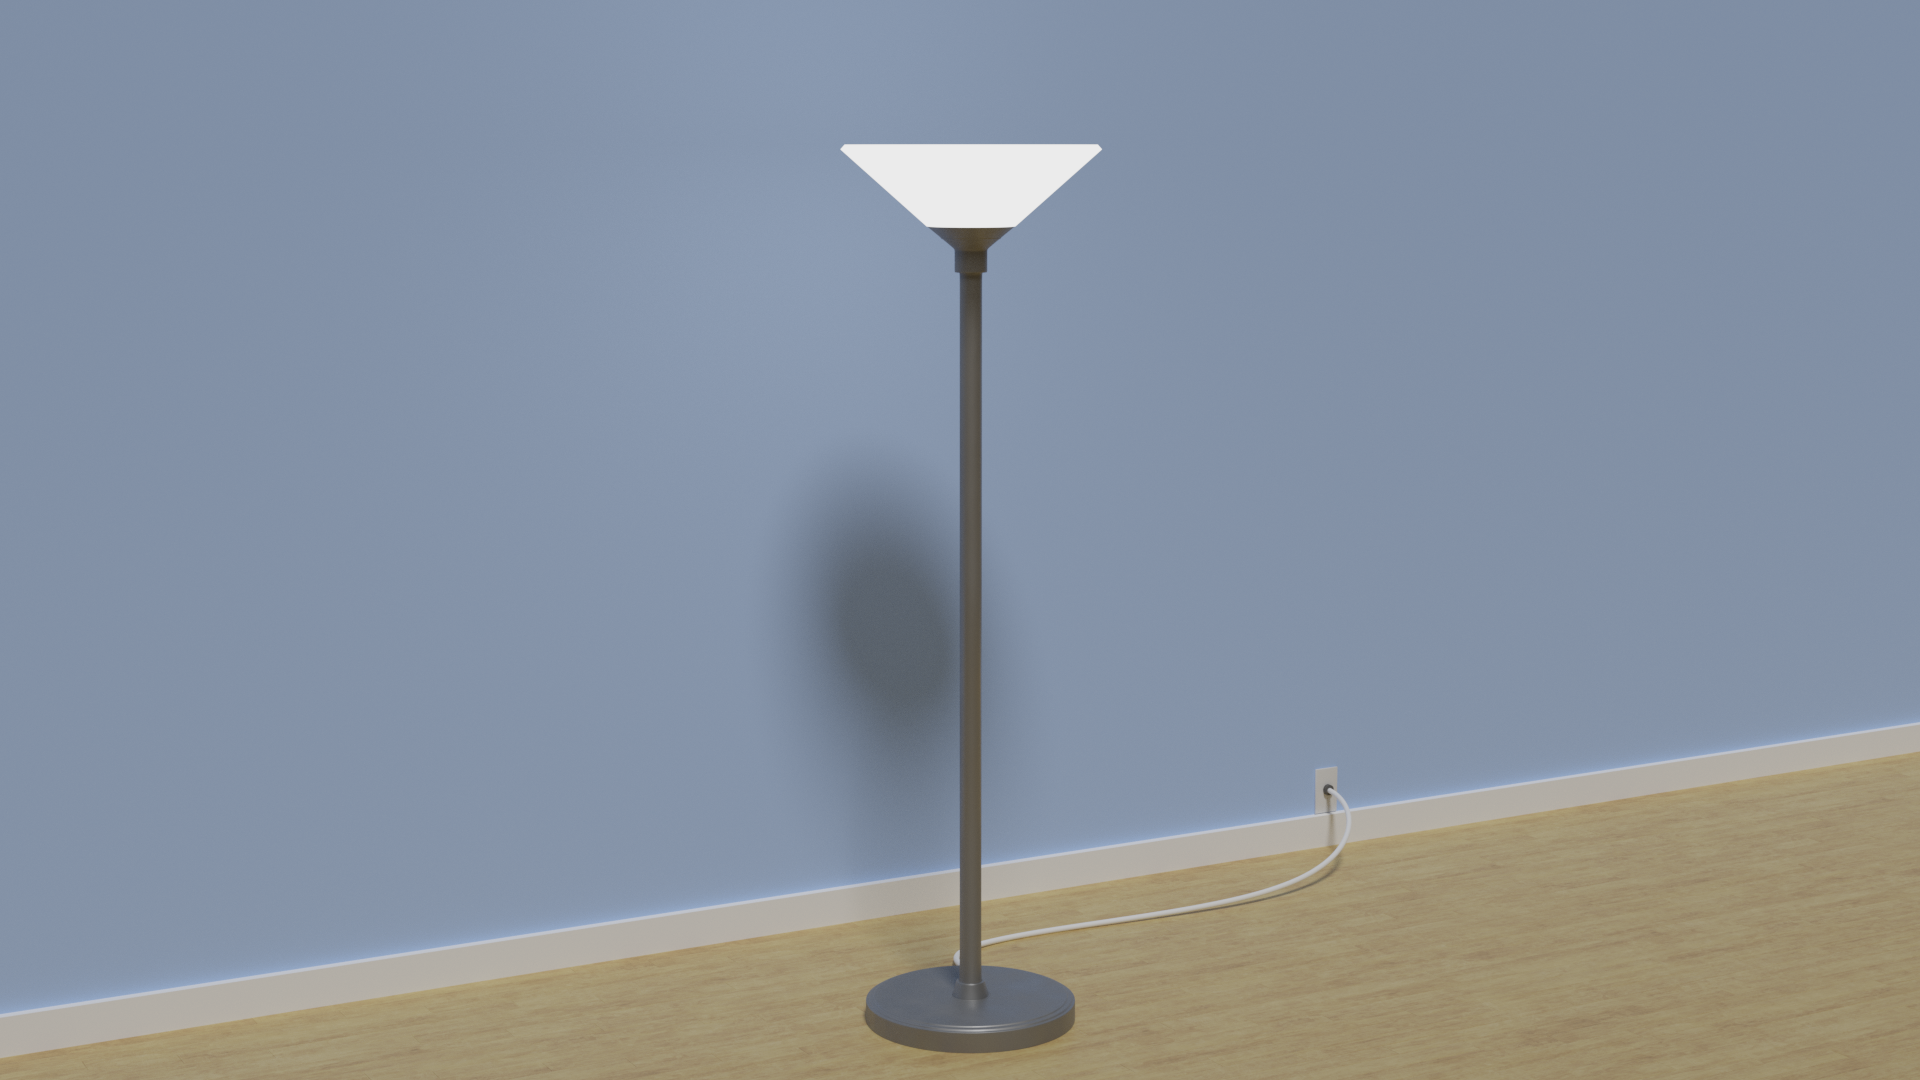
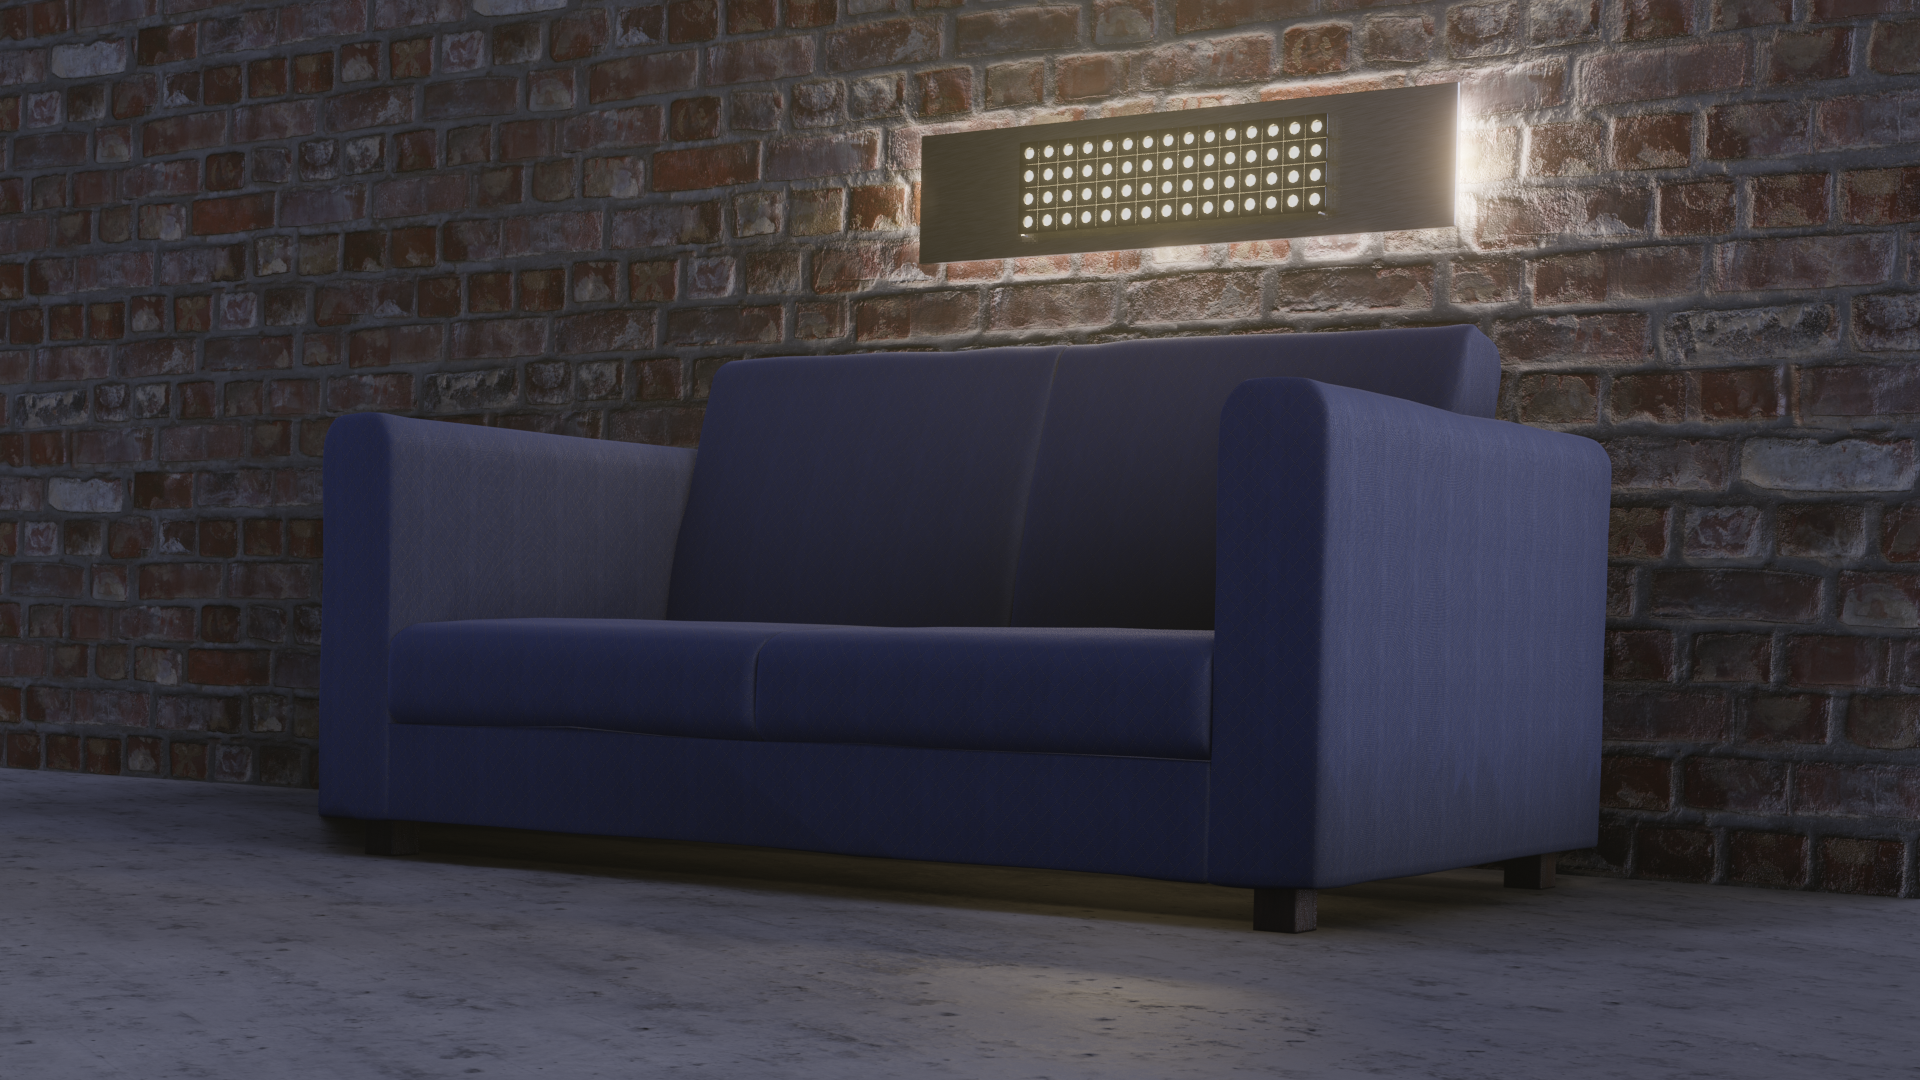
Day 2: Lamp
I decided to make something modern / industrial looking to compliment yesterdays sofa. I also updated the sofa with a little bit of proportional editing on the cushions and a displacement modifier on the whole thing to make it look a bit more organic. And I played a bit with the lighting in Eevee. It was fun! Pretty happy with how it all turned out 😊
![]() jgonzalez nice shapes! curves are wickedly easy for wires, great job on that.
jgonzalez nice shapes! curves are wickedly easy for wires, great job on that.
As for emision: I would just stick a Point Light in it. If you want to see a bulb you can also stick a sphere in it with just a simple emissive material (just use an emission node instead of principled shader), but if you're using Eevee that alone won't work well so you have to use both the point light and the emissive sphere, but if you're using Cycles you're settled with just an emissive sphere. And maybe make the glass material transparent and play with the roughness and such. SSS won't help you here, that's something for human skin and leaves...
Things like transparency and SSS are all build into the principled shader so playing with those sliders can get you some nice quick results. Fun to experiment with! This is a great tutorial on all it's features.
Hope this helps..
Here's my lamp. I didn't get to texturing much or putting a light into. It will go into my file of almost done desktop models I have. Someday I will render desk.