Becoming great at anything requires constant practice and that is especially true with 3d modeling. If you're here it's probably because you want to become a better digital artist. I myself want to improve my 3d modeling and texturing skills and that means I need to model a ton in order to become better.
Building a consistent habit is the path to becoming great and with that I wanted to provide a challenge to anyone else here who wants to join me. The challenge will be to model one new 3d model daily for 30 days.
The goal of this is not to create amazingly realistic models, but to get you practicing your modeling skills daily. You are not competing with anyone here but yourself.
Each day this post will be updated with the object to model based on that week. Below are the rules and guidelines to make this more interesting:
Themes
To make this more interesting, every week will focus on one theme. Each theme will represent a set of 7 objects that are relatively easy to model, but each have unique elements to them to challenge you in different ways.
The themes for the next 4 weeks include: Home, Weapons, Props, Nature
Rules
Submissions
Post a rendered image of your completed model. While texturing won't be required, it is highly encouraged.
HOME (June 1 - June 7)
For this week we'll focus on objects found around the home. Typically these objects are relatively easy to model and reference. You are free to get as creative as you want with these as long as you modeling what is requested for that day.
June 1 - Sofa
June 2 - Lamp
June 3 - Book Shelf
June 4 - Coffee Table
June 5 - Lounge Chair
June 6 - Shag Rug
June 7 - Floor Speakers
Week 1 is Done! Congrats on making it through the first week of this modeling challenge. On to week 2.
WEAPONS (June 8 - June 14)
For this week we'll focus on creating hand held weapons. Think melee weapons. These usually have a mixture of primitive and complex shapes. You may use sculpting during these models, and some may actually require it to achieve the look you want.
June 8 - Axe
June 9 - Combat Knife
June 10 - Spear
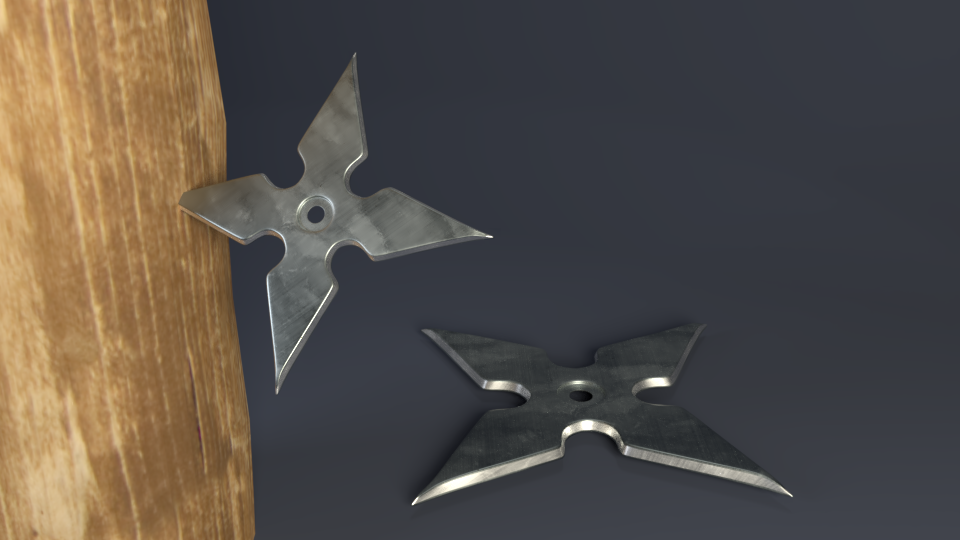
June 11 - Shuriken
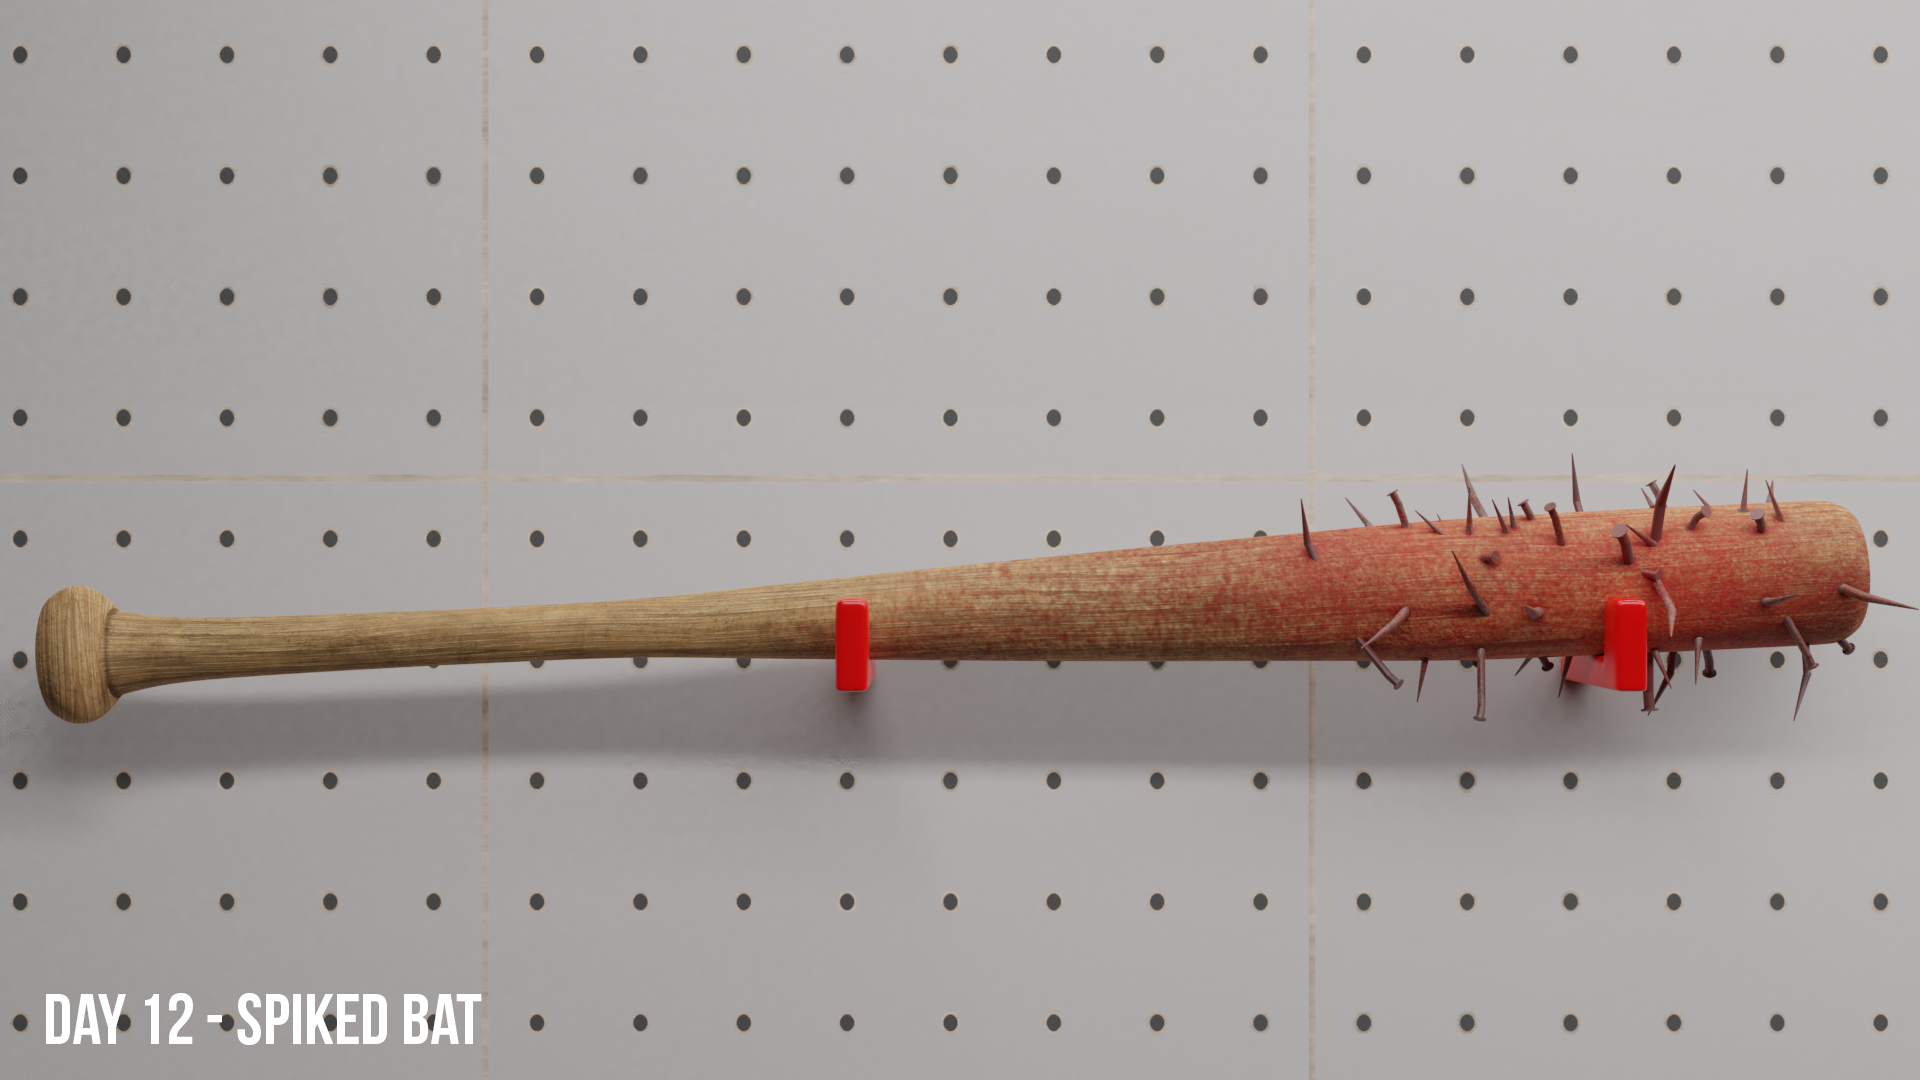
June 12 - Spiked Bat
June 13 - Sickle
June 14 - Nunchucks
PROPS (June 15 - June 21)
This week will be focused on props you might commonly see in games or background scenes. These can be reused to add "filler" to an environment. These props mostly reside outside.
June 15 - Barrels
June 16 - Tires
June 17 - Filled Trash Bags
June 18 - Concrete Barrier
June 19 - Shipping Container
June 20 - Dumpster
June 21 - No Object
June 22 - No Object
Vegetation
This week will be focused on organic plants and objects you'd find out in nature. Think of these as natural props.
June 23 - Grass Clumps
June 24 - Rocks
June 25 - Flowers
June 26 - Bushes
June 27 - Hollow Log
June 28 - Vines
June 29 - Trees
CHALLENGE COMPLETED
This officially ends the challenge, technically it's 29 days but we have another challenge starting up on Monday so use Sunday as a way to gather reference photos and start your next modeling challenge with vehicles!
Thank you for everyone that participated in this challenge. Some objects were easy, others were challenging and I hope you learned some new tips and techniques. This challenge was about keeping a habit going and learning some new techniques and use different tools to create something you may not have otherwise. It was great seeing all the new renders on a daily basis. Good or bad, you've created something and that's what matters. See you all in the next challenge!
I wanted to approach this with array and curve modifier, like the "Modeling a Wheel" Exercise. I thought that would be easy ;)
But once again: this did not work as espected.
So after playing and testing around for hours I chose the traditional way.
And put another note on my list.
cciku-karugi huh. I just looked it up to copy the link. Look under Blender with the topic set to shading. That's how I found it again the other day.
mmonaloren mirroring along both X and Y axis should do the trick, then you only have to model one pointy part :)
![]() train30 Found it... I think the link is broken or something, found it when I looked under blender with the topic set to shading like suggested. Thanks.
train30 Found it... I think the link is broken or something, found it when I looked under blender with the topic set to shading like suggested. Thanks.
I went for the simple. Had to look up what these things were. Thank full to booleans and mirroring.
I didn't remember what a shiruken is, but sometimes Google is your friend.
Had so much fun (again!) and I think I'm finally getting the hang of modelling sharp weapons. (It's not perfect yet, but these are one-day models, so...)
This is what I came up with:
mmonaloren Hi Mona, in your case, because of the symmetry, Miranda is completely right and mirroring is the way to go!
When you have a less symmetrical form like the one I chose, the Array Modifier saved me.
Although, certainly Array and Curve Modifiers can be really frustrating, it is worth getting comfortable with them.
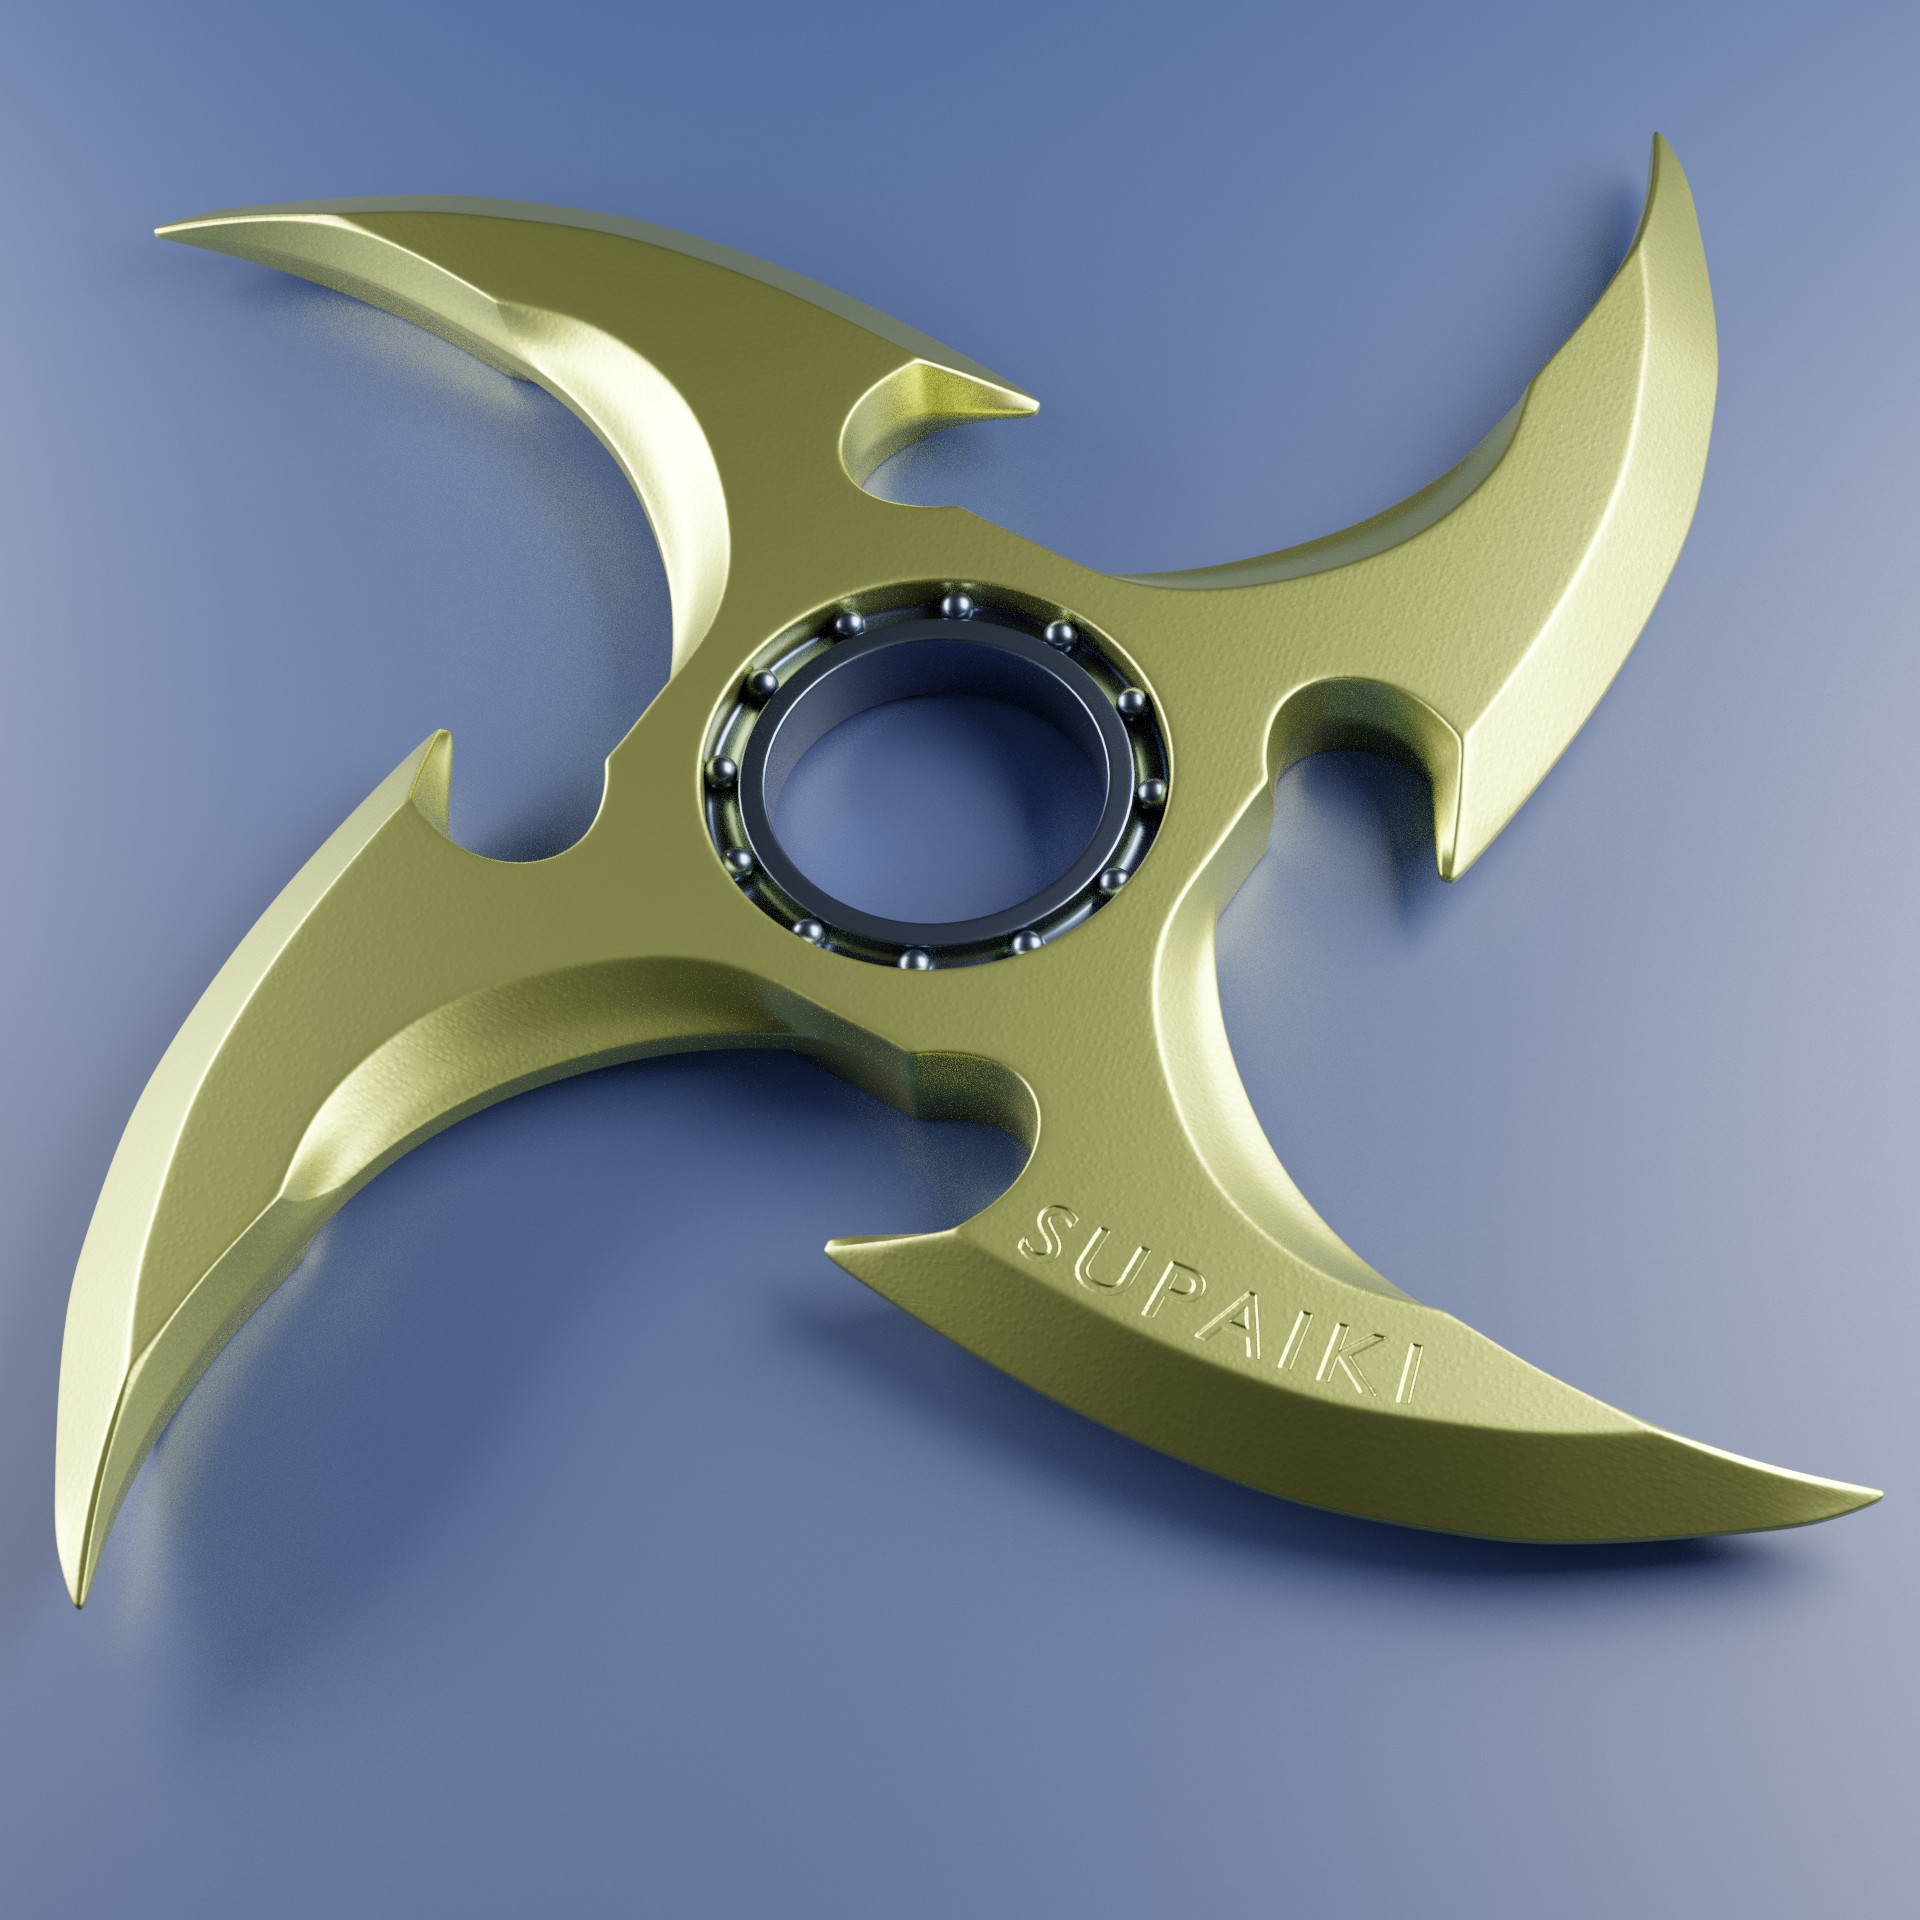
In my submission for today ( for the outer part), I used a Mirror on the Z-axis, and an Array, set to 4, with an Object Offset and the Object was an Empty at the centre, rotated 90° around the Z-axis (disabling the default Relative Offset),
Curve Modifiers are even trickier, and even I (now, that sounds like I'm an expert, which I am definitely not!) struggle with them most of the times, but you'll get better at them with time.
Anyway, you're doing great, keep it up!
![]() spikeyxxx
spikeyxxx
I'm really digging that one,great job! I like the 'supaiki', you made me chuckle. :D
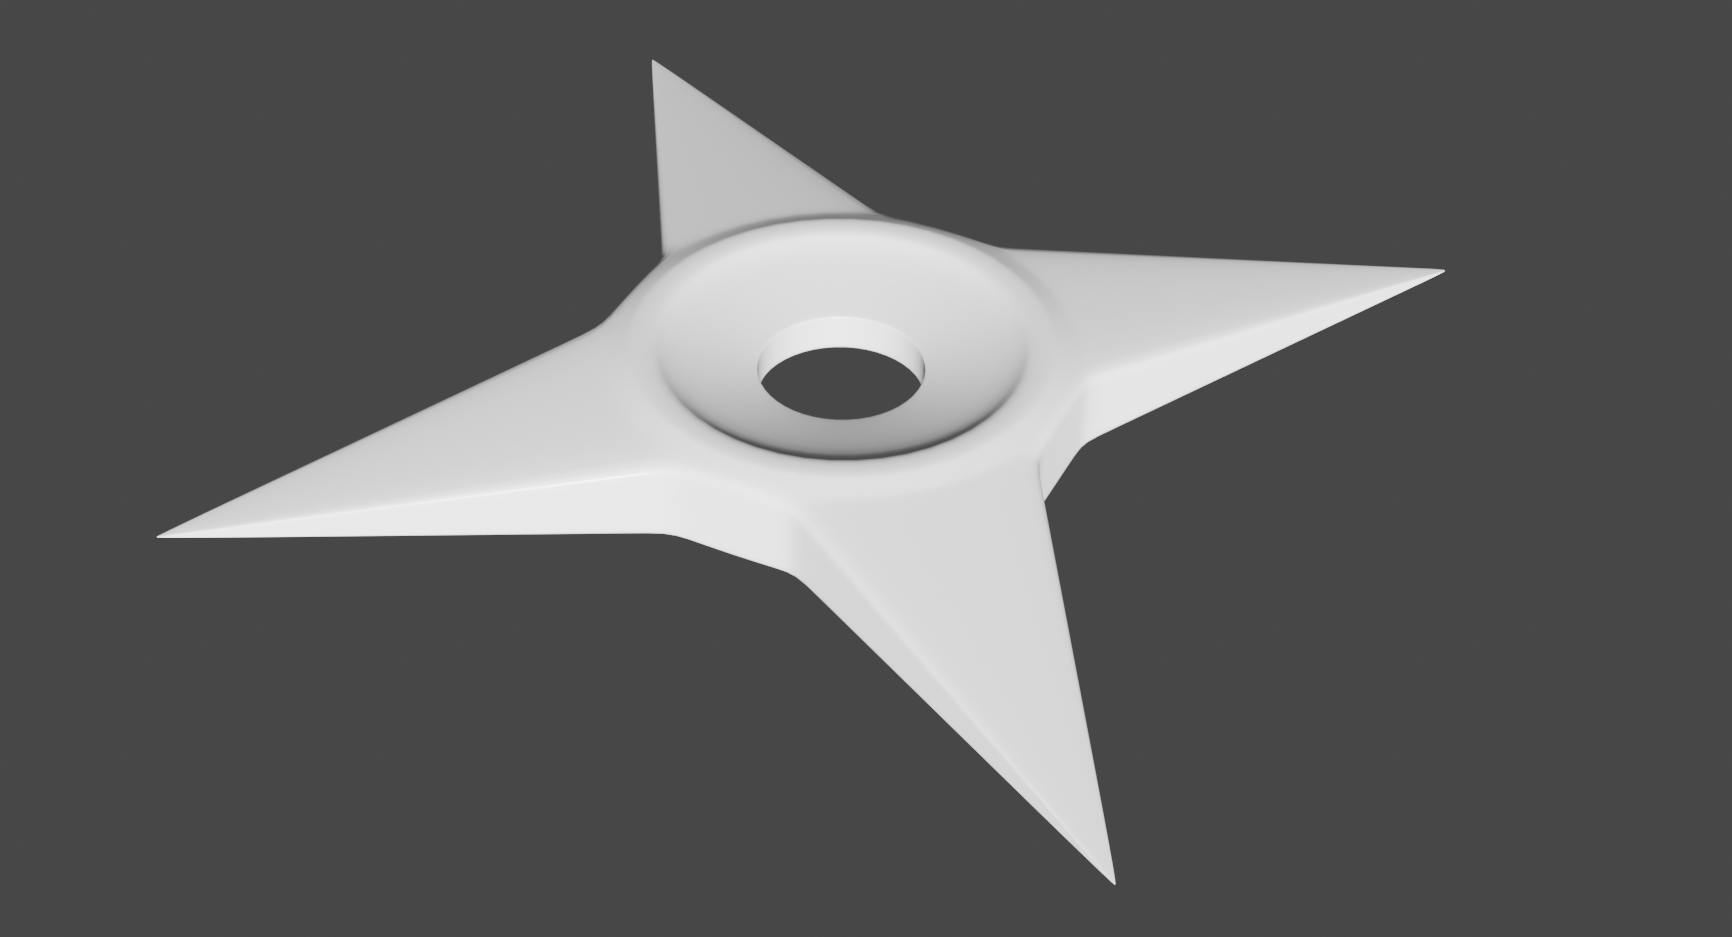
I looked for simple reference that I knew might actually give me some trouble when it came to good subsurf geometry. I actually redid the model twice, focusing on getting proper geometry. My final model had all the edge loops that I wanted, and only a minor little unwanted crease.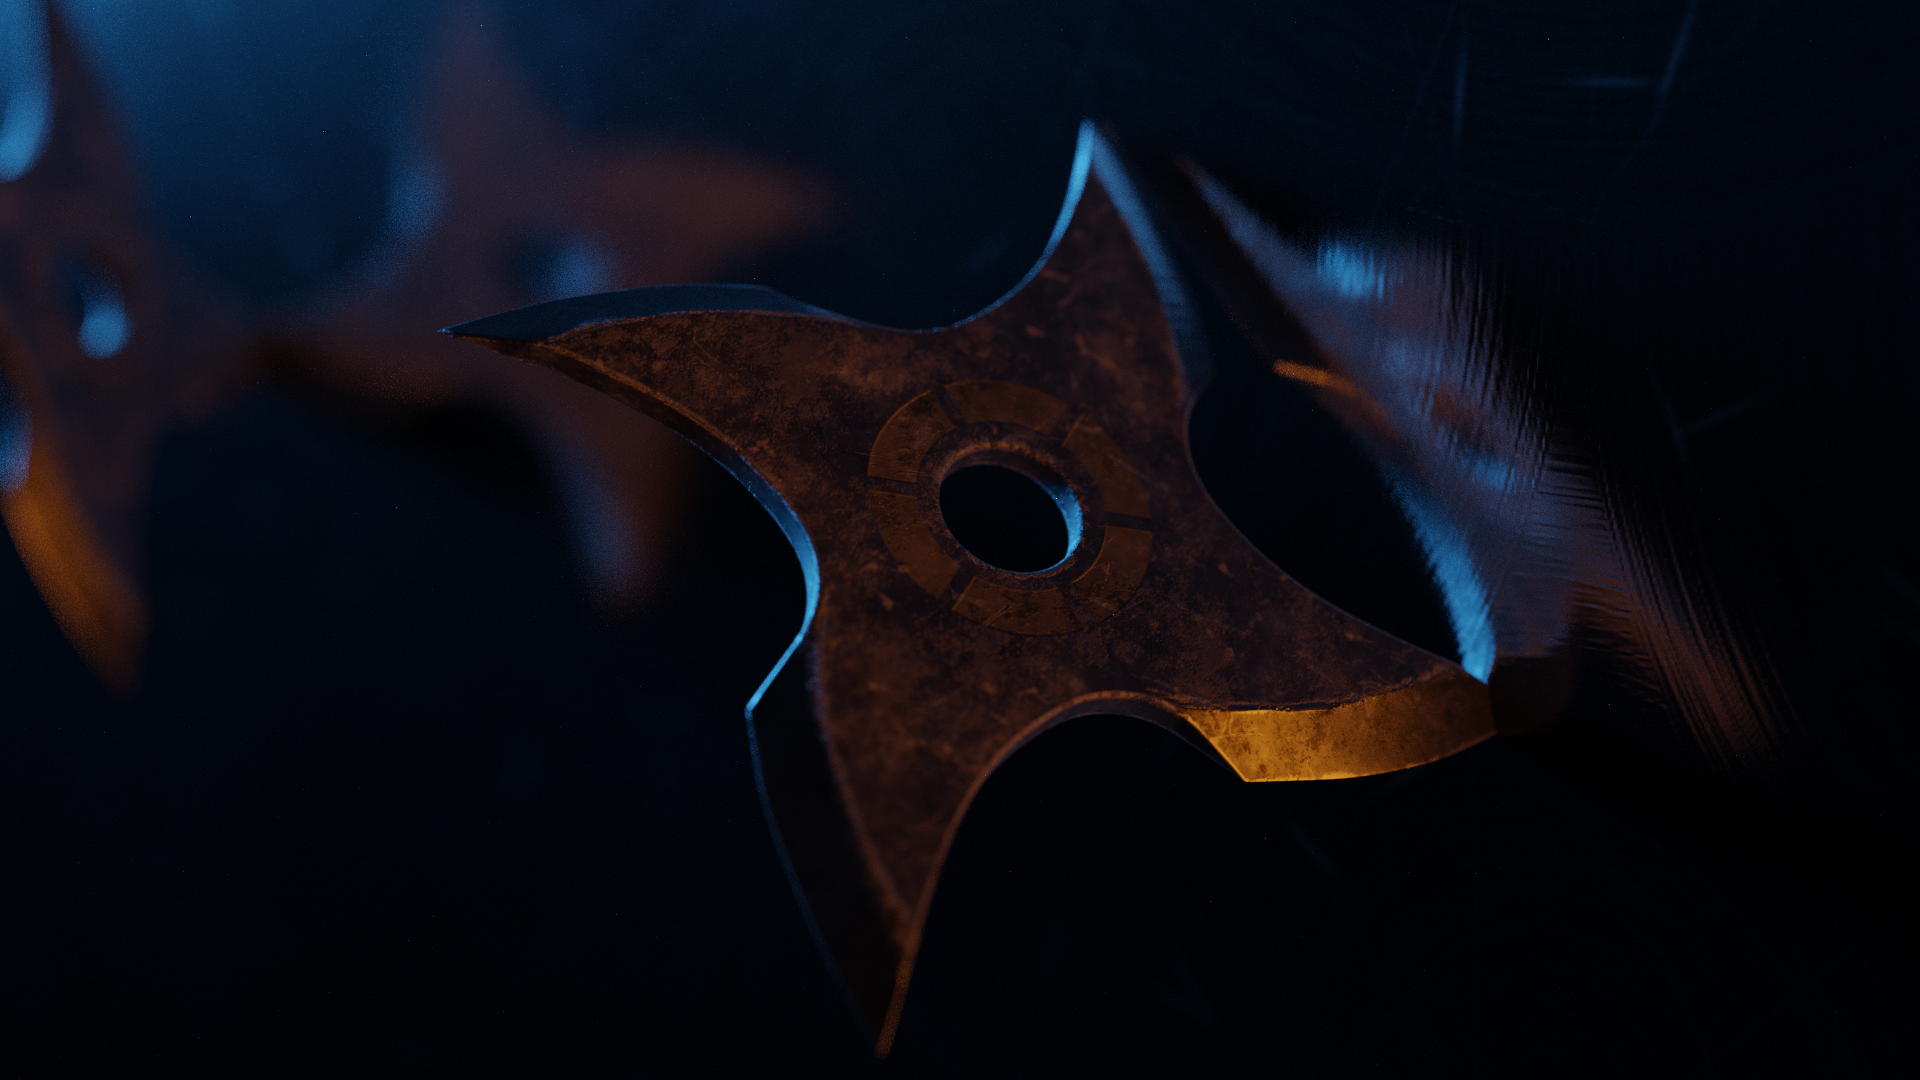

Gotta do something about my day job. It's really getting in the way of modeling, or at least texturing.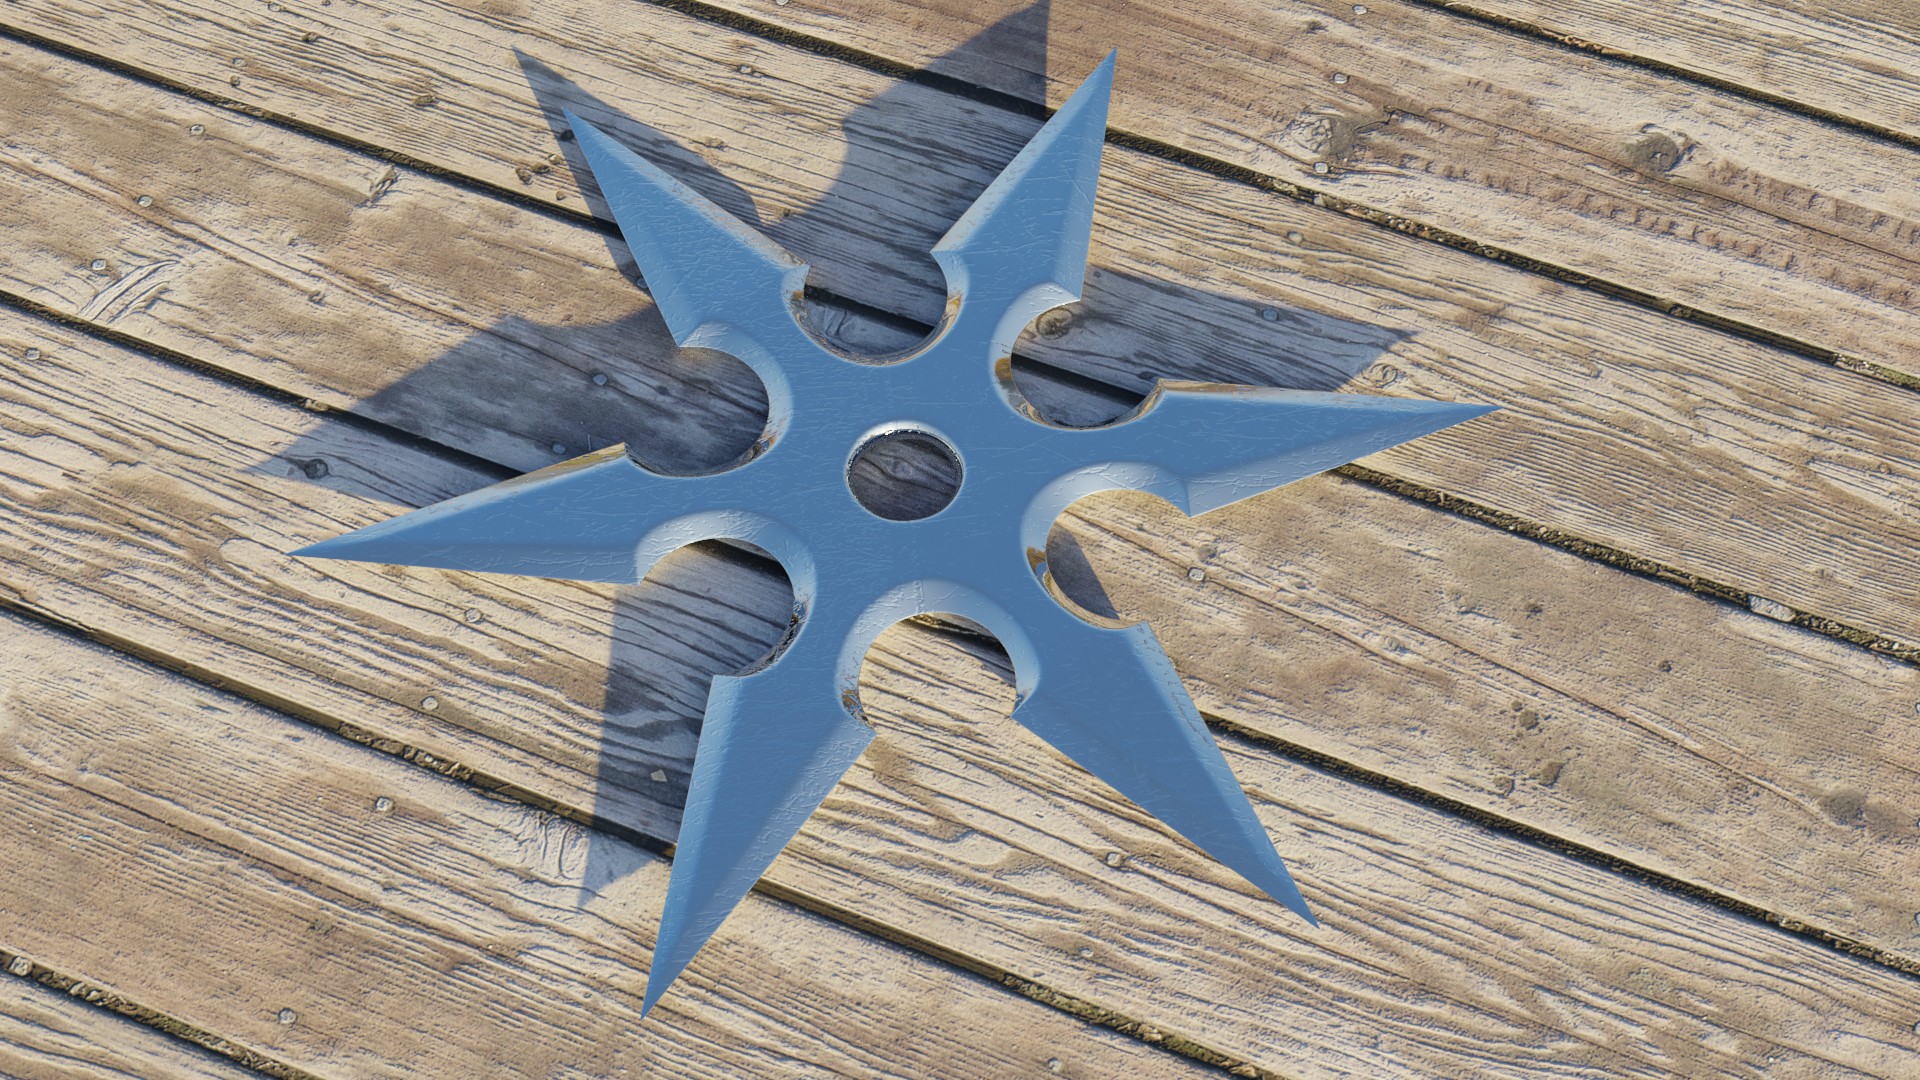
I ran out of time, unfortunately. How do you make the topology of cylinders/cuboids sticking out of cylinders work? (I know the proportions are all wrong; I'll fix that later.)

I wasn't sure if I would have time to create something for today, it's been a bit hectic but I managed to get something made nonetheless:
Hopefully the rest of the week calms down a bit so I have more time to continue modeling and texturing. Great job everyone, really enjoy seeing the new renders!
@ Miranda and @ spike
thank you for your help and hints
Your shuriken looks great.I like these nice and sharp edges
"Although, certainly Array and Curve Modifiers can be really frustrating, it is worth getting comfortable with them."
Thats the point ;)
I really wanted to use exactly these modifiers :) Would have been nice to made some different shapes.
Because I made these wheel and some other exercises but every time I had some trouble.
Finally it worked- but my workflow was not as smooth as I wanted.
Btw. - the chain worked immediatly, but I often struggle with cycles- hmm.
So I wanted to try it again.
Finally I use the mirror and made one model with empty etc. No problem.
But this is not so fancy ;)
The combination array and curve modifier opens many possibilities I guess.
One day I will managed this hopefully.
Unfortunately little time today. I used Duplications for the spikes.Very useful feature.
Took about 1,5 hours.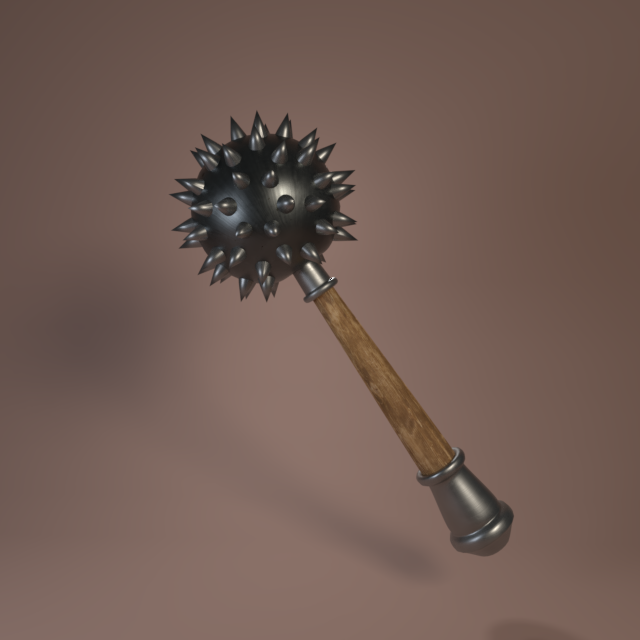
I wanted to do some kind of spiked bat that someone could make in weird situation from one or two pieces of plank and a box of nails. Although I am suspicious if those planks still be in one piece after being impaled by so many nails. They tend to crack so easily sometimes.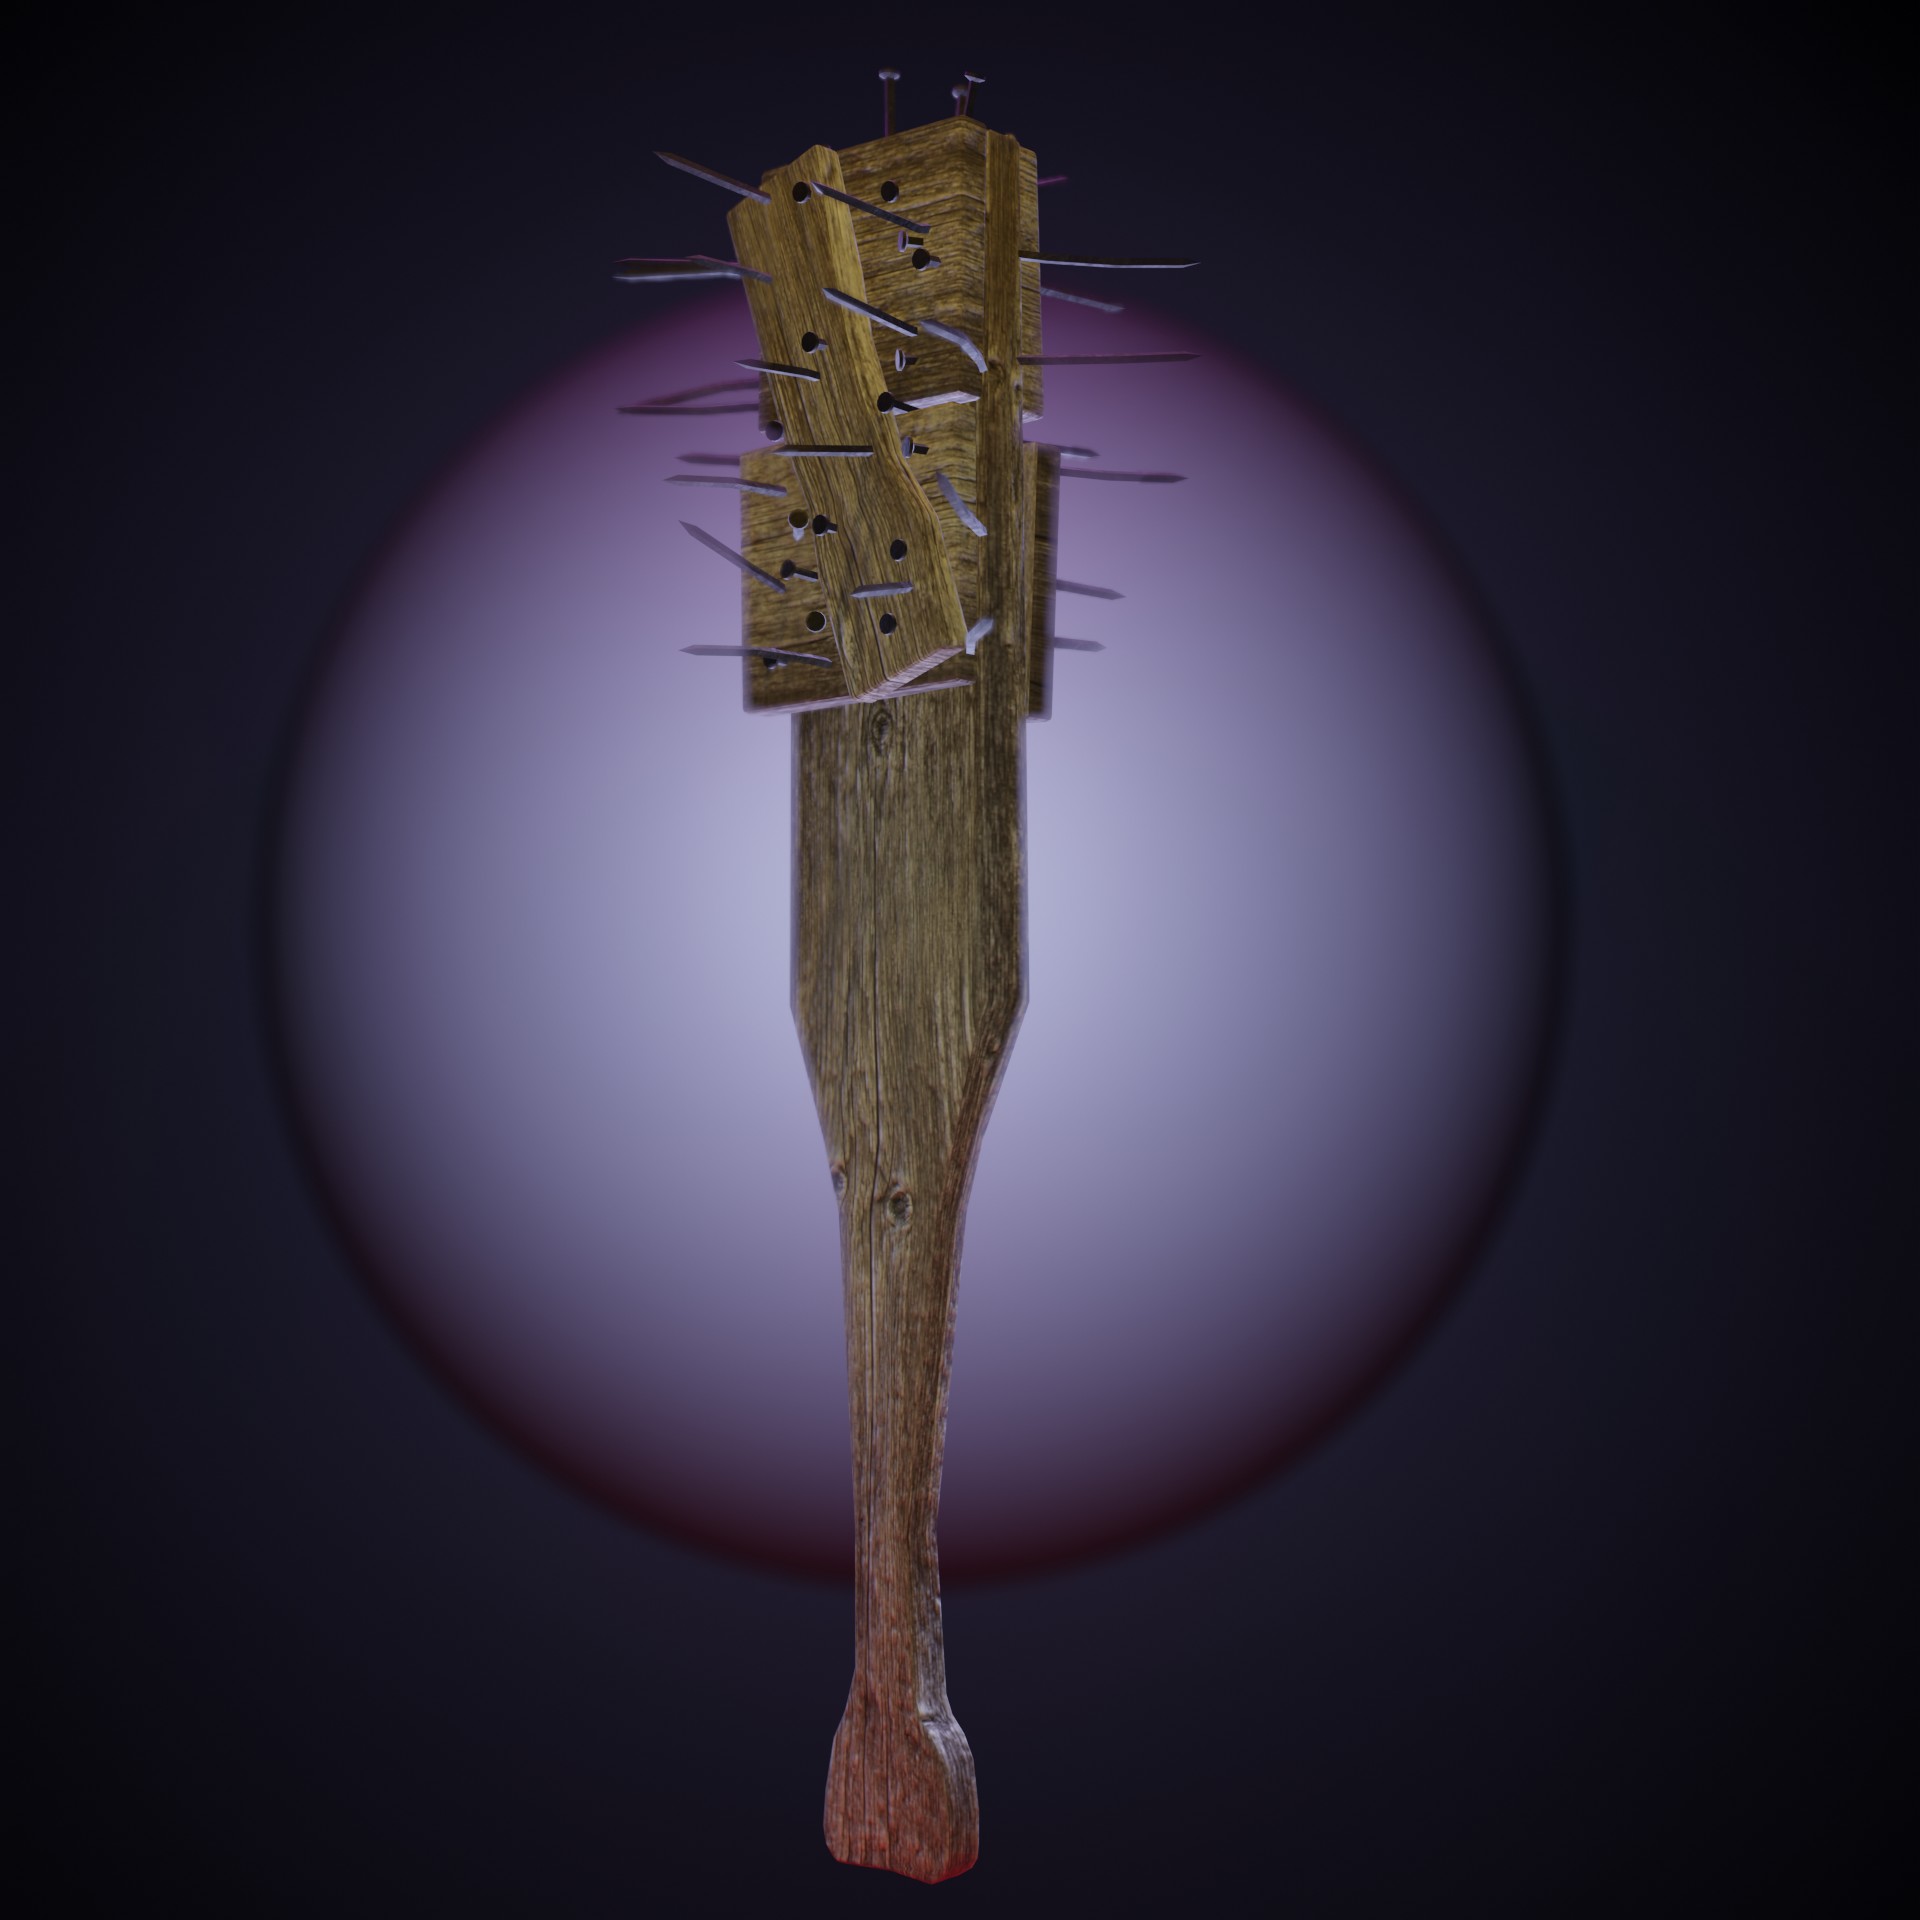
After looking at reference, I decided to challenge myself and try some barbed wire.
This is the result:

Learned I shouldn't waste time working on details if they aren't really going to be seen. 
This took longer than it should have... I applied the array modifier way early, giving me more work than was necessary. It's also too even, something to look out for in my future models. I've tried to remove some nasty crease at the bottom of the spikes on the left, to no avail... Tried some lighting this time, not bad for a try.
Didn't have much time today, and I started out with an idea for a more sci-fi baseball bat. It didn't really pan out, so it's a lot more bat than spike. It does have a a light though.
Had more time to work on this. Came out as expected so I'm quite happy about it. Only thing I'd like to learn is how to create "wraps" around the handle. I know I've seen some people use the shrinkwrap modifier, so I'll have to experiment with that. Nonetheless here is my render for today. Put it through Substance Painter to add some nice details and wear on the bat and nails.