Becoming great at anything requires constant practice and that is especially true with 3d modeling. If you're here it's probably because you want to become a better digital artist. I myself want to improve my 3d modeling and texturing skills and that means I need to model a ton in order to become better.
Building a consistent habit is the path to becoming great and with that I wanted to provide a challenge to anyone else here who wants to join me. The challenge will be to model one new 3d model daily for 30 days.
The goal of this is not to create amazingly realistic models, but to get you practicing your modeling skills daily. You are not competing with anyone here but yourself.
Each day this post will be updated with the object to model based on that week. Below are the rules and guidelines to make this more interesting:
Themes
To make this more interesting, every week will focus on one theme. Each theme will represent a set of 7 objects that are relatively easy to model, but each have unique elements to them to challenge you in different ways.
The themes for the next 4 weeks include: Home, Weapons, Props, Nature
Rules
Submissions
Post a rendered image of your completed model. While texturing won't be required, it is highly encouraged.
HOME (June 1 - June 7)
For this week we'll focus on objects found around the home. Typically these objects are relatively easy to model and reference. You are free to get as creative as you want with these as long as you modeling what is requested for that day.
June 1 - Sofa
June 2 - Lamp
June 3 - Book Shelf
June 4 - Coffee Table
June 5 - Lounge Chair
June 6 - Shag Rug
June 7 - Floor Speakers
Week 1 is Done! Congrats on making it through the first week of this modeling challenge. On to week 2.
WEAPONS (June 8 - June 14)
For this week we'll focus on creating hand held weapons. Think melee weapons. These usually have a mixture of primitive and complex shapes. You may use sculpting during these models, and some may actually require it to achieve the look you want.
June 8 - Axe
June 9 - Combat Knife
June 10 - Spear
June 11 - Shuriken
June 12 - Spiked Bat
June 13 - Sickle
June 14 - Nunchucks
PROPS (June 15 - June 21)
This week will be focused on props you might commonly see in games or background scenes. These can be reused to add "filler" to an environment. These props mostly reside outside.
June 15 - Barrels
June 16 - Tires
June 17 - Filled Trash Bags
June 18 - Concrete Barrier
June 19 - Shipping Container
June 20 - Dumpster
June 21 - No Object
June 22 - No Object
Vegetation
This week will be focused on organic plants and objects you'd find out in nature. Think of these as natural props.
June 23 - Grass Clumps
June 24 - Rocks
June 25 - Flowers
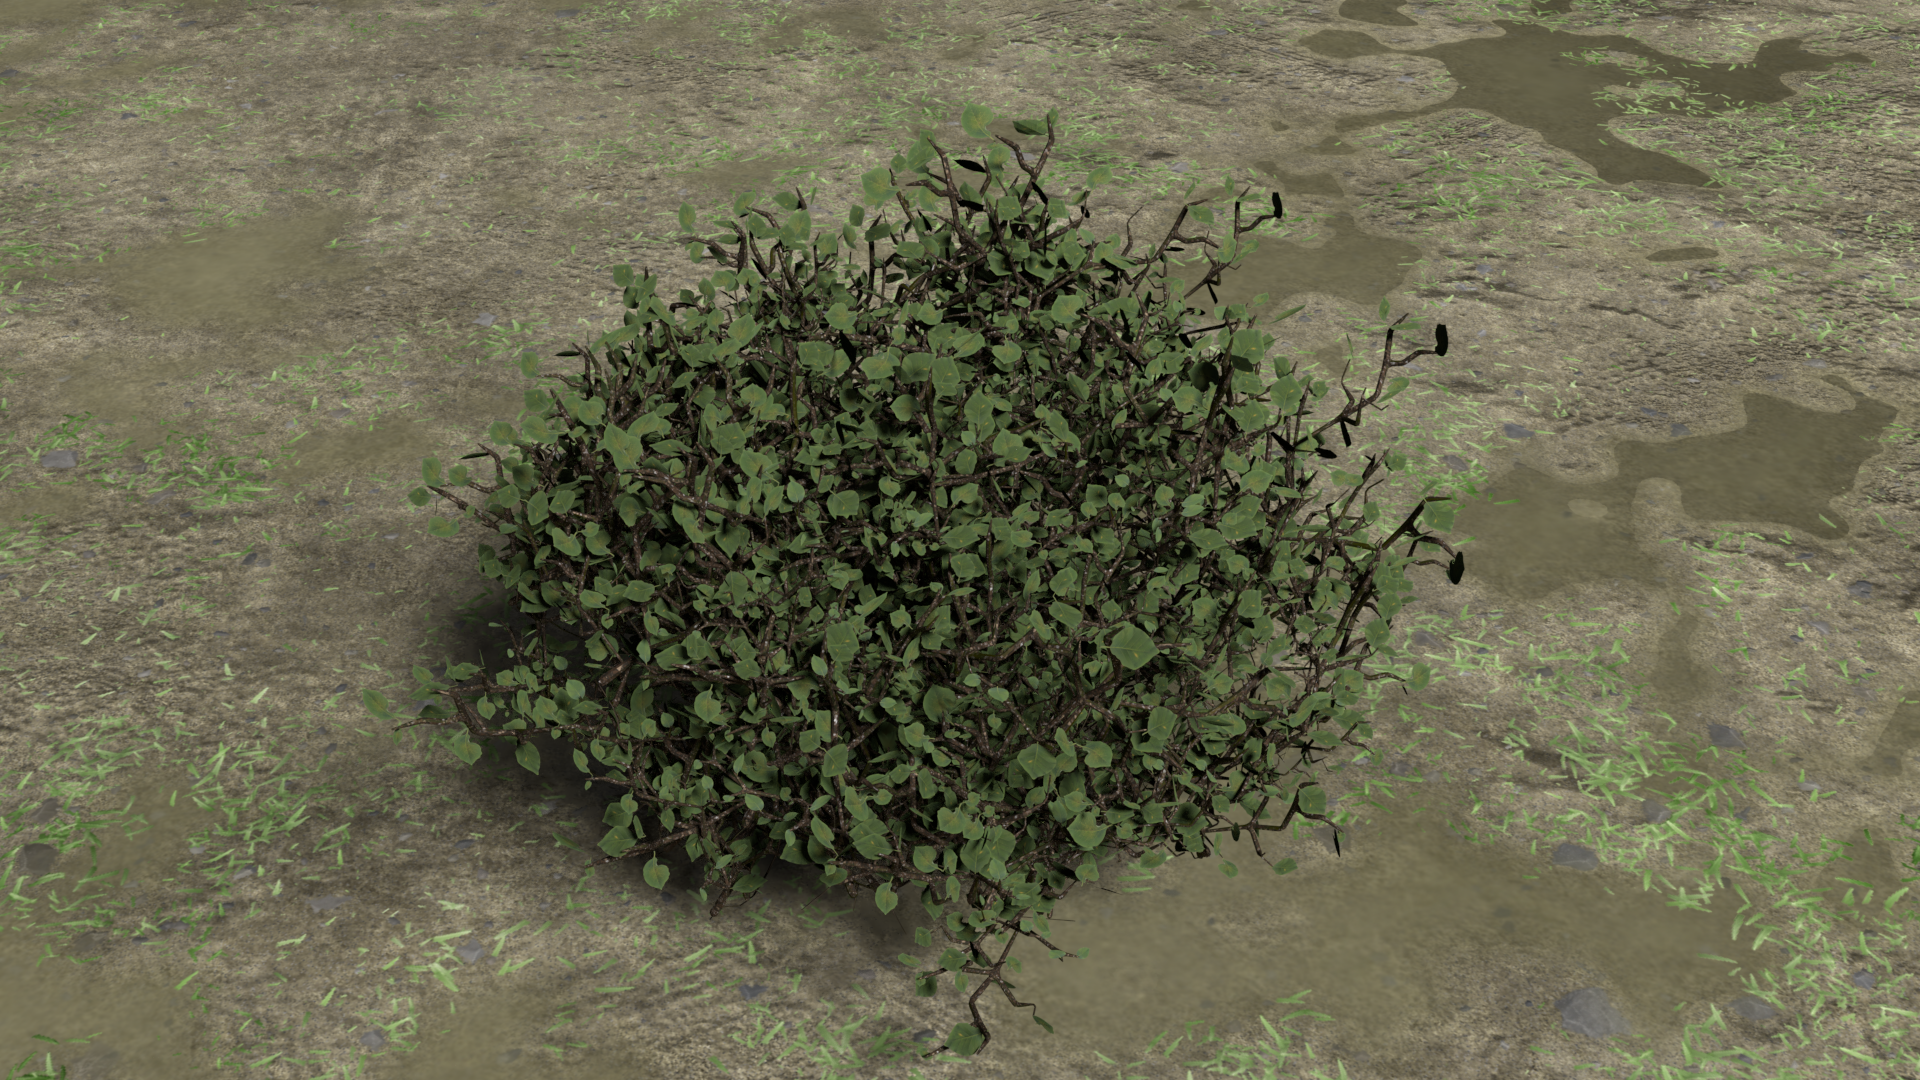
June 26 - Bushes
June 27 - Hollow Log
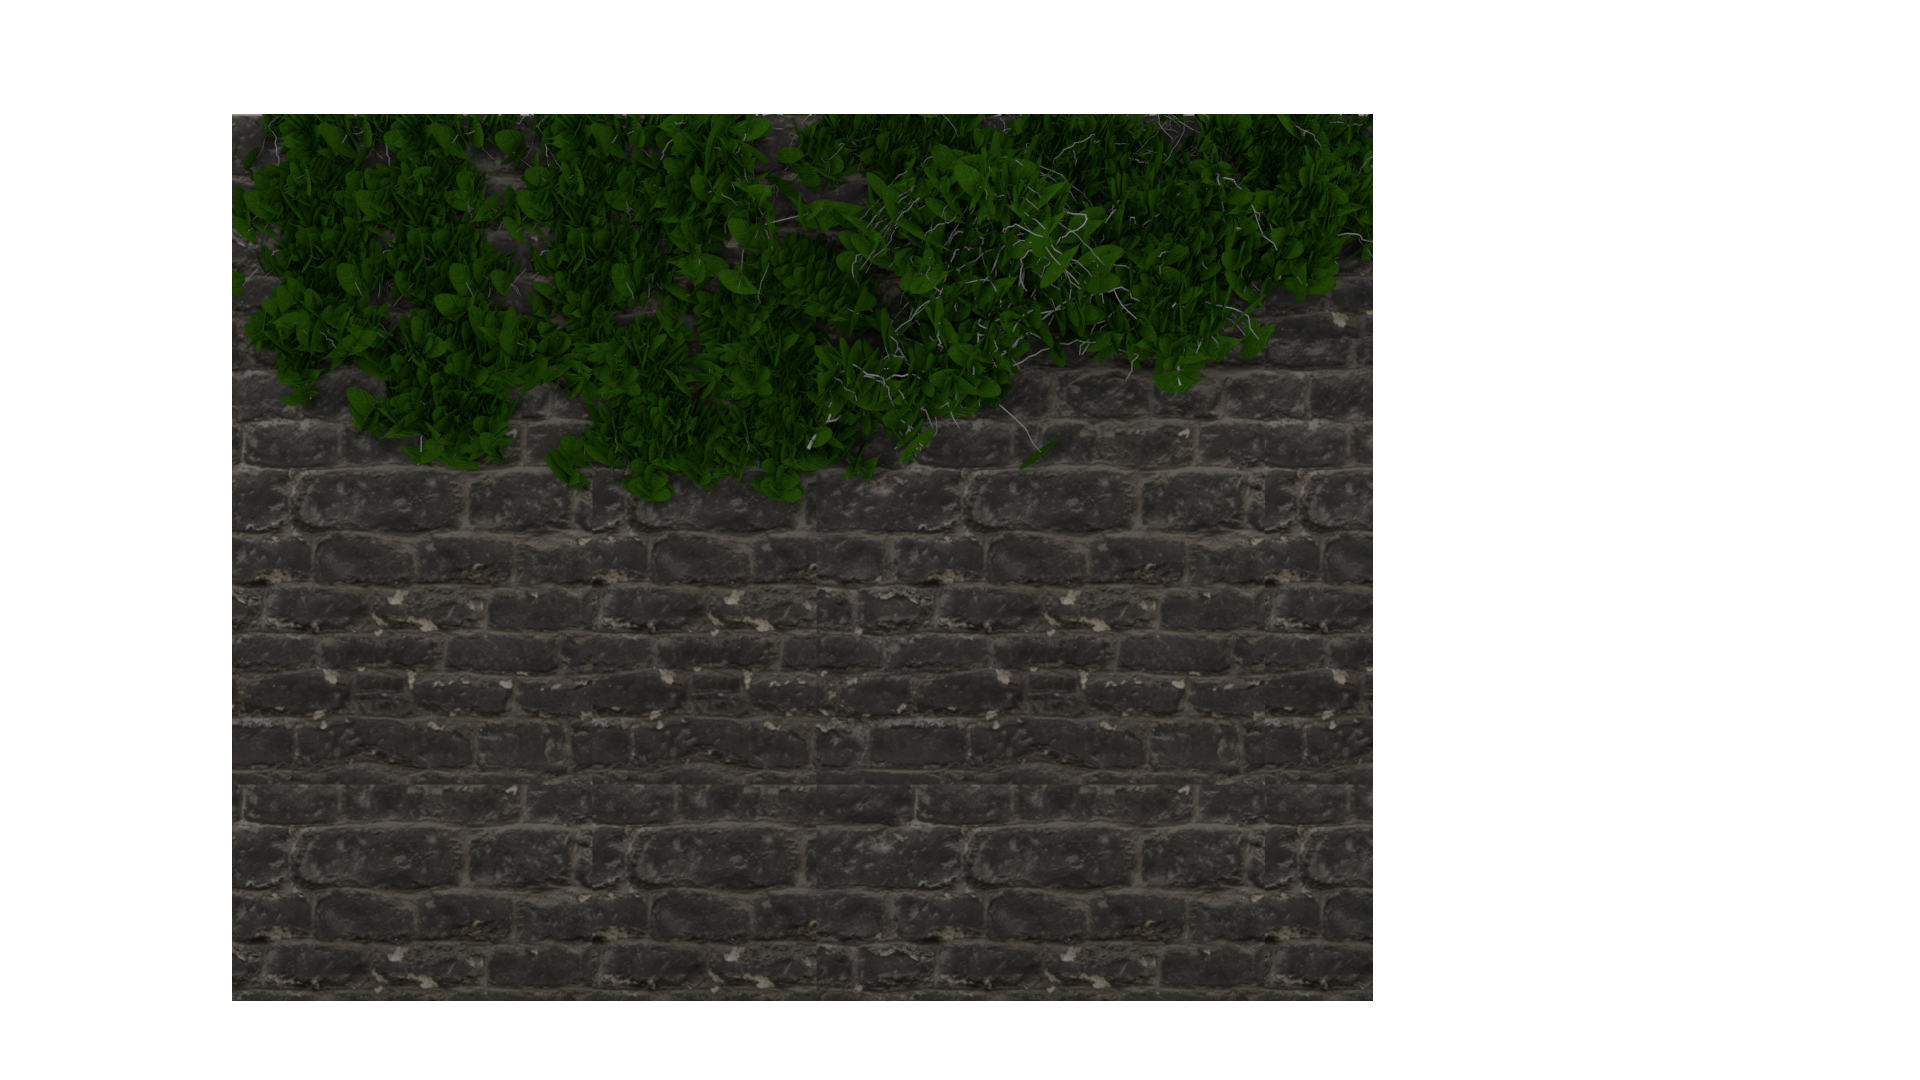
June 28 - Vines
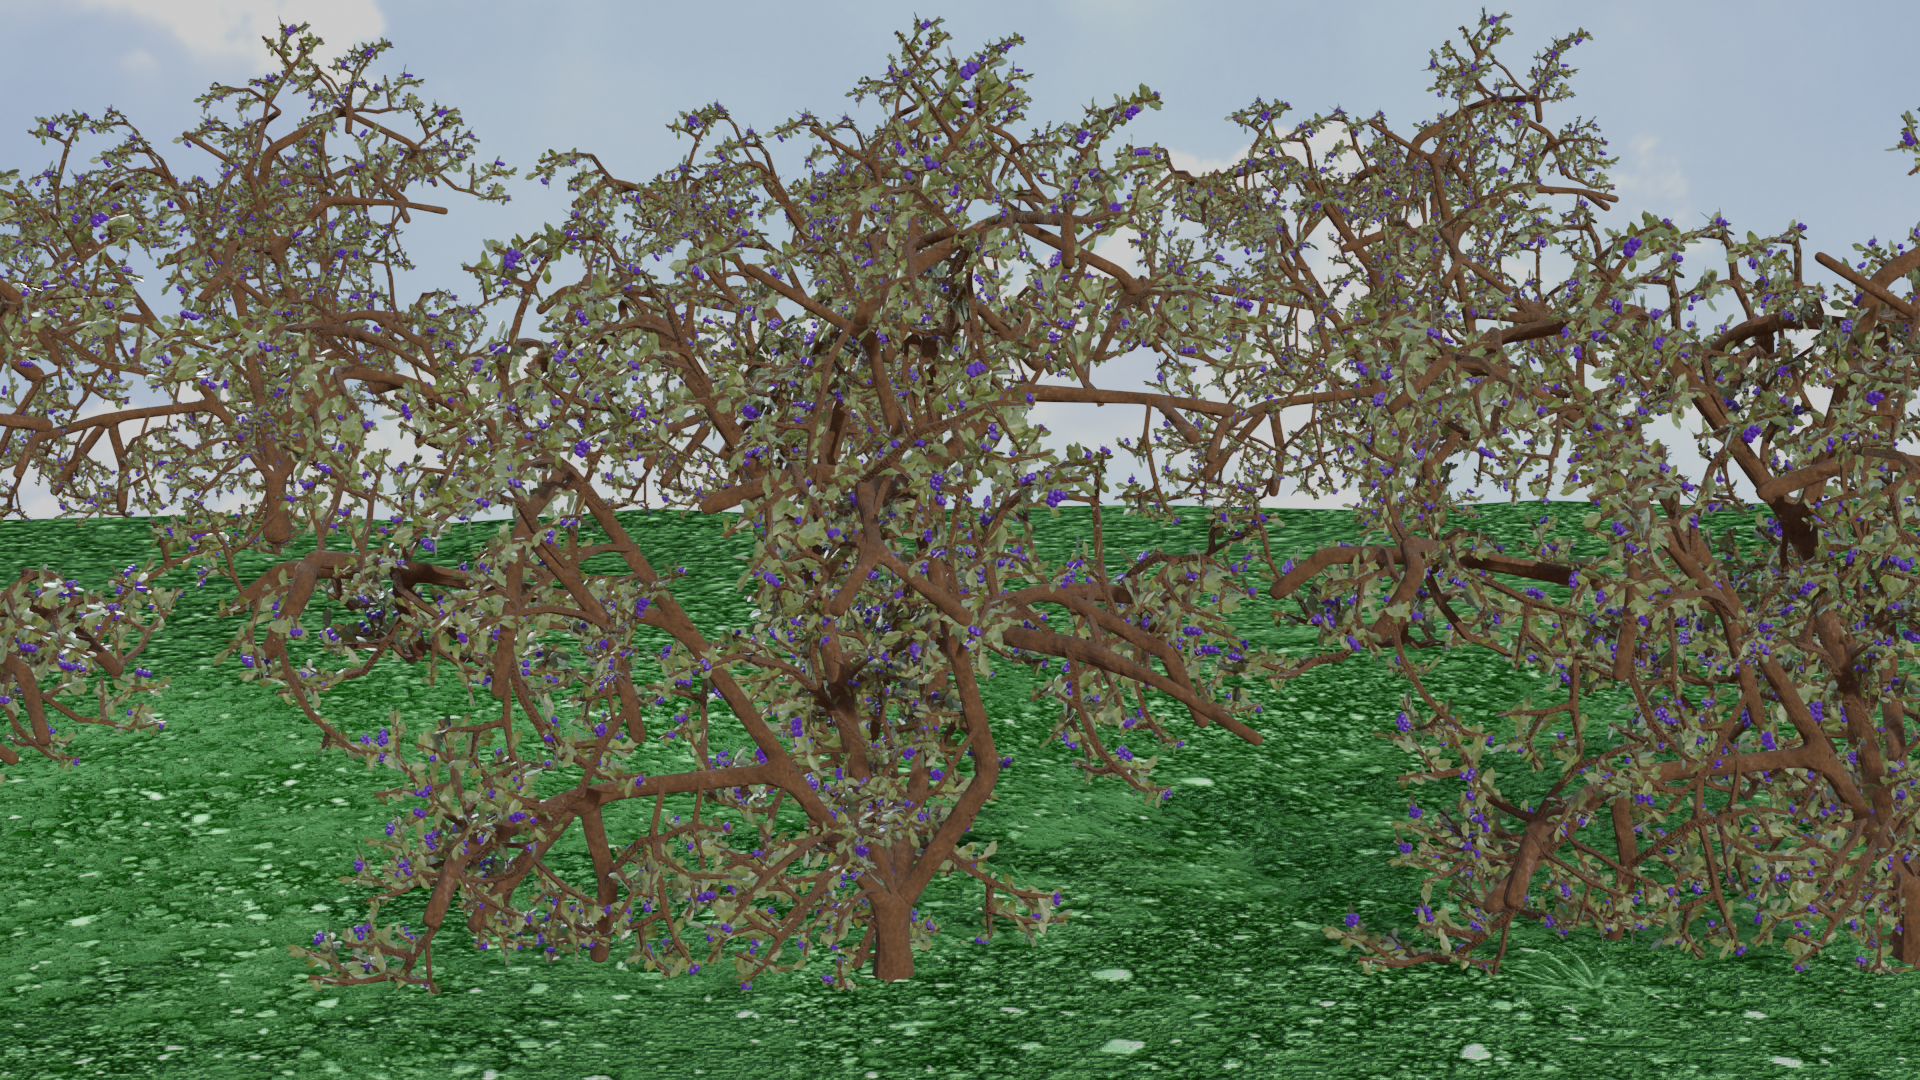
June 29 - Trees
CHALLENGE COMPLETED
This officially ends the challenge, technically it's 29 days but we have another challenge starting up on Monday so use Sunday as a way to gather reference photos and start your next modeling challenge with vehicles!
Thank you for everyone that participated in this challenge. Some objects were easy, others were challenging and I hope you learned some new tips and techniques. This challenge was about keeping a habit going and learning some new techniques and use different tools to create something you may not have otherwise. It was great seeing all the new renders on a daily basis. Good or bad, you've created something and that's what matters. See you all in the next challenge!
They are supposed to be blueberry bushes (not even I could tell that). I opted to try to use the skin modifier, never used it before. The branch tips should be more pointed, discovered how to do that too late. The leaves should be bigger and were a total waste of time to add any detail to, but the practice was much needed. I tried to have the leaves be hair particles on small branches and then the small branches be hair particles on the larger bush. My version of blender wouldn't display the two particles systems, only one hair system. Also there were several crashes of Blender on my lap top. Definitely would use the Sapling Tree Gen if I ever do bushes again. Truthfully it just looks like a mess.
ttanya53 Hi tanya, I think that was really brave to use the skin modifier for this!
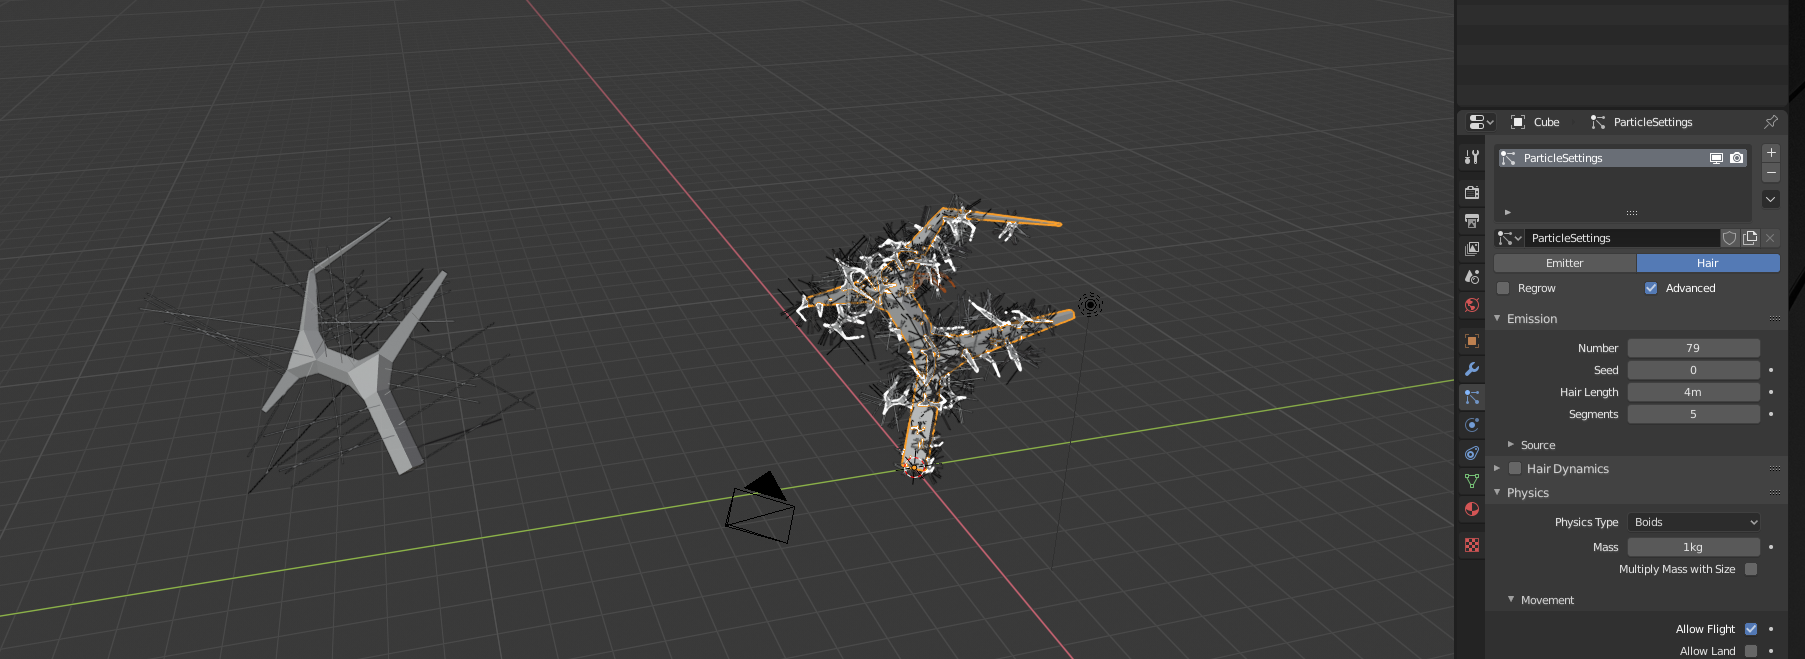
And as to what you tried, it should work, but as far as I know, you'll need to apply the Skin Modifier before you add the Particle Hair.
Then use a small branch as Object for rendering in the Particle Settings.
And put another Particle System (Hair, Render Object 'leaf') on the small branch.
You'd get something like this:
Probably not the best way for making a bush, but it might be useful in other situations, like making a tree from scratch...
I hope you find this helpful;)
![]() spikeyxxx Thanks for the advice. I had reached my frustration and time limit. One of the frustrating things of doing this challenge for me has been learning new things and then trying to use those techniques to produce something. Usually I end up finding out things as I go along and there isn't time to start over or fix what I have, so it has been both challenging and fun, though this nature stuff is turning into a nightmare. Again thanks for the help, your stuff looks great!
spikeyxxx Thanks for the advice. I had reached my frustration and time limit. One of the frustrating things of doing this challenge for me has been learning new things and then trying to use those techniques to produce something. Usually I end up finding out things as I go along and there isn't time to start over or fix what I have, so it has been both challenging and fun, though this nature stuff is turning into a nightmare. Again thanks for the help, your stuff looks great!
Had some fun with this one, turned out quite well and it was fairly easy to create.
I used this Space Tree addon in 2.79 to create the base of the bush branches, then I created a smaller branch piece with some leaves I manually placed. The leaves were basic planes with a cutout texture of a leaf. I then used that branch with a particle system emitting from the vertices of the main bush.
I spent an hour playing around with the Sapling Generator. Still haven't been able to get the trunk split all the way to the ground. Not sure if that maybe a 2.8 thing.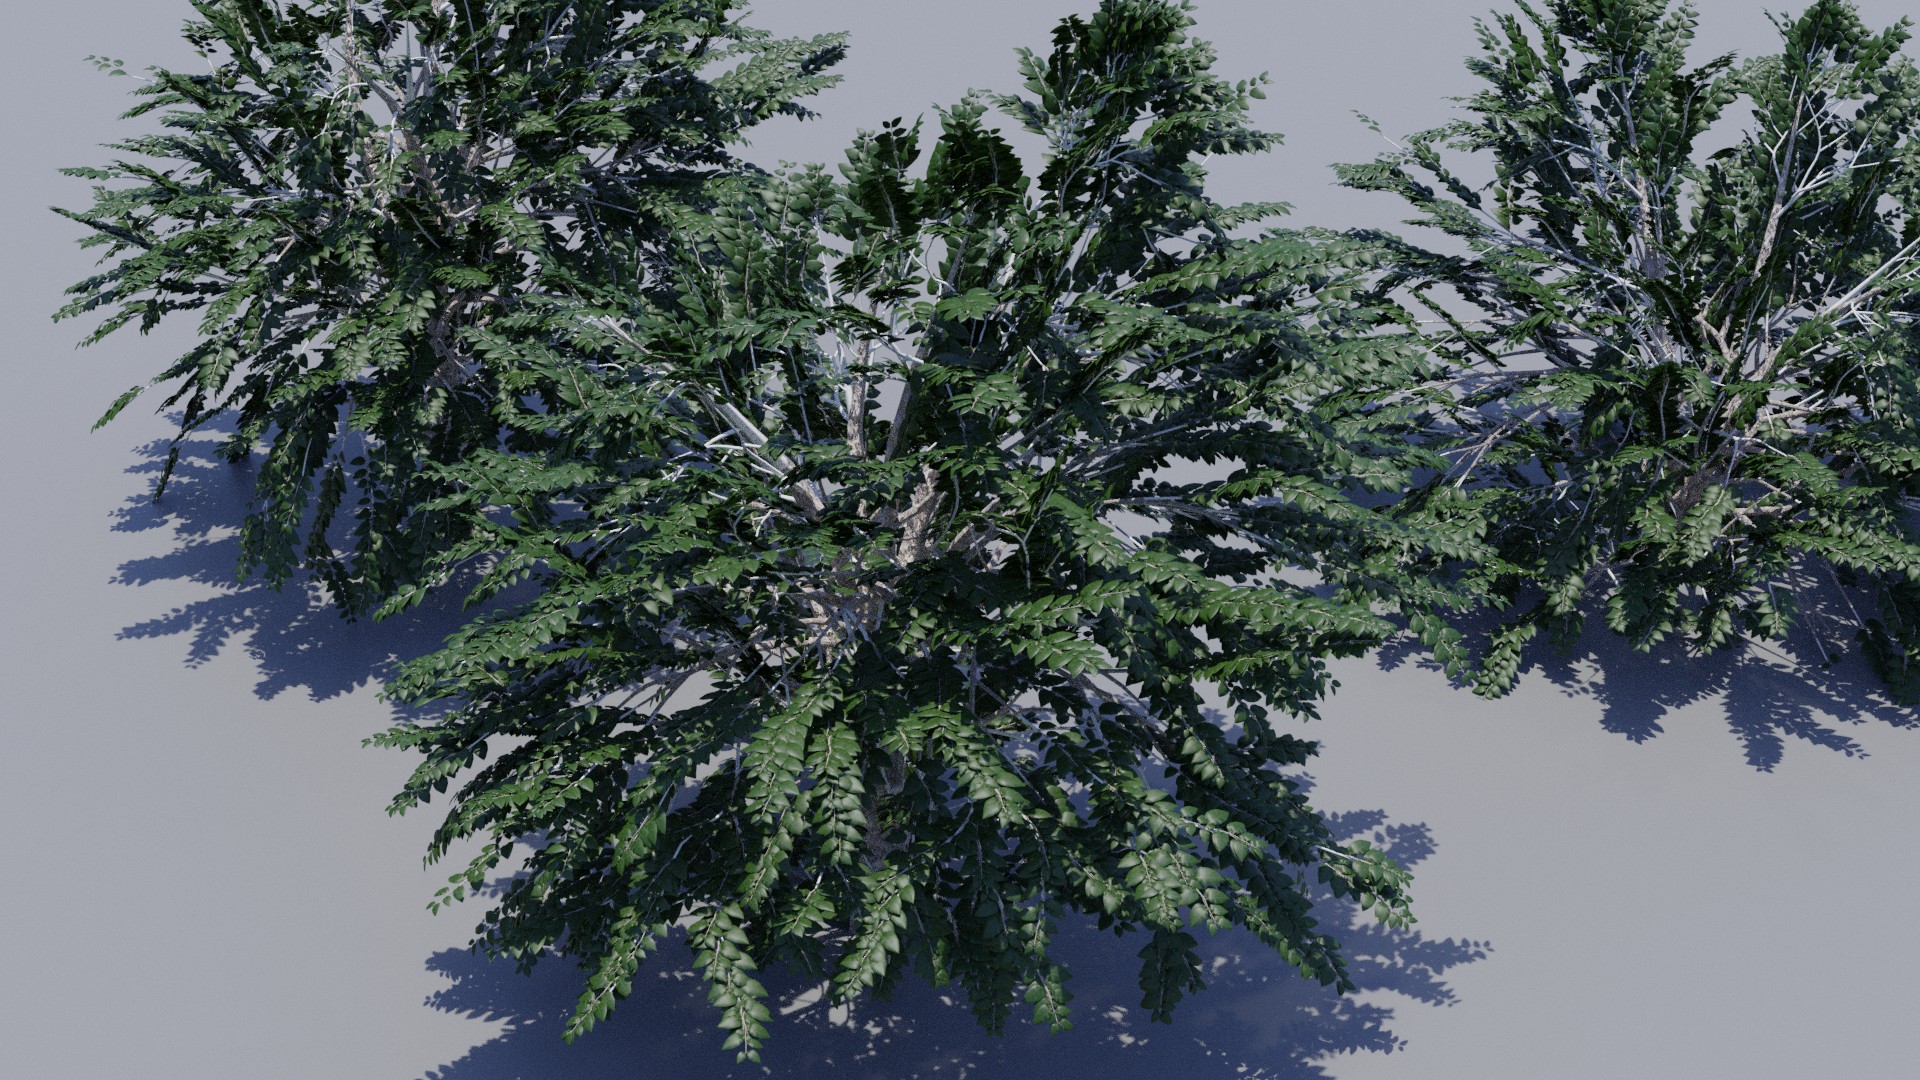
First I made the cylinder thingy on the left. Then made few adjustments on it and finally some sculpting to get the root shapes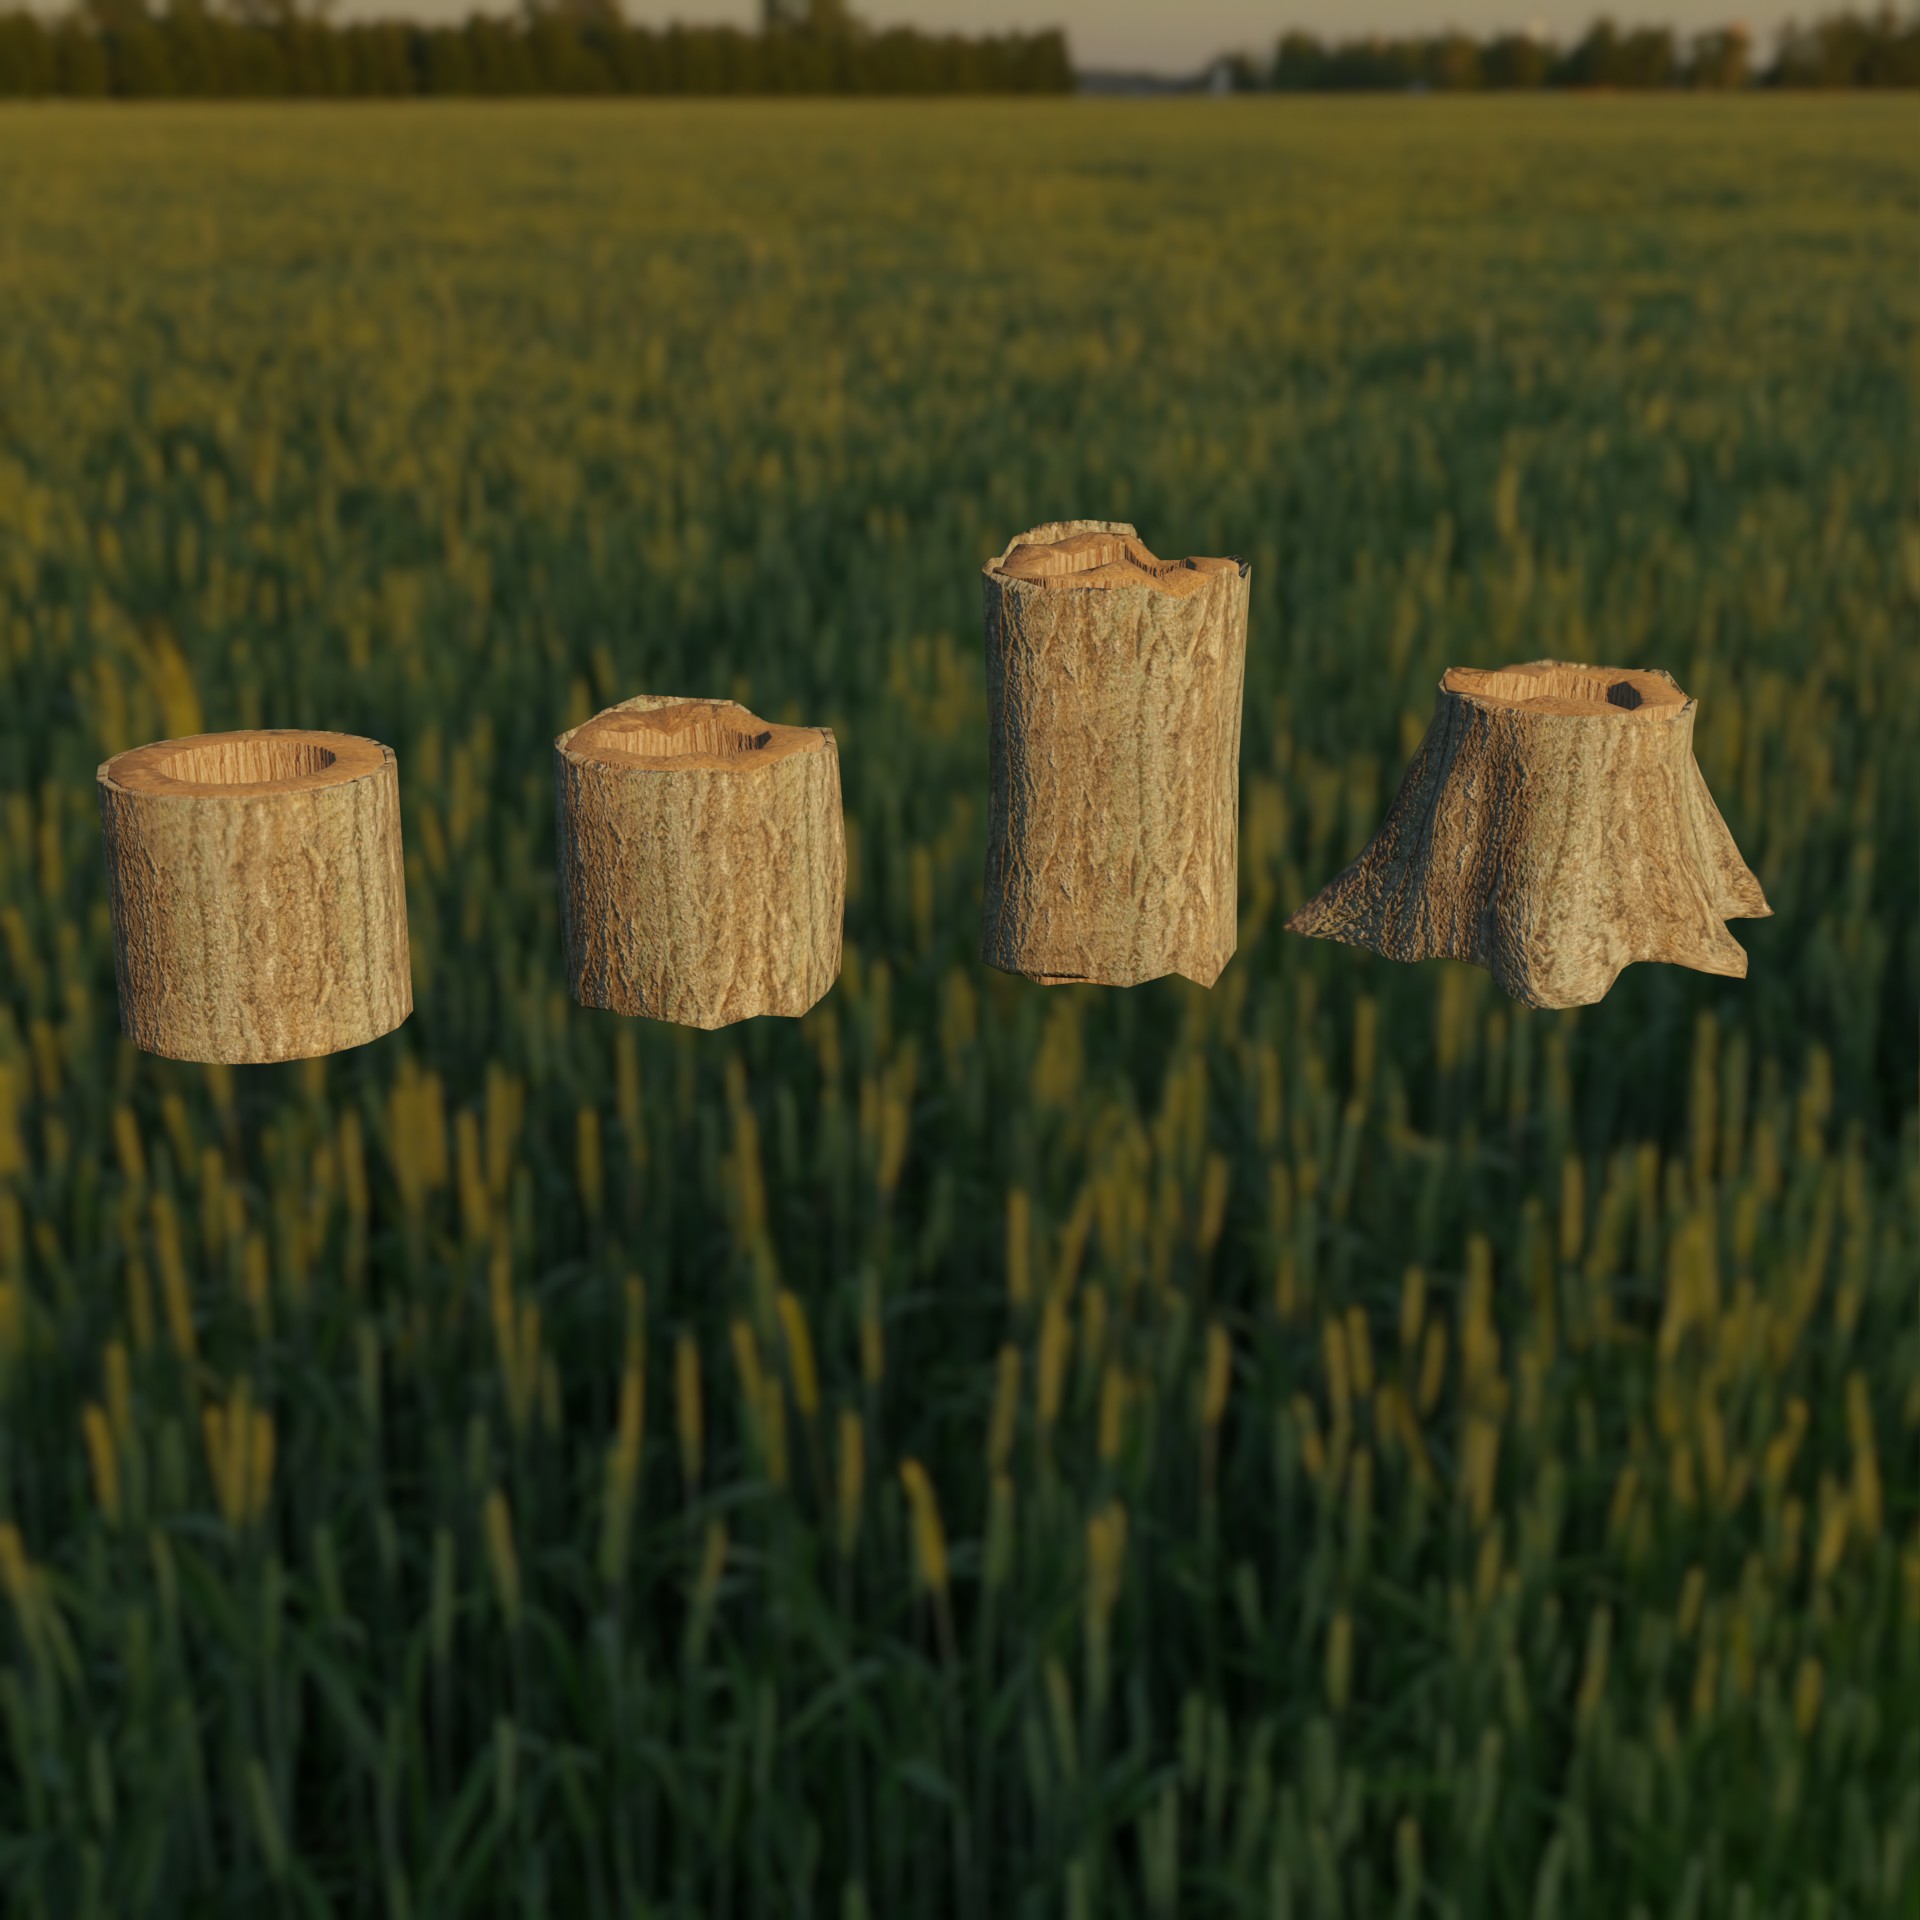
Sculpting went a lot better than expected; gulped some coffee, took out my tablet, tablet wasn't working, back to mouse sculpting then...
Texturing was a nightmare;)! ( I should have re-topologized, but I was too lazy, so I had to suffer!)
Still, the result is acceptable, I think: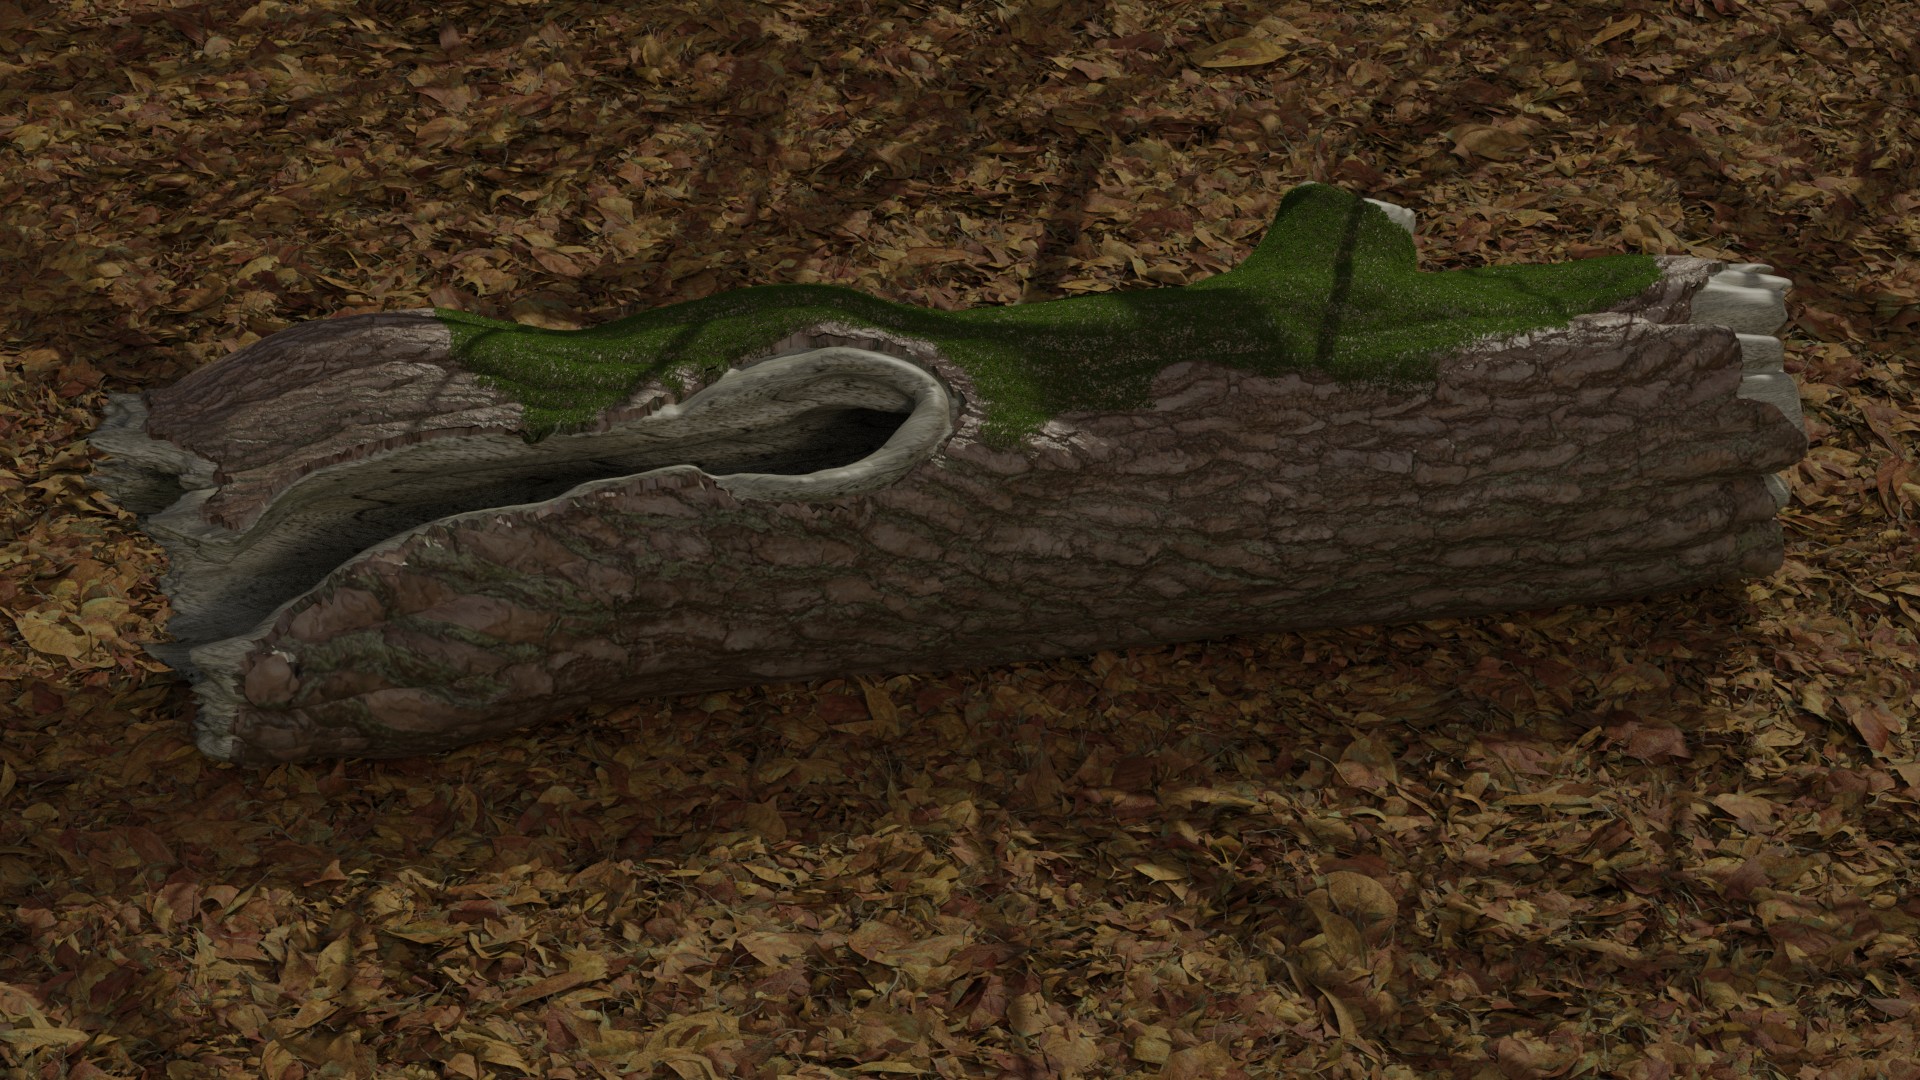
Looks like I am continuing my assault on Mother Nature, glad this wasn't week 1. Tried sculpting for the first time, learned a lot in a short amount of time.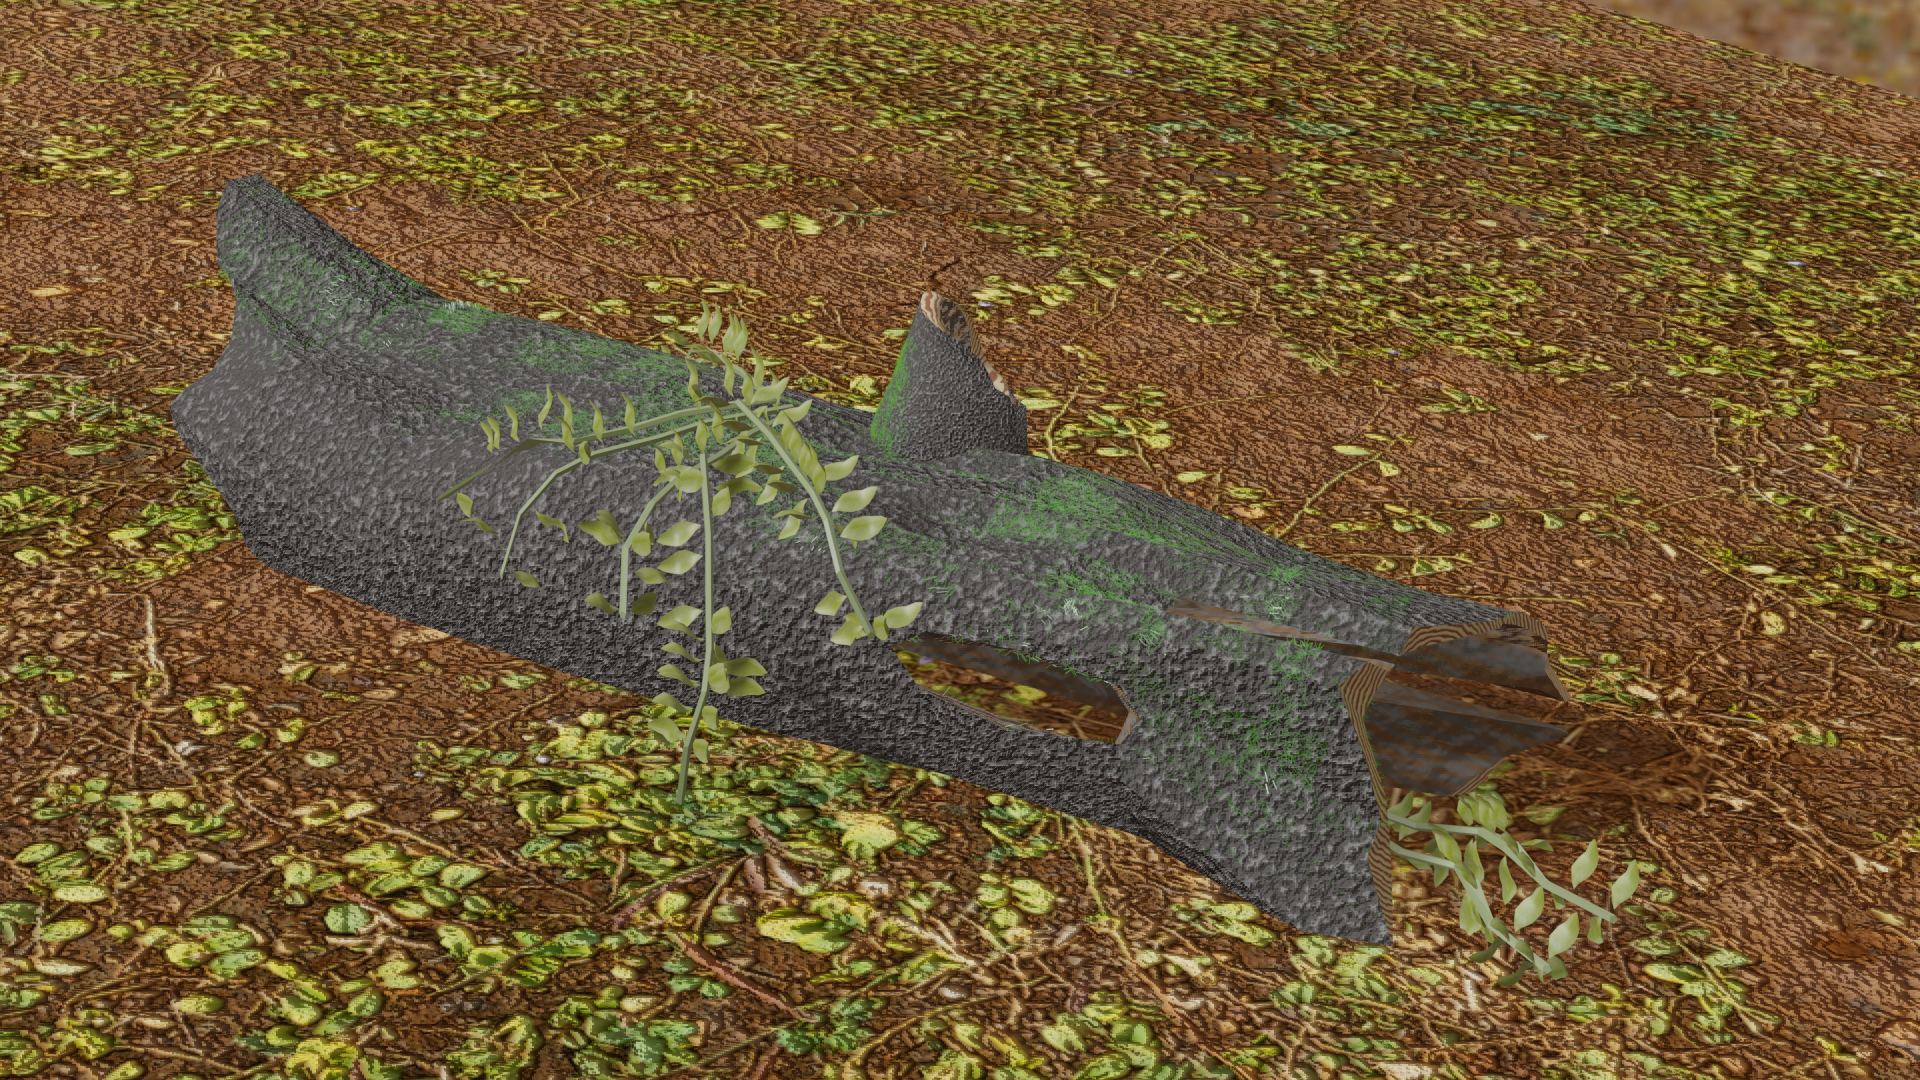
Well, this week's challenge is really kicking my behind!!! The leaves have given me a terrible time,feeling really drained. So here's my bush (incomplete)... I just decided to call it a thorny bush even if realistically speaking a thorny bush has a couple of leaves on it. I'm sorry for posting it so late guys. None of the "tree" add-ons worked for me... eh, I modelled using vertices, applied a skin modifier and then added a sub-surf. To get the sharp needle stuff, I had proportional editing on and then CTRL+A.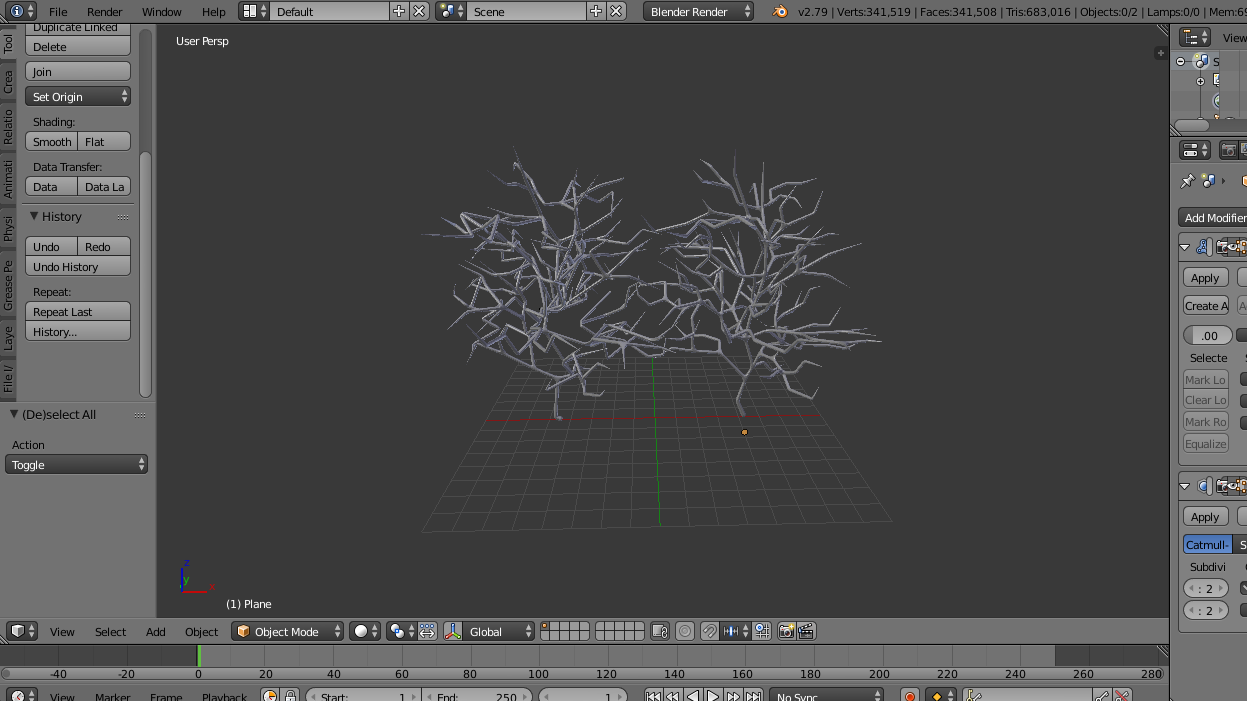
So I think I made myself a whole lot of extra work by trying to use texture displacement with the Solidify modifier. The displacement moved the mesh away from the rims, so I multiplied the displacement by the pointiness node to try and limit the movement at the edges. Anyways I am out of time and had fun experimenting.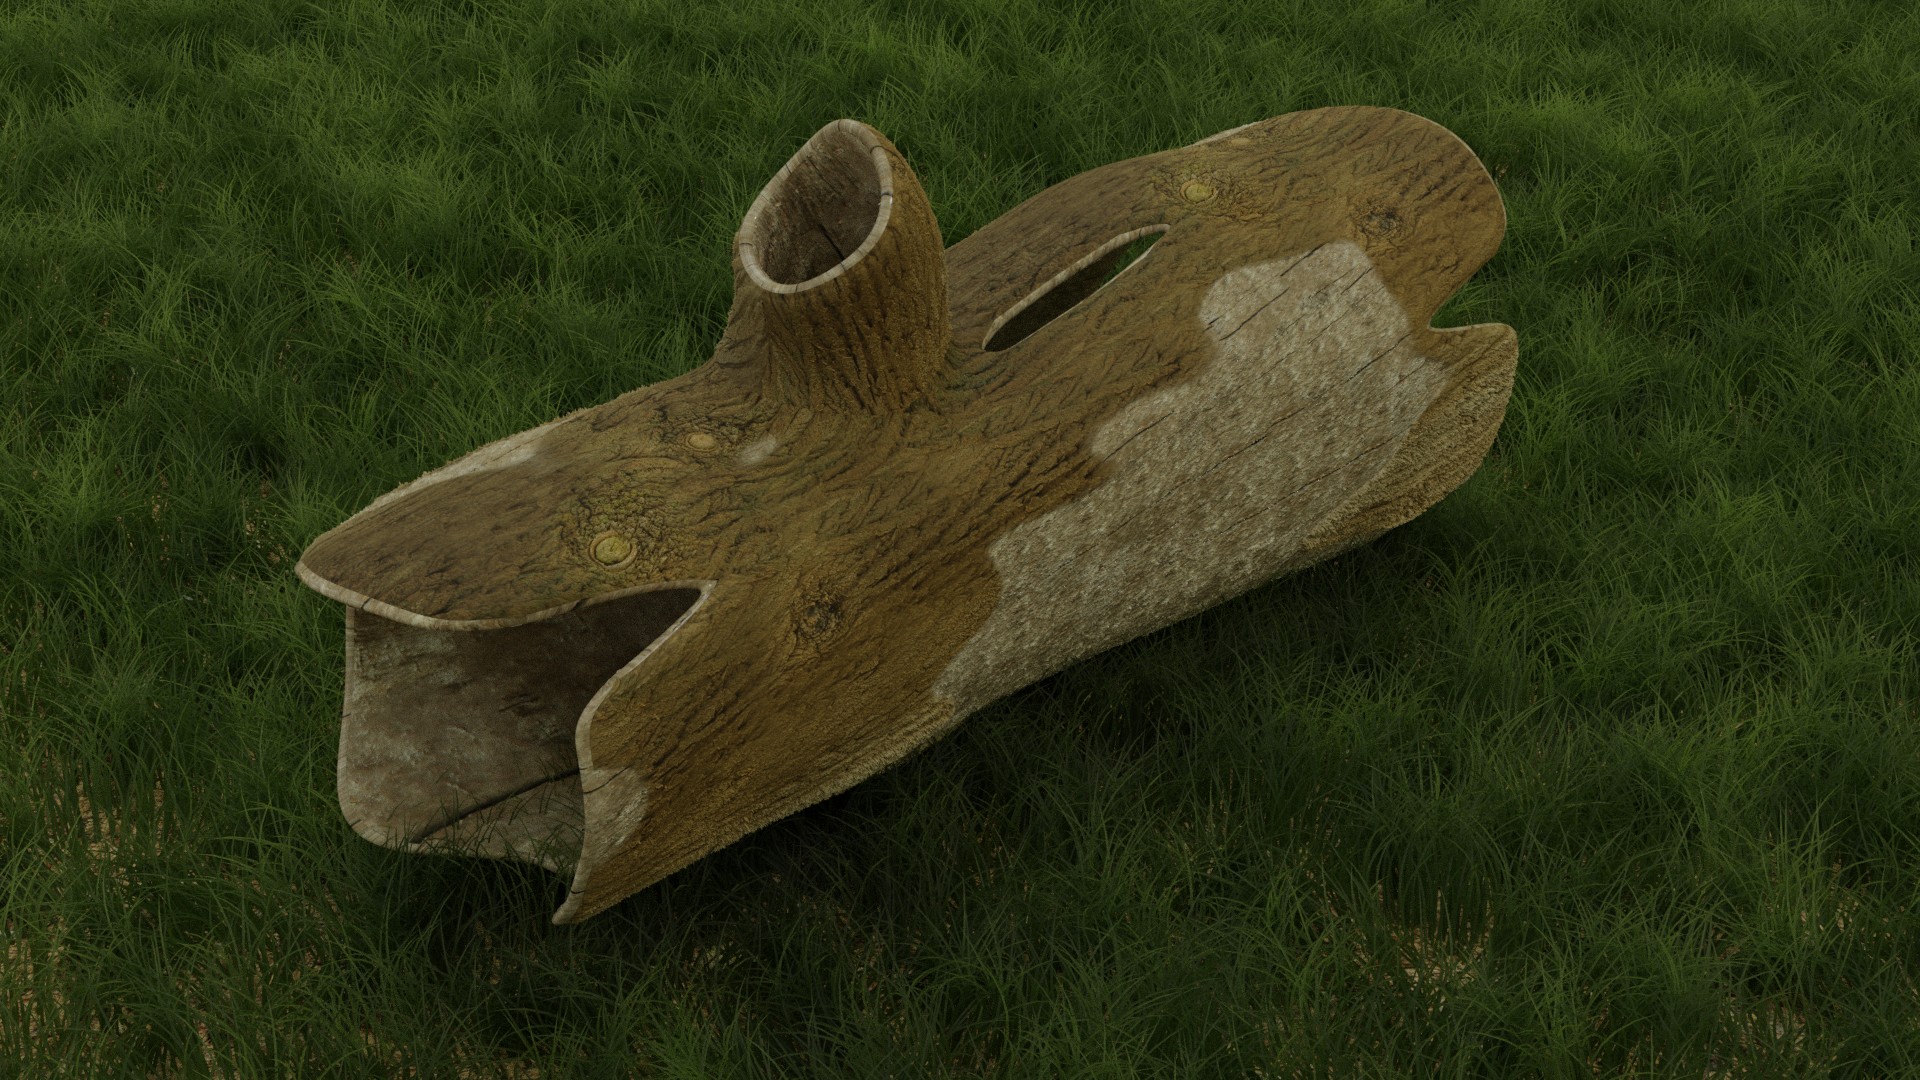
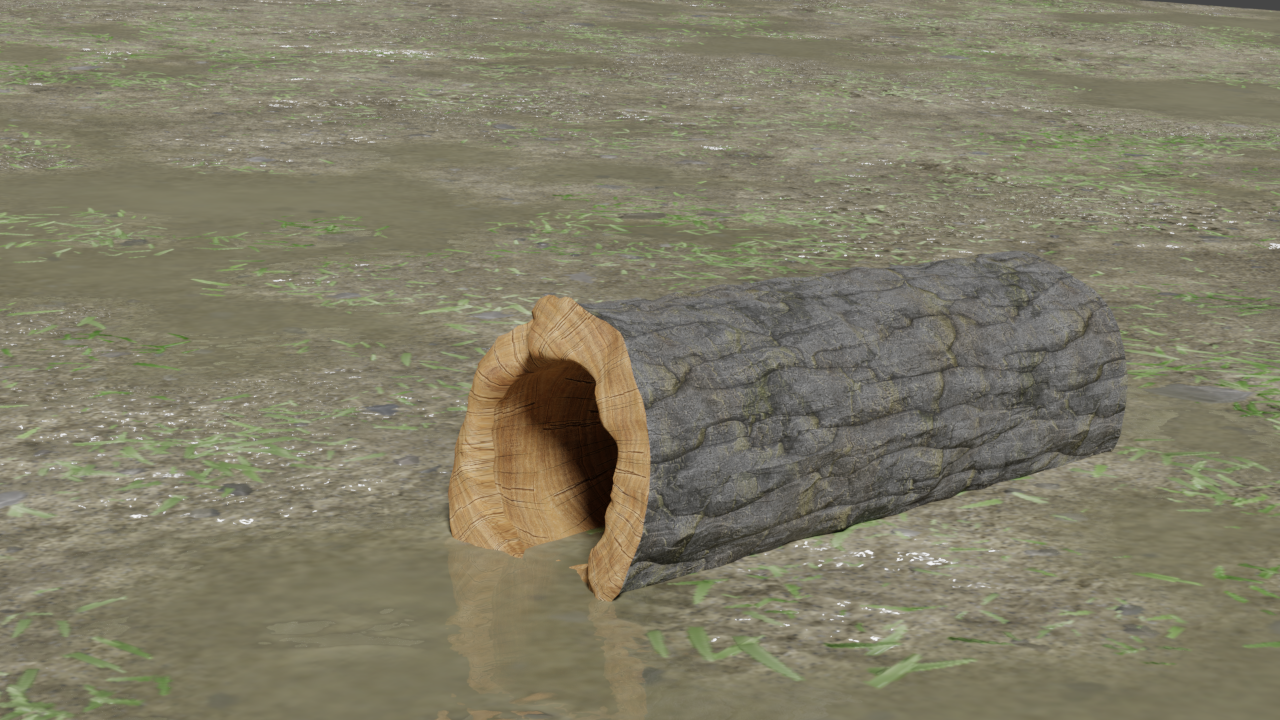
I gave texturing a try... I like it apart from the nasty ring thingy going on, I have tried to fix it but no luck. Any idea guys on how to do that? 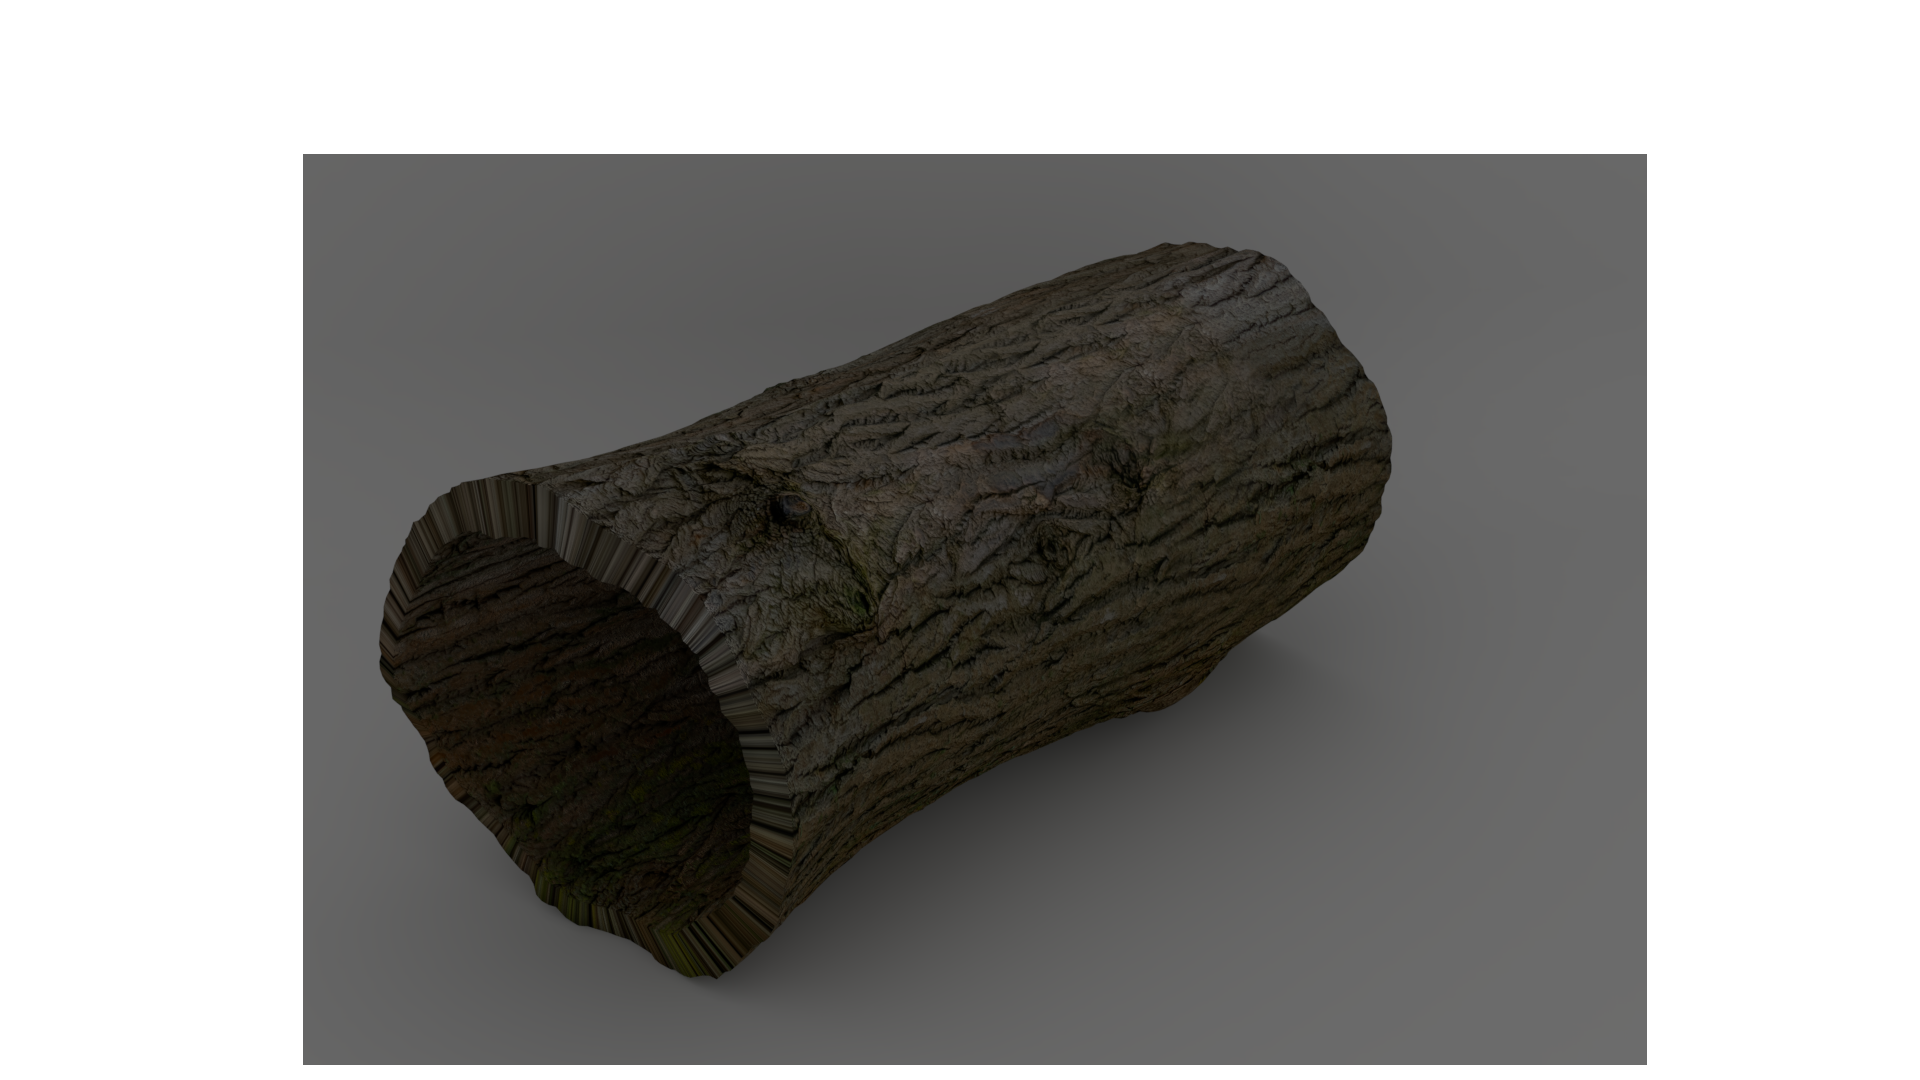
cciku-karugi It appears that way because the texture is stretched out. I added seams on the edges of the trunk and added a different material to the rim. If you only have one material I would add some loop cuts around there as well but the marking of the seam will relieve the stretching.
Here is my lackluster log:
Organic models are definitely something I struggle with that's why I think the nature topic was a good one. I've noticed I use a lot more vertex groups more often with these models which is great. Learned a few tips. I added a displacement modifier to the outer bark and inner/rim portions of the wood using two different groups to control the displacement applied to each instead of uniformly. This was added to create more bumps and distortion in the wood.
I've also come to realize why I have trouble selecting UV islands when pressing "L" on the mesh. From time to time it wouldn't work and it would drive me crazy as I couldn't figure out why. Today I finally figured out that you need to have "faces" selected in edit mode, if you have edge or vertex selection enabled it won't work. An obvious thing looking back, but never connected it.
![]() jgonzalez Thanks Jonathan, I'll try that...
jgonzalez Thanks Jonathan, I'll try that...
P.S: Come to think of it, the inner part of the log does not look realistic. The course texture on the outer part should not be the same texture found on the inner part.
Here's my contribution for today:

Had a lot of fun modelling the trellis (had to look up that word...), partially using Curves.
For the vines I tried using the Ivy Generator, but couldn't get the control I wanted, so I hand-modelled it and used the Skin Modifier.
Had to apply the Skin Modifier to be able to make a Vertex Group for the leaves. It's all very basic really, but I am kinda happy with the result;)
This is my vine attempt. I went with the skin modifier for the vine and particle system for the leaves. Was supposed to be a clematis vine.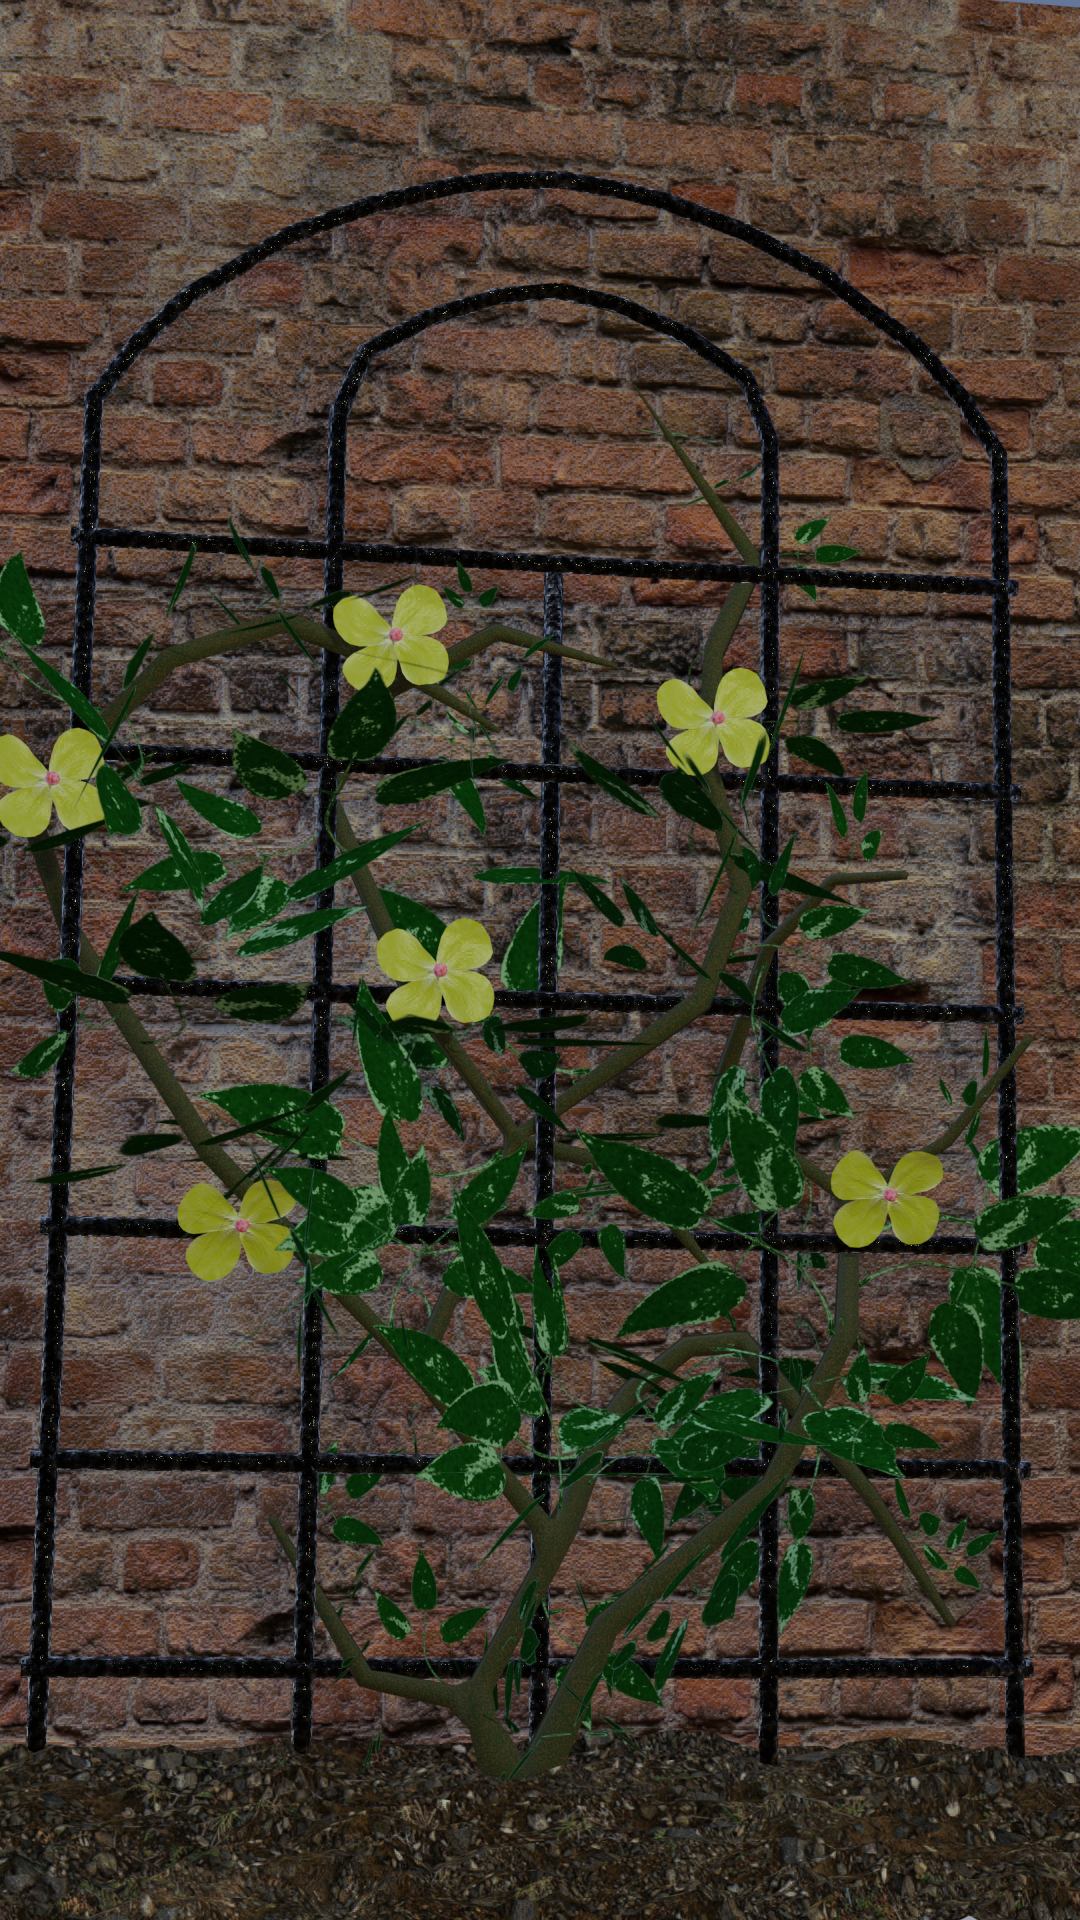
I got myself reacquainted with the Ivy Generator again. It can be an infuriating add on if you don't remember the tricks to get it to behave. Namely, set the subsurf to 1 at the most. and turn off any small displacement modifiers. 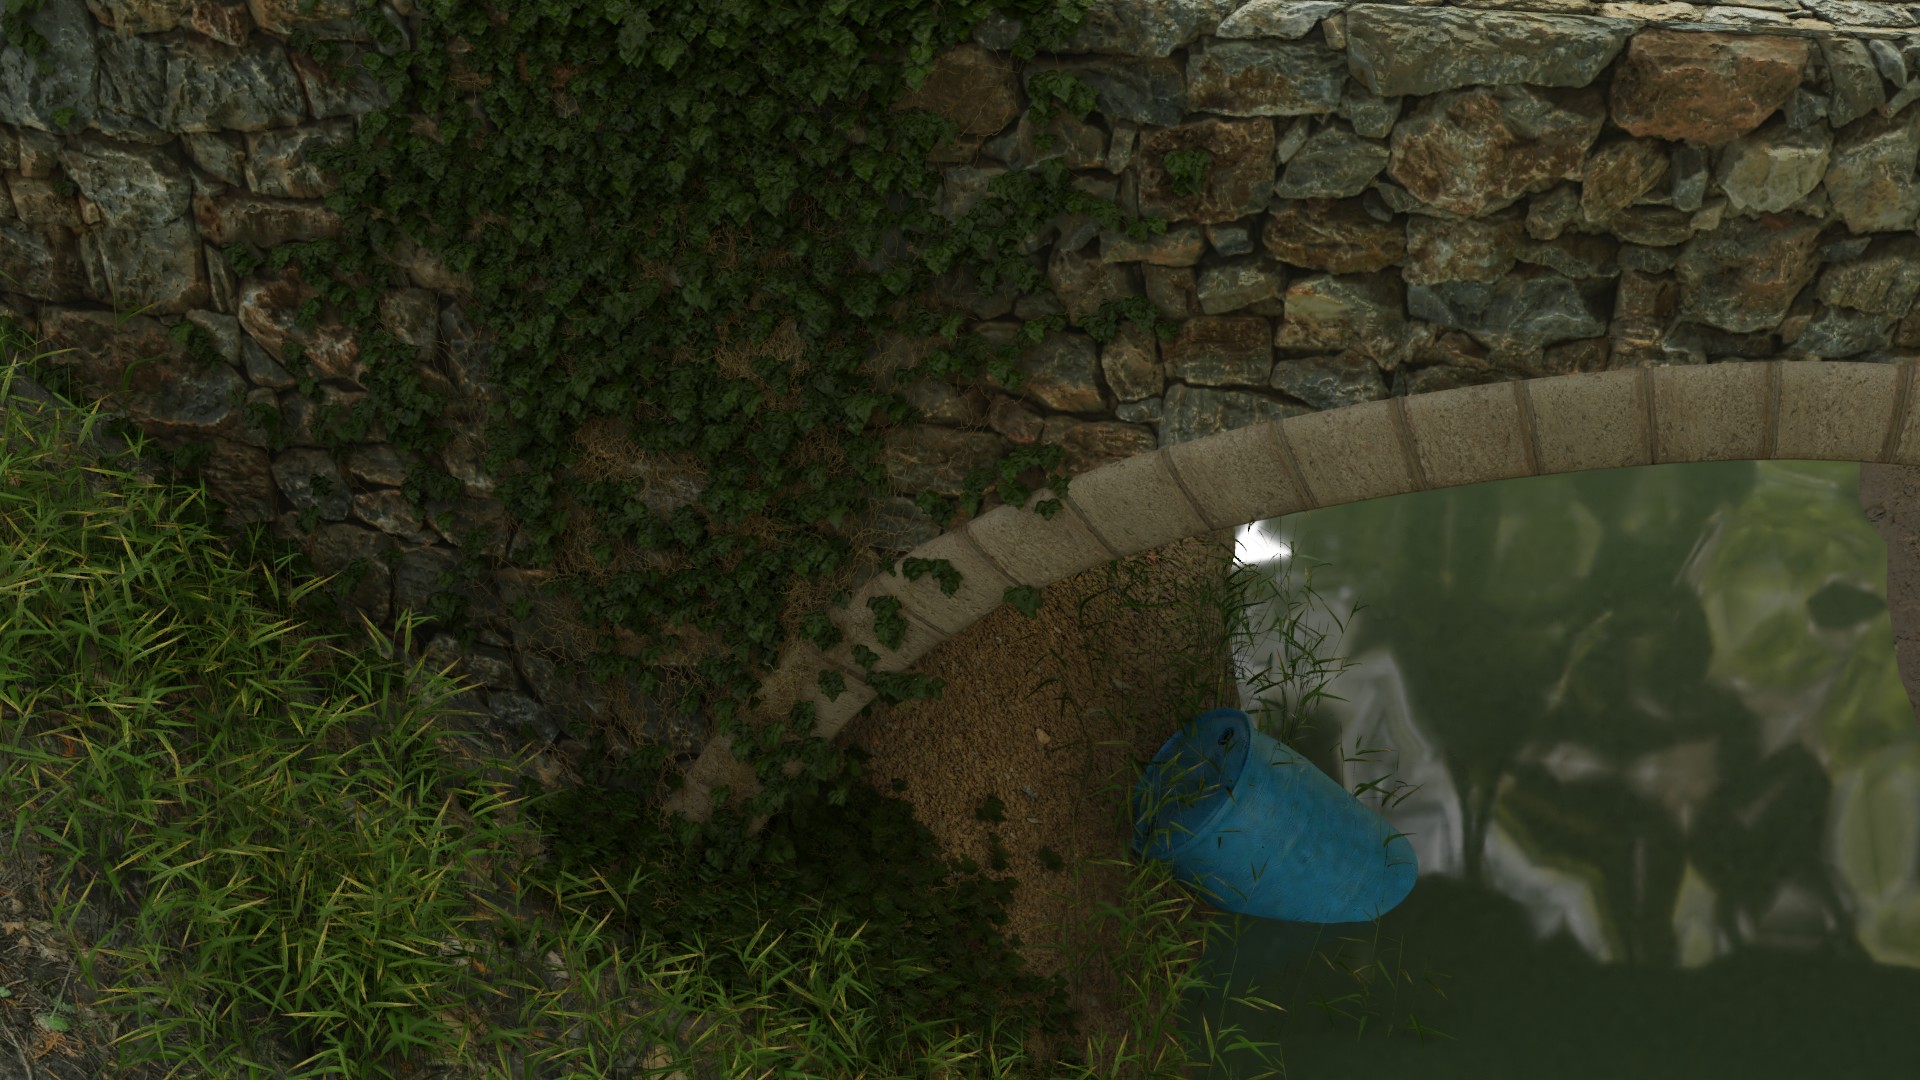
Ok I ended up following this tutorial: https://cgcookie.com/lesson/generating-ivy. I started off by first creating them by hand but it was too low poly and didn't really look that great. So I ended up just using the Ivy Generation addon and figured I'd follow the content we already had on the site to create a scene.
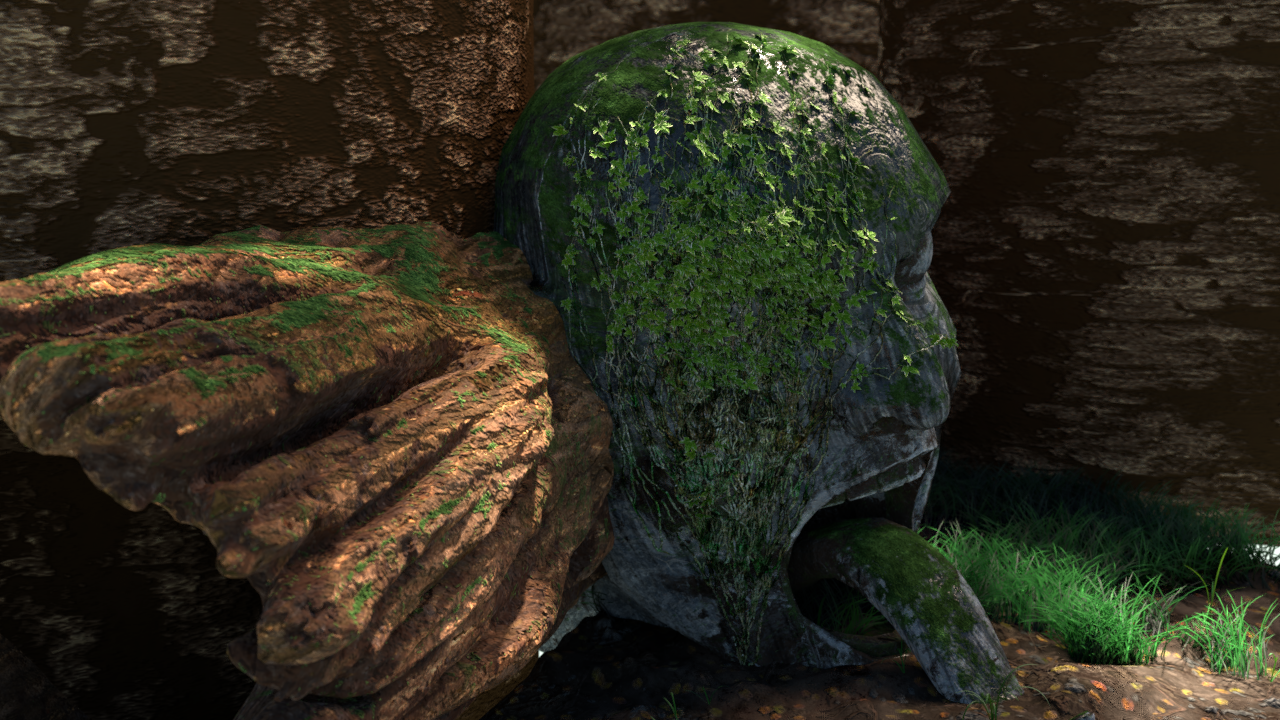
Note I only generated the ivy on the statue, I just kept the rest in from the project files from the Creating Plants course here on CGCookie.
The ivy generator has given me such a hard time plus the particle system (after a couple of hours getting frustrated by the particle system, I realised that I had not enabled object under render *rolls eyes*)!!! I was ready to call it quits. The result doesn't look all that great, it could sure use some improvements.