Becoming great at anything requires constant practice and that is especially true with 3d modeling. If you're here it's probably because you want to become a better digital artist. I myself want to improve my 3d modeling and texturing skills and that means I need to model a ton in order to become better.
Building a consistent habit is the path to becoming great and with that I wanted to provide a challenge to anyone else here who wants to join me. The challenge will be to model one new 3d model daily for 30 days.
The goal of this is not to create amazingly realistic models, but to get you practicing your modeling skills daily. You are not competing with anyone here but yourself.
Each day this post will be updated with the object to model based on that week. Below are the rules and guidelines to make this more interesting:
Themes
To make this more interesting, every week will focus on one theme. Each theme will represent a set of 7 objects that are relatively easy to model, but each have unique elements to them to challenge you in different ways.
The themes for the next 4 weeks include: Home, Weapons, Props, Nature
Rules
Submissions
Post a rendered image of your completed model. While texturing won't be required, it is highly encouraged.
HOME (June 1 - June 7)
For this week we'll focus on objects found around the home. Typically these objects are relatively easy to model and reference. You are free to get as creative as you want with these as long as you modeling what is requested for that day.
June 1 - Sofa
June 2 - Lamp
June 3 - Book Shelf
June 4 - Coffee Table
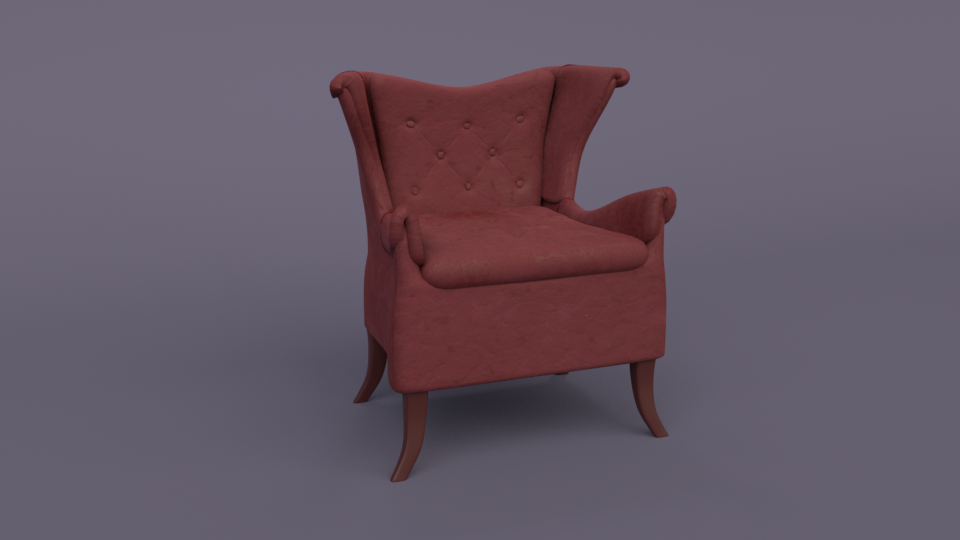
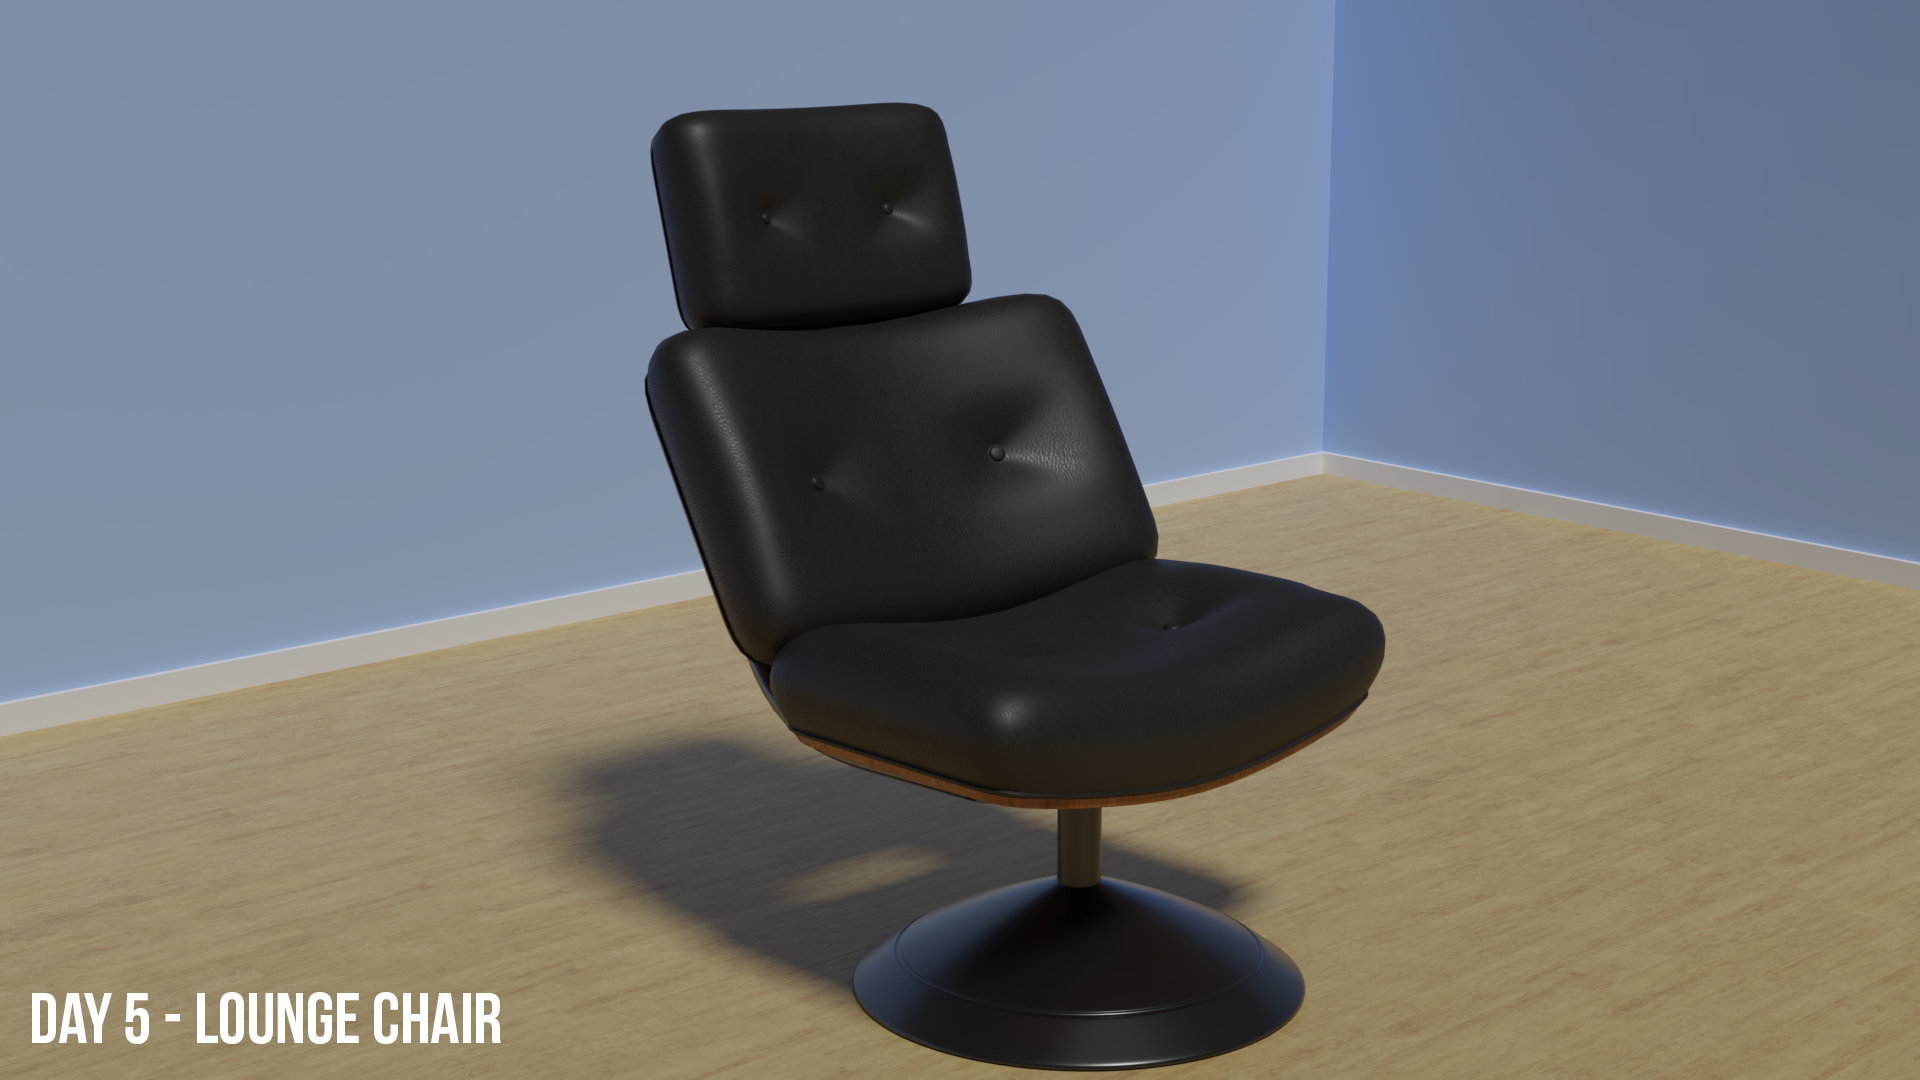
June 5 - Lounge Chair
June 6 - Shag Rug
June 7 - Floor Speakers
Week 1 is Done! Congrats on making it through the first week of this modeling challenge. On to week 2.
WEAPONS (June 8 - June 14)
For this week we'll focus on creating hand held weapons. Think melee weapons. These usually have a mixture of primitive and complex shapes. You may use sculpting during these models, and some may actually require it to achieve the look you want.
June 8 - Axe
June 9 - Combat Knife
June 10 - Spear
June 11 - Shuriken
June 12 - Spiked Bat
June 13 - Sickle
June 14 - Nunchucks
PROPS (June 15 - June 21)
This week will be focused on props you might commonly see in games or background scenes. These can be reused to add "filler" to an environment. These props mostly reside outside.
June 15 - Barrels
June 16 - Tires
June 17 - Filled Trash Bags
June 18 - Concrete Barrier
June 19 - Shipping Container
June 20 - Dumpster
June 21 - No Object
June 22 - No Object
Vegetation
This week will be focused on organic plants and objects you'd find out in nature. Think of these as natural props.
June 23 - Grass Clumps
June 24 - Rocks
June 25 - Flowers
June 26 - Bushes
June 27 - Hollow Log
June 28 - Vines
June 29 - Trees
CHALLENGE COMPLETED
This officially ends the challenge, technically it's 29 days but we have another challenge starting up on Monday so use Sunday as a way to gather reference photos and start your next modeling challenge with vehicles!
Thank you for everyone that participated in this challenge. Some objects were easy, others were challenging and I hope you learned some new tips and techniques. This challenge was about keeping a habit going and learning some new techniques and use different tools to create something you may not have otherwise. It was great seeing all the new renders on a daily basis. Good or bad, you've created something and that's what matters. See you all in the next challenge!
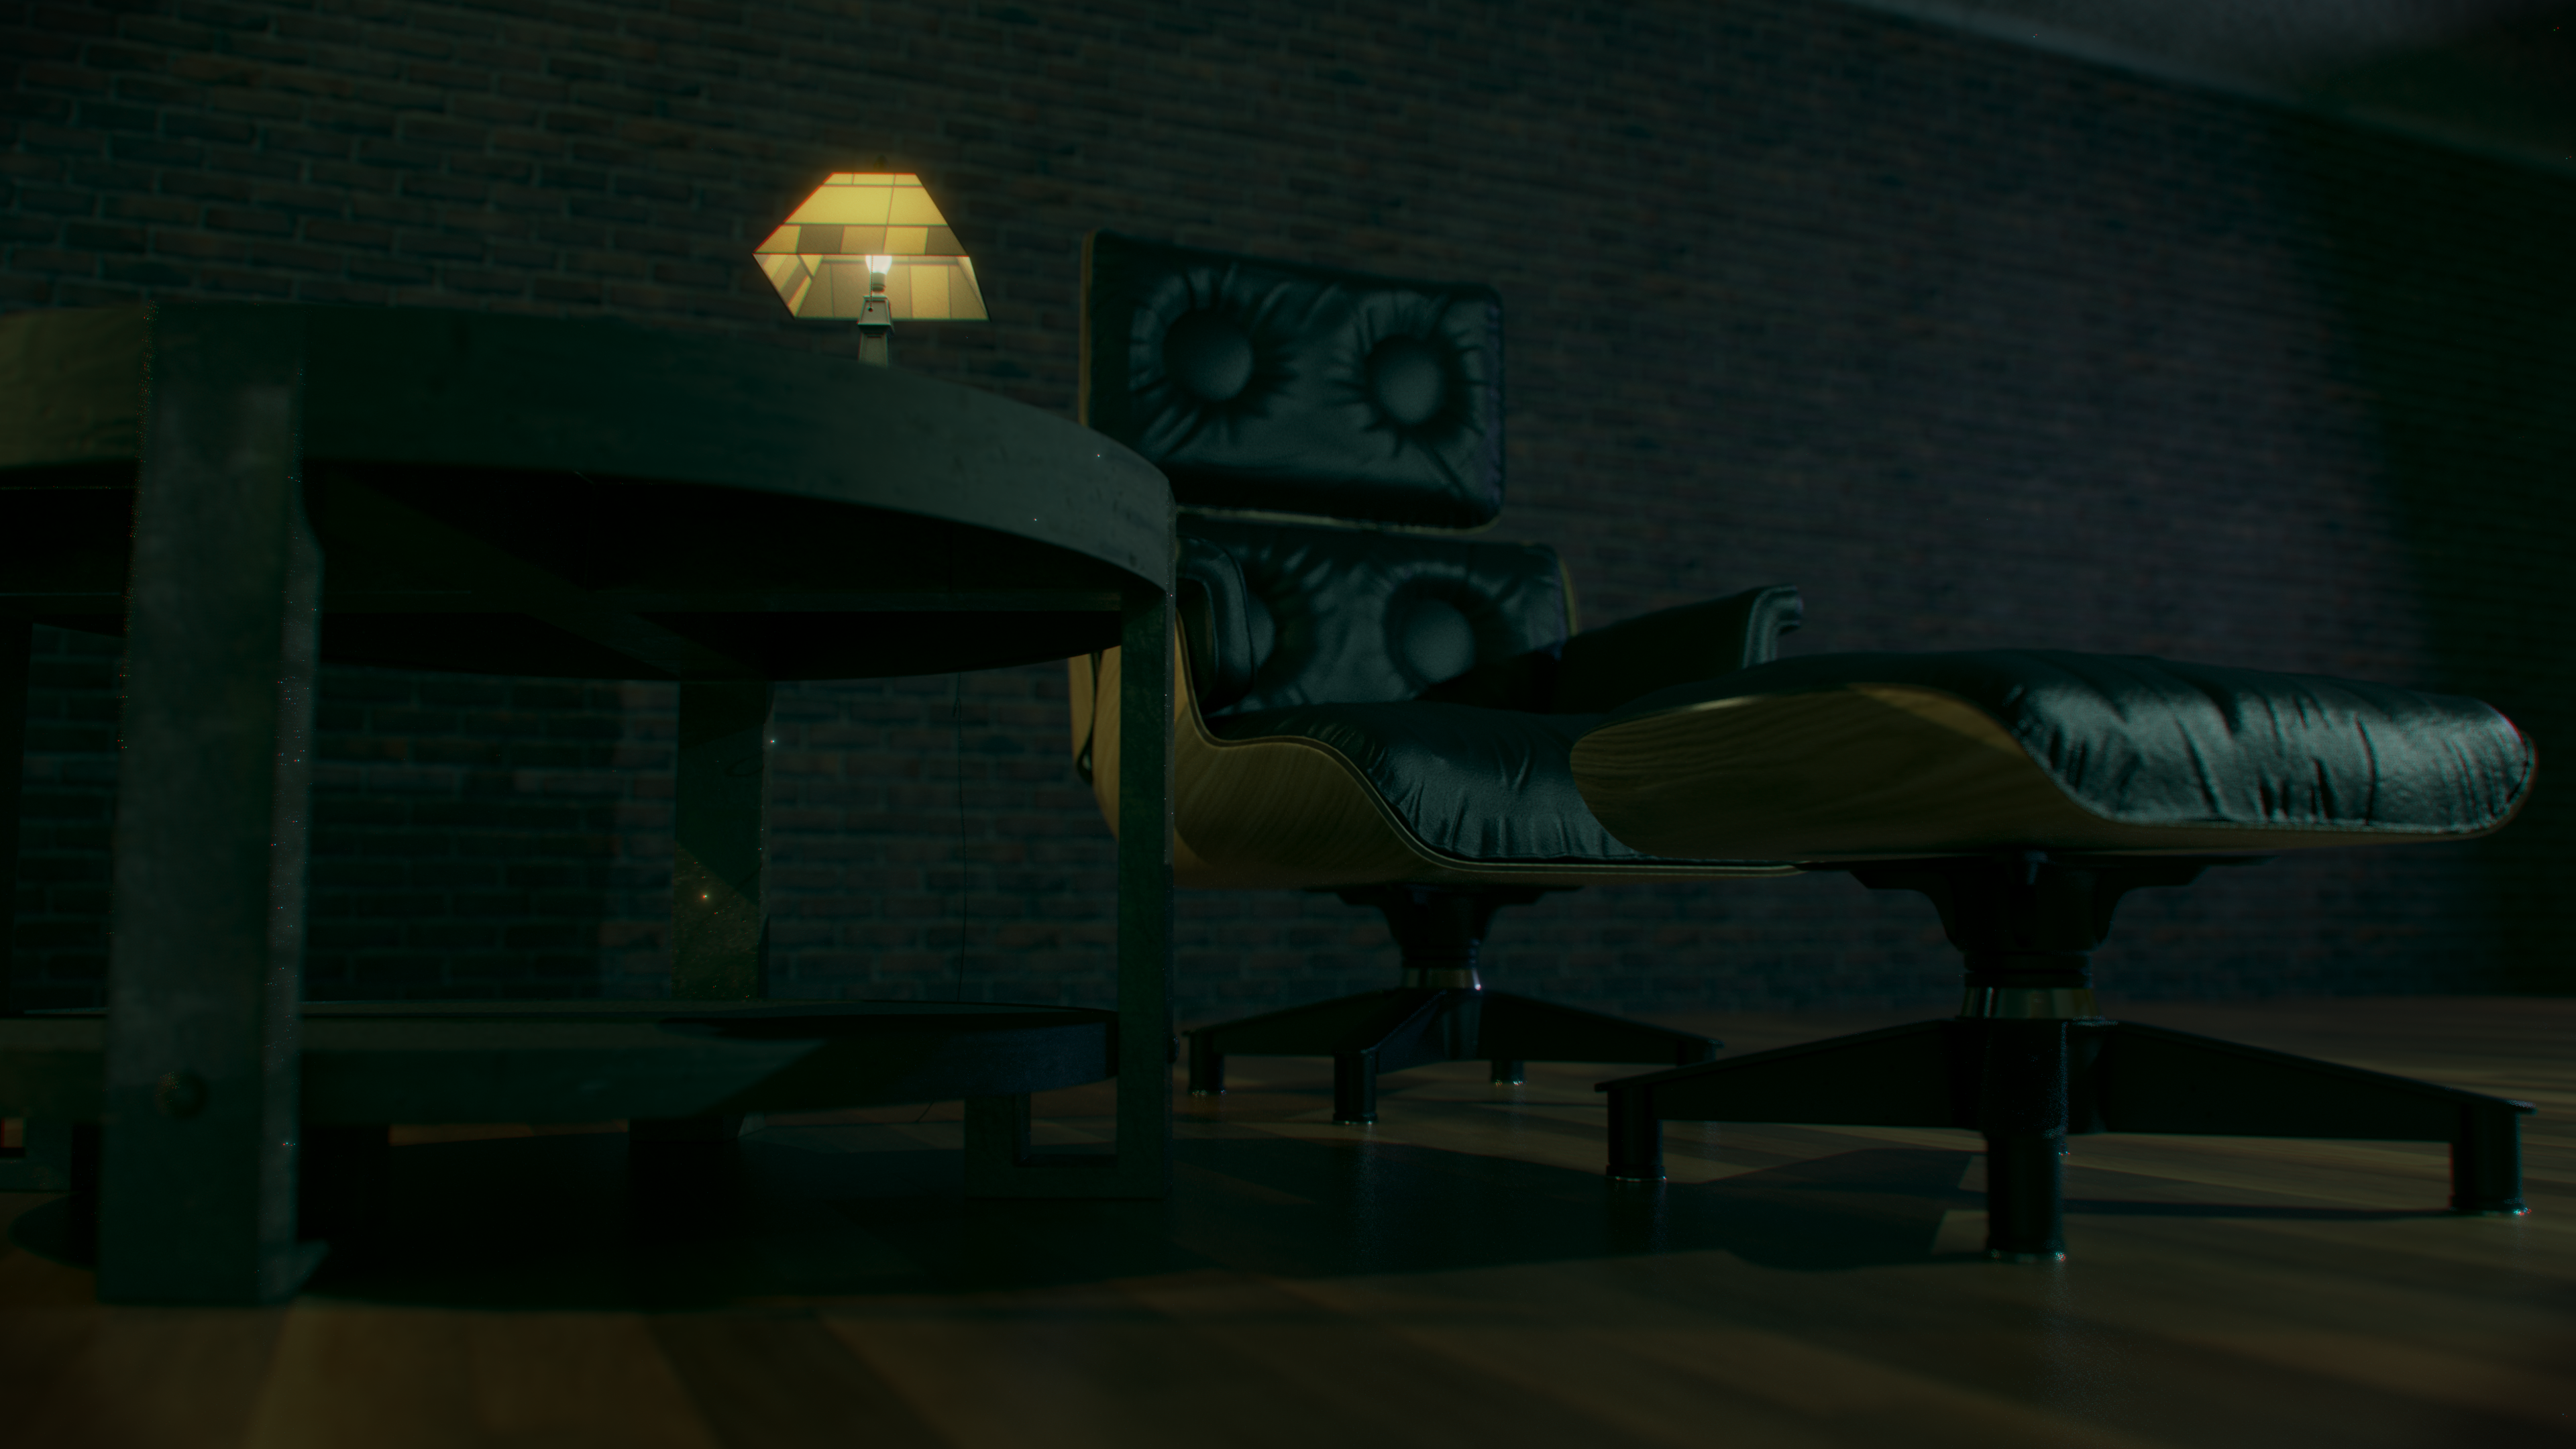
Day 5 Lounge Chair
Okay- its done. It didn`t quite work out the way I wanted to.
But I wanted to try out these buttons and this works very well.
hi- joining late, thought I would give it a try, it is a good goal. Never knew there were so many types of lounge chairs. There are a lot of things wrong, only so much time. I think I should have made the bevels on the edges larger and the lighting is bad. But it does look like a chair and I like the fabric. It was done in 2.8 using evee and the fabric and wood are procedural.
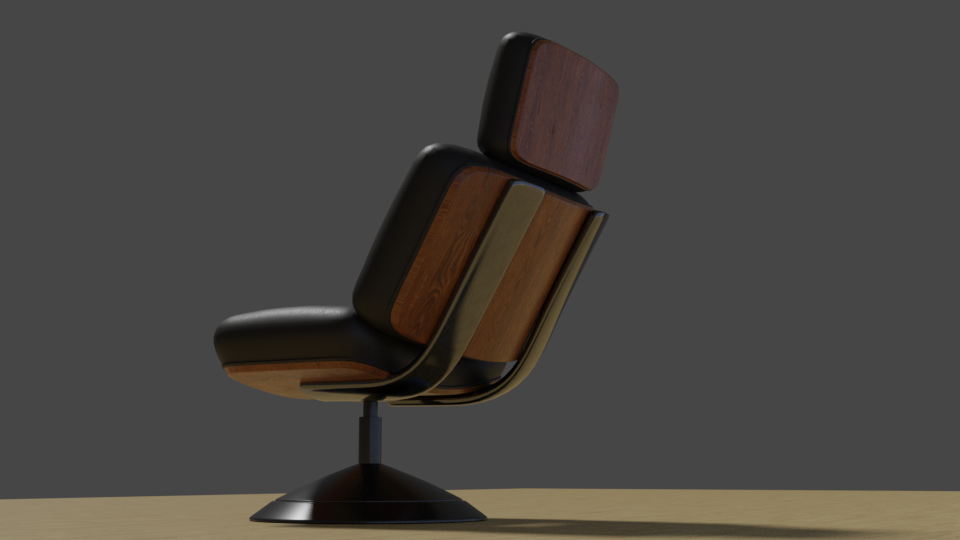
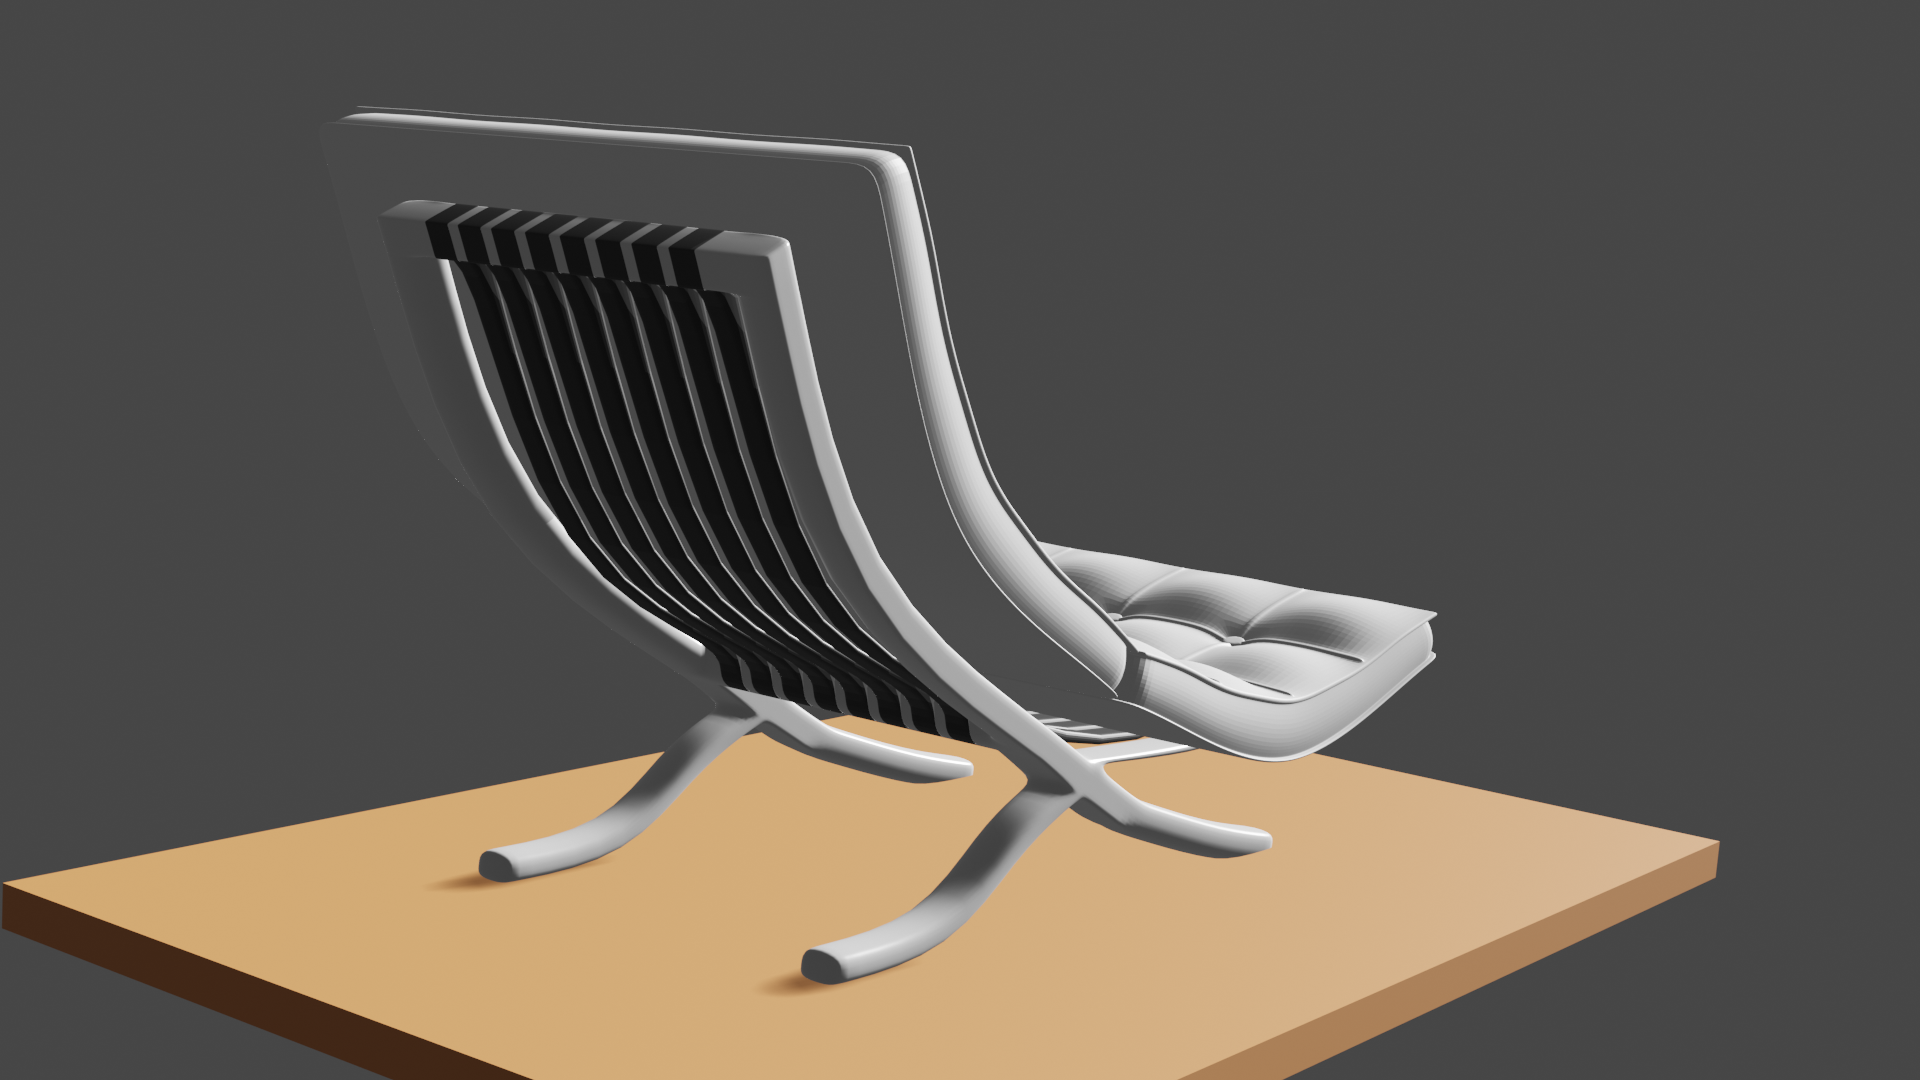
Like many people posting today's render, my chair didn't quite come out as expected but this was the most challenging render for this week. I originally wanted to model something similar to an Eames chair but had trouble getting the wood to curve around the leather portions so I went with a simplified version of it. On a side note I was able to use the Lattice modifier and lattice correctly for this, which is a new tool to use!
and since I added more details to the back of the chair, here is a render of that as well:
Ends up looking more like a barber's chair, but I learned some new techniques which is the whole point of this challenge. On to day 6!
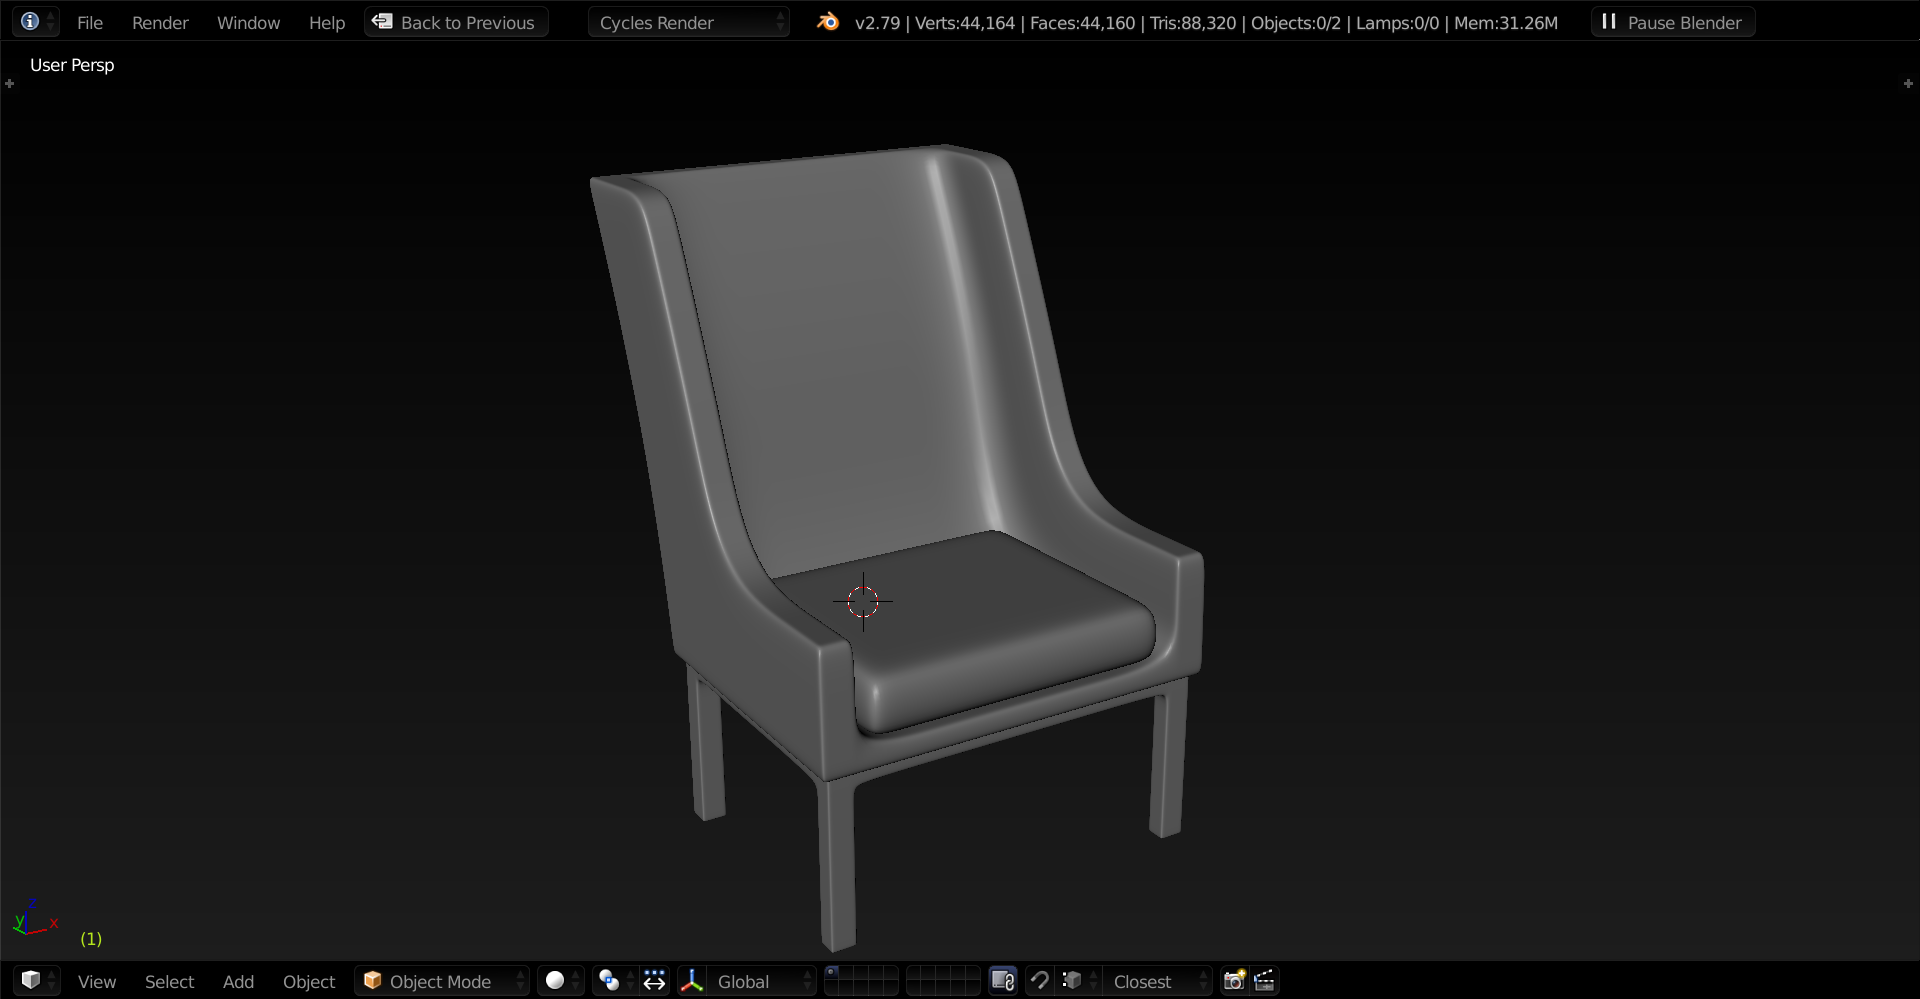
Finished my chair. I am not happy with the fabric texture or the coffee stain yet, but I got to learn more about modeling with curves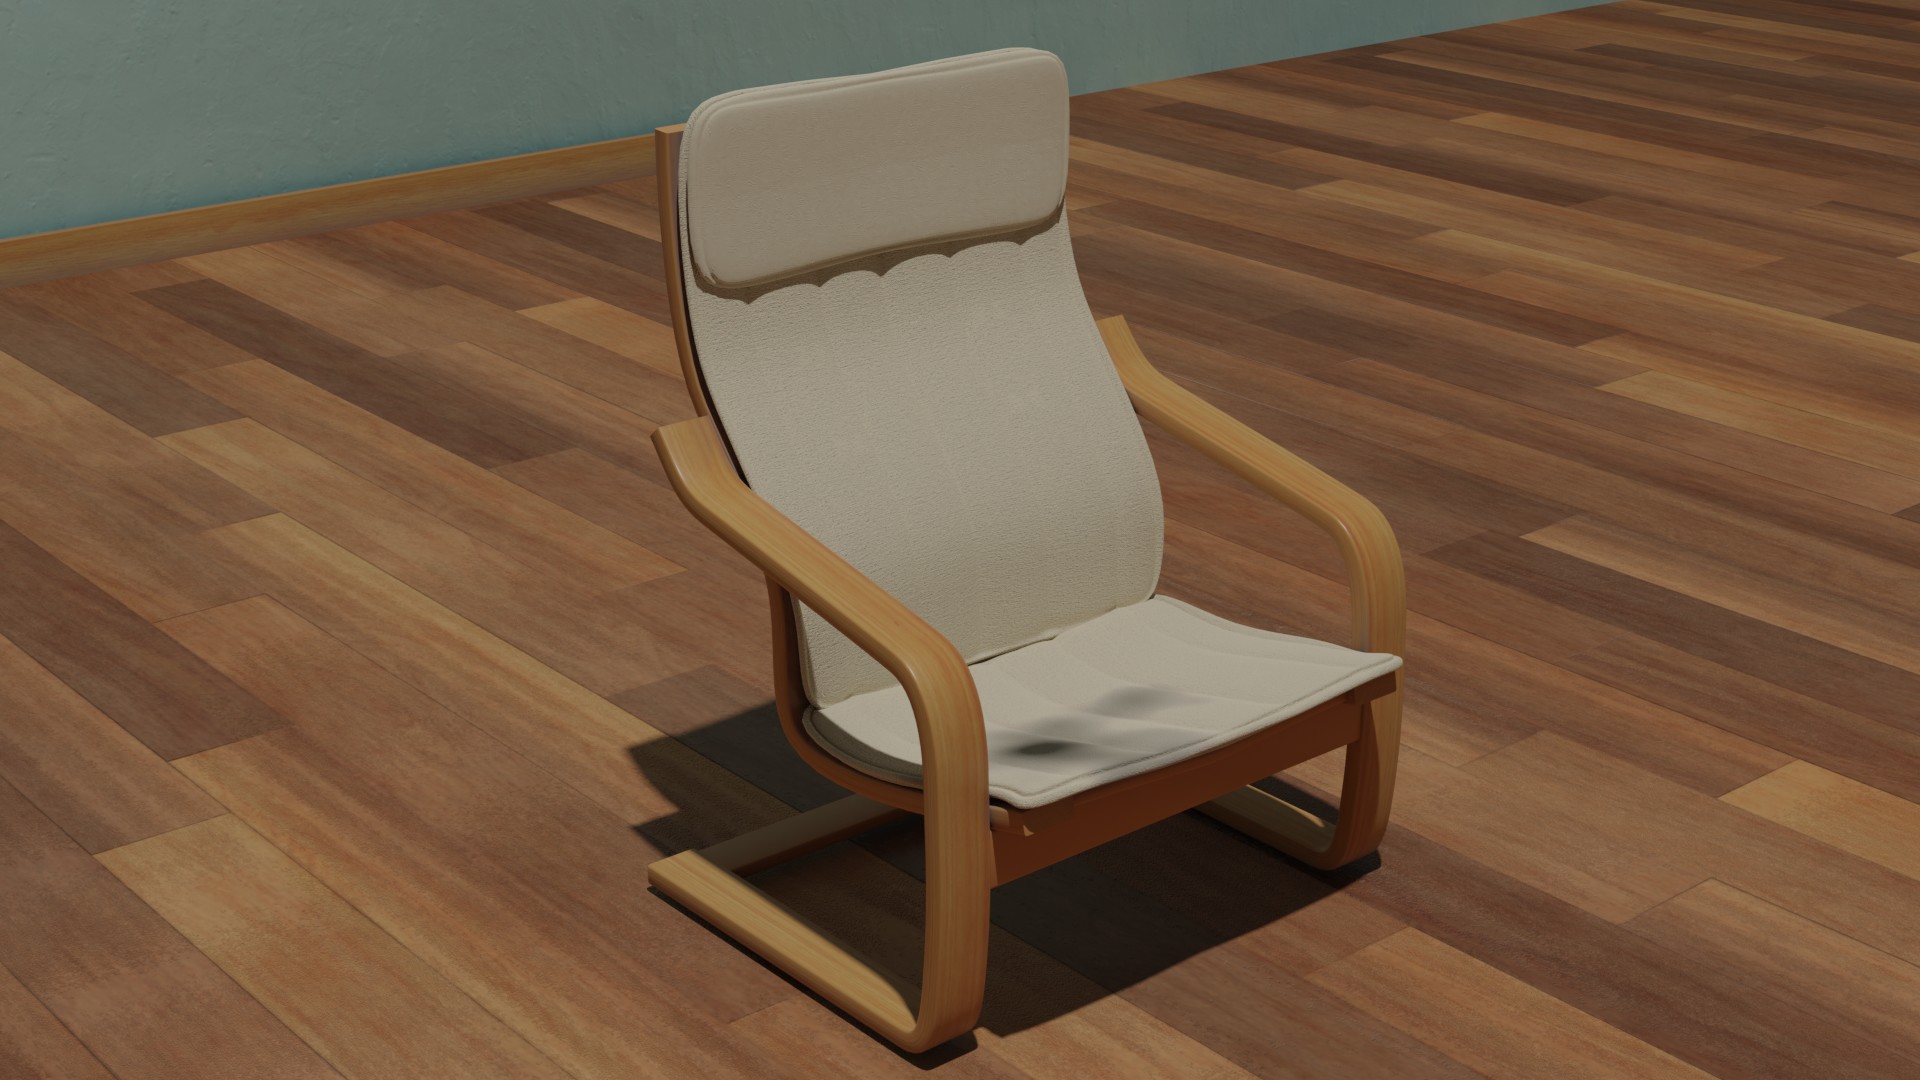
 I'm not good at texturing or lighting (some stuff to improve on)
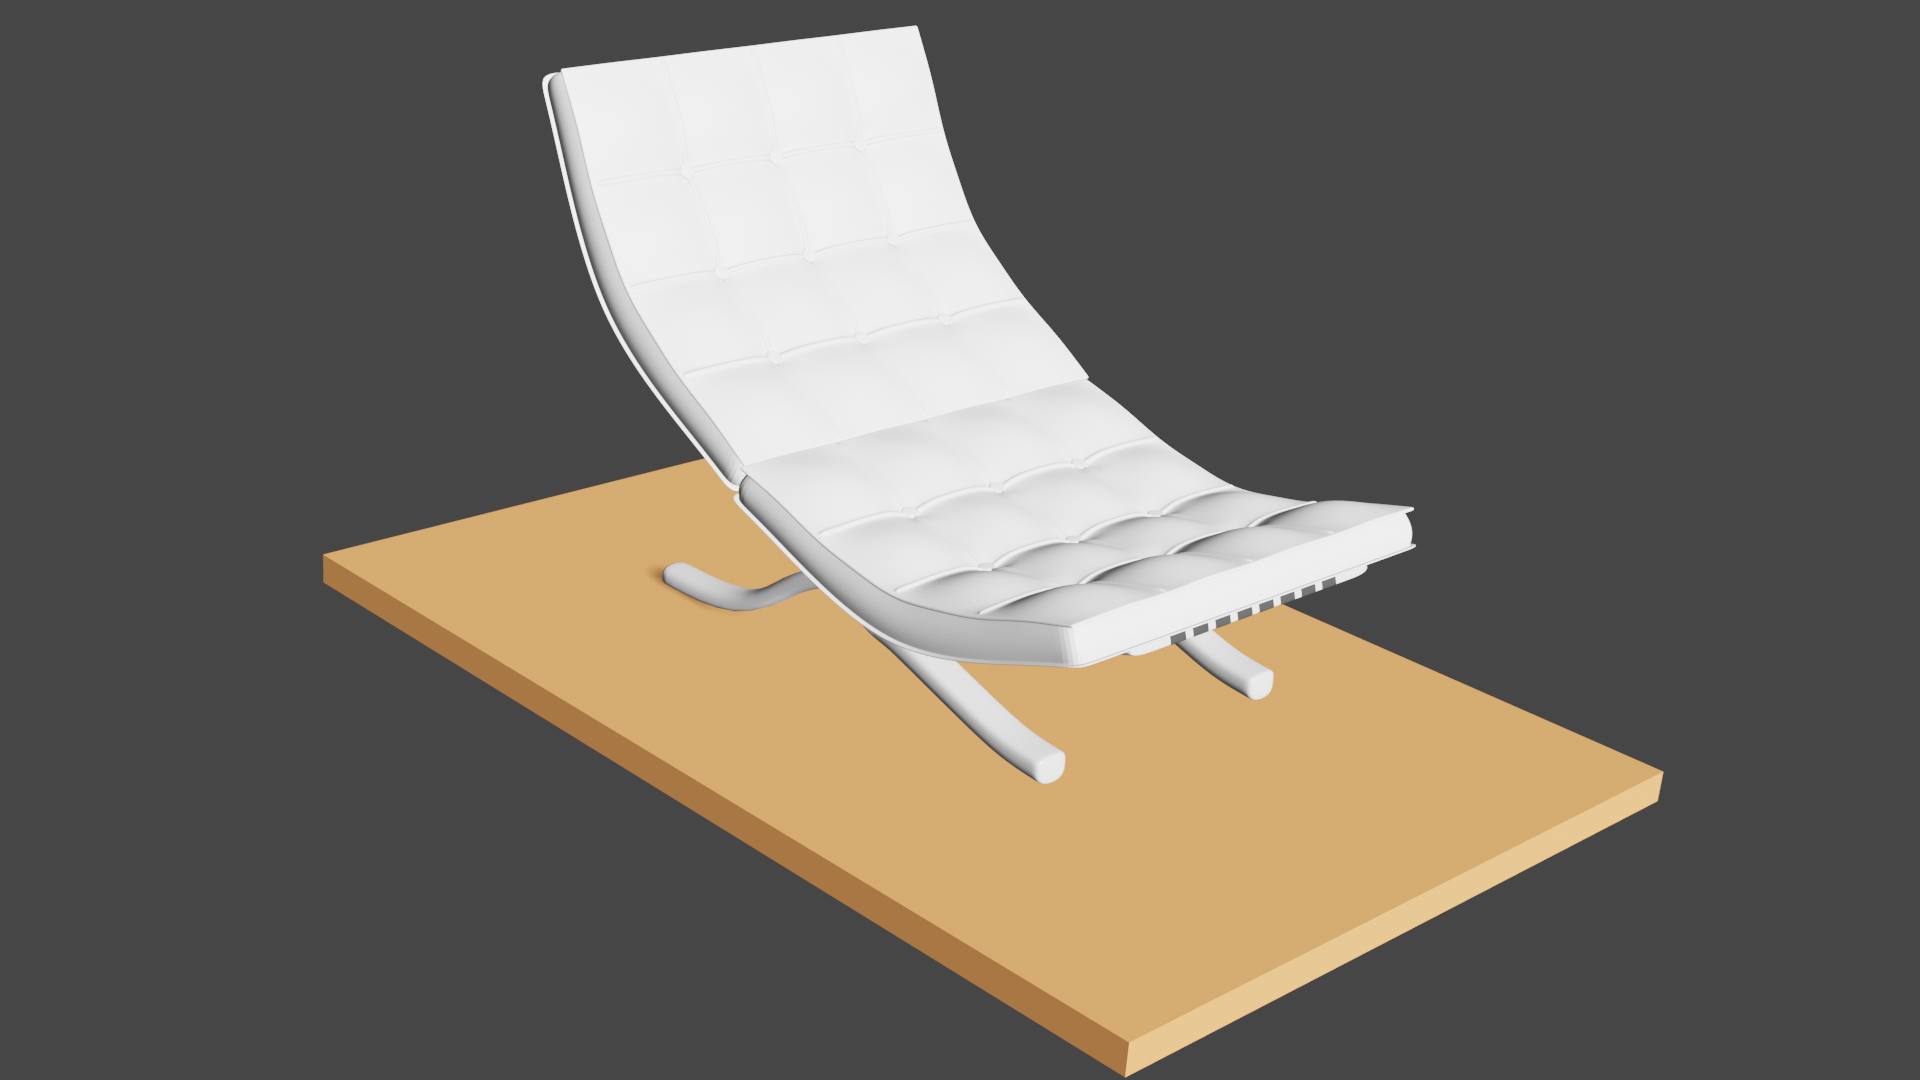 yet (or even modelling) but here's my chair.
This one was the hardest to model so far. Figuring the topology out was a lot of fun. This was also the model that has taught me the most.
cciku-karugi Hah, I had that bookmarked and I was going to complete that tutorial and use it for this. I ended up going a different direction. I remember watching that tutorial about a year back and it was too difficult for me to follow, now I can watch it and I understood everything the first time.
![]() williamatics That's great! Each of these models are uniquely different enough that you should be learning some new techniques and possible some new ways to approach modeling. It's simplistic enough that it feels like something you can achieve while still giving you a sense of accomplishment.
williamatics That's great! Each of these models are uniquely different enough that you should be learning some new techniques and possible some new ways to approach modeling. It's simplistic enough that it feels like something you can achieve while still giving you a sense of accomplishment.
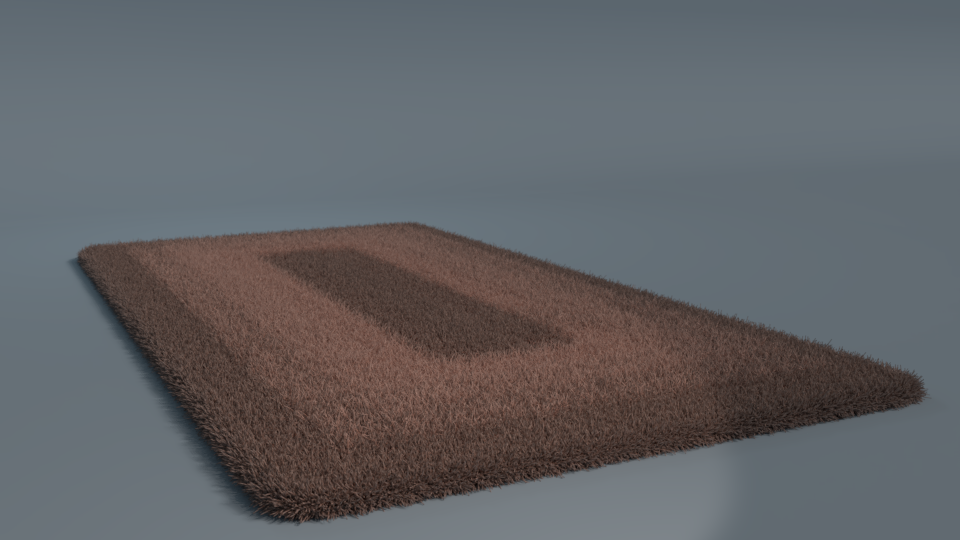
I couldn't figure out any other ways to approach this than hair particles. One thing is certain: this is definitely not going into Unity in it's current form 😂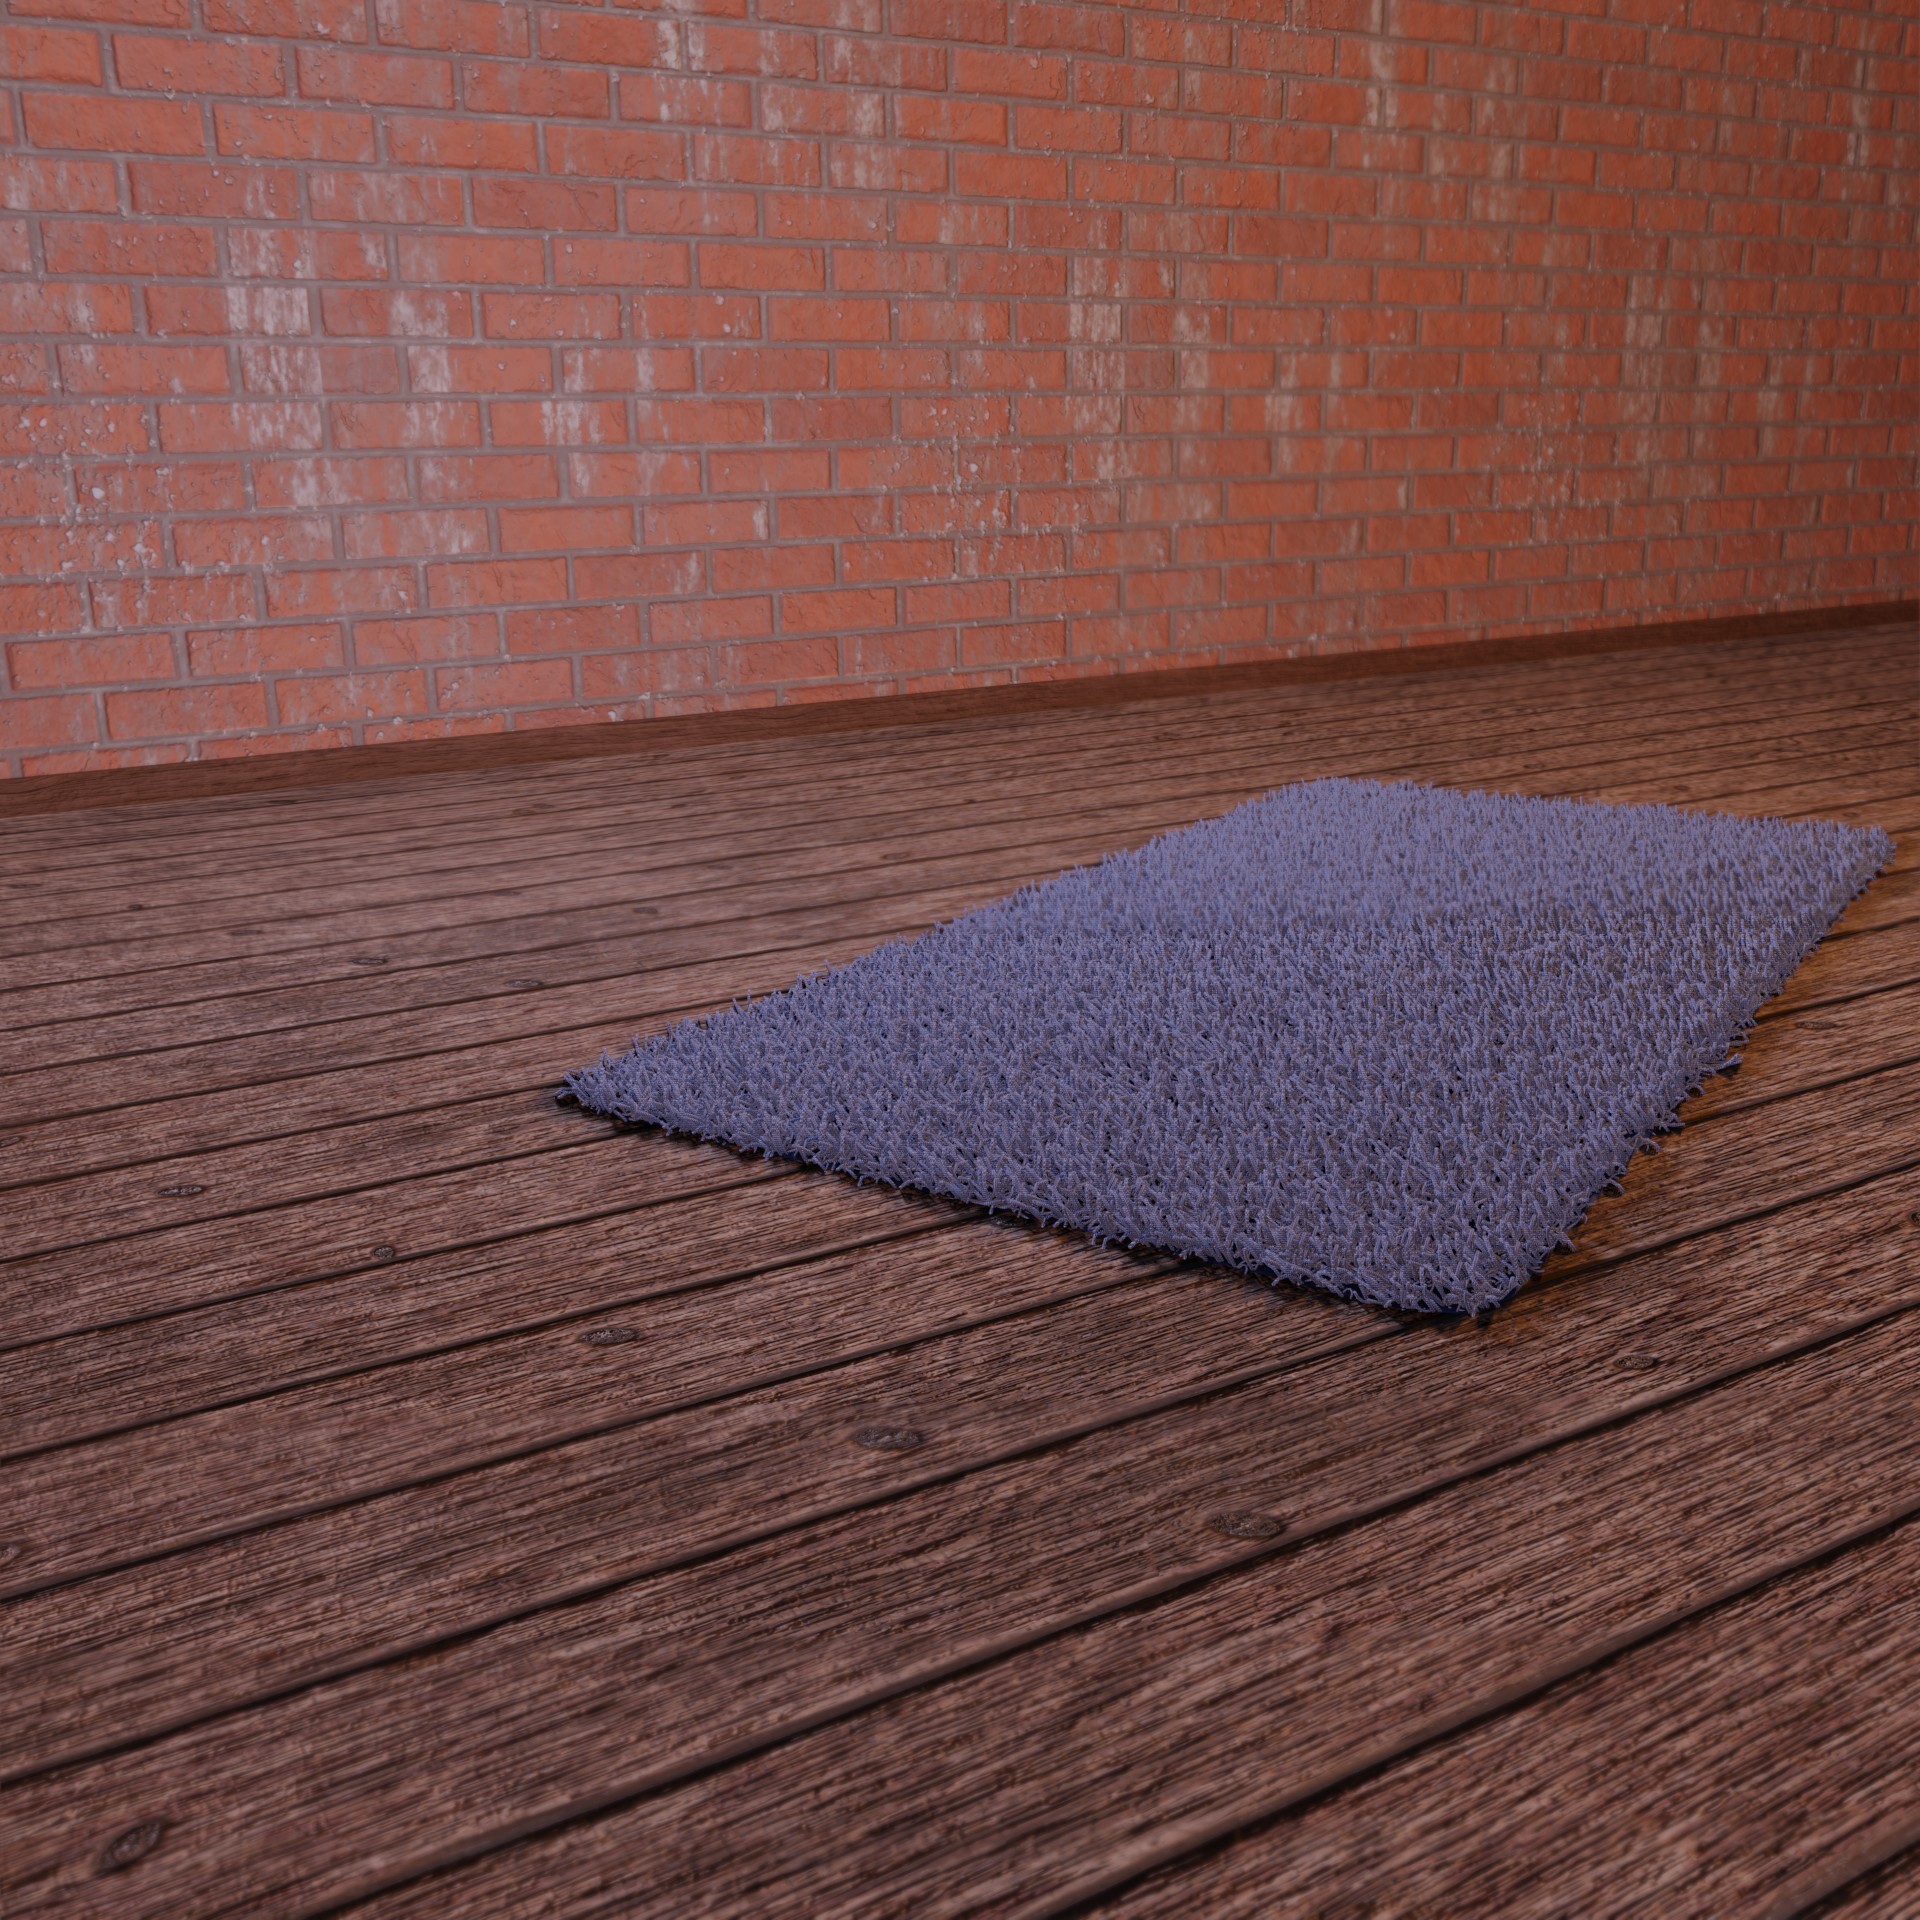
Day 6 - ShagRug
I don´t have much experience with particles so far, exept these famous Donats Sparkles.
I was thinking about drawing a texture. But hmm -So I used a tutorial to help me through this particle settings.
I changed some things and used an additional second hair particle setting with lighter colors.
For the material I used the HairInfo Node with ColorRamp and a Translucent Node.
For my first serious particle exercise and in this short time I am pretty happy with the result.
This 30-Day Thread encourages me to try out methods that I would otherwise have tried much later
and all this in a very short time. Very good training also for my own time management.
What a great idea to get some practice at modelling!
There's some really nice quality models and skills being shown off so far, keep up the good work!
I hope you run something similar to this in the future, hopefully I can take part next time!
![]() jgonzalez I am curious how you used the lattice modifier. I am not very familiar with how to use it in modeling.
jgonzalez I am curious how you used the lattice modifier. I am not very familiar with how to use it in modeling.
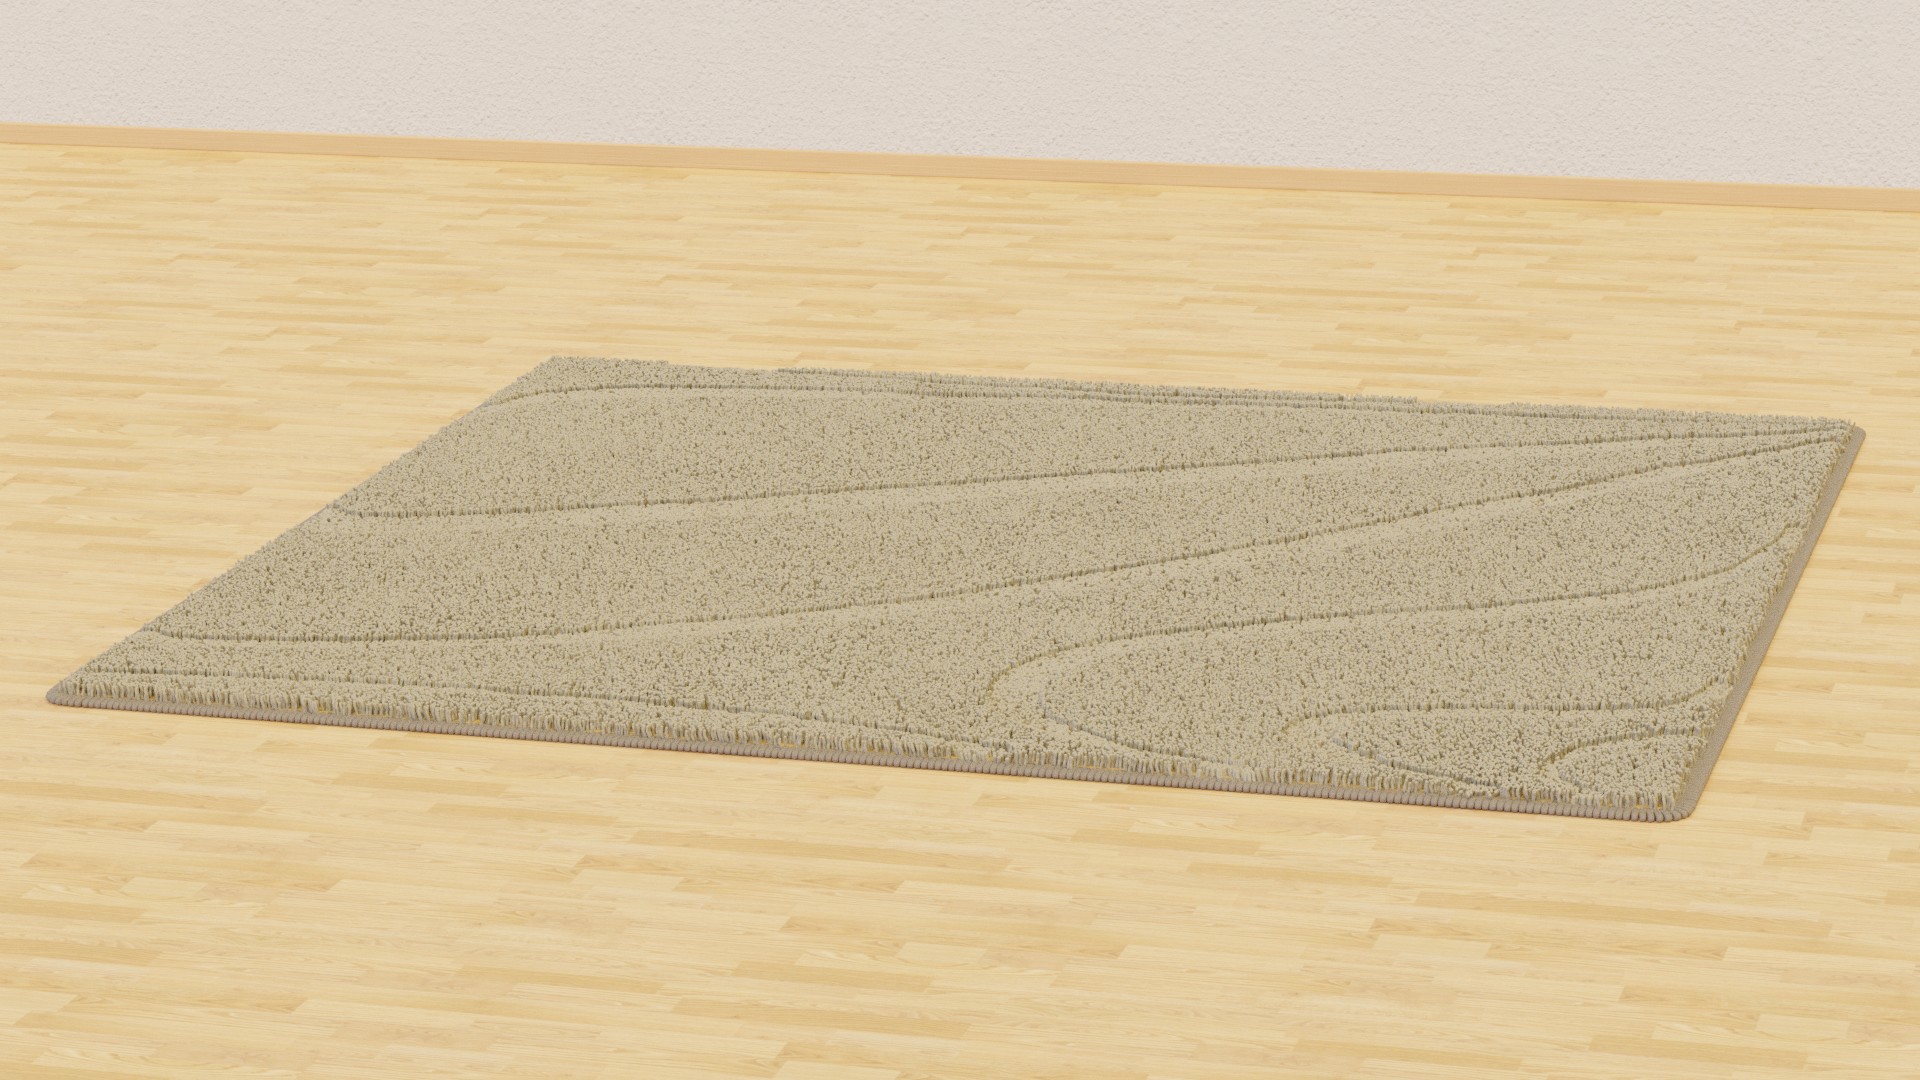 Another day, took me some time get everything figured out and next time I will do the edge a bit different ( now there just an array of cubes), but still learned some things and the result is not too bad, as it doesn't have to be photorealistic...
@ Jere, I have also been trying to figure out a way to make a game ready version of something like this, but so far I wasn't able to.
![]() spikeyxxx You probably have to take an approach simular to hair cards?
spikeyxxx You probably have to take an approach simular to hair cards?
https://cgcookie.com/course/creating-hair-cards-for-realtime-characters
ssmurfmier1985 Maybe, but my gut feeling says, that in the case of a carpet, that wouldn't work. I will give it a try tough, thanks for the idea.
I was thinking more in the lines of baking, but I guess you would need something similar to Vector Displacement, but then as a Normal Map????
Well here we are! This thing took about 4 hours to render (which I later realised was made worse by me not enabling denoising, but I'm surprised at how little noise there is for a 500 sample render) but I finally got my lounge chair done. I used these chairs are inspiration/guidelines and whilst those curves were a pain (especially when you're modeling it by pushing & pulling verts like a 200 IQ supergenius) and the wrinkles leave something to be desired (getting better though!) I'm happy with the final result.
And here's some OpenGL stuff:

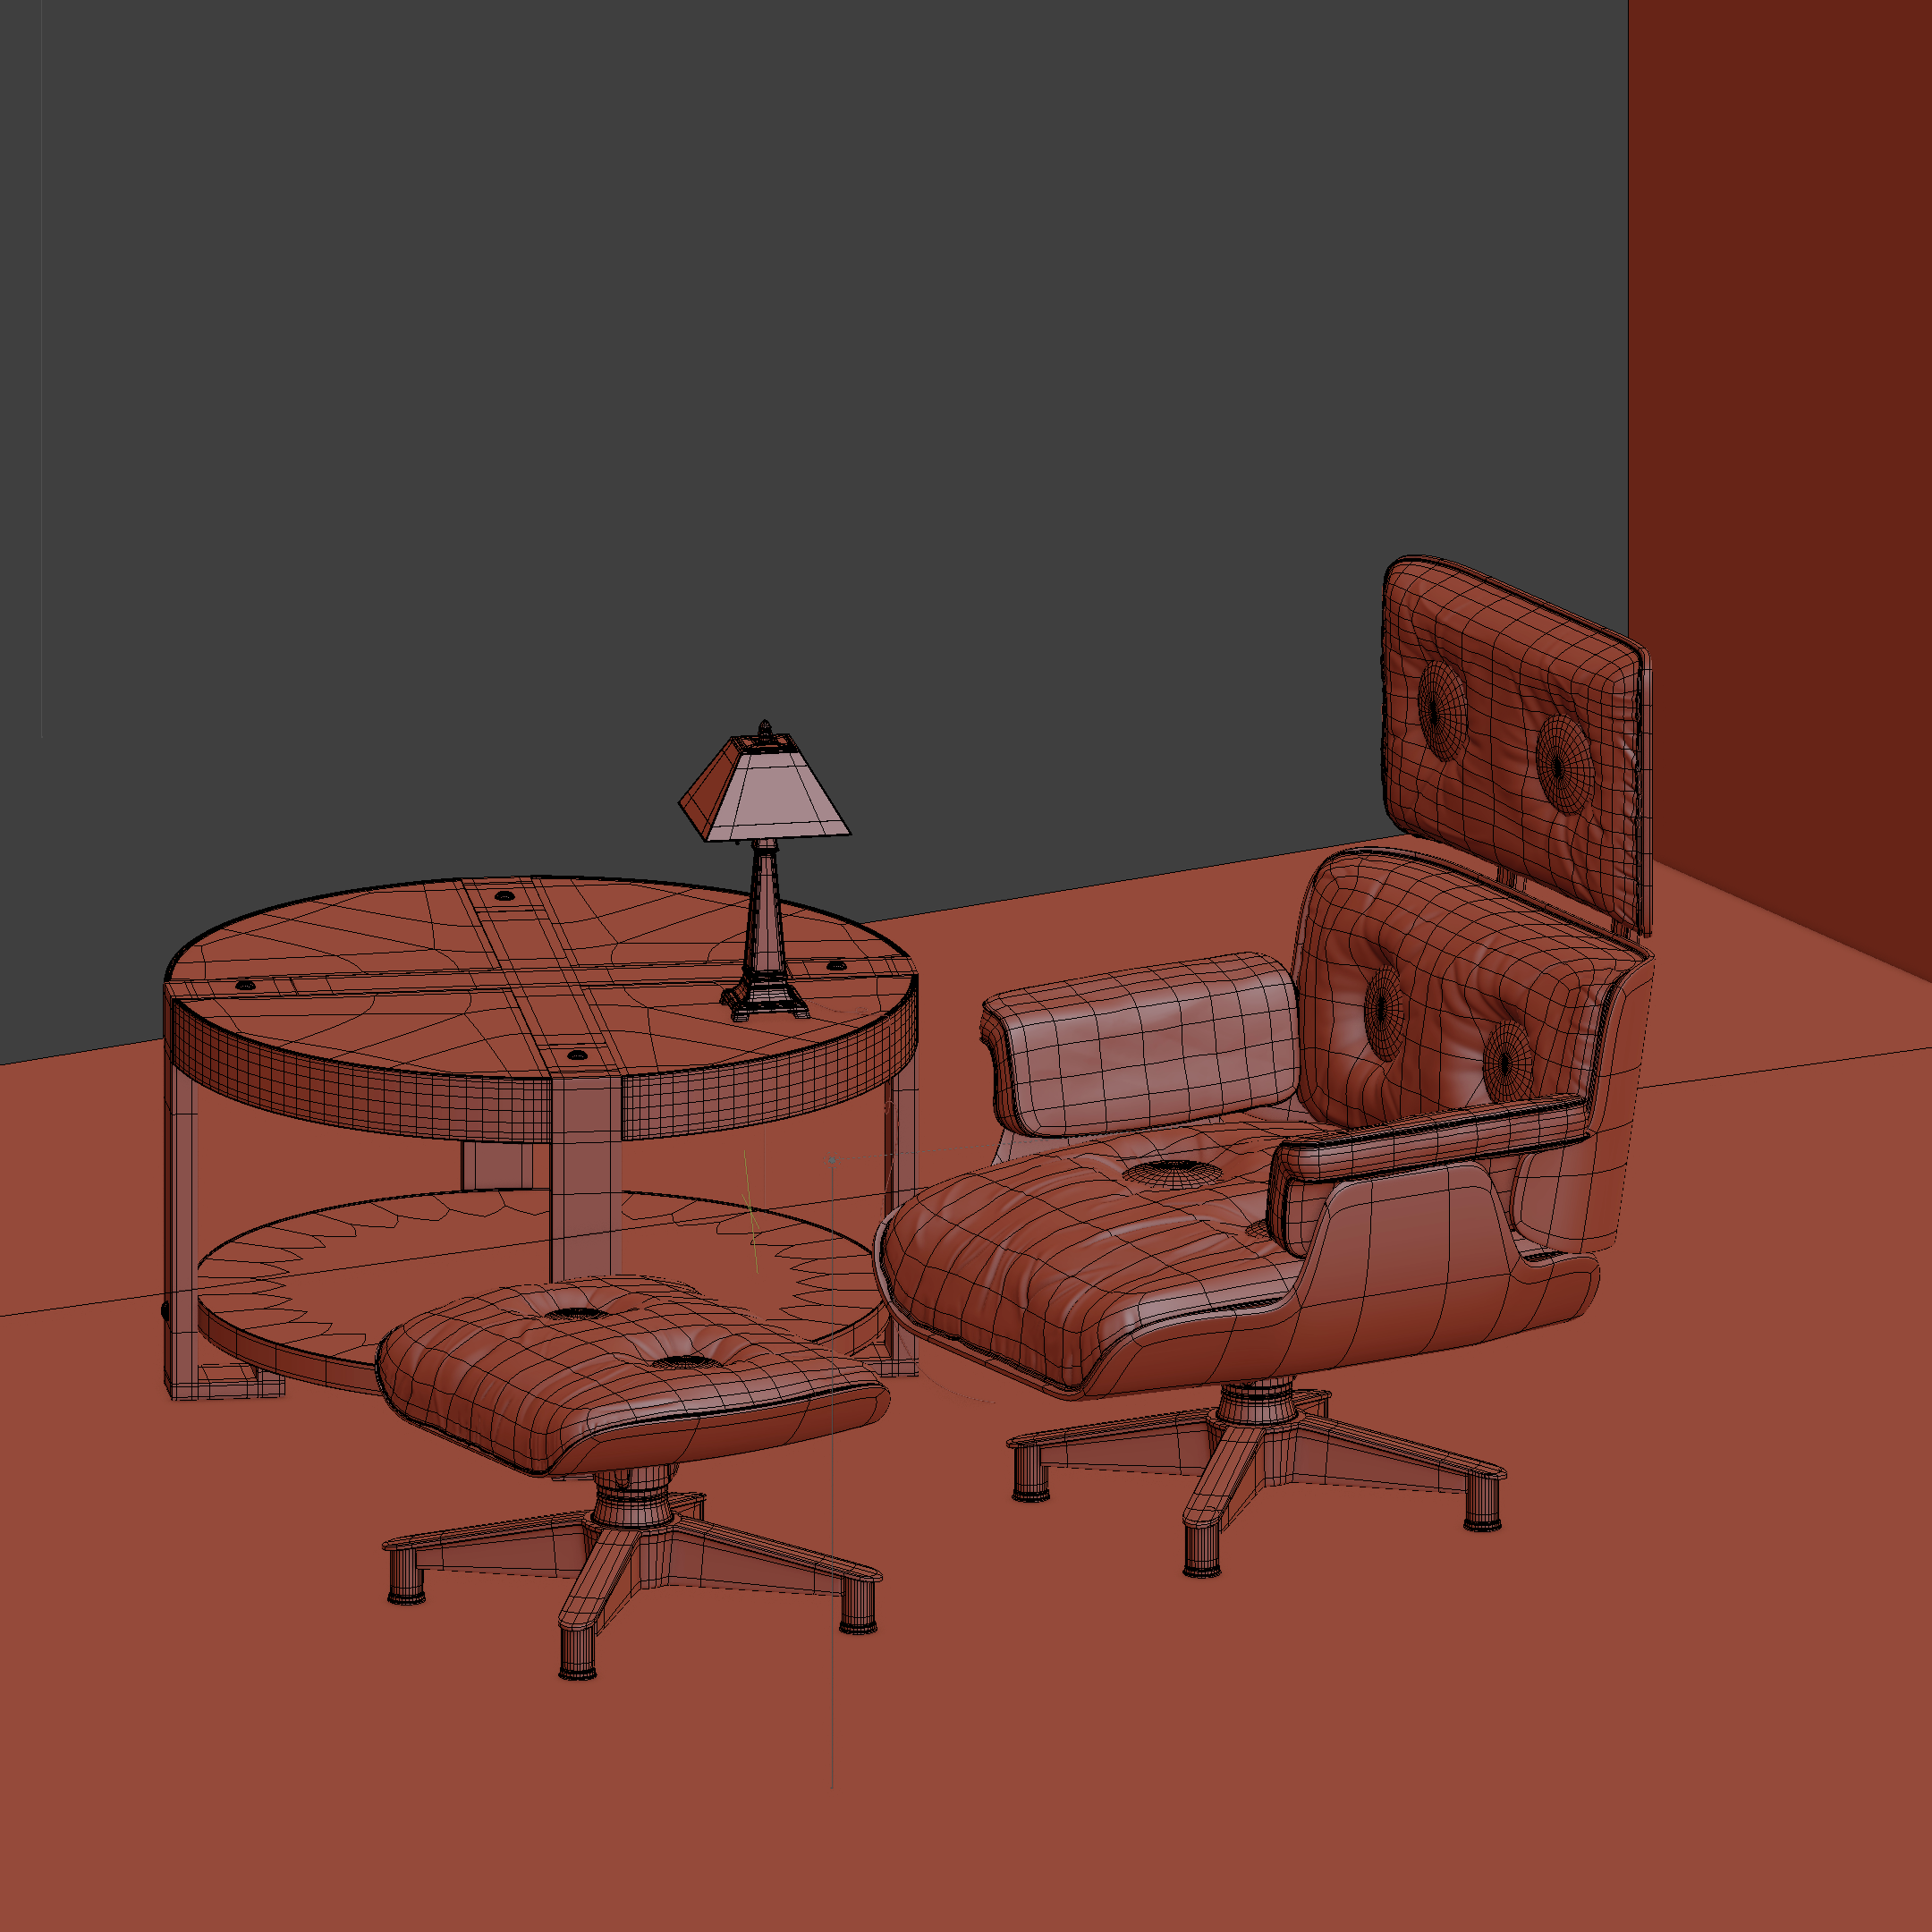
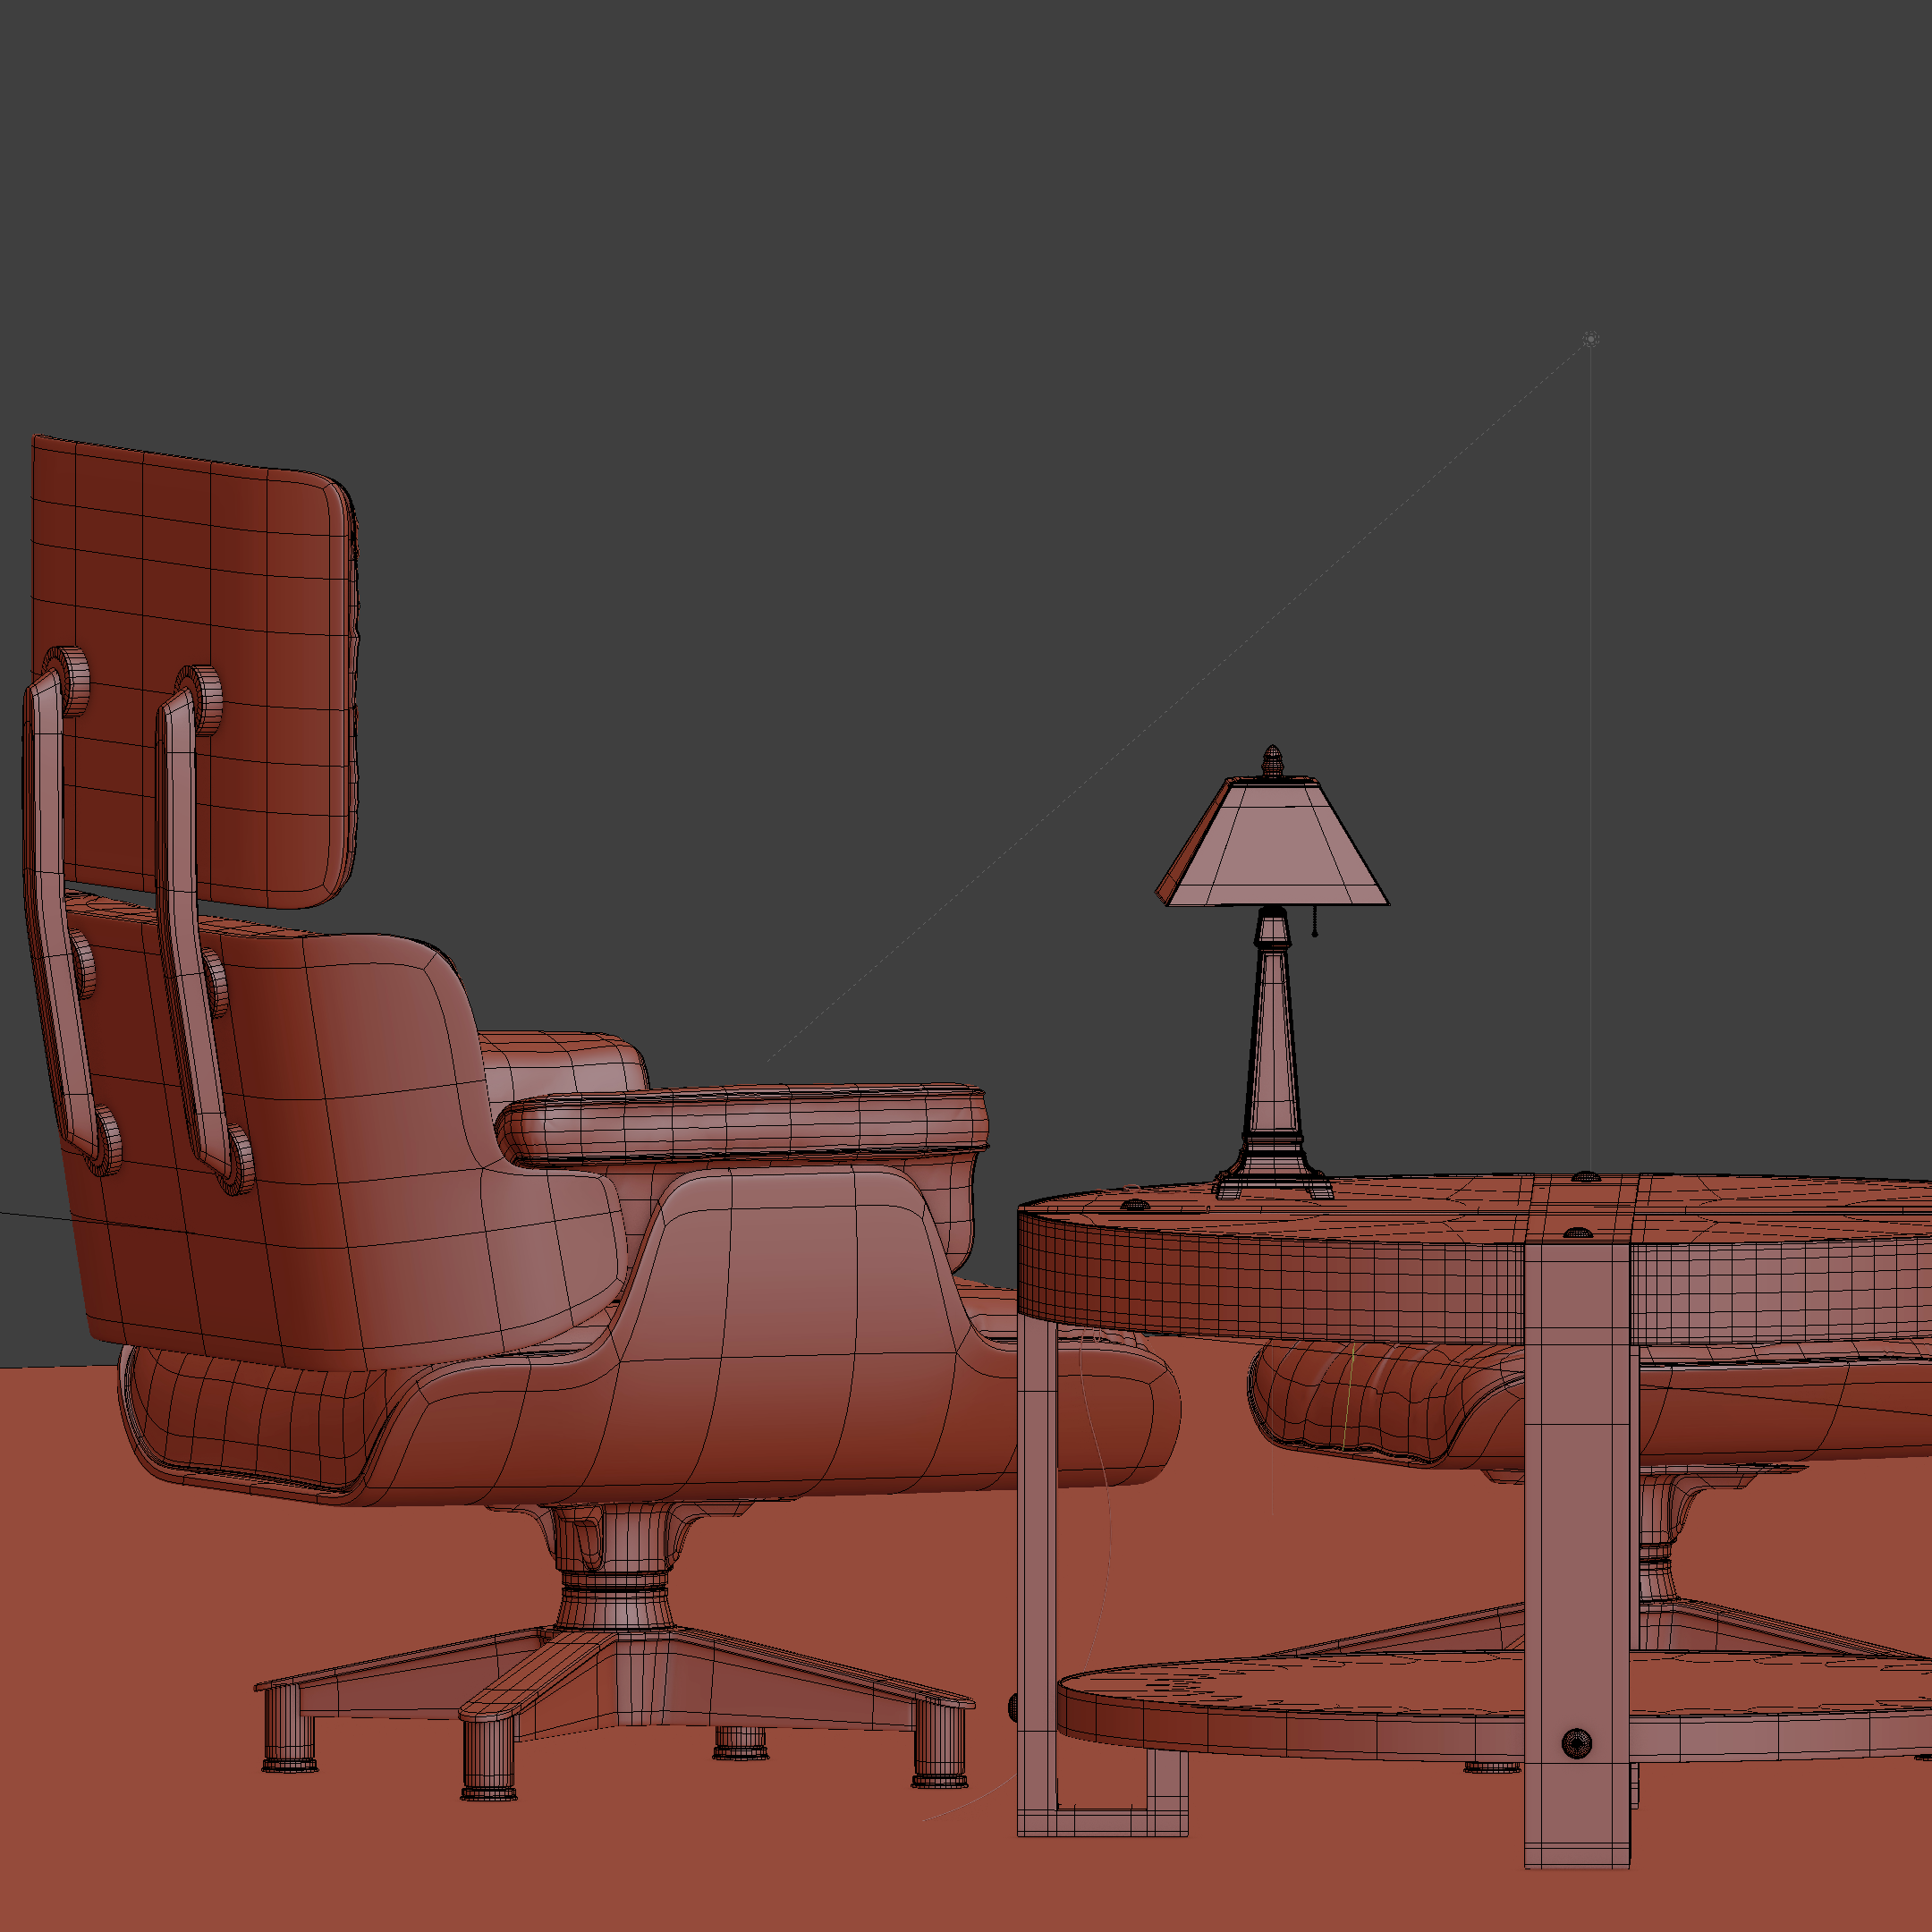
And to answer your question ssmurfmier1985 (sorry for taking so long!): pretty much everything on that table is a texture, which reminds me, I need to stop being a cheapskate and stop using the same 3 free Poliigon wood textures over and over. Hope you get well soon!
![]() spikeyxxx that might works for a rug with tiny hairs (though be wary of 90 degree angles!), but probably not if you want one with long hairs... normal maps and huge details don't go well together
spikeyxxx that might works for a rug with tiny hairs (though be wary of 90 degree angles!), but probably not if you want one with long hairs... normal maps and huge details don't go well together