See my posts for latest updates or visit the Gumroad page for more info
I have a basic blockout done. Not sure hoe much more detail I am wanting to get into for this since I want to keep things simple for the main shape.
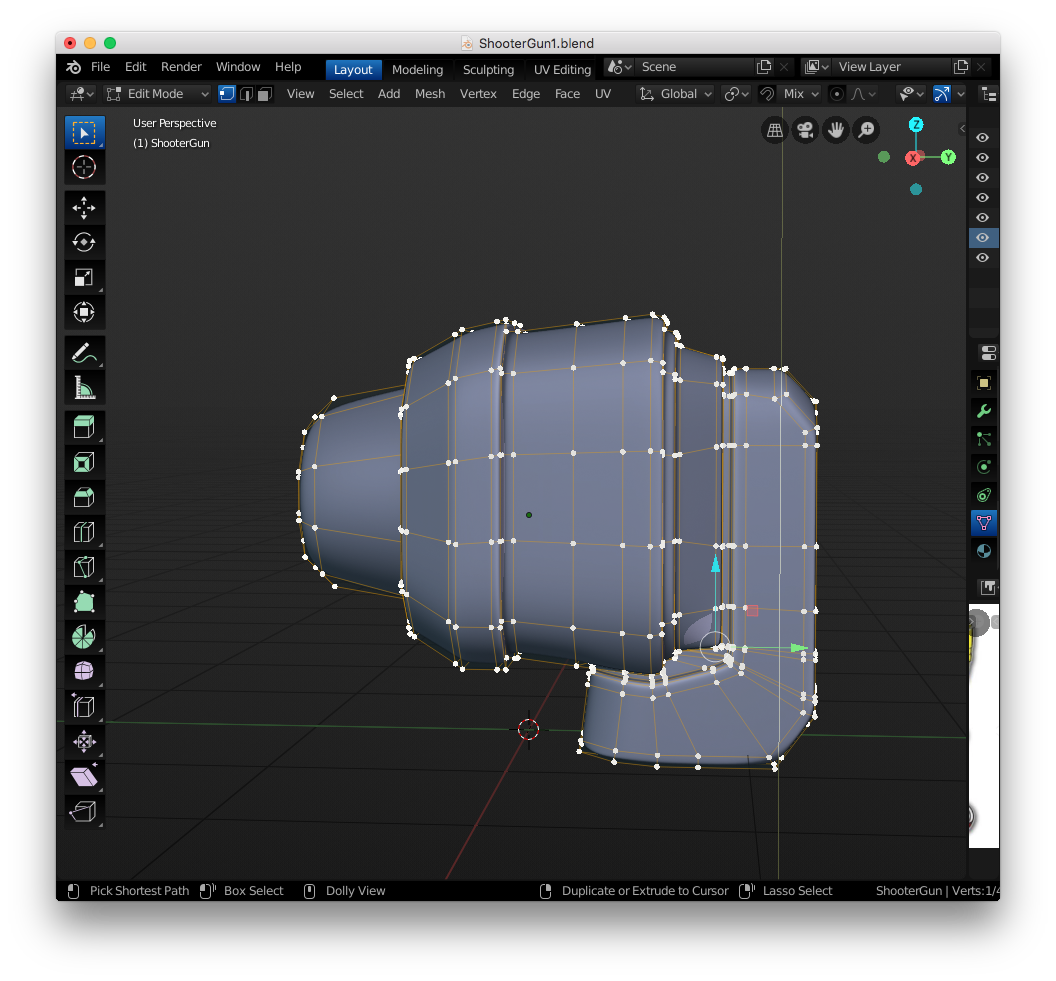
Next part is figuring out the reticle and making things tie together better.
Question to the veterans: Is it better to make separate objects or 1 single object? Many gun game assets I see in quick examples shown around CG town are typically 1 model. I'm thinking more in regards to when I want to get different colors/materials/shaders. Should I 'Divide and Conquer' or 'Stick together'???
Hi Shawn, it really doesn't matter that much; just do what makes you feel comfortable.
As for color, materials and shaders, one object can have as many different materials as you want, so no need to consider that...
What does matter is the modifiers. One object can only have one modifier stack.
Think logically. If you make a human for instance, you can make the hands and even the fingers separate objects, but (at least to me) that wouldn't make sense (in normal cases). If the person is wearing a hat, it depends...is he/she always wearing it or maybe hangs it on a hook or whatever...You get the point;)
Needed to take a "life" break this weekend since my & wife's family are in town for our daughter's baptism. I'll get back into the modeling come Monday. I have been thinking about adding in some kind of liquid/bubble in the middle of the gun and make the ammo be more of an energy ammo (like plasma or something). Still tinkering with the idea but the break is giving me time to reflect on it some more. Will post more on Monday. I am kind of partial to the Omolon liquid ammo look from destiny 2 and want to incorporate something similar but slightly silly.
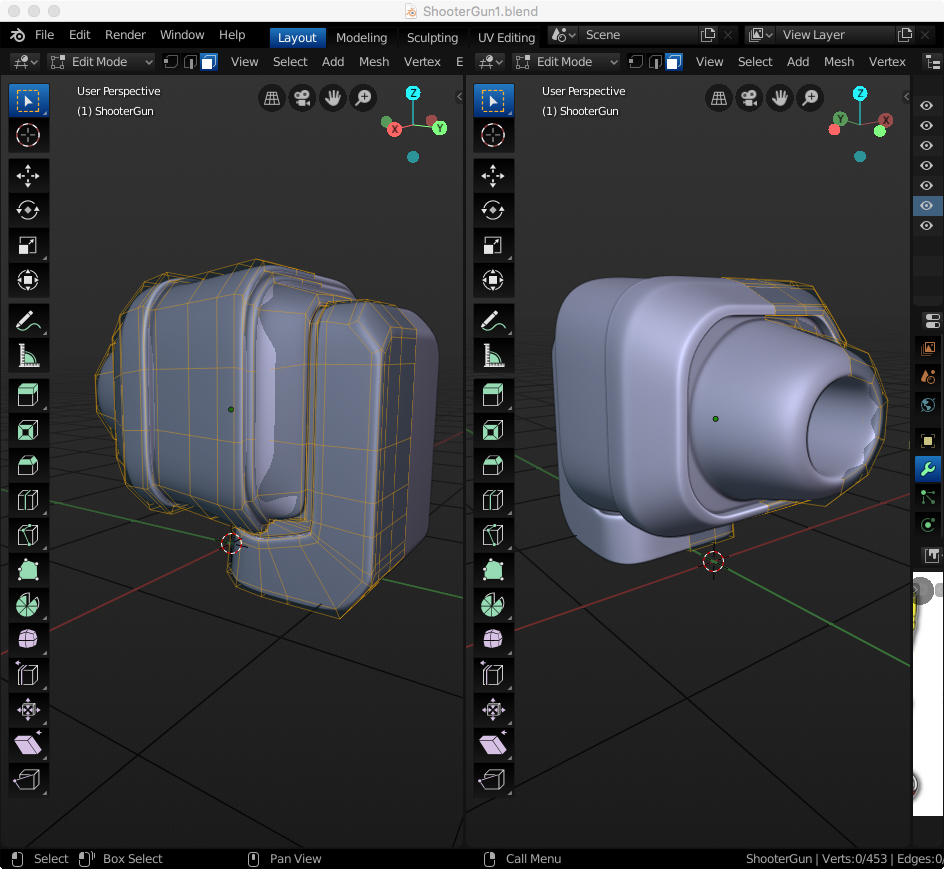
I came back with a refreshed mind after family visits were over.
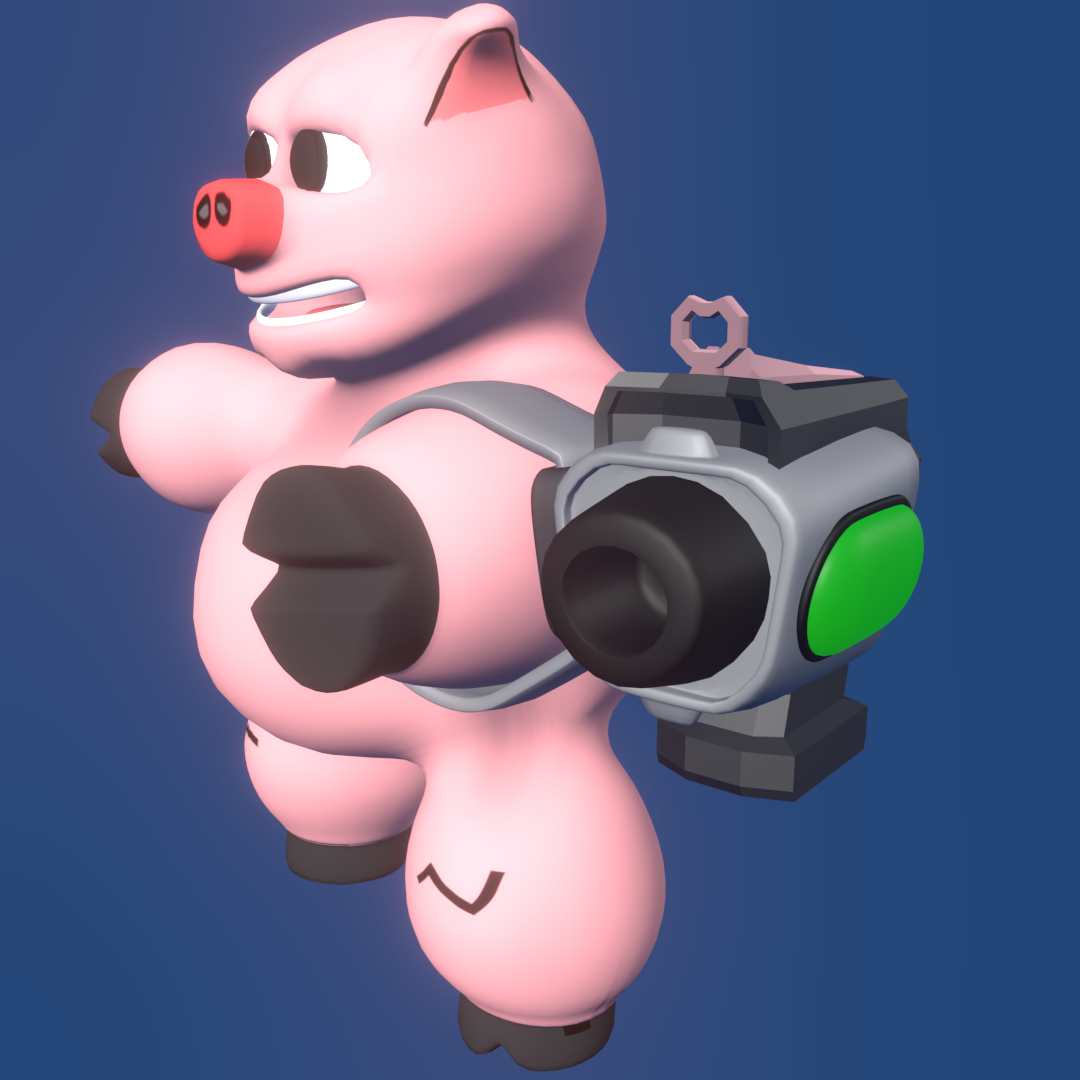
Went back to work on the Shooter Gun, deleted some geometry, and added Lt. Porker for size reference.
Need to think more about the handle since, it's not really needed I want it to be there as a prop if anything.
Added a bubble port on the side and am thinking some green bubbly slime of similar for the contents on the inside.
Still need to add the strap, reticle, and work the handle some more.
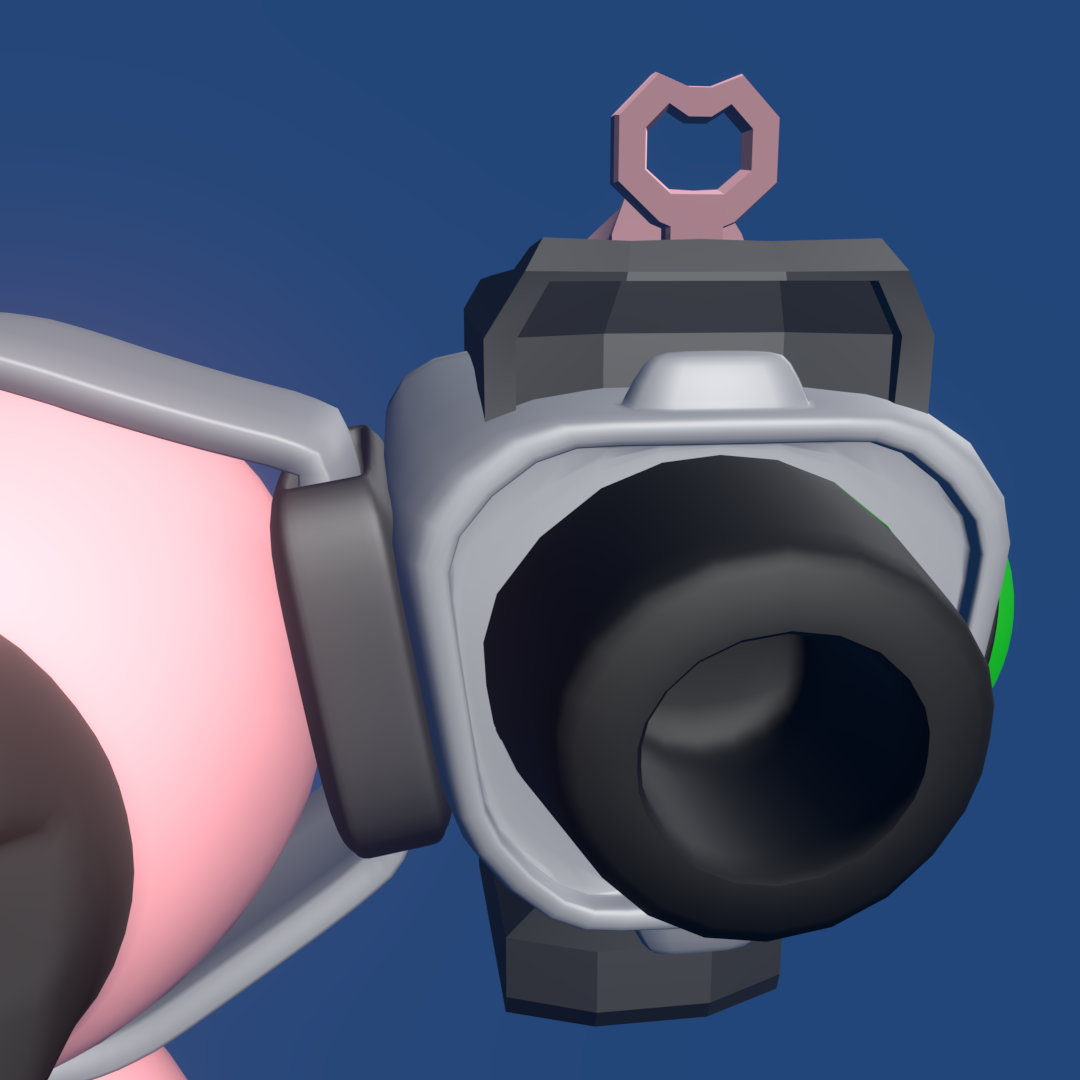
I added some detail geometry on the top and will probably work on transitional geometry between the two objects for the top and bubble on the side. But for now this is what I got completed.
 Shooter Gun WIP 2
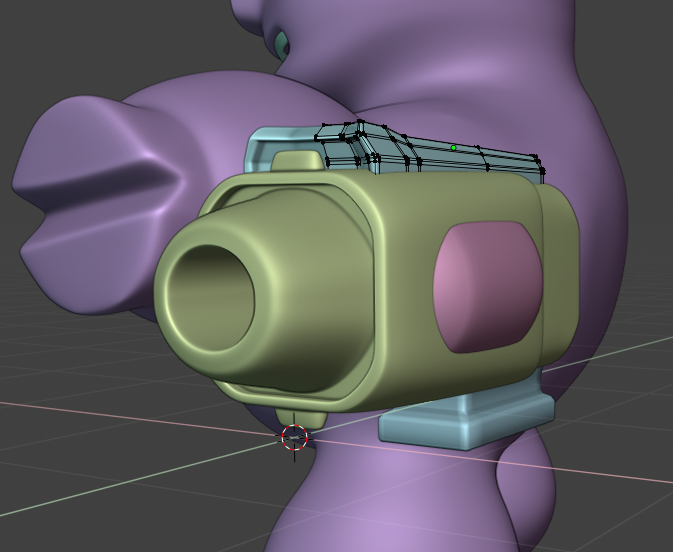
I got the reticle and band created and did some wrap-up work for the handle and bubble. It is looking as complete as I think it should.
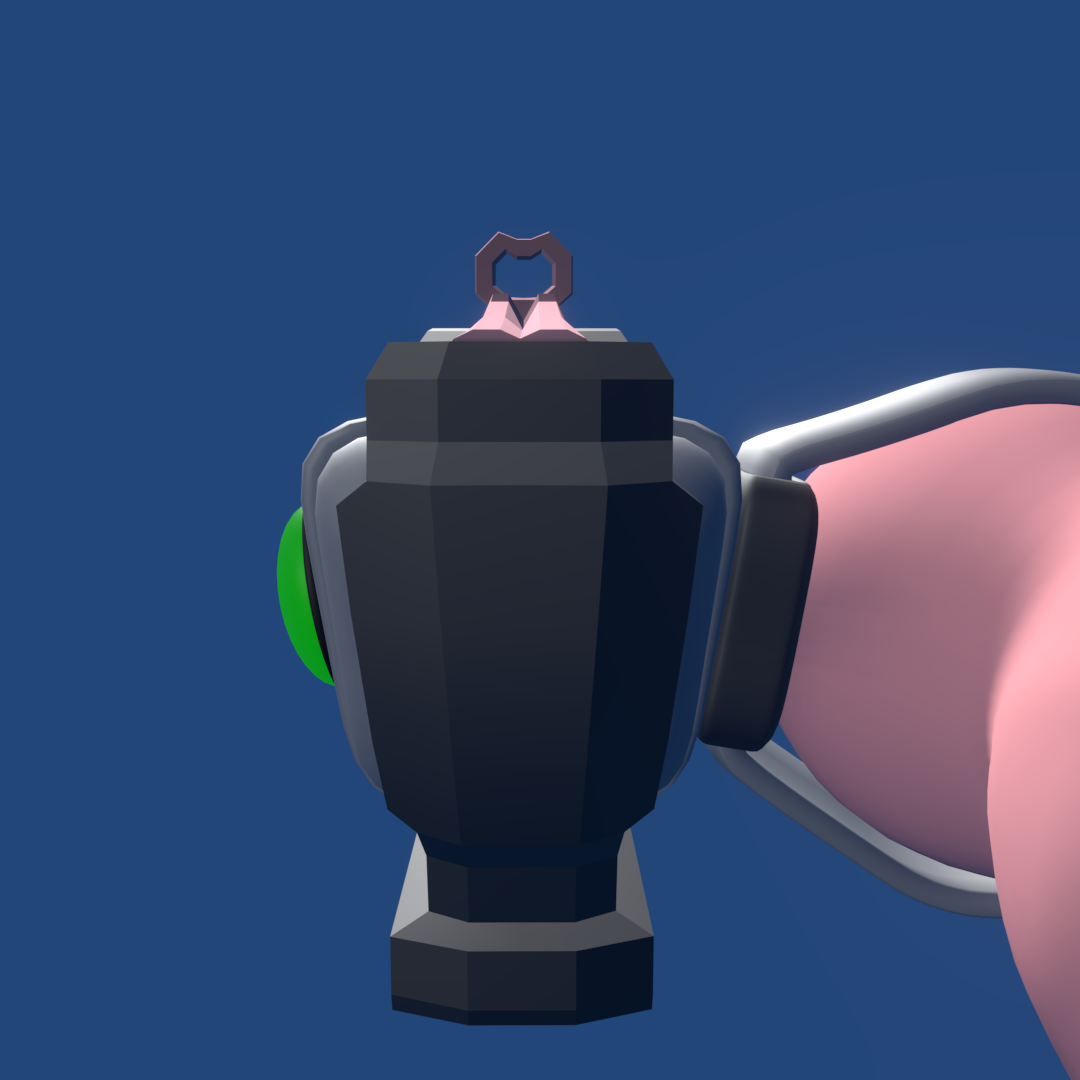
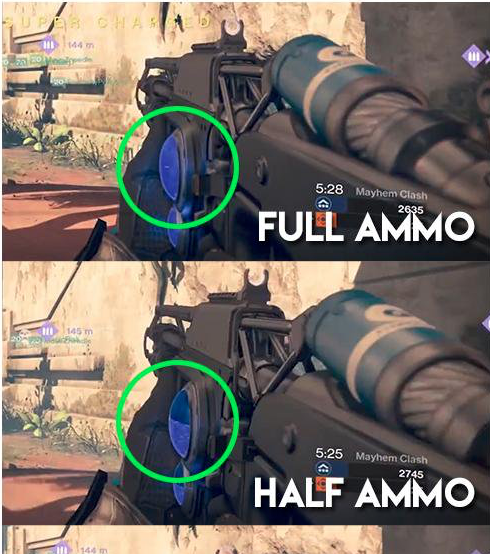
The only thing left for me to figure out is, how do I add a slimy-juice mixture with varying sized bubbles kind of stuck like Jello (I'm thinking of 'flubber'-like material).
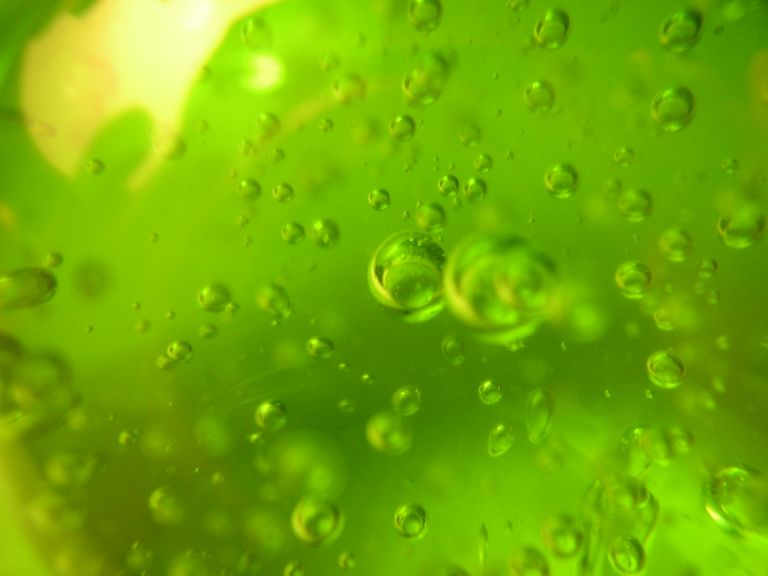
Anyone have any ideas how to make the green bubble on my gun look a little more like this image? I supposed I could make an image texture and 'paint it'.
![]() louhikarme I was hoping on creating the bubbles in blender but the game will eventually go in Unity. I can do it there instead later I suppose.
louhikarme I was hoping on creating the bubbles in blender but the game will eventually go in Unity. I can do it there instead later I suppose.
not sure how to do it in unity, but in ue4 i'd most likely do that with mixing different textures together and then have them move creating movement. and actually you could do this in blender aswell.
create black and white textures or create procedural ones. that has different sizes of bubbles and other details you want, blend them all together with color inputs and then animate. in ue4 that would be panning the textures. also since i don't know how unity does procedural textures, you might need to create those afterall.
Ok that makes sense to me. Thanks ![]() louhikarme Kaj! I have Amplify Shader Editor in Unity so I'll take a look and consider whether I want to do this in blender or unity.
louhikarme Kaj! I have Amplify Shader Editor in Unity so I'll take a look and consider whether I want to do this in blender or unity.
One of my weaknesses right now it getting my models exported properly to unity with all of their textures/materials I have created in blender. I know there is a better way to do it but once I finish animating Lt Porker here I will post some questions on how to do that more efficiently.
It's been quite a few weeks since I have posted. I had to take a break from posting but am back now. Been busy working on my next couple of characters. I submitted on to the modeling challenges live stream. His name is Raraku (a.k.a. Scratch in the Maori tongue). He is one of the indigenous tribal full-body-mask wearers of UnEyeland.
While modeling I was using subdivision surface modifiers because I am still learning modeling and am not overly confident in my lo poly modeling style yet. So I made Raraku in his high poly version first, as seen below:
 Raraku - High Poly
After receiving feedback and modeling advice I was reminded that the model was too high poly for a mobile app. but he looks pretty decent. Thankfully all my modifiers were still active so it is super easy to go back to lo-poly haha.
However it can still be optimized because it makes 19k triangles at the end of the day. I got some tips and tricks to make the leaves a single plane with a texture on it (which cuts down on faces a lot since it is duplicated 8 times, cutting down 1 faces cuts down 8 in total). Half of that 19k is the leaves haha. And I can cut down on the faces for the arms and legs. There really is no need for that many faces on the slender sections.
I still have to learn about baking better to get high poly detail on a lo poly model and perhaps it may even not be needed.
This character will be zoomed out on a battle-field in chess-style combat so I did an overview of what he looks like in his low poly mode below:
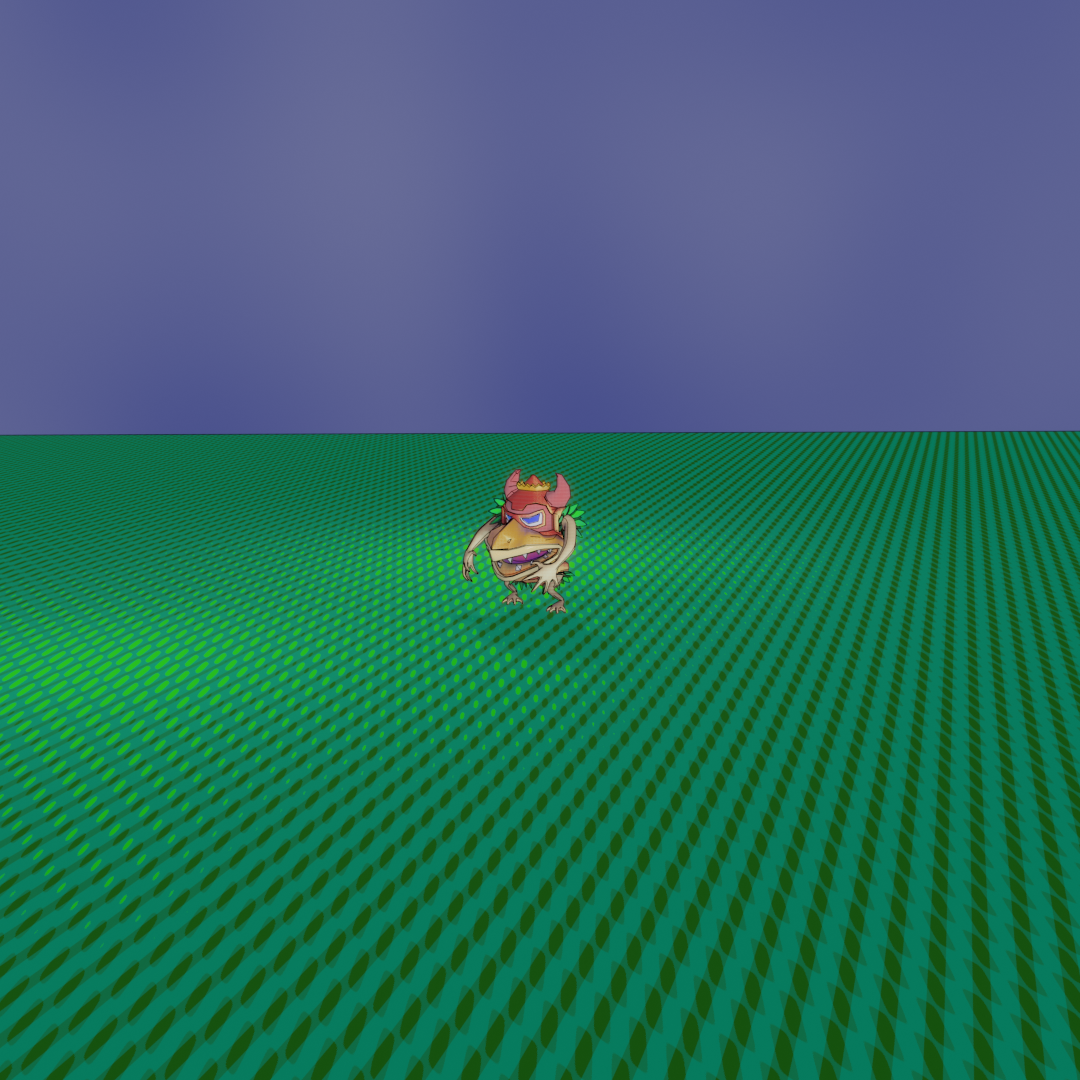 Lo Poly Zoomed Out with a free-style effect.
Man all that work and I hardly notice all of the sharp and jagged edges. But some of my more fine detail headaches in high poly mode also went away (time not-well spent haha). But I have a high poly model for advertising and showing him off now.
I learned a lot and Raraku is my first character after some intense training on live streams and on my own. My journal content took a dip but my skills took a boost. At the end of the day I learned some valuable lessons.
Onward to working on Raraku's Rock Friend: Whakato (Stomping masked friend).
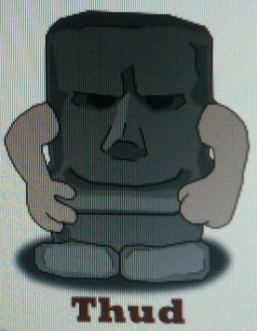
This week I focused my training efforts on recreating yet another character from team UnMask'd. His name is Whakato (loosely translated to "Thud"). As one of the full-bodied mask wearers this character formed his mask from the large hulking stones on the rugged shores of UnEyeLand. The sheer weight of this mask empowers the wearer to super human strength although movement is still quite awkward thus his movement distance is quite limited. Whatako inflicts damage mostly by falling on top of his enemies. His stone is unyielding grant him high attack power as well as extra armor at the cost of movement.
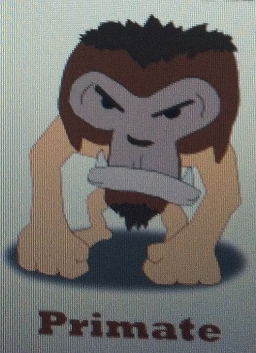
Here's the reference image: I made this 5+ years ago. Thinking that I wanted to see some arms, I decided against it after going 3D. I'll explain why. I also rethought the feet.
When I got the model up and a rough block out done I realized that the sides are much too flat and don't mesh well with a flat back. So I decided to give him some "detachable" ears that the character's arms are fused into. The arms will still come out but they weren't going to be doing any punching so I thought attaching them to ears would be a humorous endeavor to show some emotion during animations when moving or being hurt or dying.
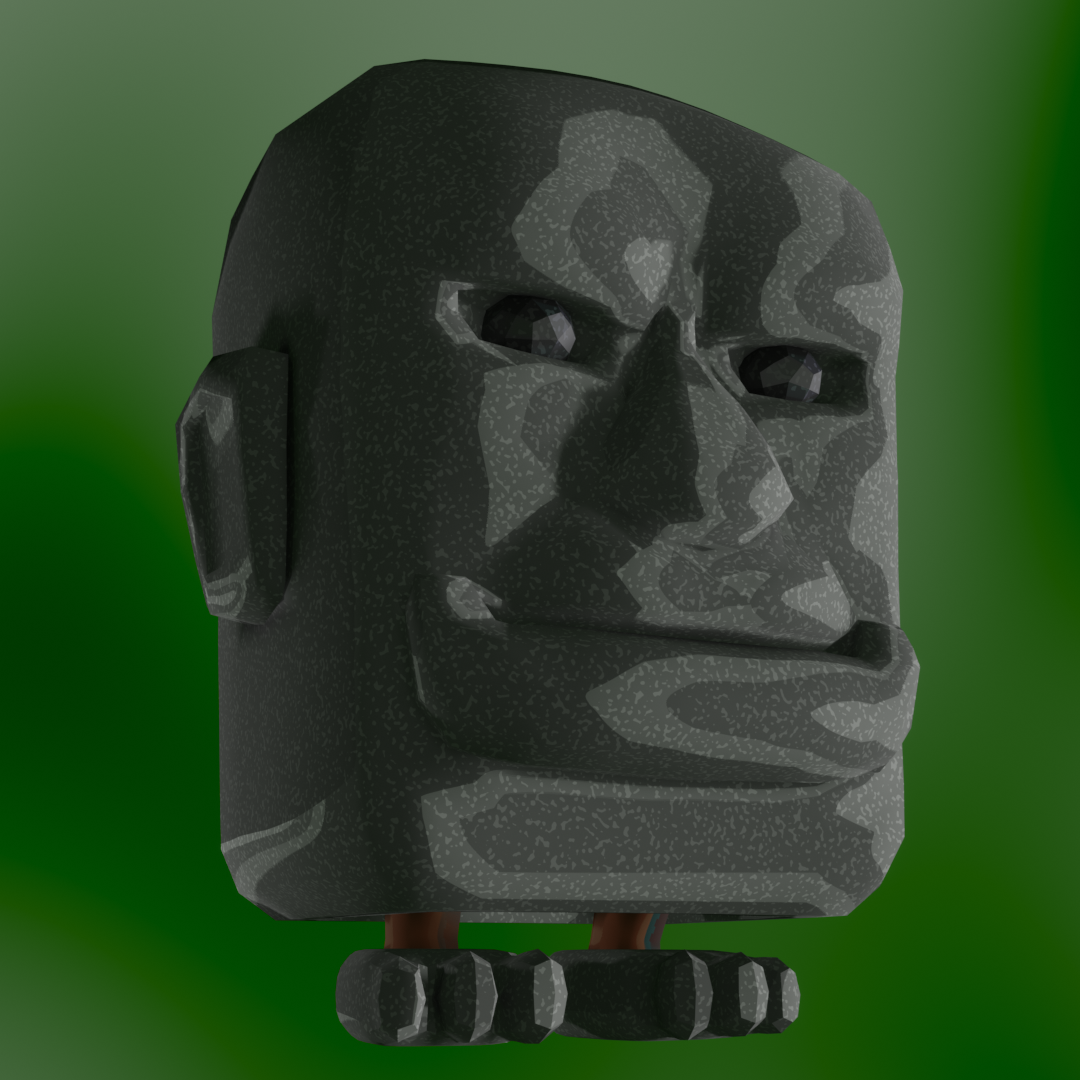
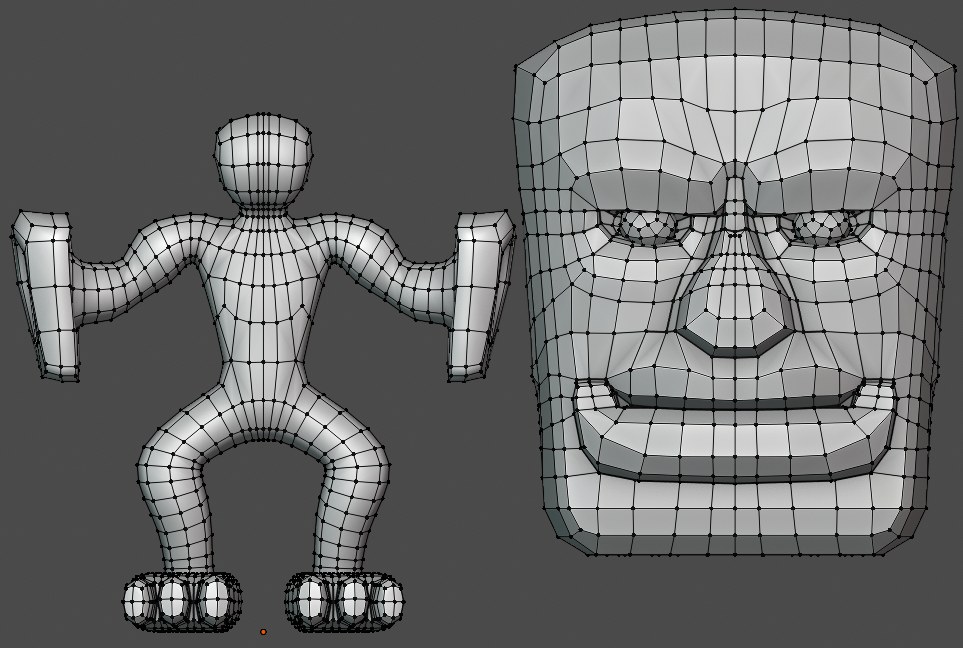
The large feet did not look good no mater how much I tried to get them to look like the 3D picture. Instead I made some more detailed rock feet that his feet have fused to. The feet will retract into the lower part of the mask while the ears will rest at the sides. I'm thinking he will totter and teeter back and forth on these little feat.
That's it for this week's training and experience building. I think I am going to do one more mask and then work some more official training from the CGCookie coursework.
Man it has been a month already. I had 2 cars with problems and a bunch of mechanics tools and youtube. So I bit the free-time bullet and had to fix them. In the meantime I got marginal work done on Maki Maki.
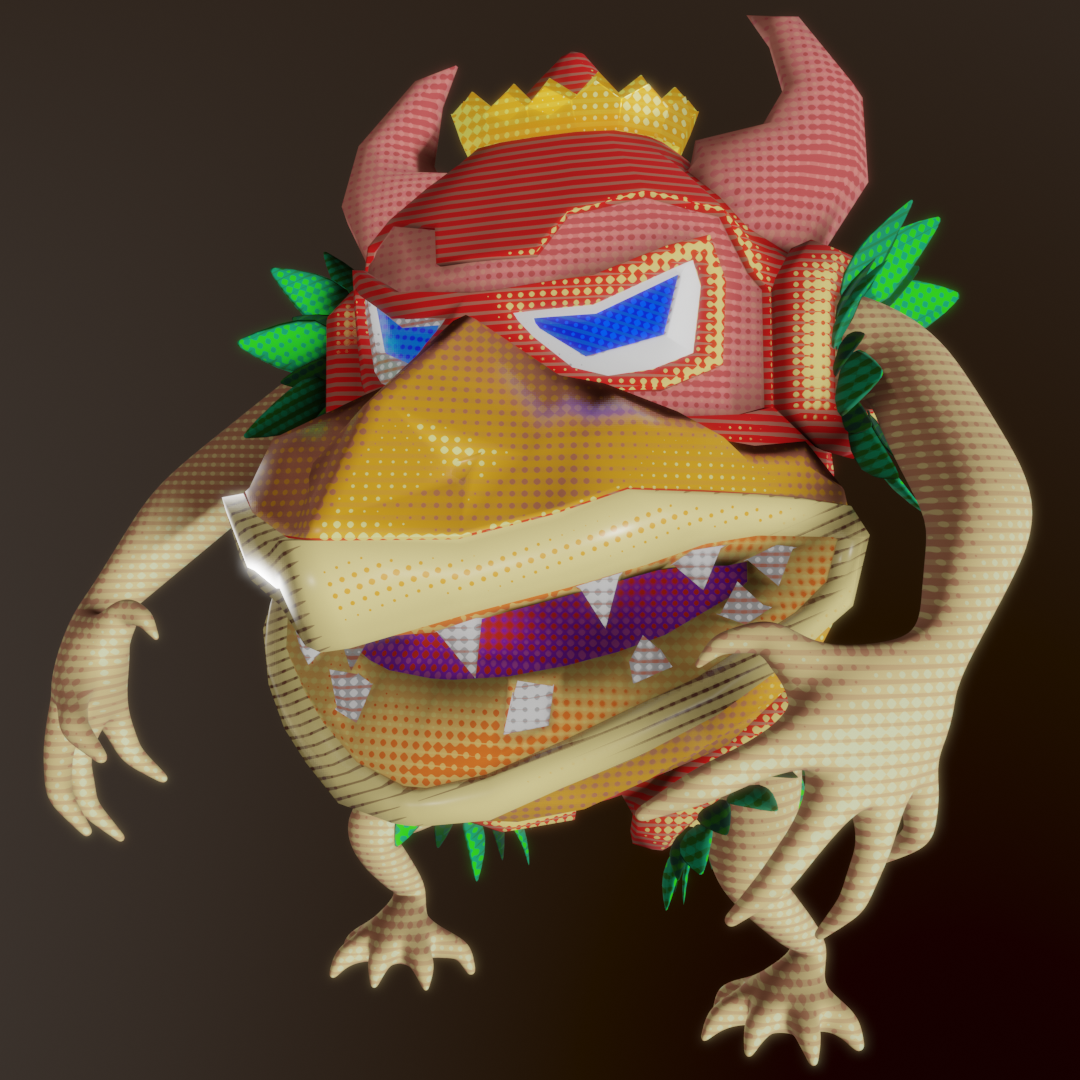
It spent the rest of this weekend finishing him. I really liked copying the face reference from my sketch all those years ago. I think I nailed it.
And I kept him quite low poly.
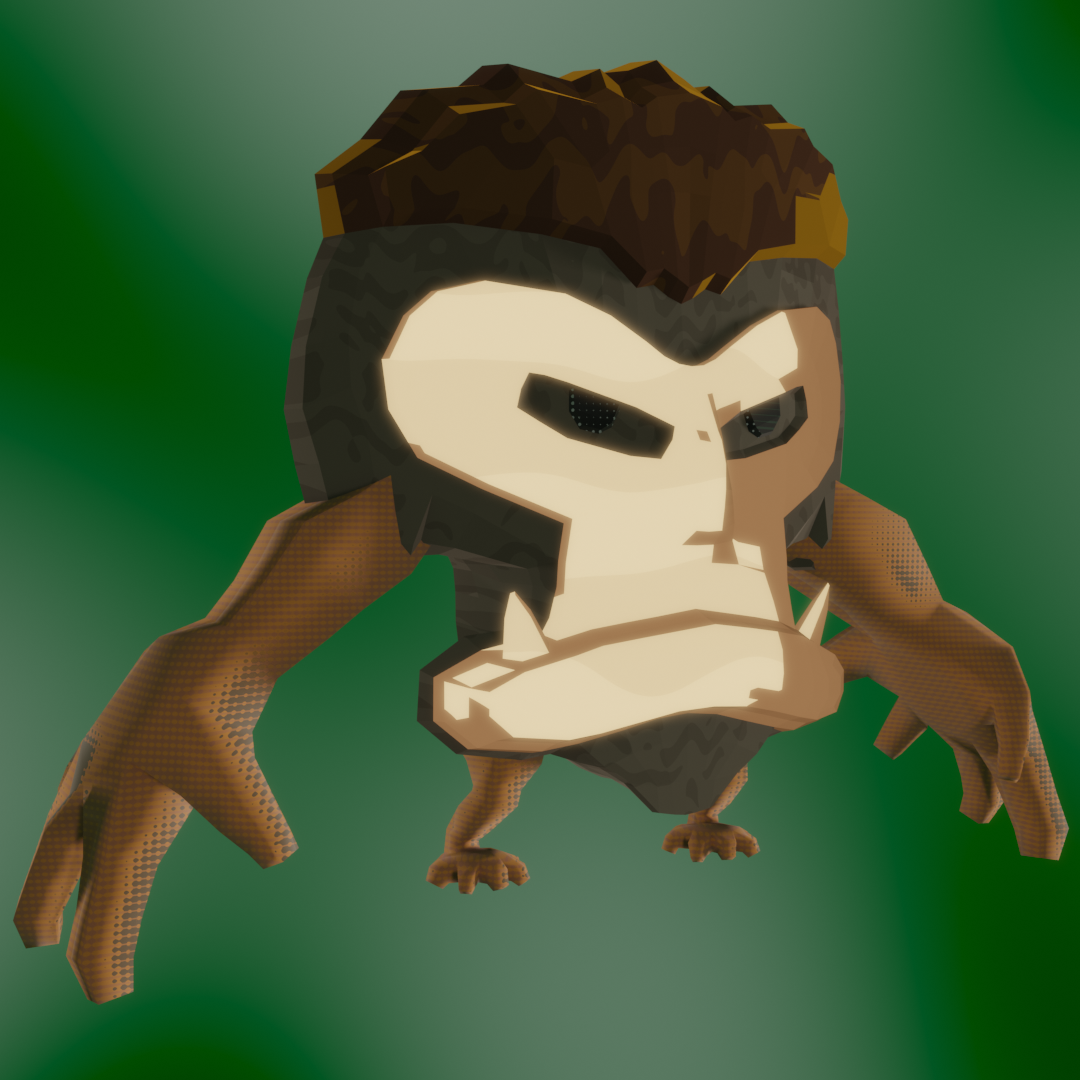 Maki Maki
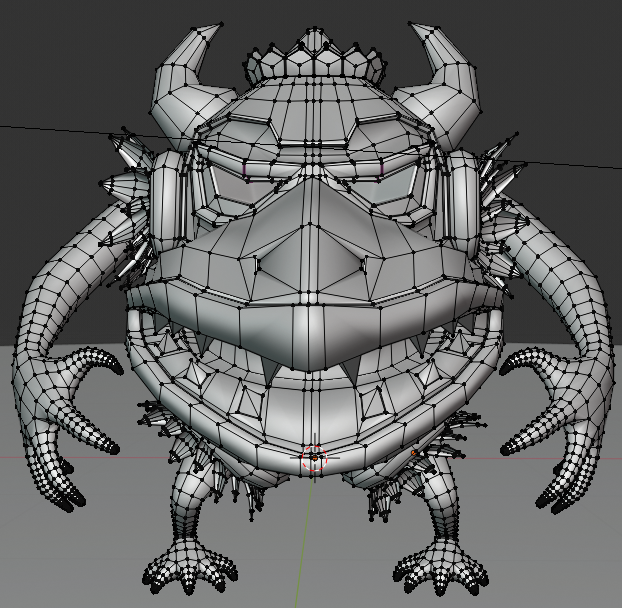
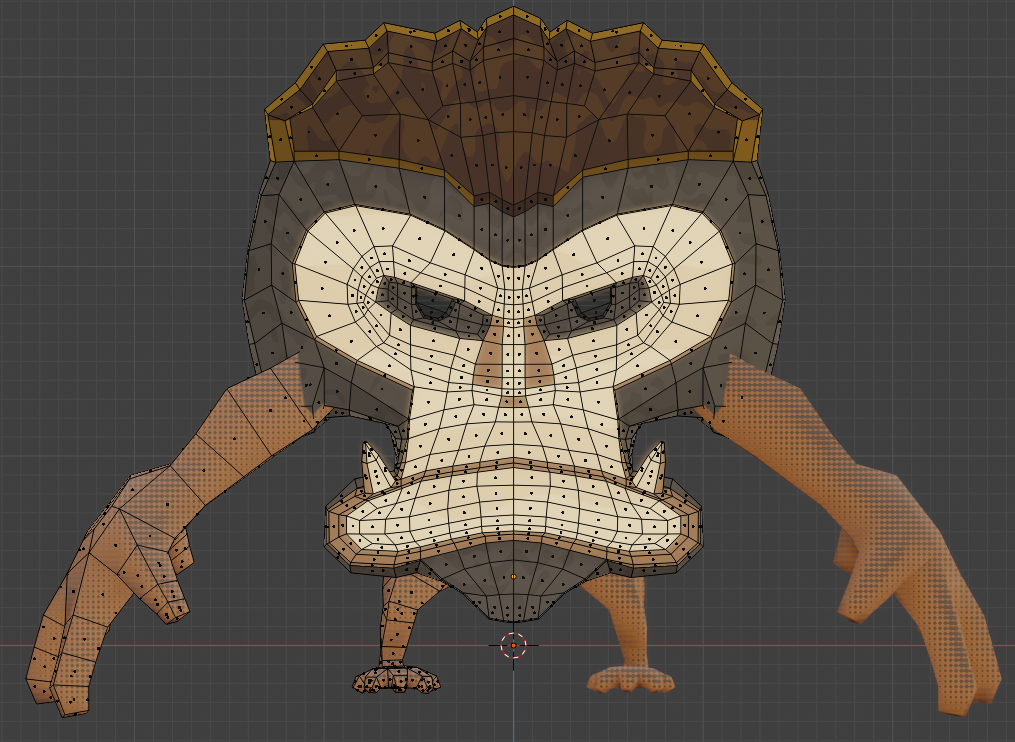 Edit Mesh
Next up is the 'id' character. All the previous ones drew their strength from their masks. The 'id' draws it's strength from the wearer. Allowing the mask to levitate. My more creepy of the characters.
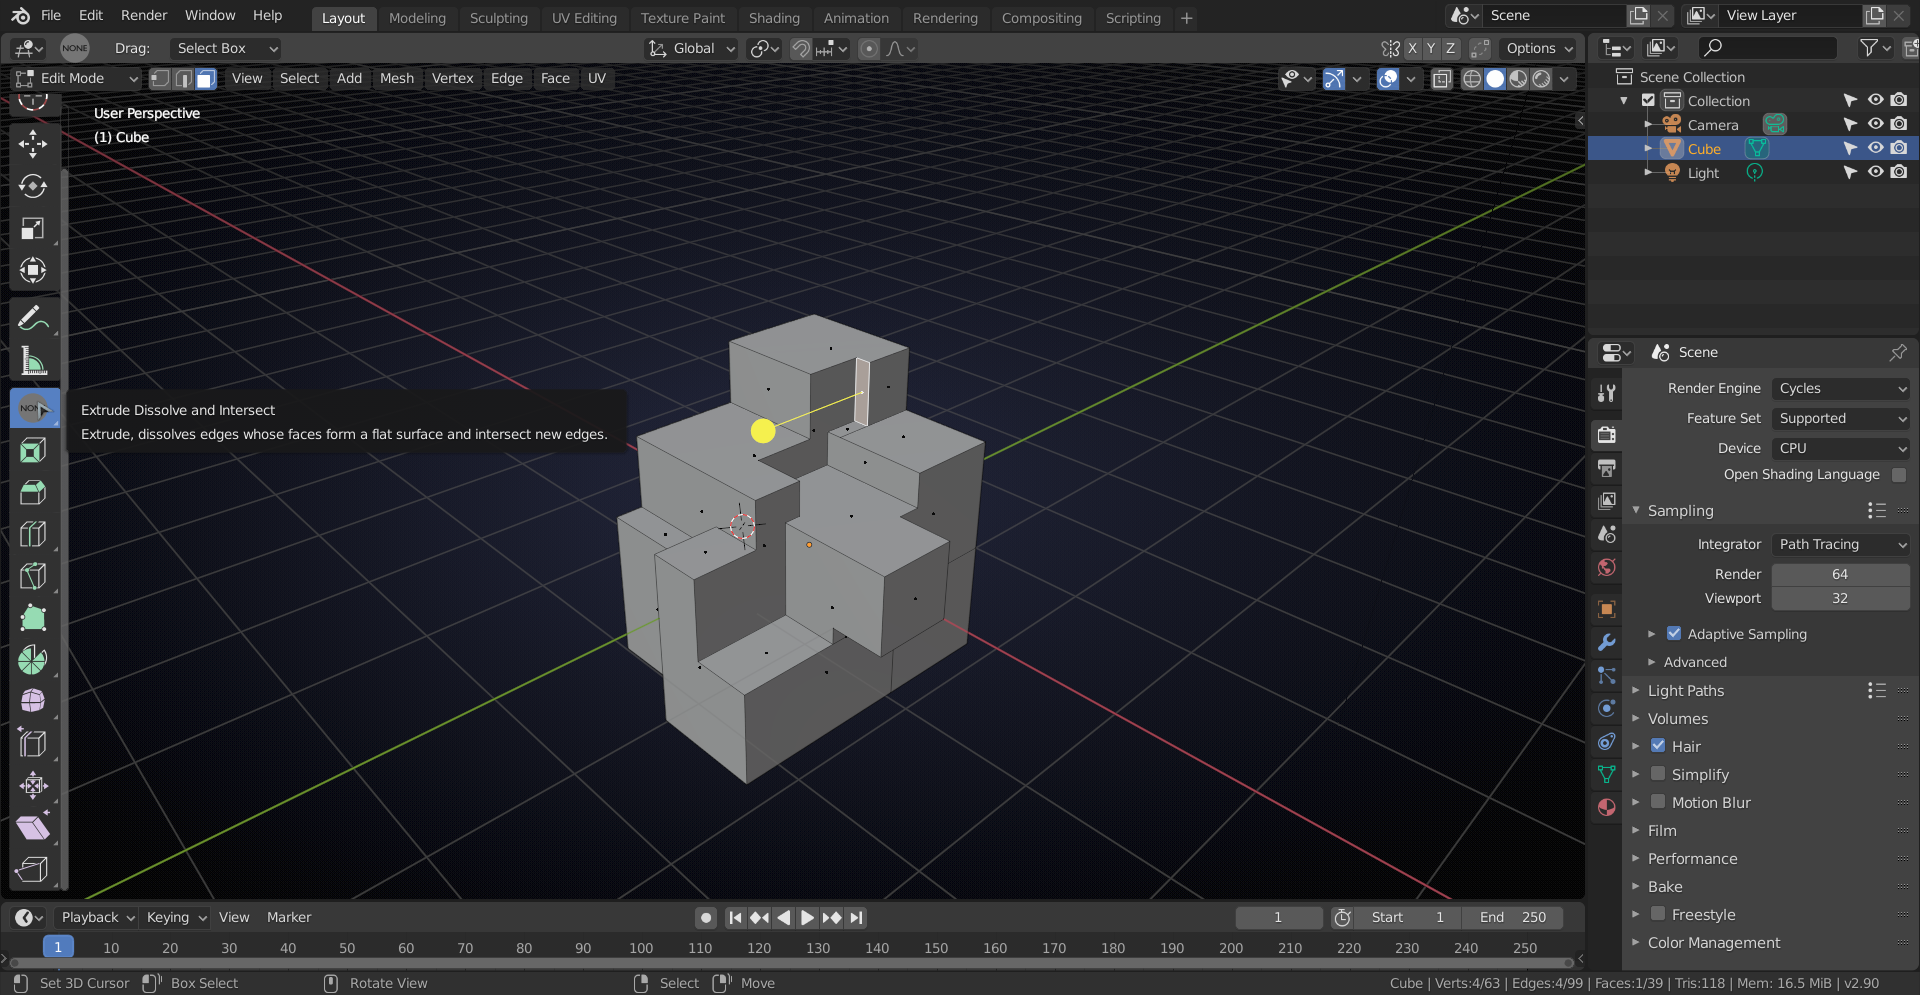
It’s like they knew I wanted NGONS!
So is the 2.9 alpha out ![]() spikeyxxx ?
spikeyxxx ?
Yes 2.90 Alpha is out as you can see;)
Available from Blender.org or build it yourself...
That is amazing. 2.9 forbidden fruit tastes so good ![]() spikeyxxx
spikeyxxx
I like how it doesn't have an icon assigned yet haha. Thanks for taking the time to post this.
Been almost a year since my last polybook posting. Not that I have been slacking. Just working on the backhoe project for a while.
I bought the Blender Bros mech course to learn more of the hard surface workflow just to stretch my wings in other modeling directions while I wait anxiously for the next blender collab project to go underway.
Here's my progress on Mech 1 (beginners mech). I finished basic blockout and am working the bevels on most of the boolean cuts. IT's painful to look at such bad topology yet watch it come out mostly clean on the other side.......wierd, haha. HardOps and BoxCutter sure do have some very fun uses though and I want to learn them better to take advance of workflow improvements.
This is one reason I am using this workflow, to stretch more modeling muscles in unique ways.
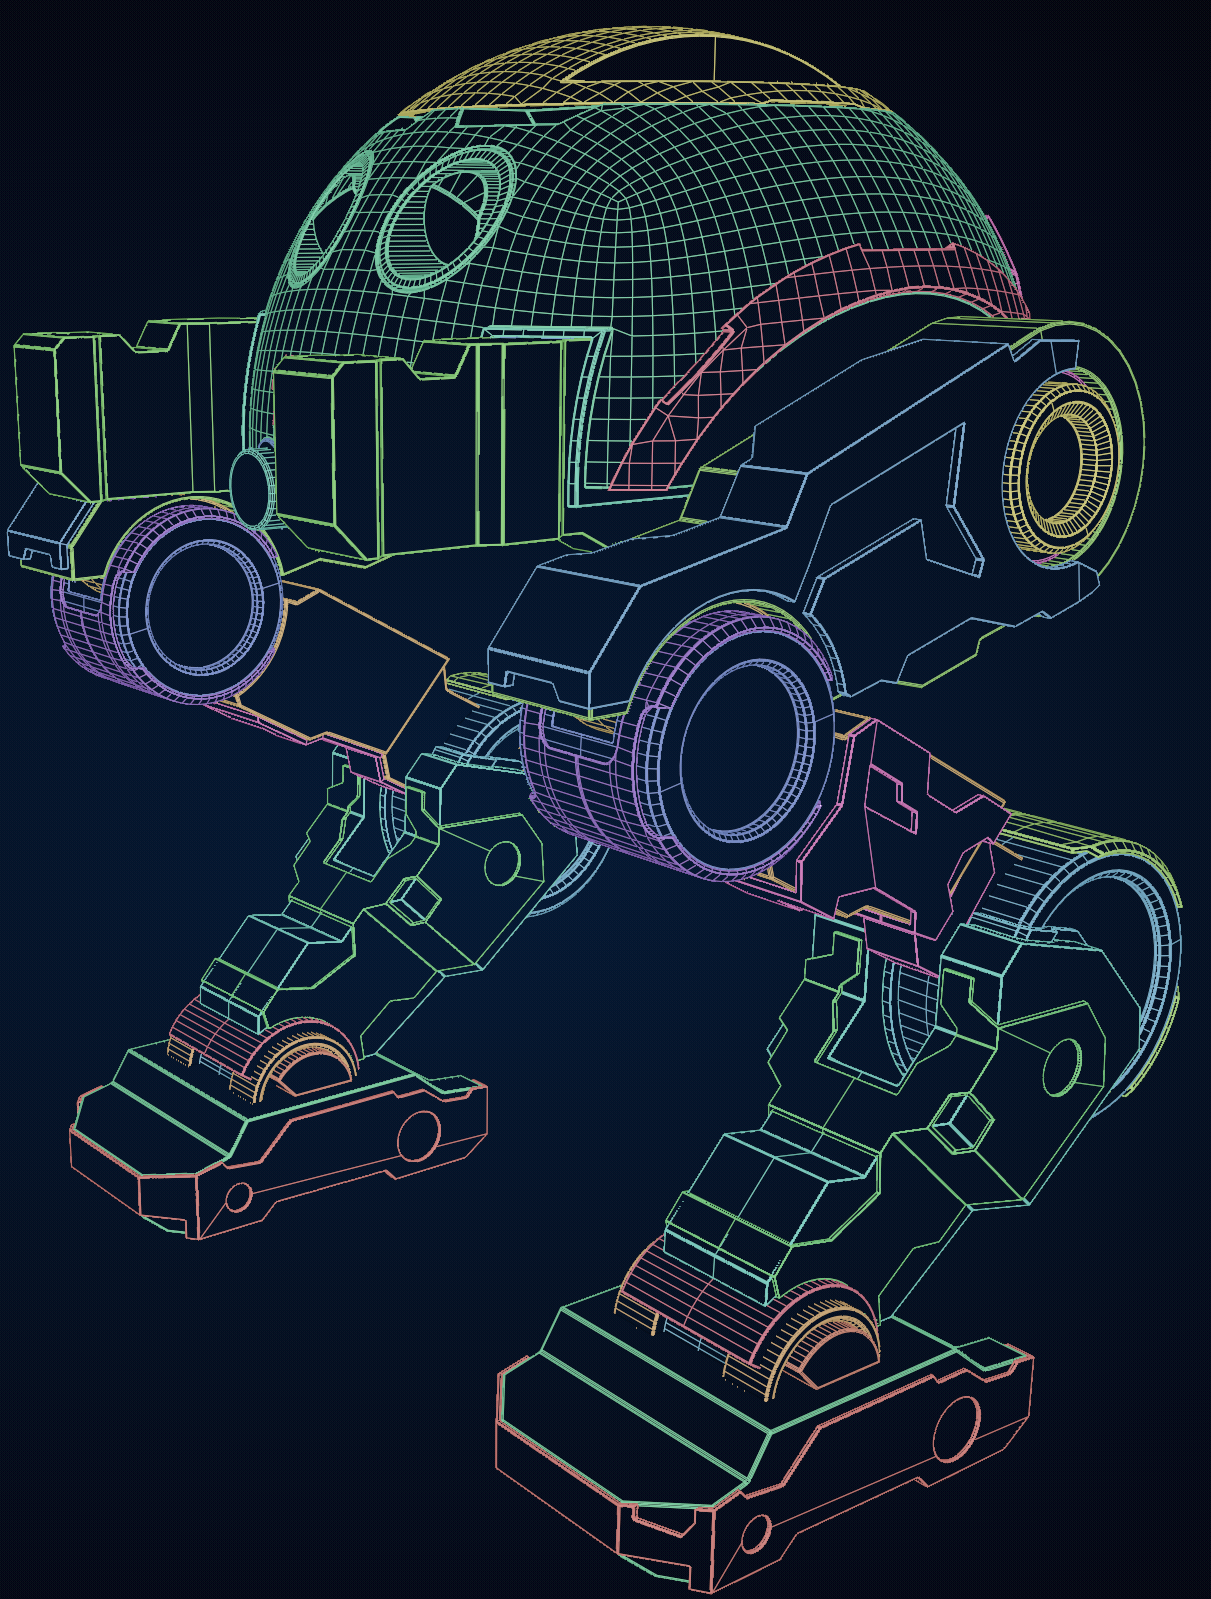
Got some more work done on Robot #1 HOPS and BoxCutter training. Adding some basic plating and doing some bool cleanup: I'm up to 84k faces so far.

Made a little more progress today despite fighting off the "I don't feel like its" and a headache haha.
Mostly just boolean cleanup for the bevels to look decent on the more complex plating pieces.
Here's a preview of the wireframes and actual verts going into the model thus far. No sub-d here!