Hello everybody :)
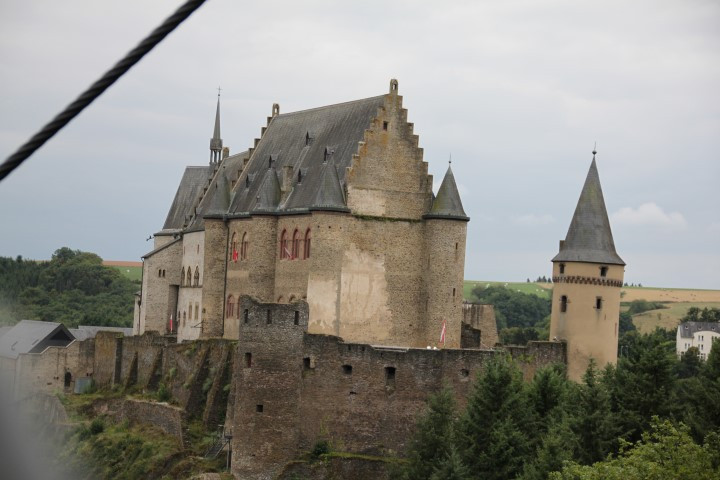
I tried to make an array with a bezier circle to make the tower Details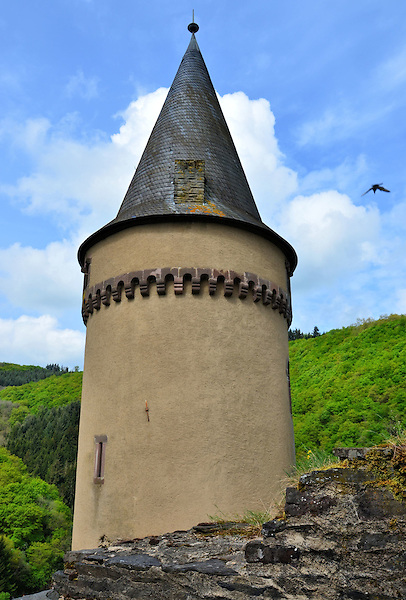
It worked, but the circle is not round anymore, it seems that it turns itself into a spiral
Here my steps:
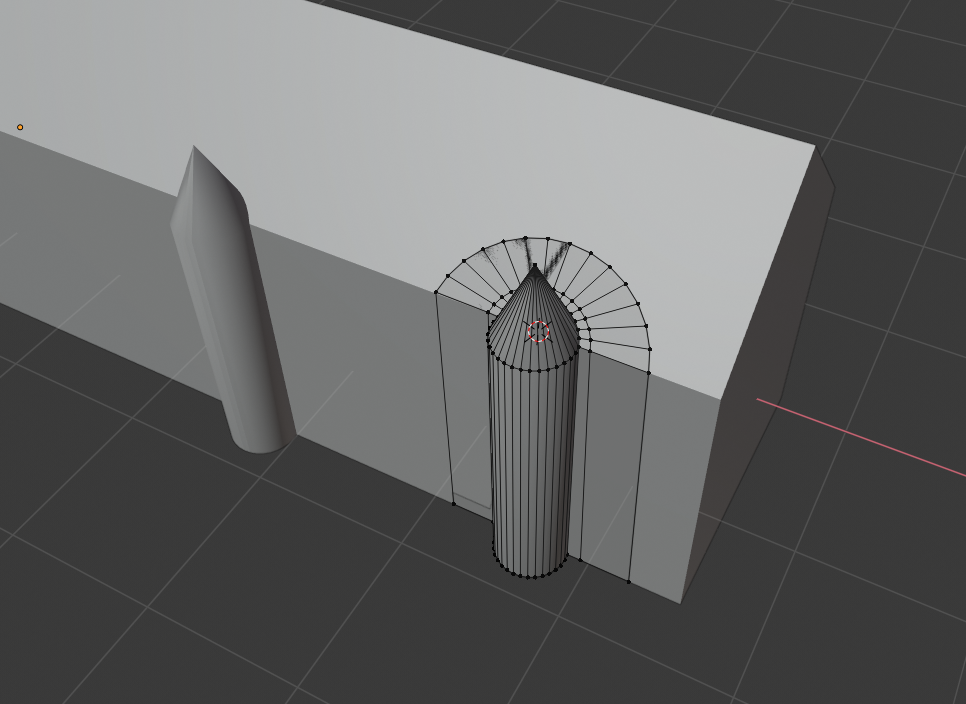
-I created a part of the detail,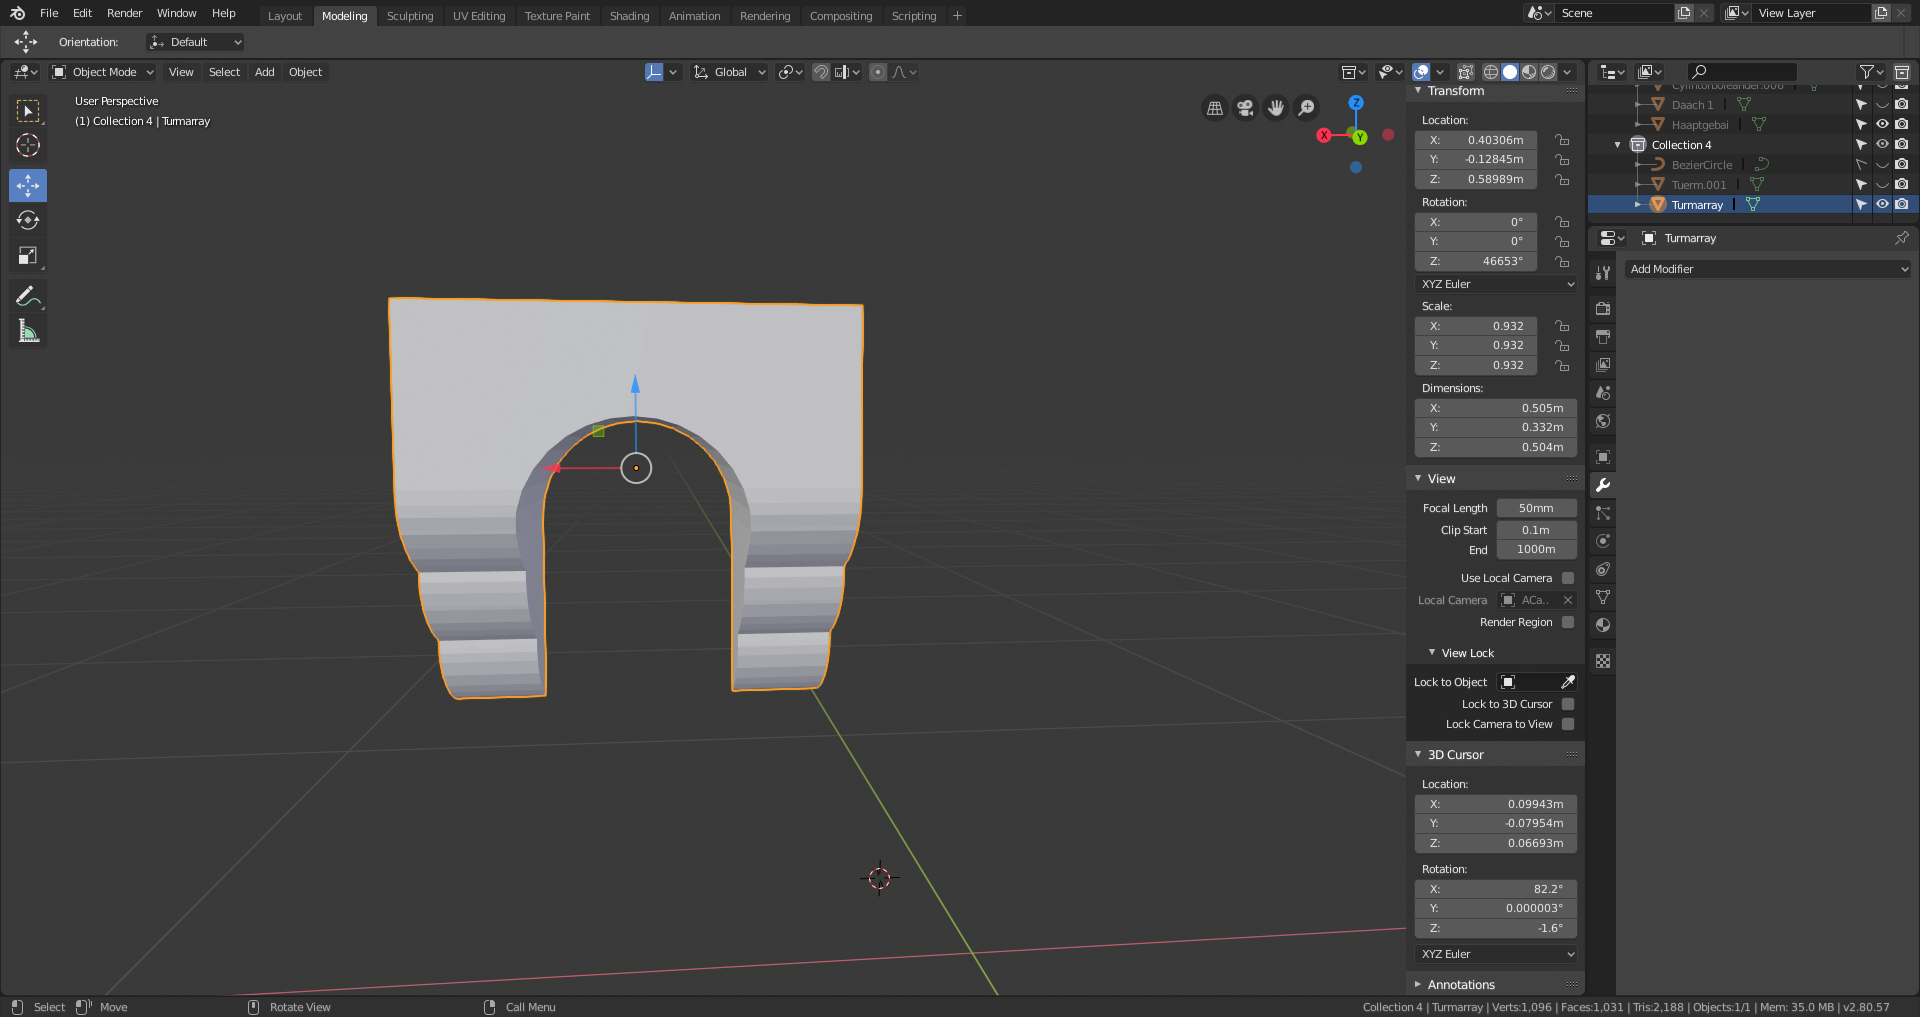
- I added an array modifier with fit type as fitcurve, selected the bezier.
- then I added a curve modifier, selected the bezier again.

I applied scale with ctrl a for the object too. I tried also to change the local axis in edit mode, brings me weirder results…
Thanks for your help :)
Greetings
The current scale of the 'tower detail' object is 0.932, that's why it doesn't complete the circle all the way. Hit CTRL+A with the object selected and hit "Scale". This applies the current scale of the object and sets it 1.
Hi romainhd, as numbernine said the scale should be applied, but it looks like you did that already in the last screenshot ( and you also said that you applied it), but for the spiralling, that has to do with the rotation of your detail segment. Set the Z-rotation back to 0. (Do NOT apply the rotation, but set it to 0 in the N-panel!)
rromainhd Bummer! Could you share your .blend? That would be extremely helpful! Otherwise it's just a guessing game;)
I've had similar problems with the curve modifier and there is a lot that you could be doing wrong.
The video showed the problem all right, but not what's causing it. At least, I couldn't figure it out, just by looking at it.
I'm convinced that I could help you if I had access to your .blend.
rromainhd Okay, I've got it now, I'll look into it. As for the difference, as far as I understand it, the .blend1 is sort of a backup. There is an Article about this, just released, by Wayne: https://cgcookie.com/articles/what-is-a-blend1-file-and-do-you-really-need-them
rromainhd So it seems to be simply a matter of the rotation of the 'Turmarray' as I suspected, Maybe this will show you how the rotation affects the result: https://youtu.be/Gq9eqqdphLc
It's really poor quality, but I hope you can see it, because YT told me the video is private, although I set it to public???
![]() spikeyxxx Thank you, yes it worked :) Maybe you can help me with the next Problem, I want to do one Roof with the Building and the Towers, how should i do it? I tried to extrude the edges of a clyinder, but the Transition from it between the Roof of Tower and Building is a mess ;) thank you
spikeyxxx Thank you, yes it worked :) Maybe you can help me with the next Problem, I want to do one Roof with the Building and the Towers, how should i do it? I tried to extrude the edges of a clyinder, but the Transition from it between the Roof of Tower and Building is a mess ;) thank you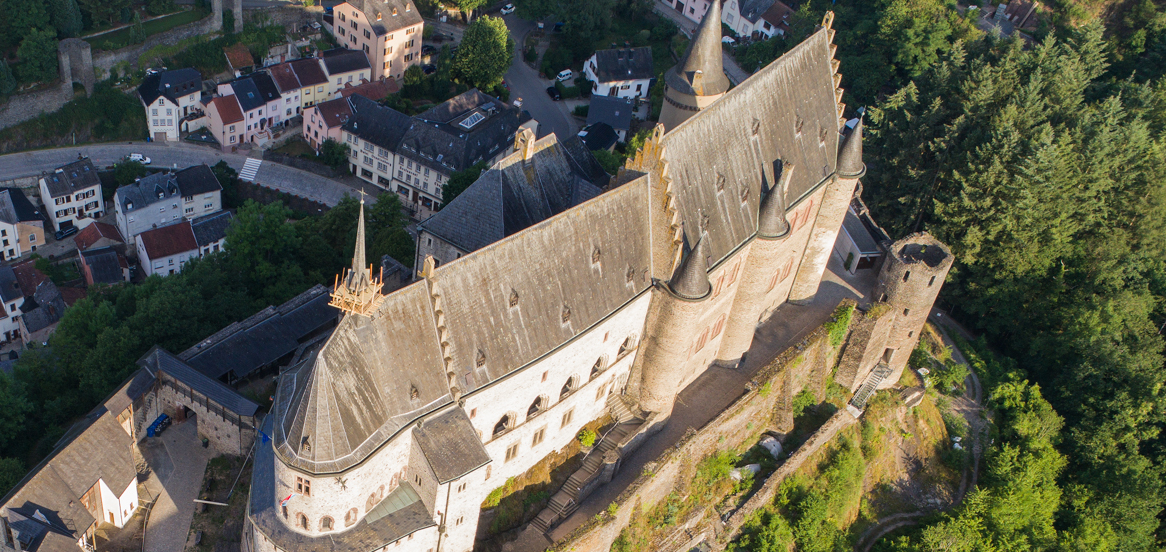
rromainhd Simply put them 'through' each other. You can join them, make them one object, by selecting them in Object Mode and press CTRL + J, although that ain't even necessary, it just makes it more organized and easier to temporarily hide the 'mould' ( I misspelled that earlier...).