There a number of ways (beside modeling) to get 3D on a surface. I've used various ones, and I'm starting to get confused by their relationships. Maybe someone can clarify? (Still using 2.79b.)
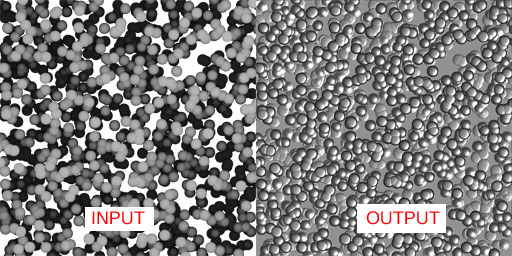
My starting point: Cycles, glossy plane, not subdivided. Using an image texture for depth.
Adaptive subsurf and Displacement modifier seem to be mutually exclusive.
First thing to learn is to start calling the various methods by it proper name, Look here for some help
Elliminate Texture Confusion: Bump, Normal and Displacement Maps
Wikipedia, PolyCount and Valve Developer offer excellent - visually suported - explanations about the theory behind it:
- http://wiki.polycount.com/wiki/Displacement_map
- http://wiki.polycount.com/wiki/Normal_map
- http://wiki.polycount.com/wiki/Self_shadowed_bump_map
Youtube also offers a load of tutorial on various ascepcts of Blender texturing subjects:
- https://www.youtube.com/results?search_query=blender+texturing+tutorials
>
- https://www.youtube.com/results?search_query=blender+texturing+basics+cycles
I hope this information helps to see Blender Cycles texturing things clear and bright again..
Thanks iindigowarrior9 for the links. I have studied the topics before, but I reviewed them again. My main source of information was
Height Maps vs. Normal Maps in Normal Map Modeling for Games by @jlampel
I think my original question/title may have been unclear and a little misleading. I'll try to clarify.
I find the definitions in the first Pluralsight article a little less than helpful. It seems clearer to call a grayscale image texture containing relative heights a "height map", corresponding to the data which it contains. It can properly be used for several different purposes. The number of bits is important, but doesn't change the functions.
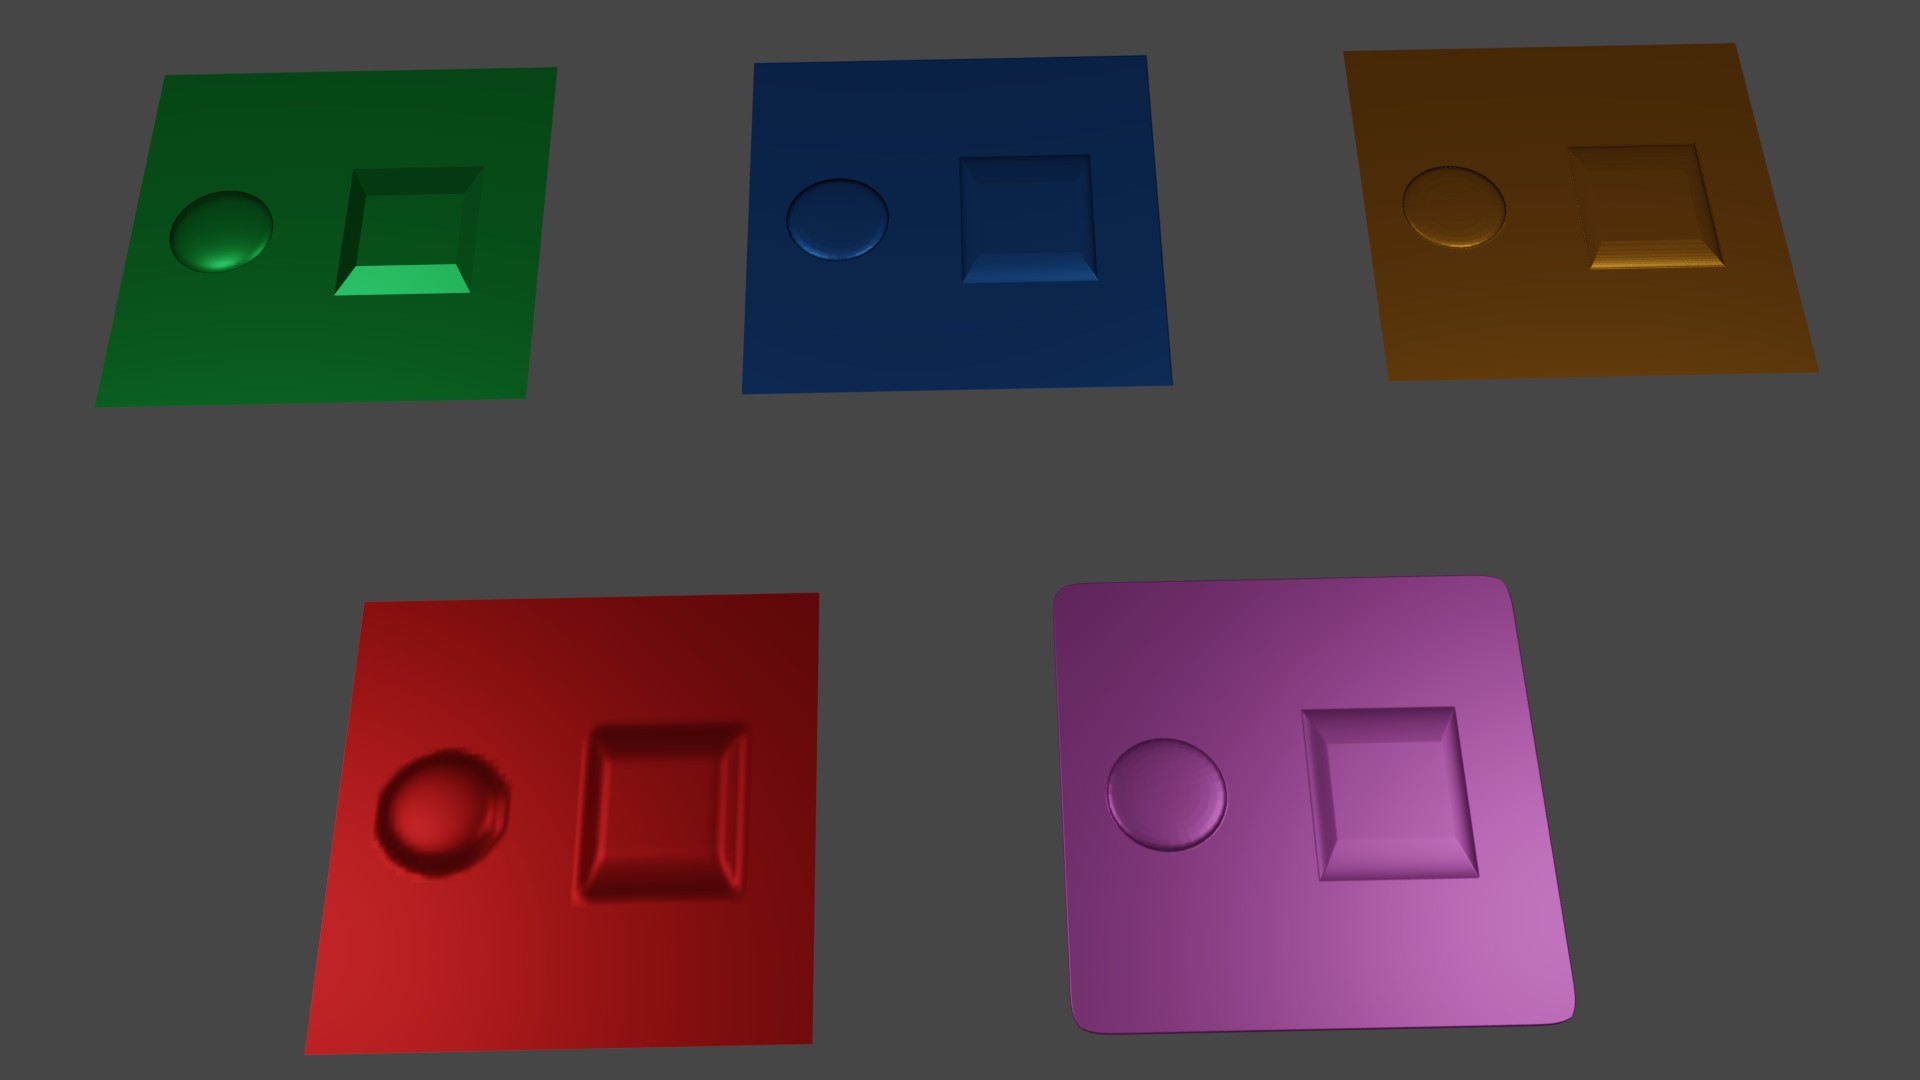
I was surprised when I discovered that 3 different methods in Cycles can produce similar "faked" rendered output:
1. RGB normal texture => Normal Map node => shader Normal input
2. Grayscale height texture => Bump node => shader Normal input
3. Grayscale height texture => material output Displacement input
All perform bump mapping. #1 is slightly better quality.
And of course the height texture can be used to actually displace the geometry.
4. Via Displace modifier (low performance and quality)
5. Via adaptive subsurf / tesselation (high performance and quality; needs a good image)
#1=green #2=blue #3=gold
#4=red #5=pink
Hi techworker1, let me try to make things a bit clearer.
First of all Bump and Normal nodes do not change the geometry. You can use them on an unsubdivided Plane.
Displacement in 2.79 works as a Bump by default.
If you want real displacement, you'll have to set Cycles to experimental AND in the Materials Tab under Settings change the Displacement from Bump to True!
The Displacement moves vertices up and down along the surface normals, so it is highly dependent on the amount of vertices.
This is where adaptive subdivision comes in, it subdivides per pixel, so that something that is far away, get's less vertices than something that is near the Camera.
Hope this helps a bit.
By the way, the reason, that Adaptive Subsurf and Displacement modifier do not work together is that the Adaptive Subsurf always
needs to be at the bottom of the Modifier stack, so the subdivision happens after the displacement, which doesn't help the displacement of course.