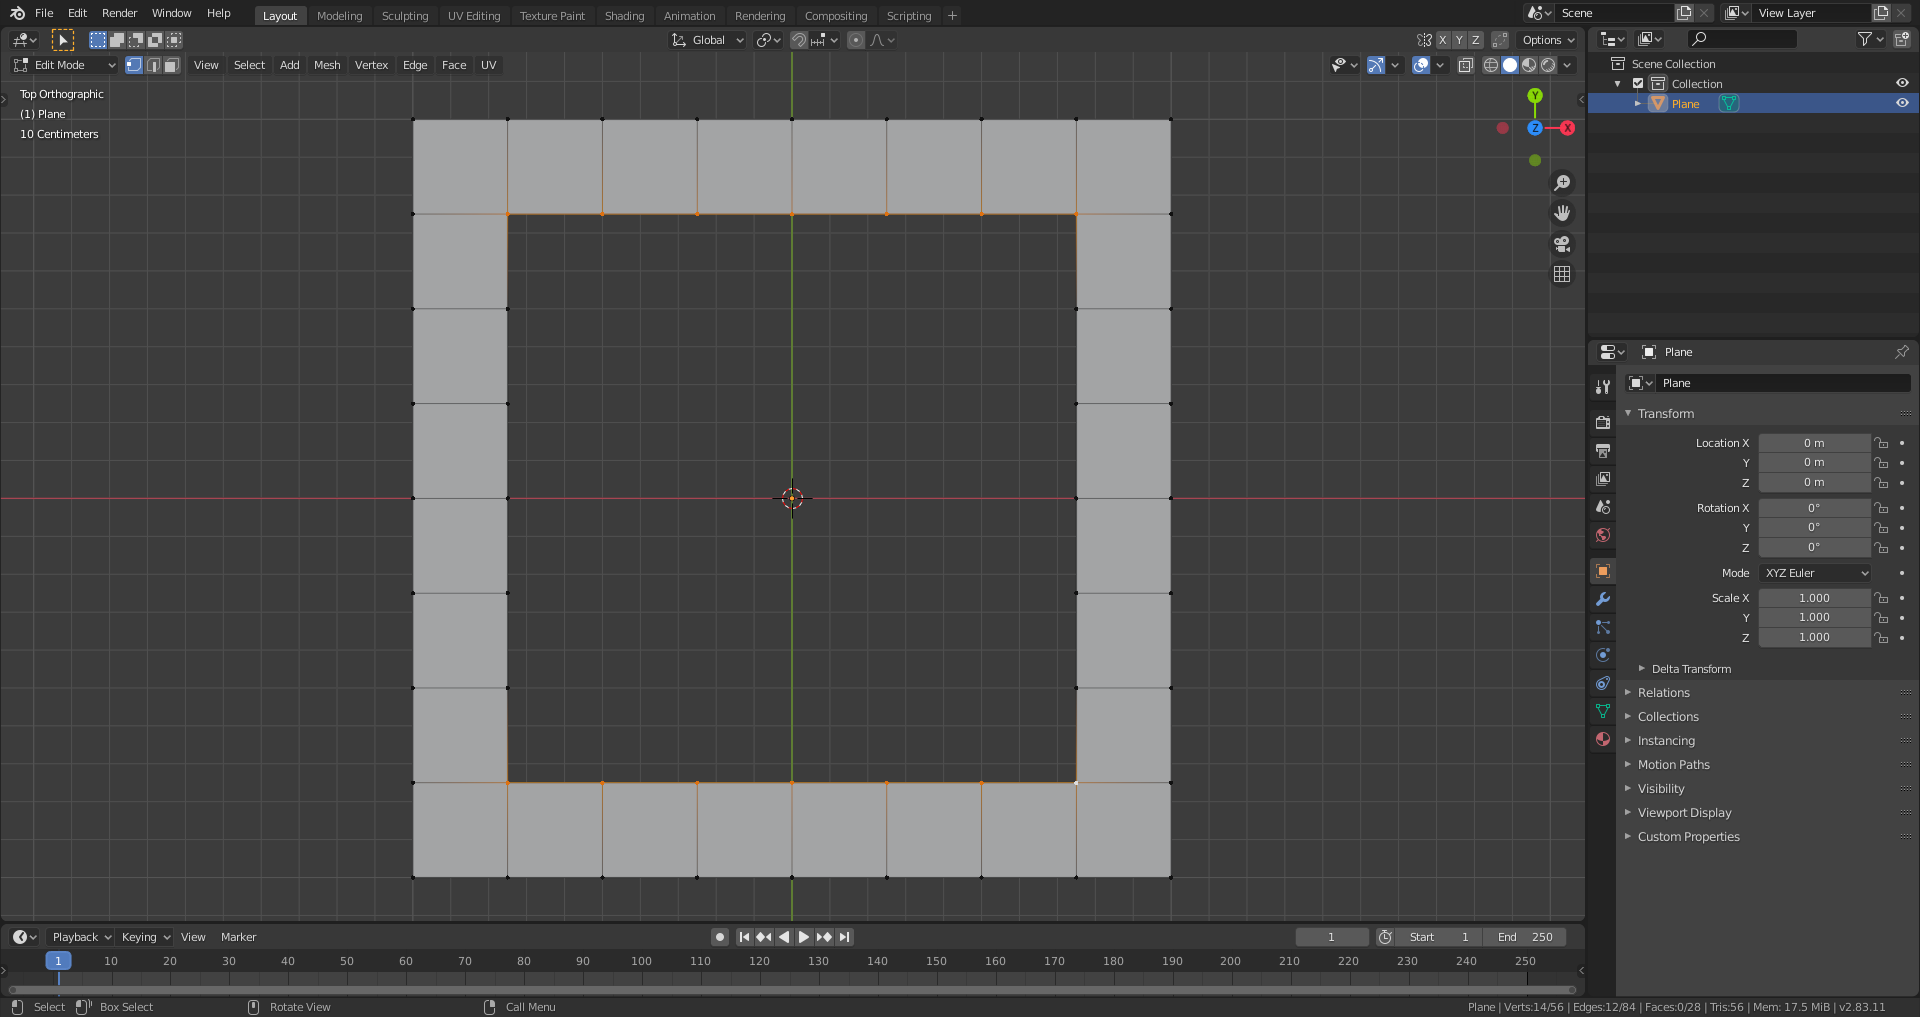
So how does grid fill really work? i tried following thu and the grid fill threw me this. The highlighted are is the area that I deleted completely.
Hi Jonathan. Good question!
Grid Fill has some settings, for instance you can change the Span:
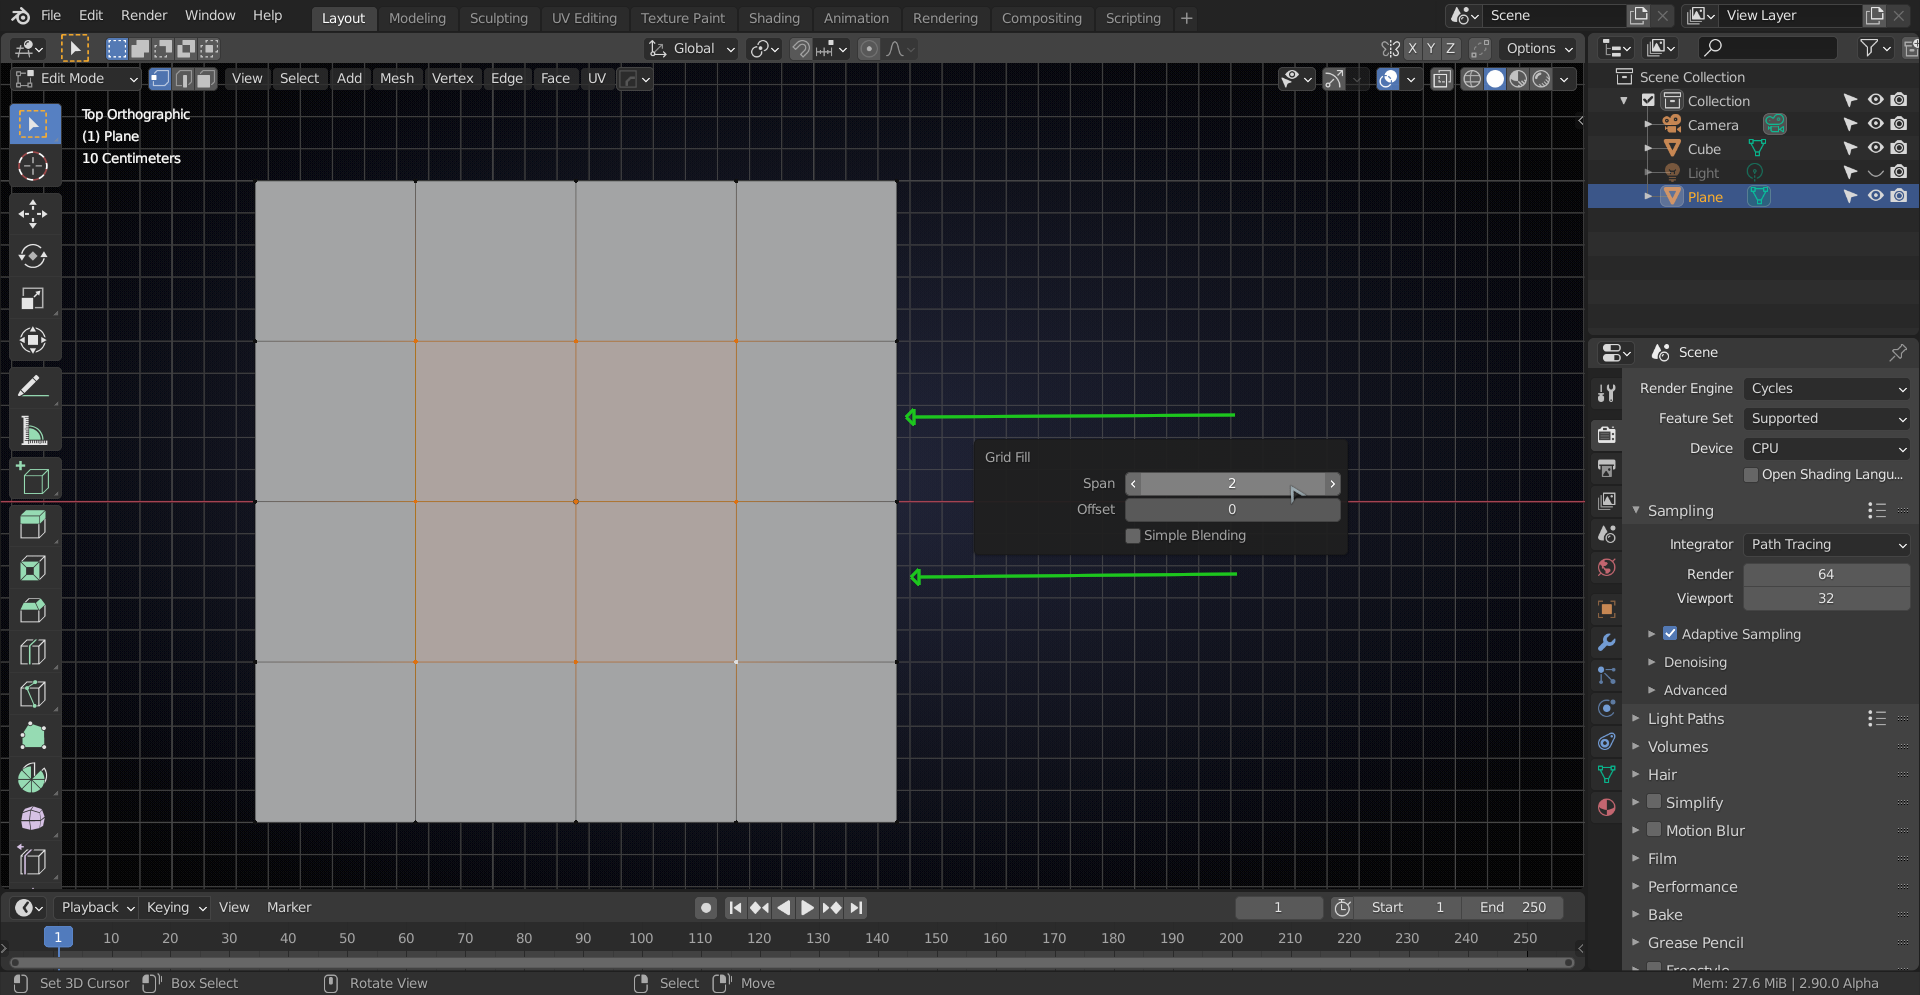
I know it says number of columns here and it's actually the number of rows, but when you change the offset, it will be 'correct'.
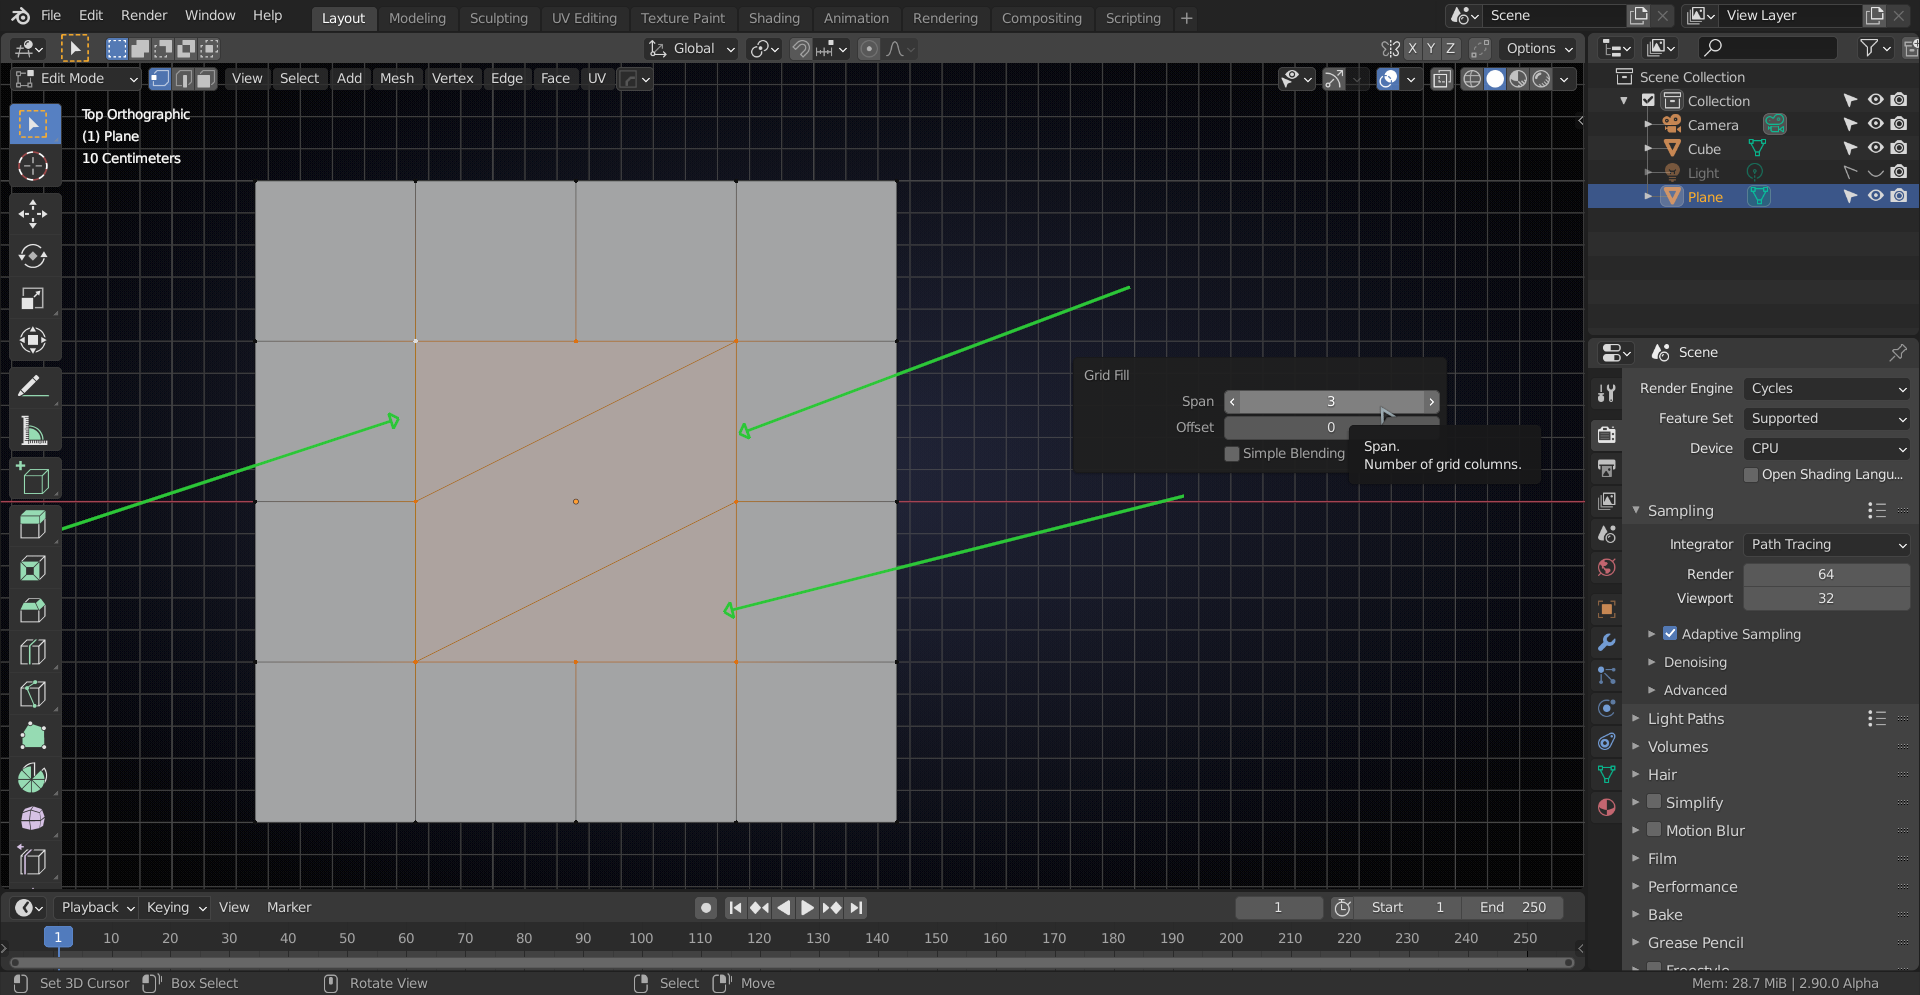
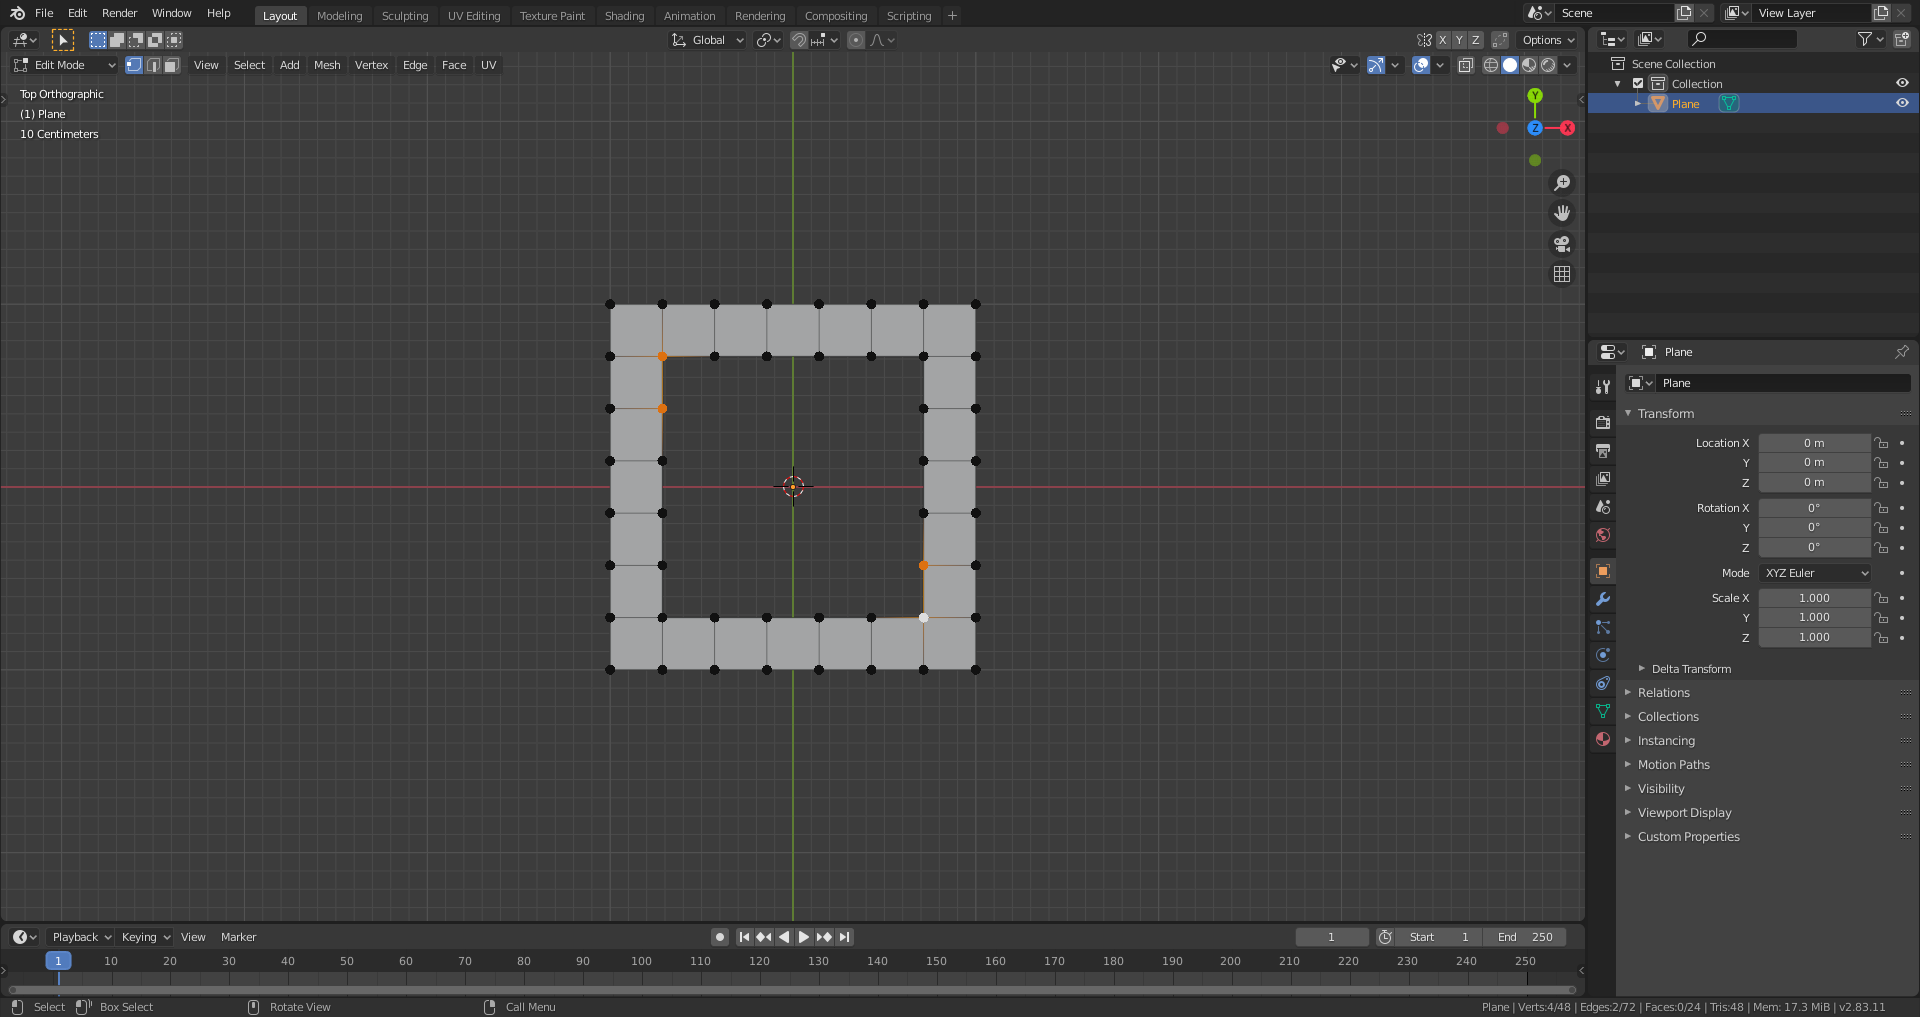
As you might remember, all the Vertices of a mesh are numbered and depending on how something is created two identical looking meshes can have different numberings and then the Grid Fill will fill differently:

or:
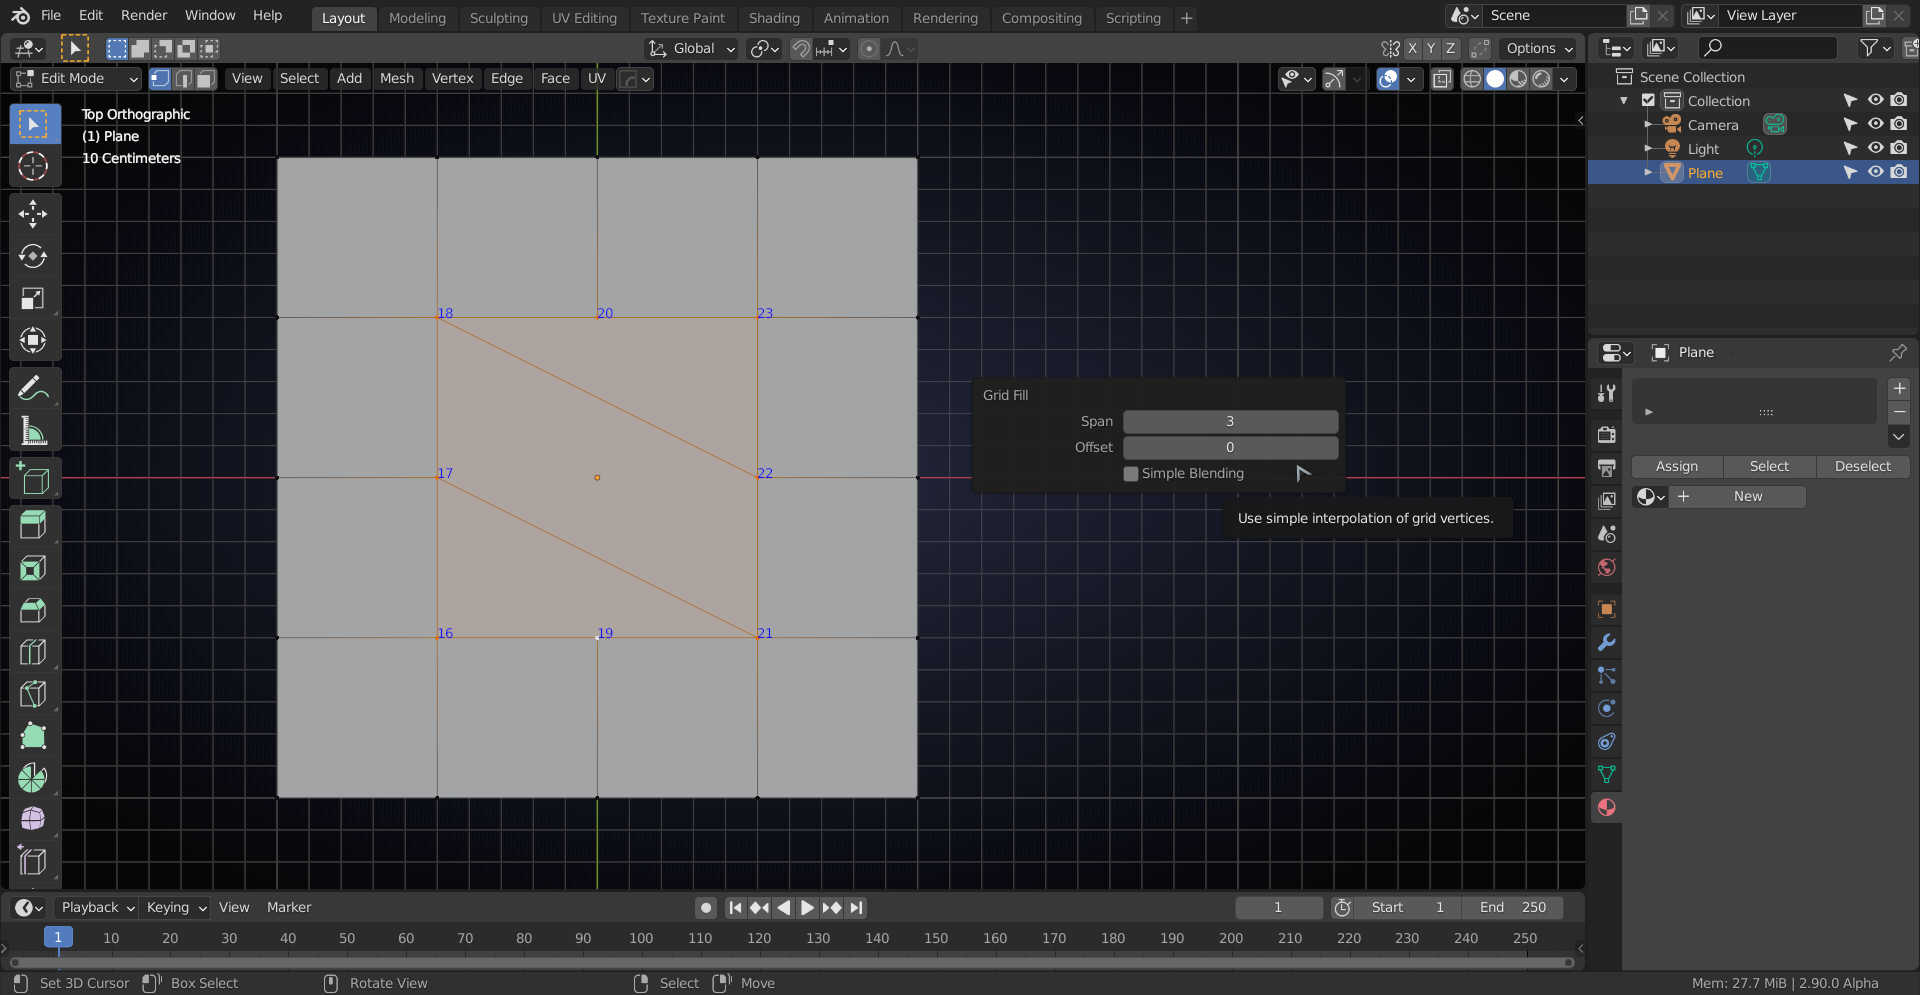
This is why it can behave inpredictable, but just tweaak the settings untill you get what you like; it certainly beats filling everything in by hand;)
(I have the Grid Fill in my quick favorites menu because I use it quite a lot and there is no shortcut for it...)
"Grid Fill" has two basic working modes:
The first one is the one described above by ![]() spikeyxxx where you select all your vertices around the hole which you want to close and where you can tweak the filling with the settings for "Span" and "Offset" after the fill command.
spikeyxxx where you select all your vertices around the hole which you want to close and where you can tweak the filling with the settings for "Span" and "Offset" after the fill command.
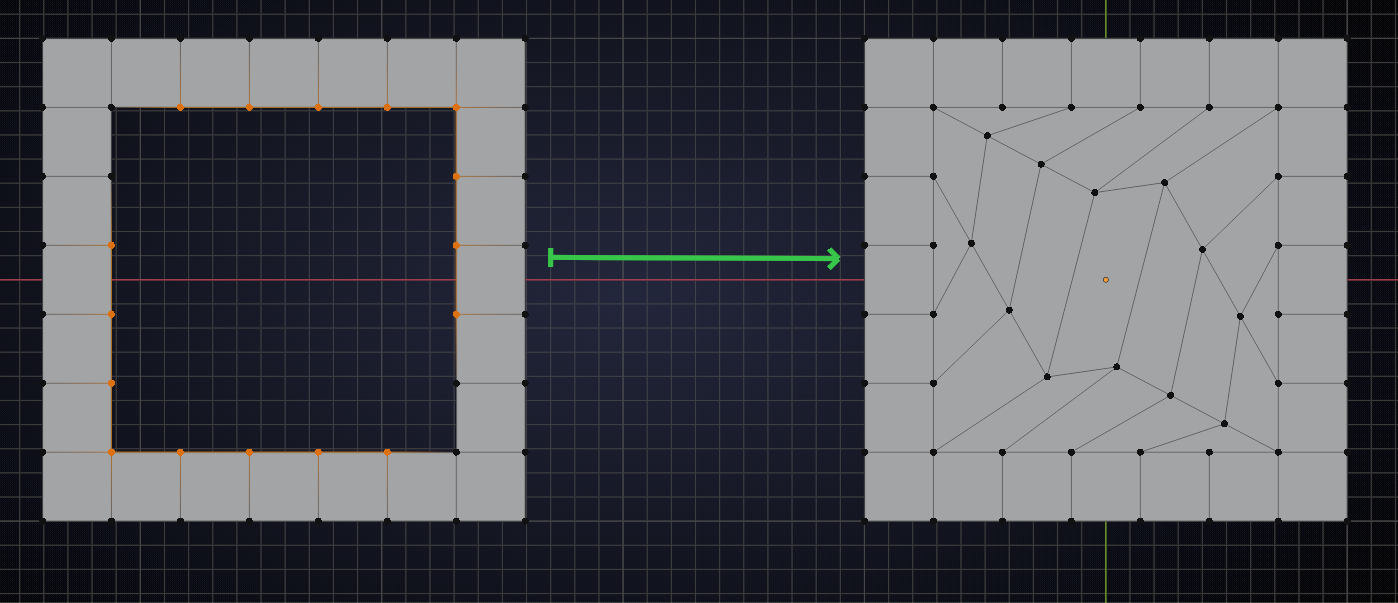
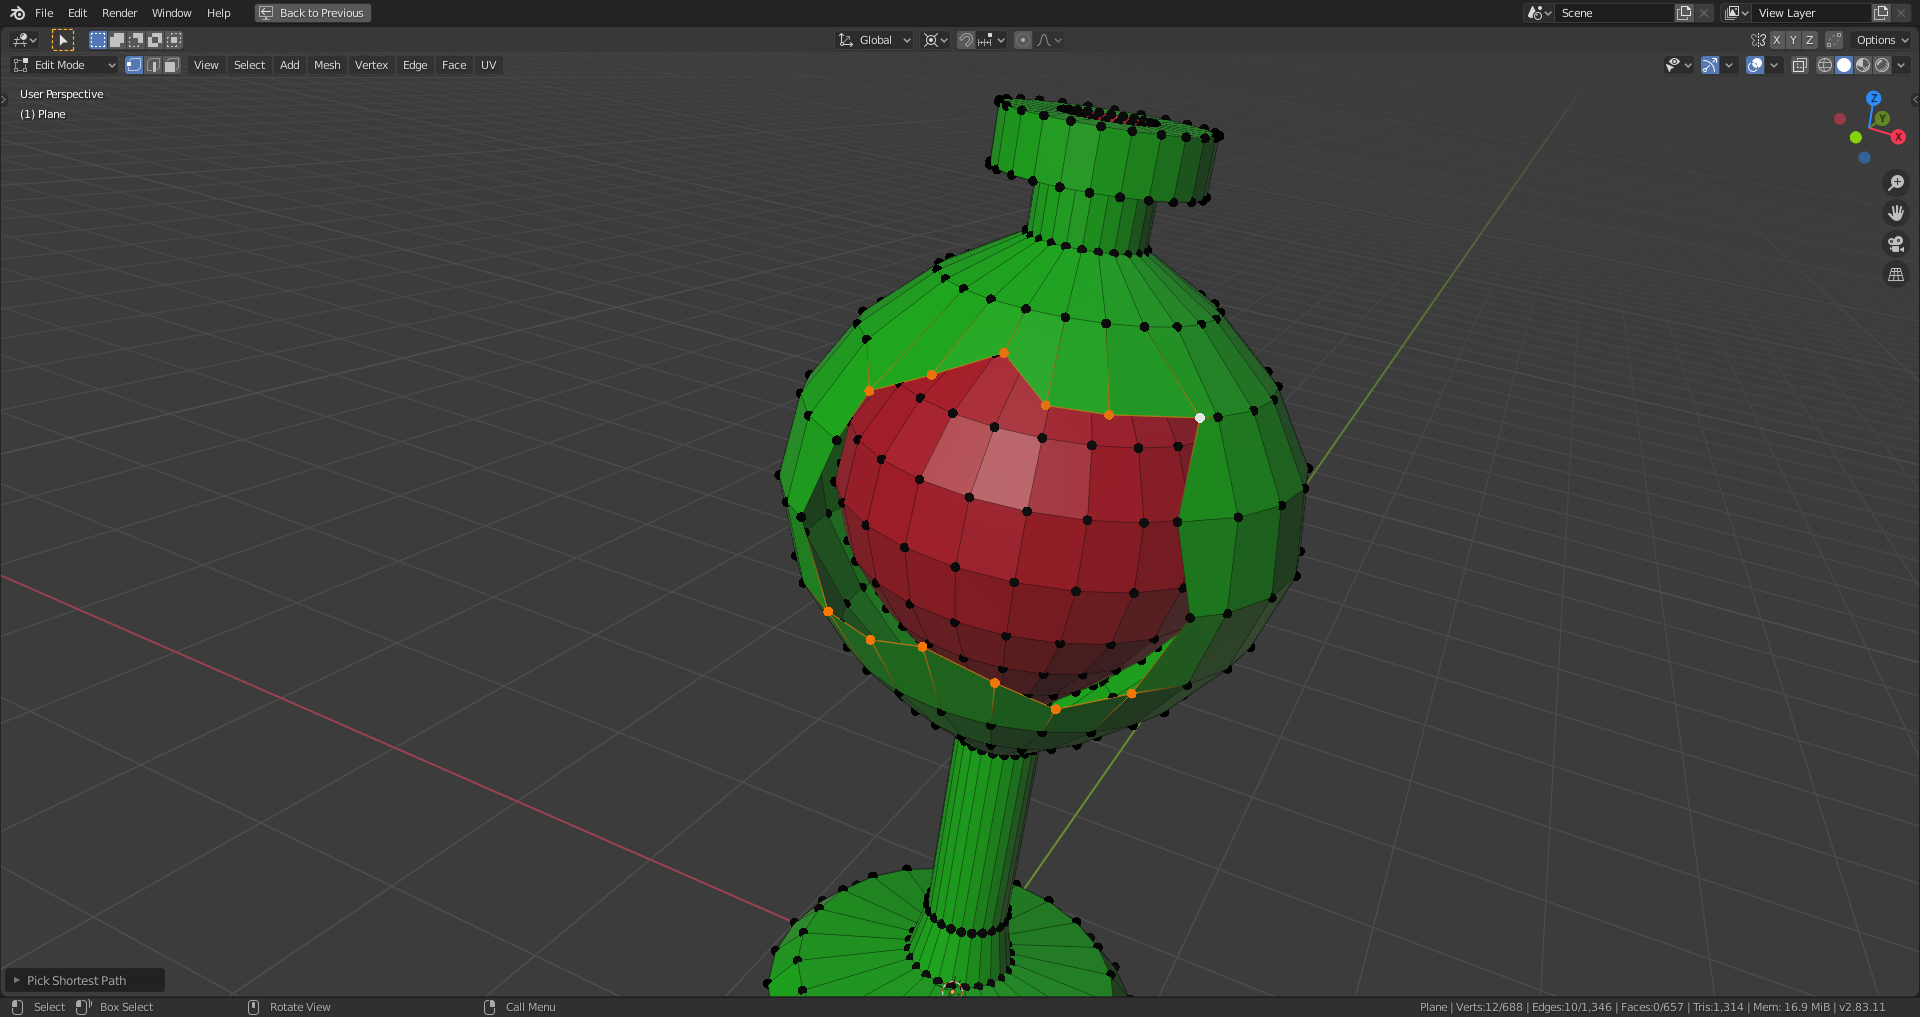
The second one is where you select on your hole rim two parts with an equal number of vertices. The two unselected parts should also have an equal number of vertices:
When you now select "Grid Fill", Blender connects the marked rim parts as it would do with "Bridge Edge Loops" and does the same with the unselected rim parts:

The "Span" and "Offset" settings now have no effect since you've already given Blender a hint on how to fill your gap. Like this, you obtain an absolutely predictable result.
![]() spikeyxxx, present this in a gallery with some meaningfull description and demand a pile of money for it 😉😁.
spikeyxxx, present this in a gallery with some meaningfull description and demand a pile of money for it 😉😁.
But seriously: You certainly want to choose two rim parts that are orientated rather like two opposite edges of a planar or curved rectangle:


And with a distorted hole:
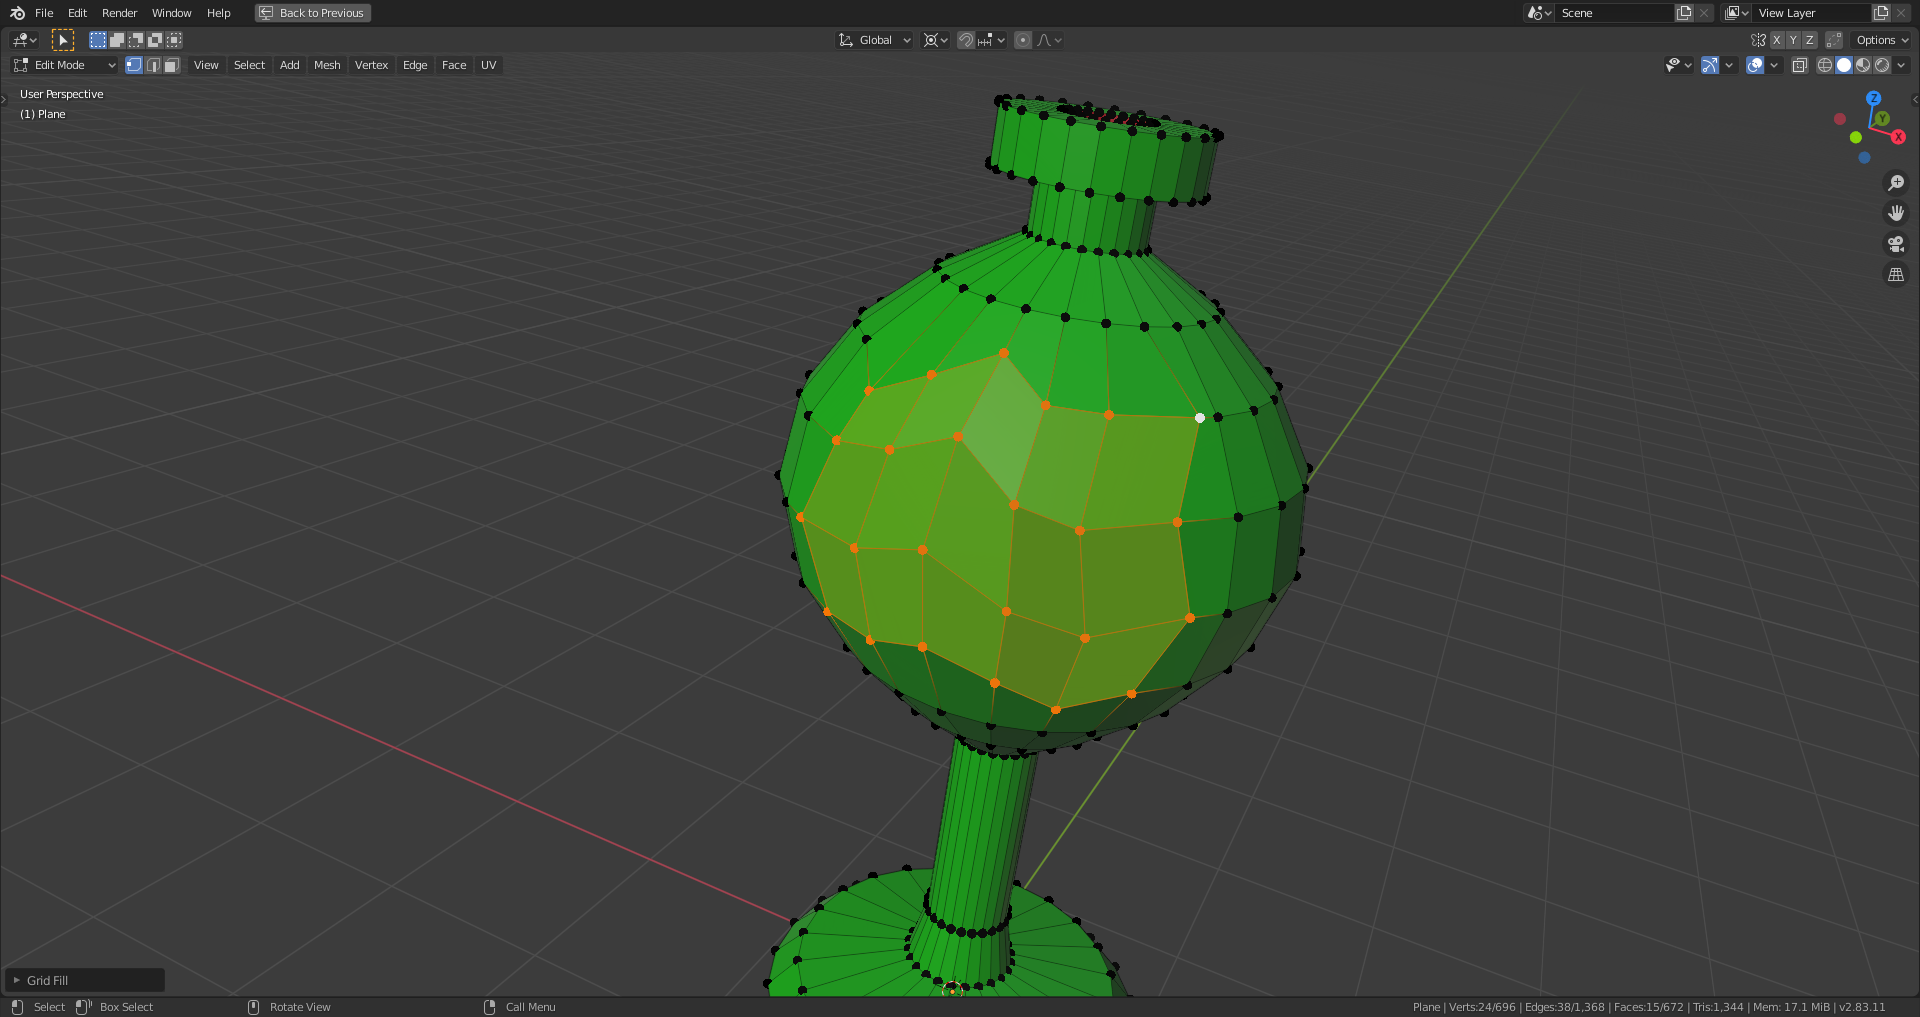
a) Without "Simple Blending" (more smoothened and curved connections):
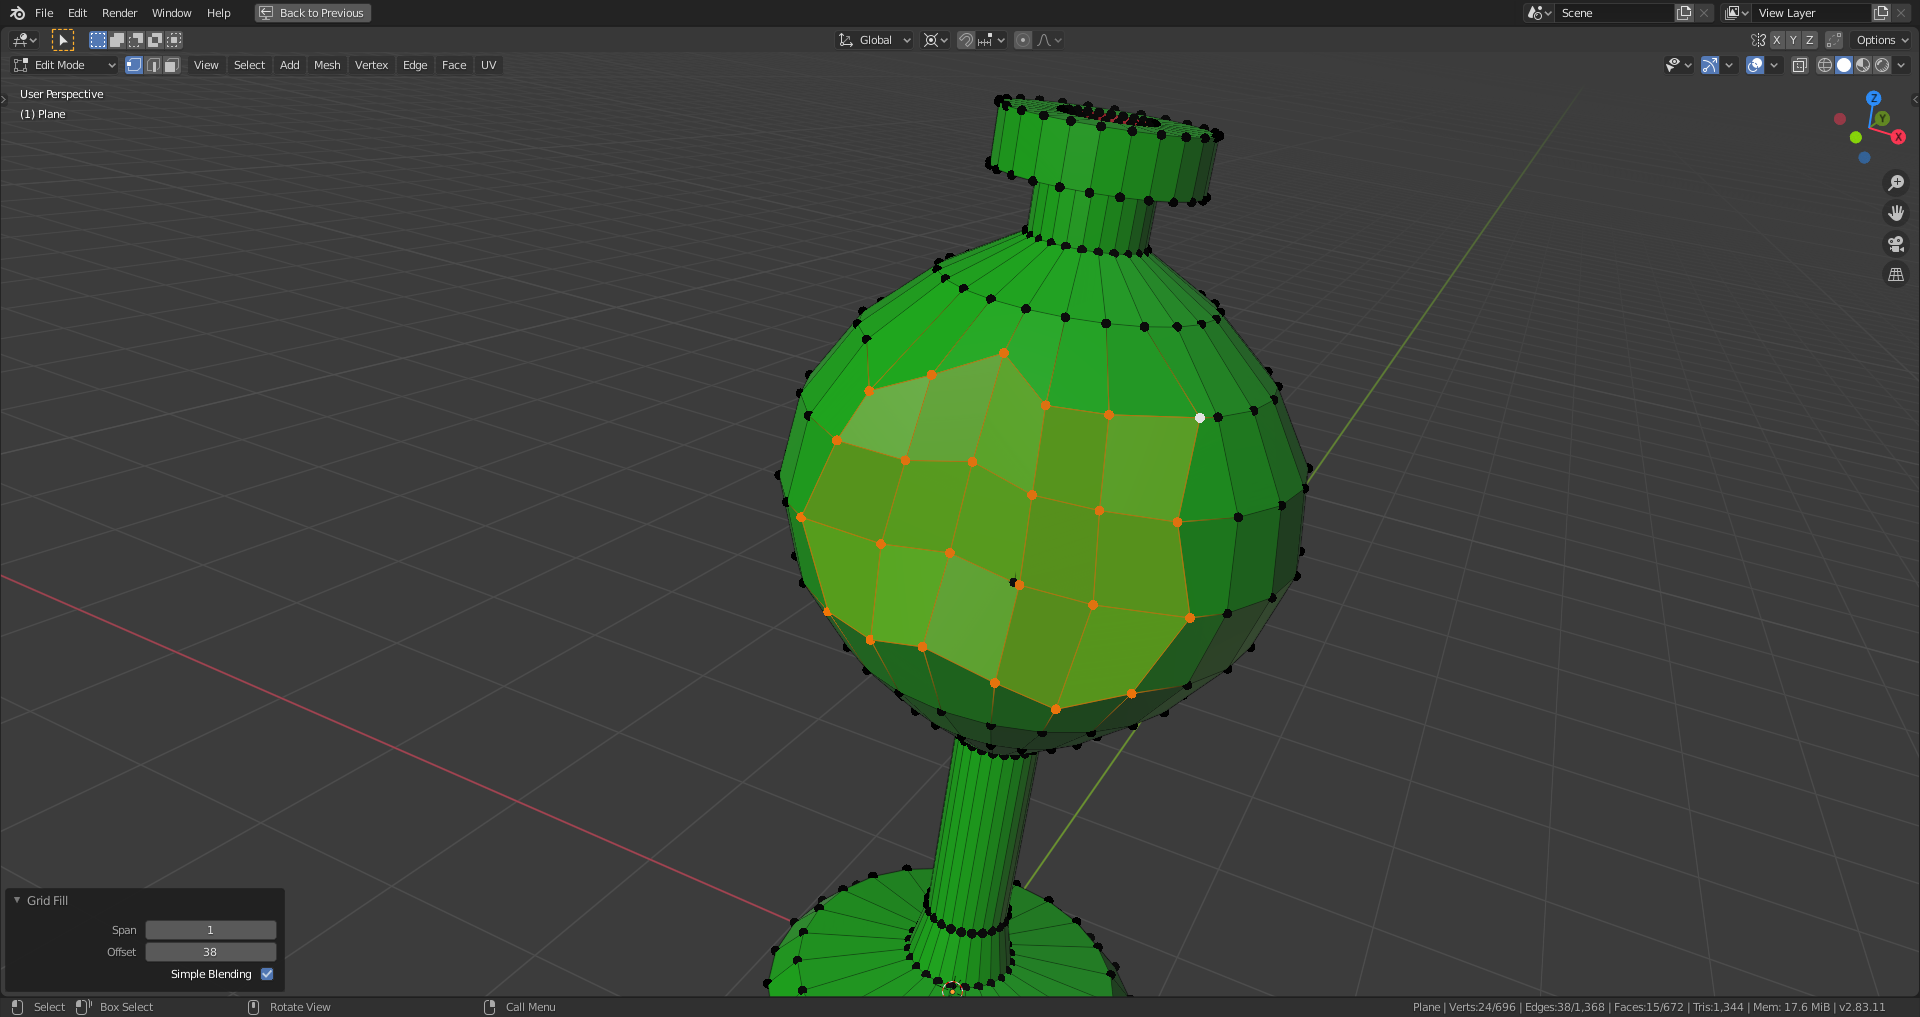
b) With "Simple Blending" (more straight connections):
![]() spikeyxxx, concerning your example from above: The unselected rim parts were obviously bridged first and other connections deteremined by Blender so that only quads are created. By inverting your selection, you get a 'cleaner' mesh:
spikeyxxx, concerning your example from above: The unselected rim parts were obviously bridged first and other connections deteremined by Blender so that only quads are created. By inverting your selection, you get a 'cleaner' mesh:

![]() spikeyxxx it seems to me that Blender tries to distribute the new vertices so that the spacing in each edge bridge is as even as possible.
spikeyxxx it seems to me that Blender tries to distribute the new vertices so that the spacing in each edge bridge is as even as possible.
According to the Blender 2.83 manual, in the case that you select the whole rim around the hole, the active vertex defines per default where the corner of the filled-in grid is located and the "Offset" allows you to rotate that corner.
Wow I didn’t know selecting only 2 sets of sides would do the grid fill like that. Or did I forget about It? Super handy feature. I play with the span and offset a whole ton. I feel like I end up with span at 4 a lot. Offset turns into whatever I fancy as the rotation.
![]() blanchsb I believe this was actually the only way to use Grid Fill when it came out and it can handle quite extreme situations like J. Williamson demonstrates here: https://www.youtube.com/watch?v=pJCDmPxbwgs
blanchsb I believe this was actually the only way to use Grid Fill when it came out and it can handle quite extreme situations like J. Williamson demonstrates here: https://www.youtube.com/watch?v=pJCDmPxbwgs

I completely forgot about this and use it almost exclusively to fill (mostly planar) holes. I have been missing out!
I remember having seen this video some time ago. Excellent demonstration and comparison with alternative methods!
Yeah after watching that I realized I am doing things the painful way too often haha.
That is why they made the tools. Granted I wouldn’t take back any of it since doung it manually made me think through how I wanted to do things. But now that I am more comfortable I am ready for these tools.
Thanks for the video ![]() spikeyxxx
spikeyxxx
Yes. you learn more from doing thinks manually than by just pressing a button for an automatic solution. And your creativity still beats the algorithm in some cases. But for standard works tools like "Grid Fill" make your CG life a lot easier.
In a book about digital modeling written by William Vaughan, the author tells the story of a student who was waiting for a certain functionality to be added to his CG program before he would be able to create a certain model. Mr. Vaughan heard of this student never again ... A good CG artist according to Mr. Vaughan is someone who solves problems with the (limited) tools he's got and who doesn't wait for a "Do-my-job-button" to be implemented 😉.