First my question, as it will better explain my request...
At 13:45, what are you doing to so perfectly and instantly get that second cylinder to line up so you can proceed with the operations?
You don't explain what you're doing there at all.
You just quickly jump through the actions and I can not follow or figure out how you're getting it to line up so fast.
This leads to my request...
Please. Slow. Down. This is supposed to be a tutorial to teach people. Not a race to show off how good and fast you are with Blender.
I've had to stop and rewind your videos several times to follow what you're doing, and it's become frustrating. I'm ready to just stop this series and move on to another one.
So again.. Please. Slow. Down. Take time to explain things.
Hi Mike - For lining up the second cylinder to the original cylinder, I'm taking advantage of a "hidden gem" in Blender (which Blender is [in]famous for). For any object property in Blender, if multiple objects are selected that have the same property (like location, rotation, and scale values) holding the ALT key while clicking a property to modify it will apply the modification to that same property for all selected objects.
I like to use this to essentially copy transform values from one object to the next, as in the video starting at 11:23:
I appreciate your request to slow down. Hopefully you will allow me to explain my approach for teaching the way I do.
For some background, my first tutorial course (circa 2012) was much the way you described. I "taught" too fast and the result was somewhere between a tutorial and workflow demo. Honestly it makes me cringe to watch it now...That was a valuable lesson to learn, inspiring me to slow way down.
The next several courses I recorded were much slower and in real time. While this was good for explanation, the resulting 45+ minute videos were bad for viewer engagement. Meaning most viewers were fatigued watching such long videos and would stop watching. At that point its a shame for valuable information to fall on deaf ears due to boredom.
This defined the spectrum for me: Teaching too fast and teaching too slow. I know the extensive work of learning 3D isn't for everyone (and that's part of what makes it a beautiful craft) but I knew teaching pace could be optimized for max information while also keeping viewer engagement as high as possible.
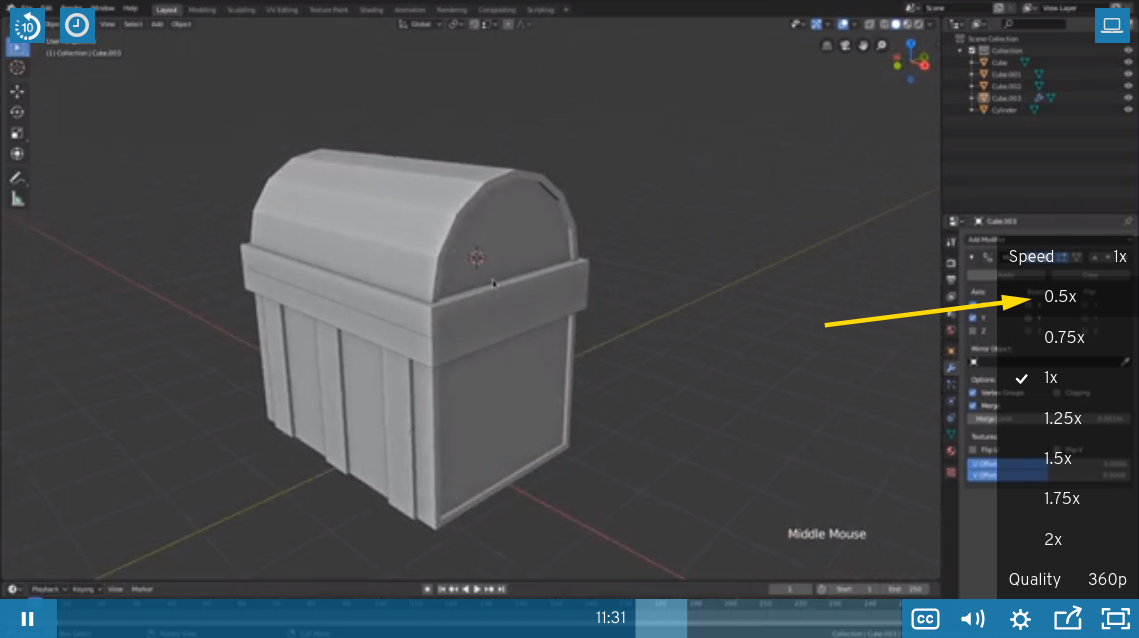
And that's what governs the pace in this course. The unfortunate reality is that it will always be too fast for some and too slow for others but I'm confident from experience and feedback that it's the best pace for online video-based teaching. The question section is precisely for clarifying, as exemplified by this thread. Also be aware that you can change the speed of the video playback to half speed:
Again I appreciate the feedback. Helpful feedback like this has refined my approach over the years.