Hello everybody :)
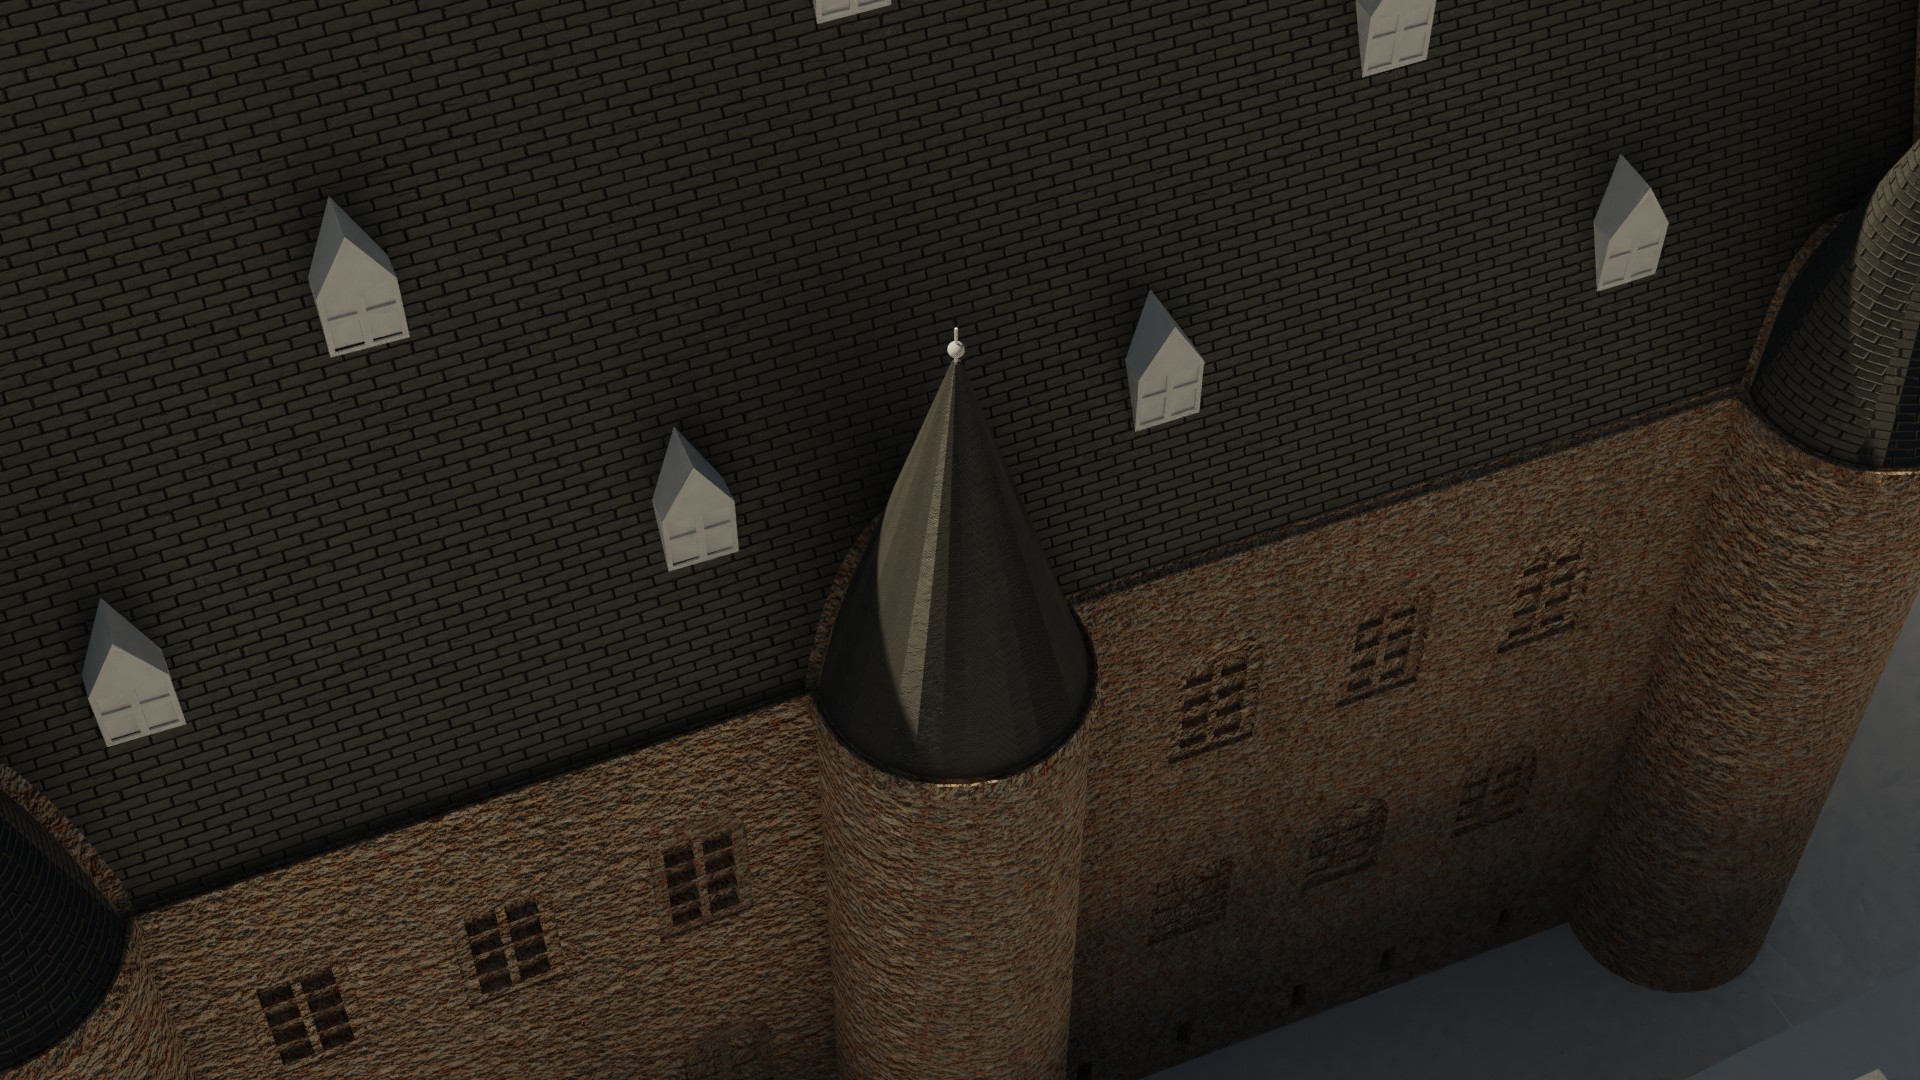
I have a little issue with this roof for a castle. The Mapping for flat part of the roof is ok, but for the towers (cones) I dont know where to put the seam, I tried also in edit mode to just select the cone and then do a cone projection, but that doesnt work either...
Thank you for your help!
Hi polyrom3d, in this case, you might get away with a Tube Projection like this:
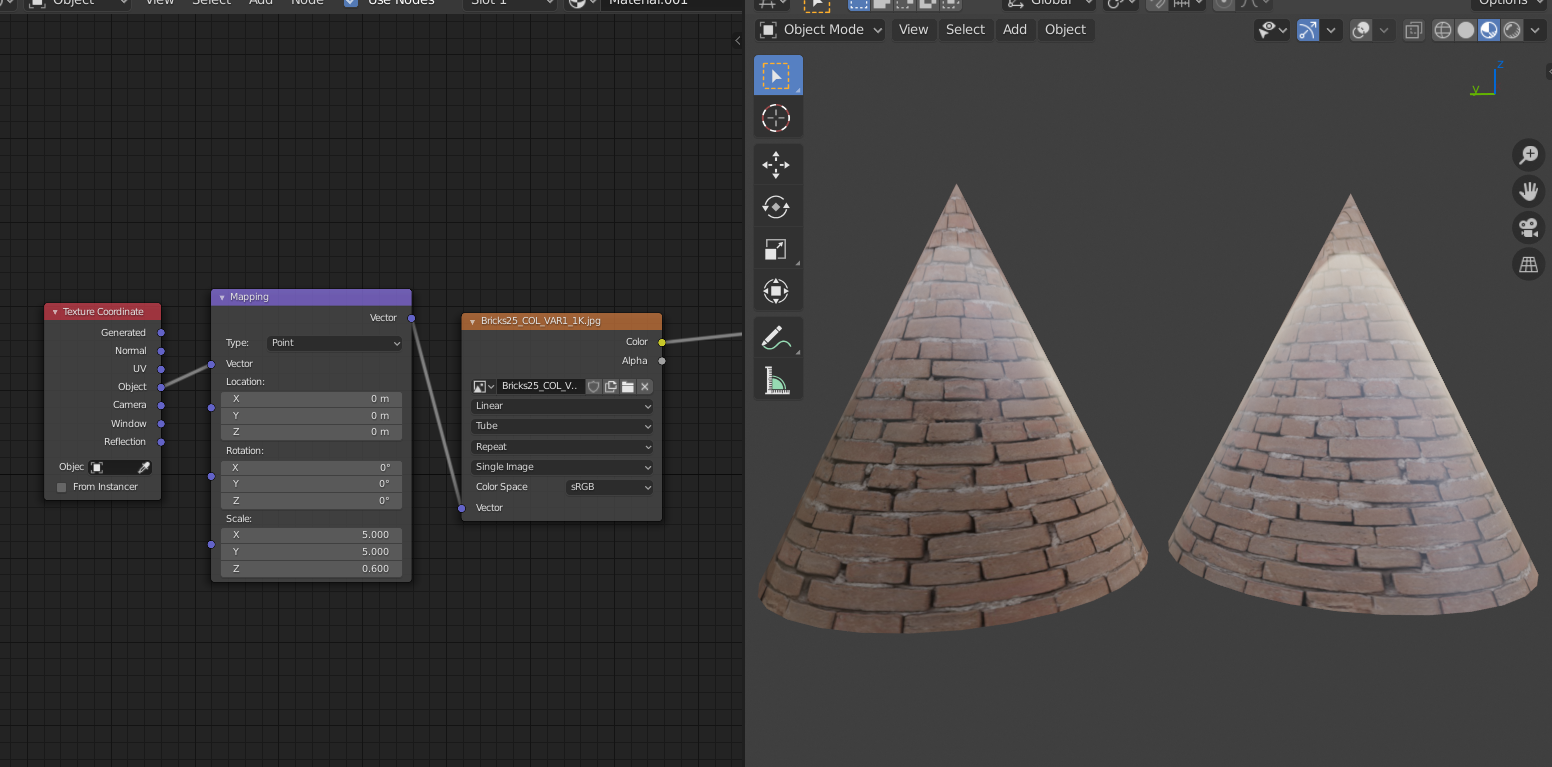
No UV's needed. There is a small artefact, but that is easily hidden by rotating the cone (if it's not at the back already).
To be clear, the Tube Projection is set in the Image Texture, between Linear and Repeat.
Just make the cones a separate object.
Select the cones, P > Separate by Selection.
Oh yes didnt think about that. So and how can I bring more variation the texture for the walls in, there are those ugly lines...
Thank you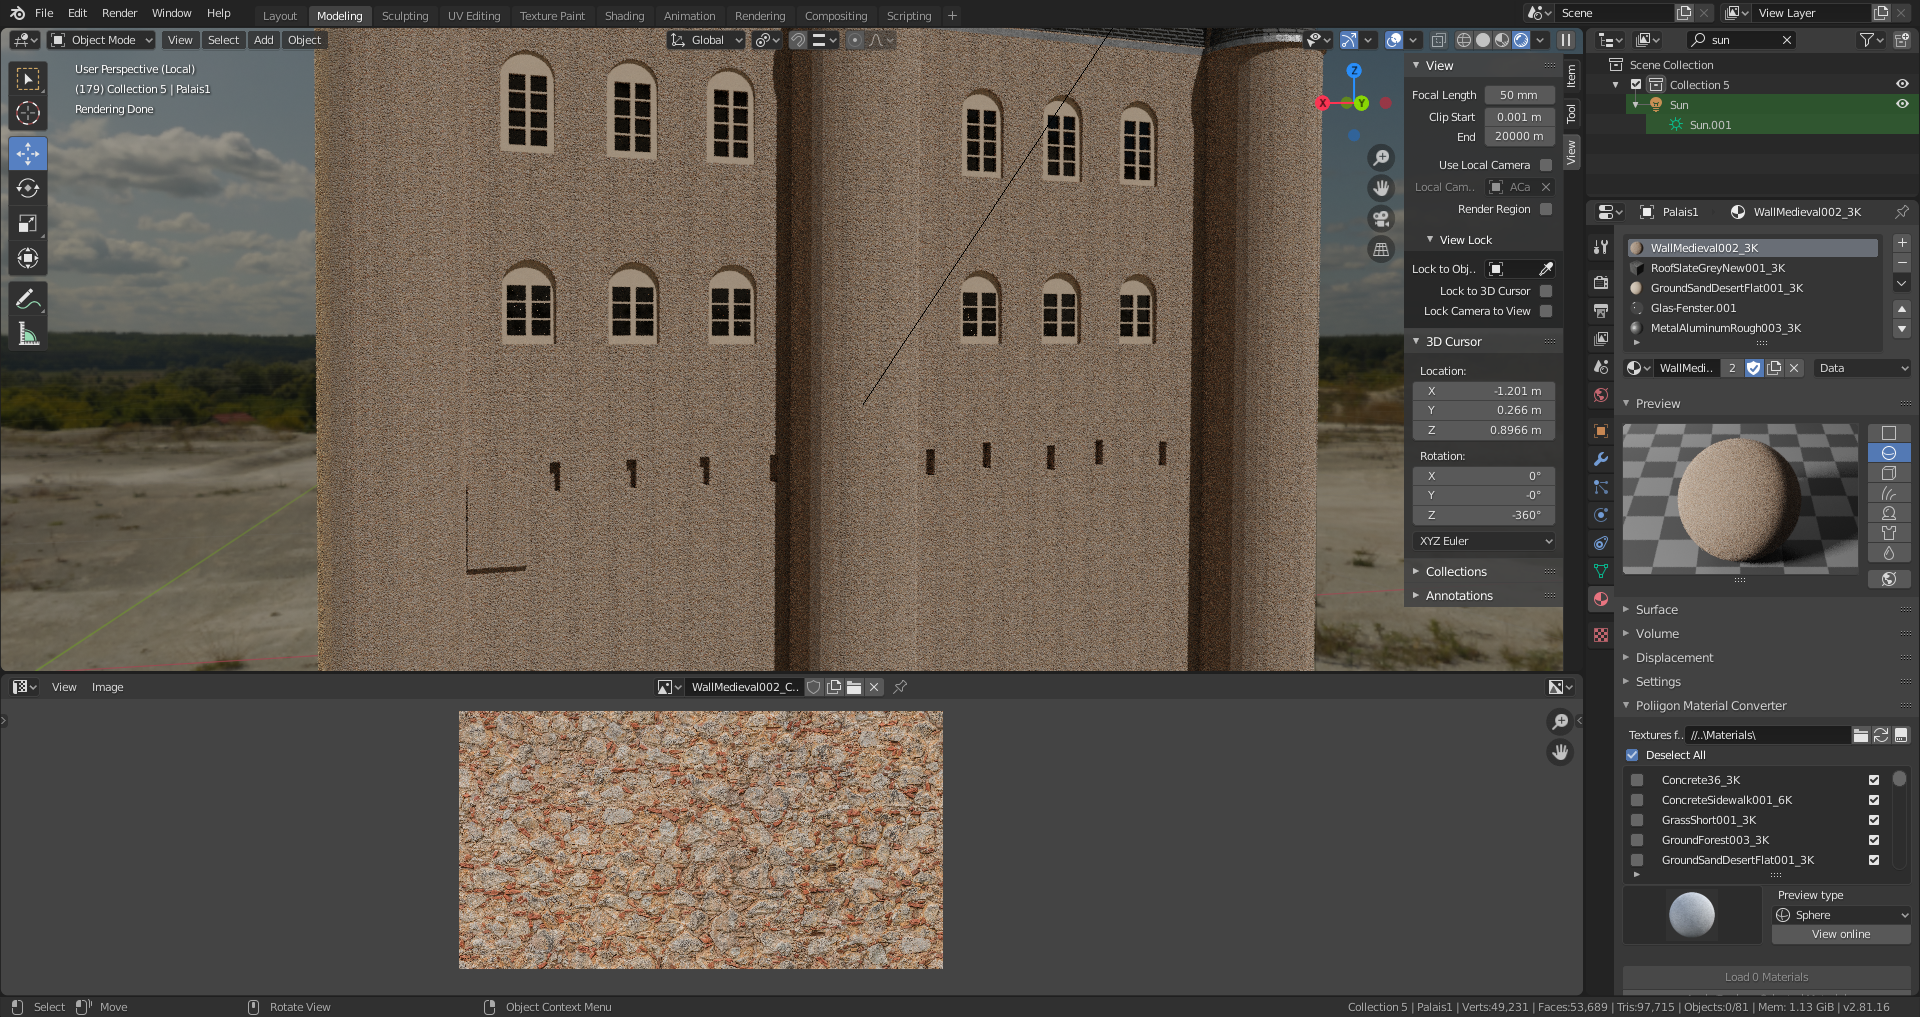
That is the tiling of the Texture. You see the repetition of the pattern. This always happens with image textures.
You can use a few different image textures that are similar enough and mix them with, for instance, a Musgrave Texture as a Factor.
Alternatively, use a procedural texture.
Simon Thommes made a beautiful customizable procedural brick texture! Here is a link to a demonstration with a link to Gumroad underneath, where you can get it for free!
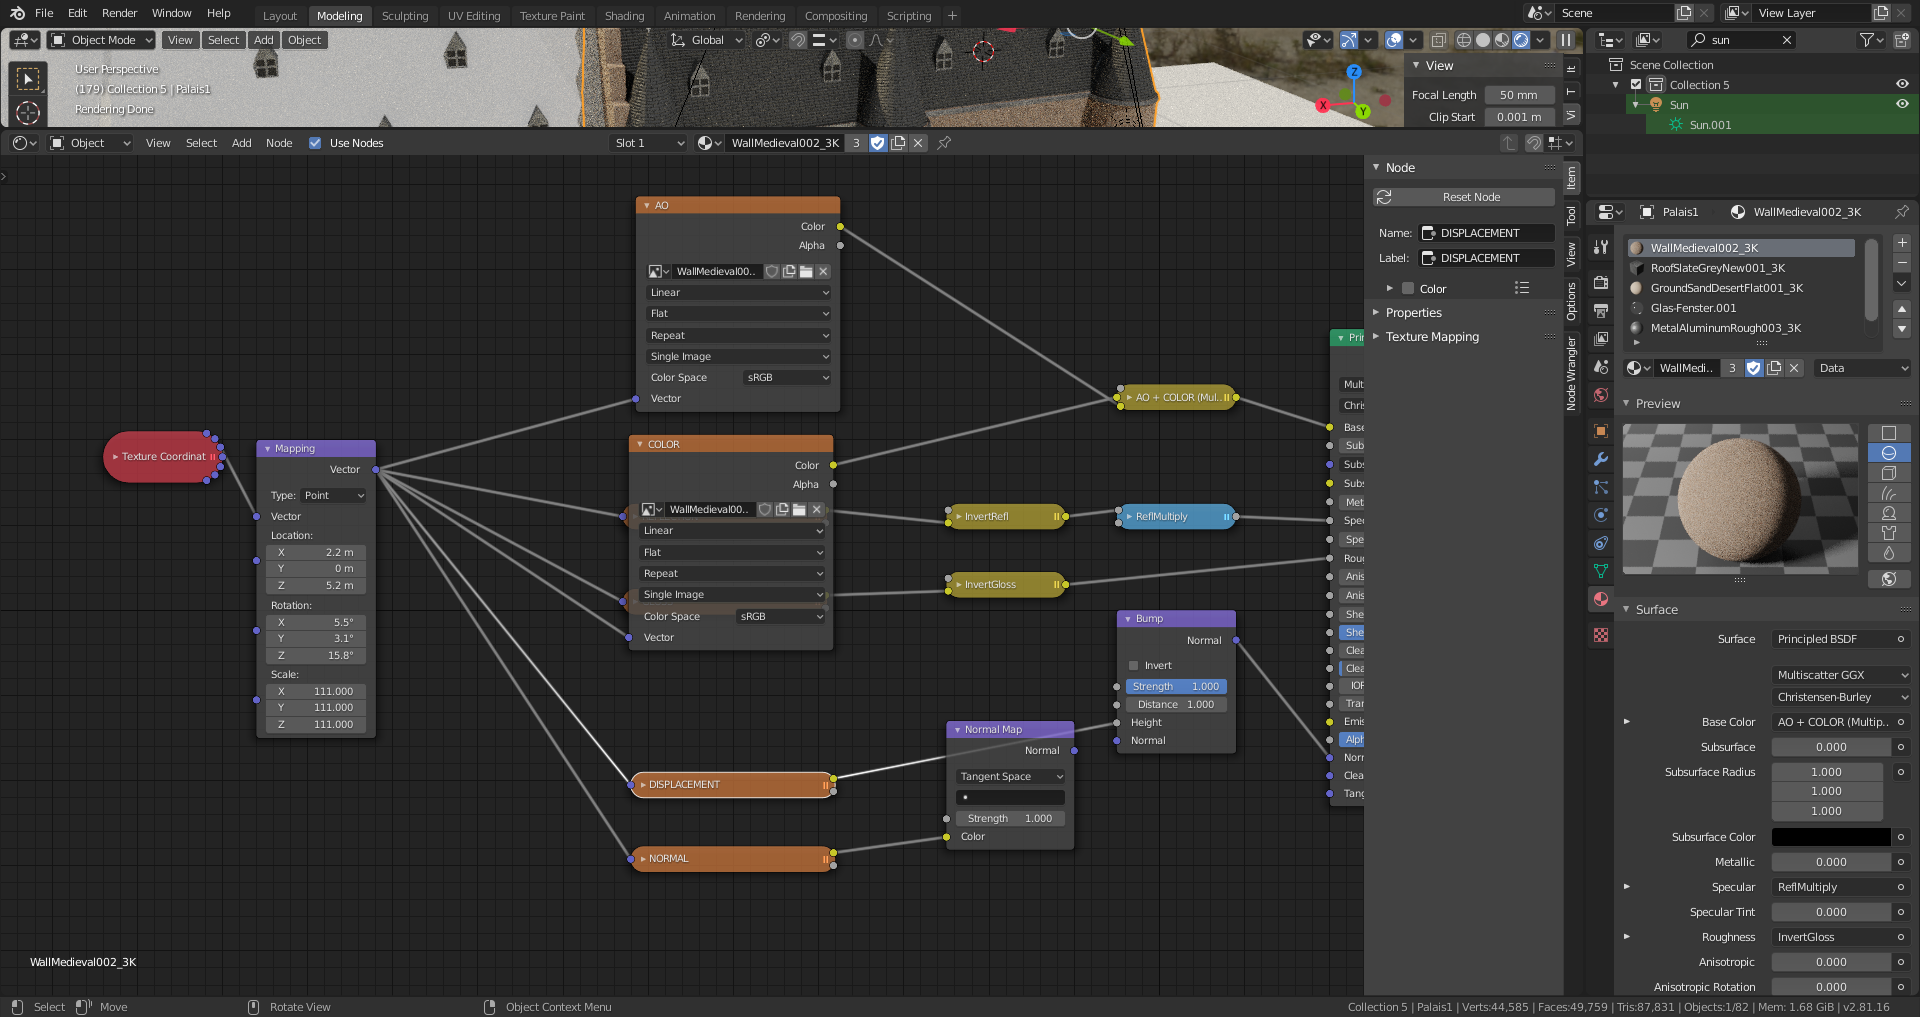 Oh cool, thanks. So here is a screenshot of my shader, where do I put the musgrave texture? Copy the colour texture, replace it by a similar and than combine it with a mix shader and the musgrave?
Thanks again
Yes, that is the idea, but not only the color texture, but all image textures and use a Color > MixRGB to mix them:
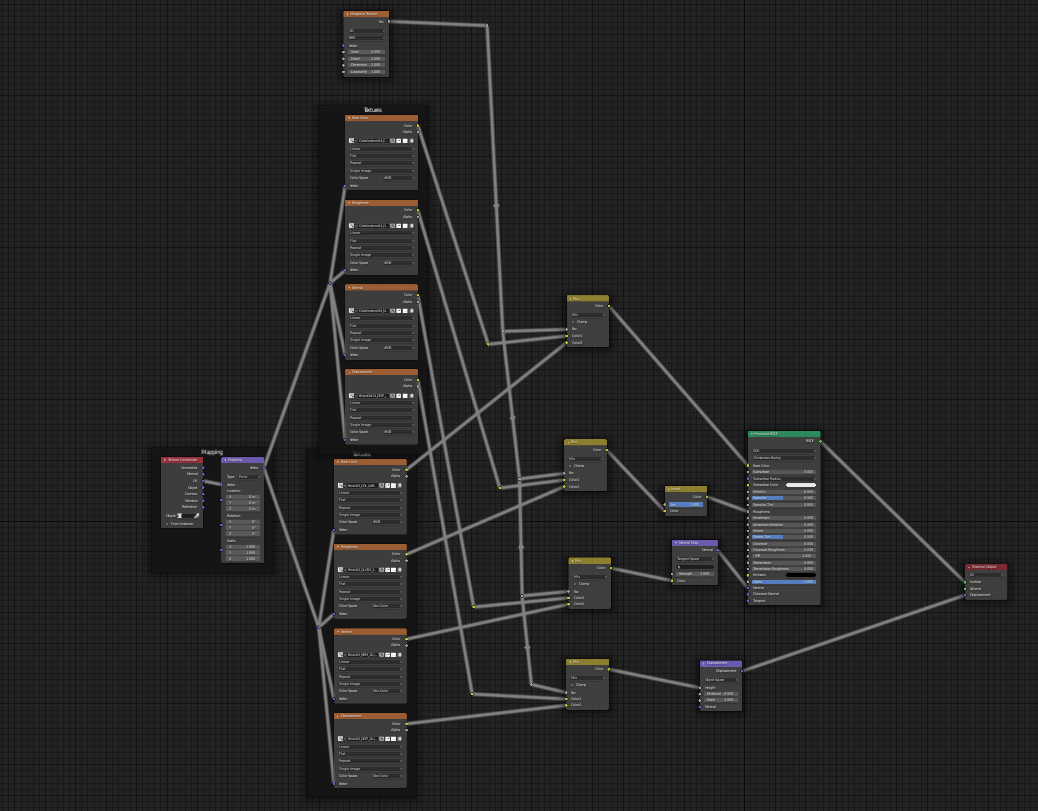
You can also make two Principled Shaders, each set up with their own image textures and then combine the two BSDF's with a Shader > Mix Shader.
A little handy trick:
Make sure to have the Node Wrangler Addon enabled!
Select the Principled Shader and then SHIFT + CTRL + T gives you a Principled Shader set up.
SHIFT Select the maps (Color, Gloss/Roughness, Normal,....) and everything will be connected in the right place!