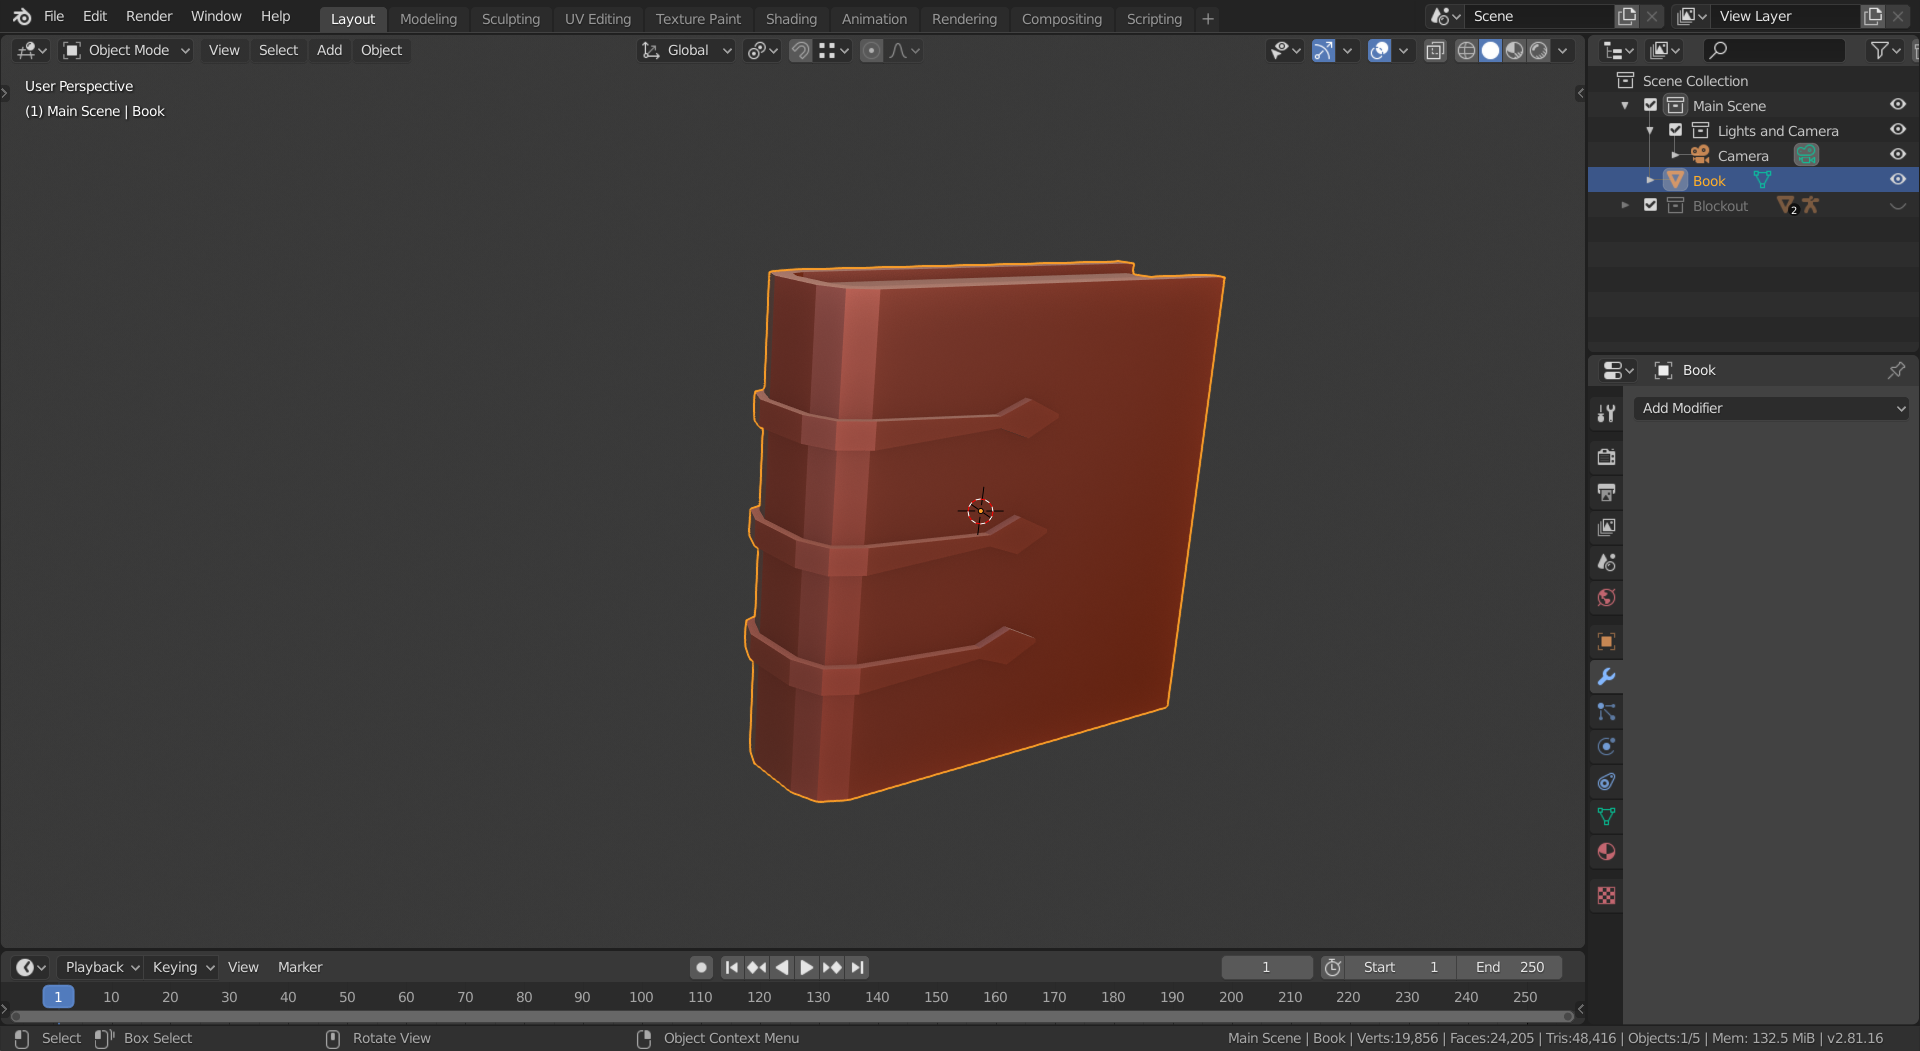
I have been directed into the world of art by God himself, but I have not been practicing enough to actually get good at it. When I saw The Habits of Effective Artists by Andrew Price, I knew that I had finally found a way to force myself to fulfill the command and get rid of my laziness. I will start fresh in this polybook, where I will upload my Blender progress daily. Each day, I will create stuff with Blender, draw, develop games (probably not with Unity), and compose music. Eventually, I will use those skills to create movies and games. I will make sure all of my goals have a direct purpose, which I will publicly announce.
May we all fruitfully produce many beautiful works of art.
-Williamatics
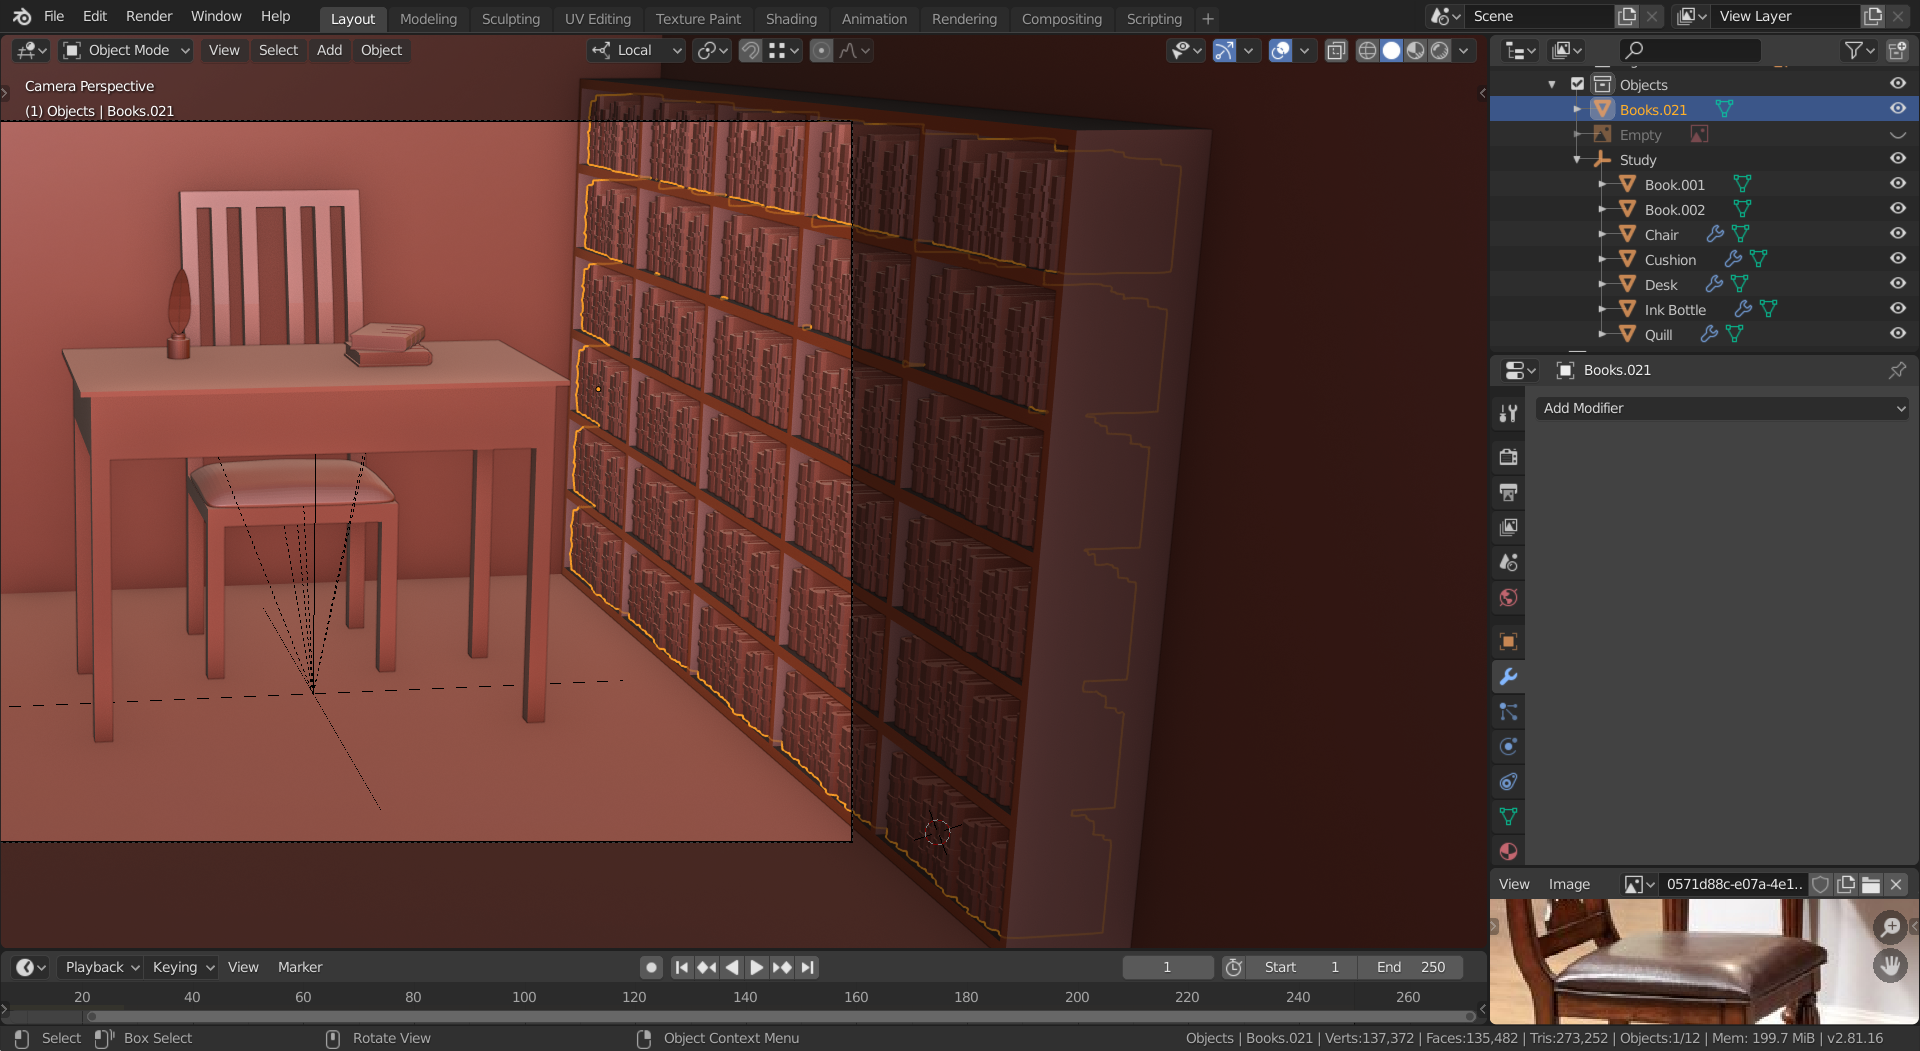
How did you randomize the books? Proportional editing with random falloff doesn't work. The books in my scene are too repetitive:
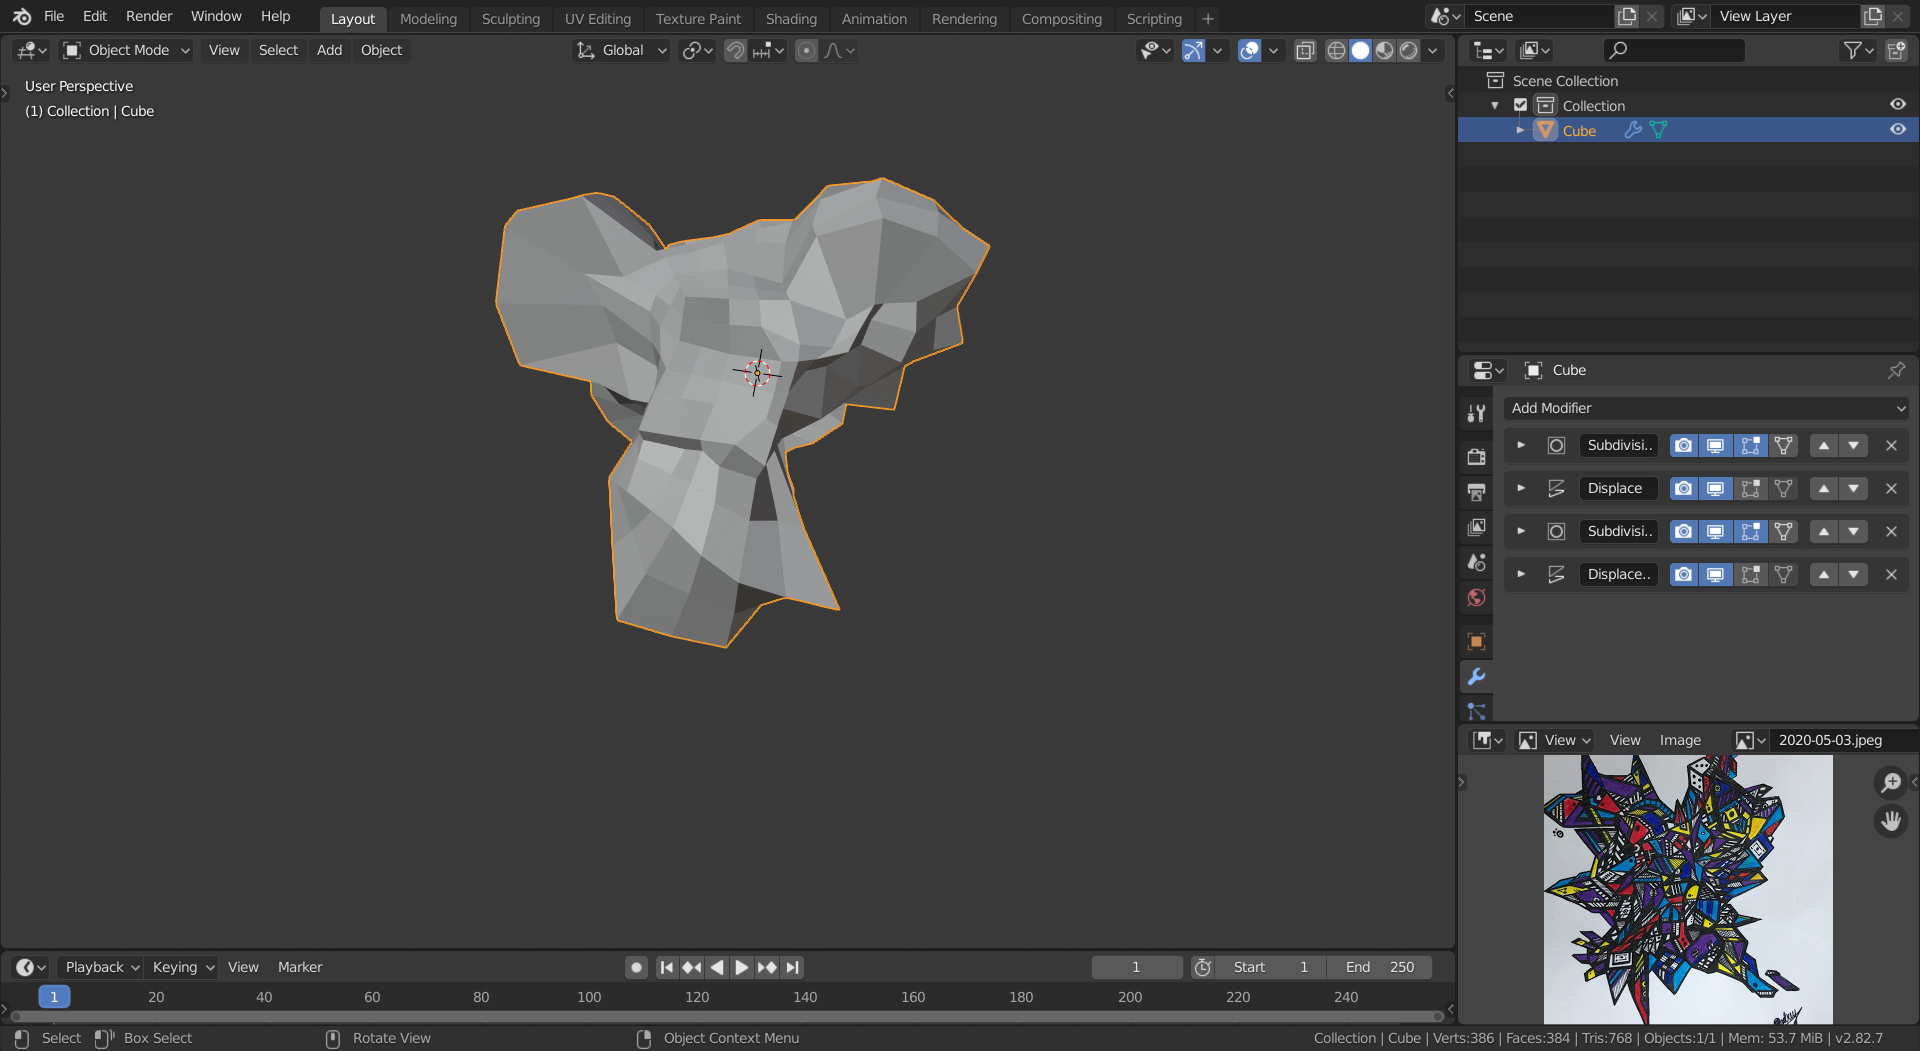
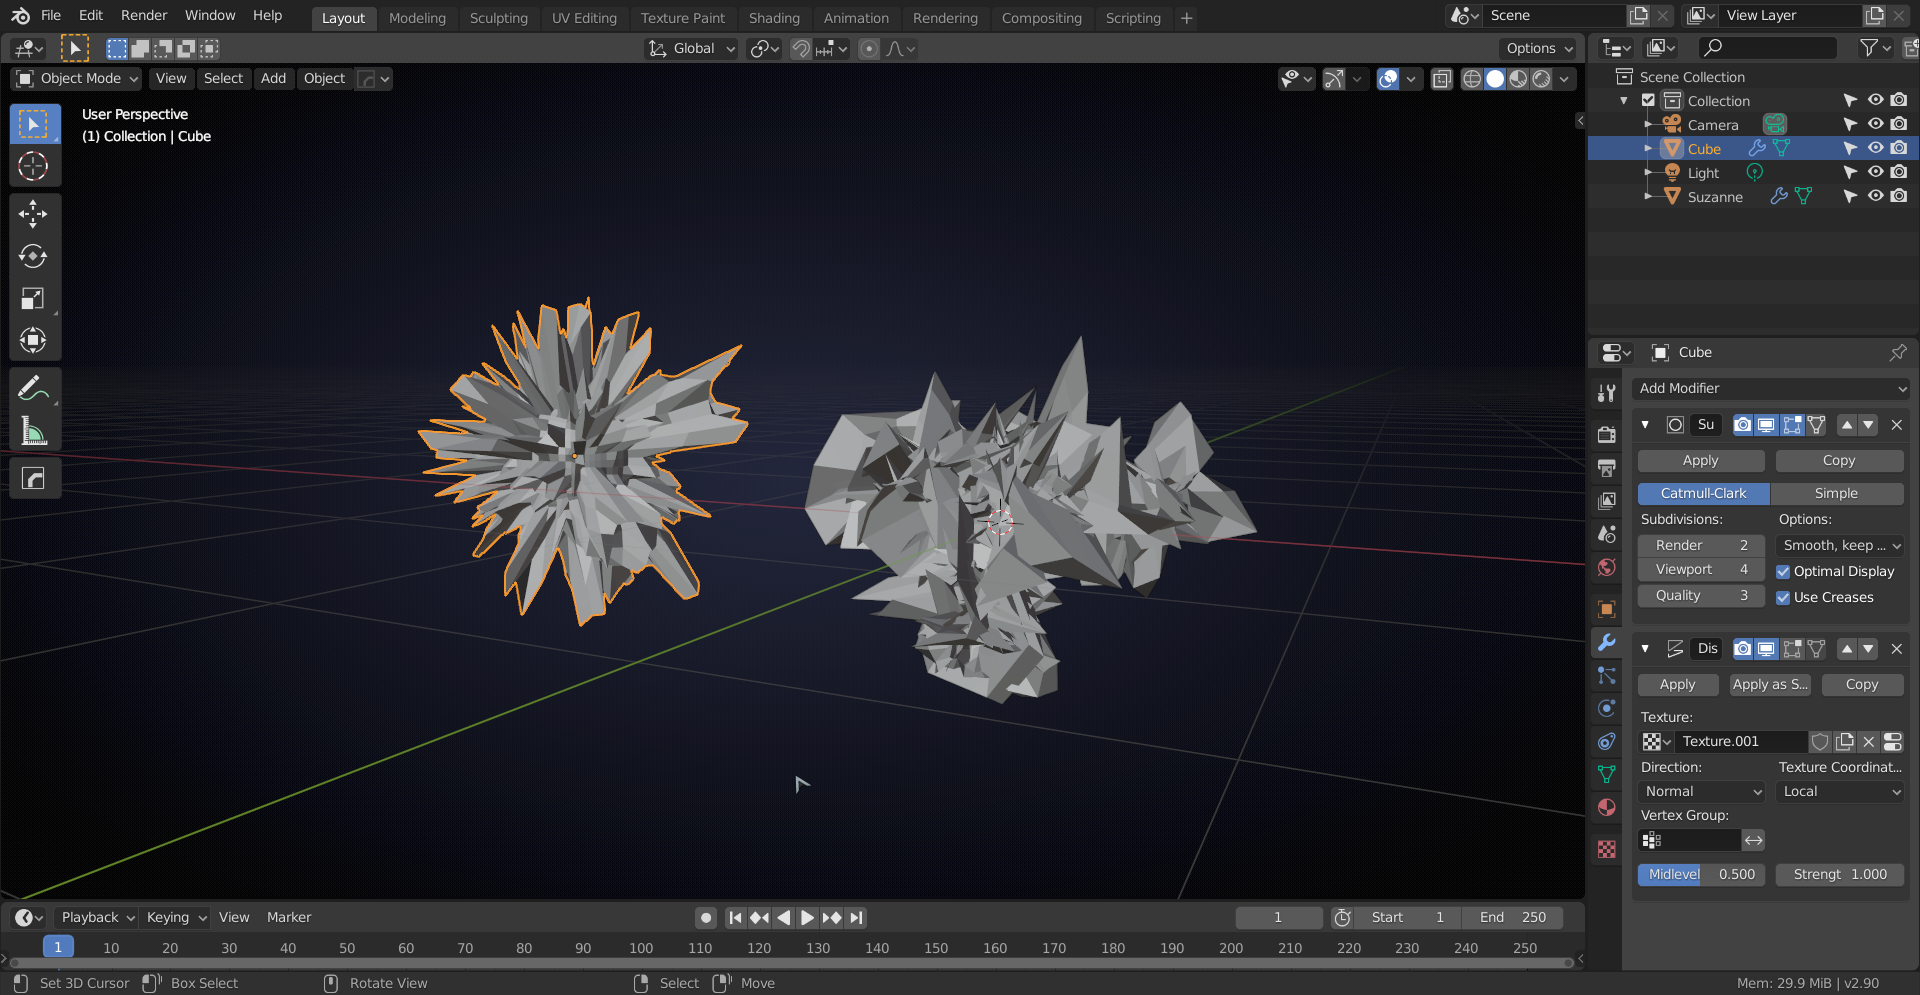
The whole process in a nutshell:
Open Blender. Go into Edit Mode on the default Cube and press ALT+M Merge at Centre. Extrtude on (for instance ) the X-axis. (About as long as one shelf 'compartiment'...).Select All, Subdivide a bunch of times (to get a bunch + 1 books. I used 23, because I like 23.) and set the Fractal to 0.5 (or something you like, this will randomize how thick the books will be)
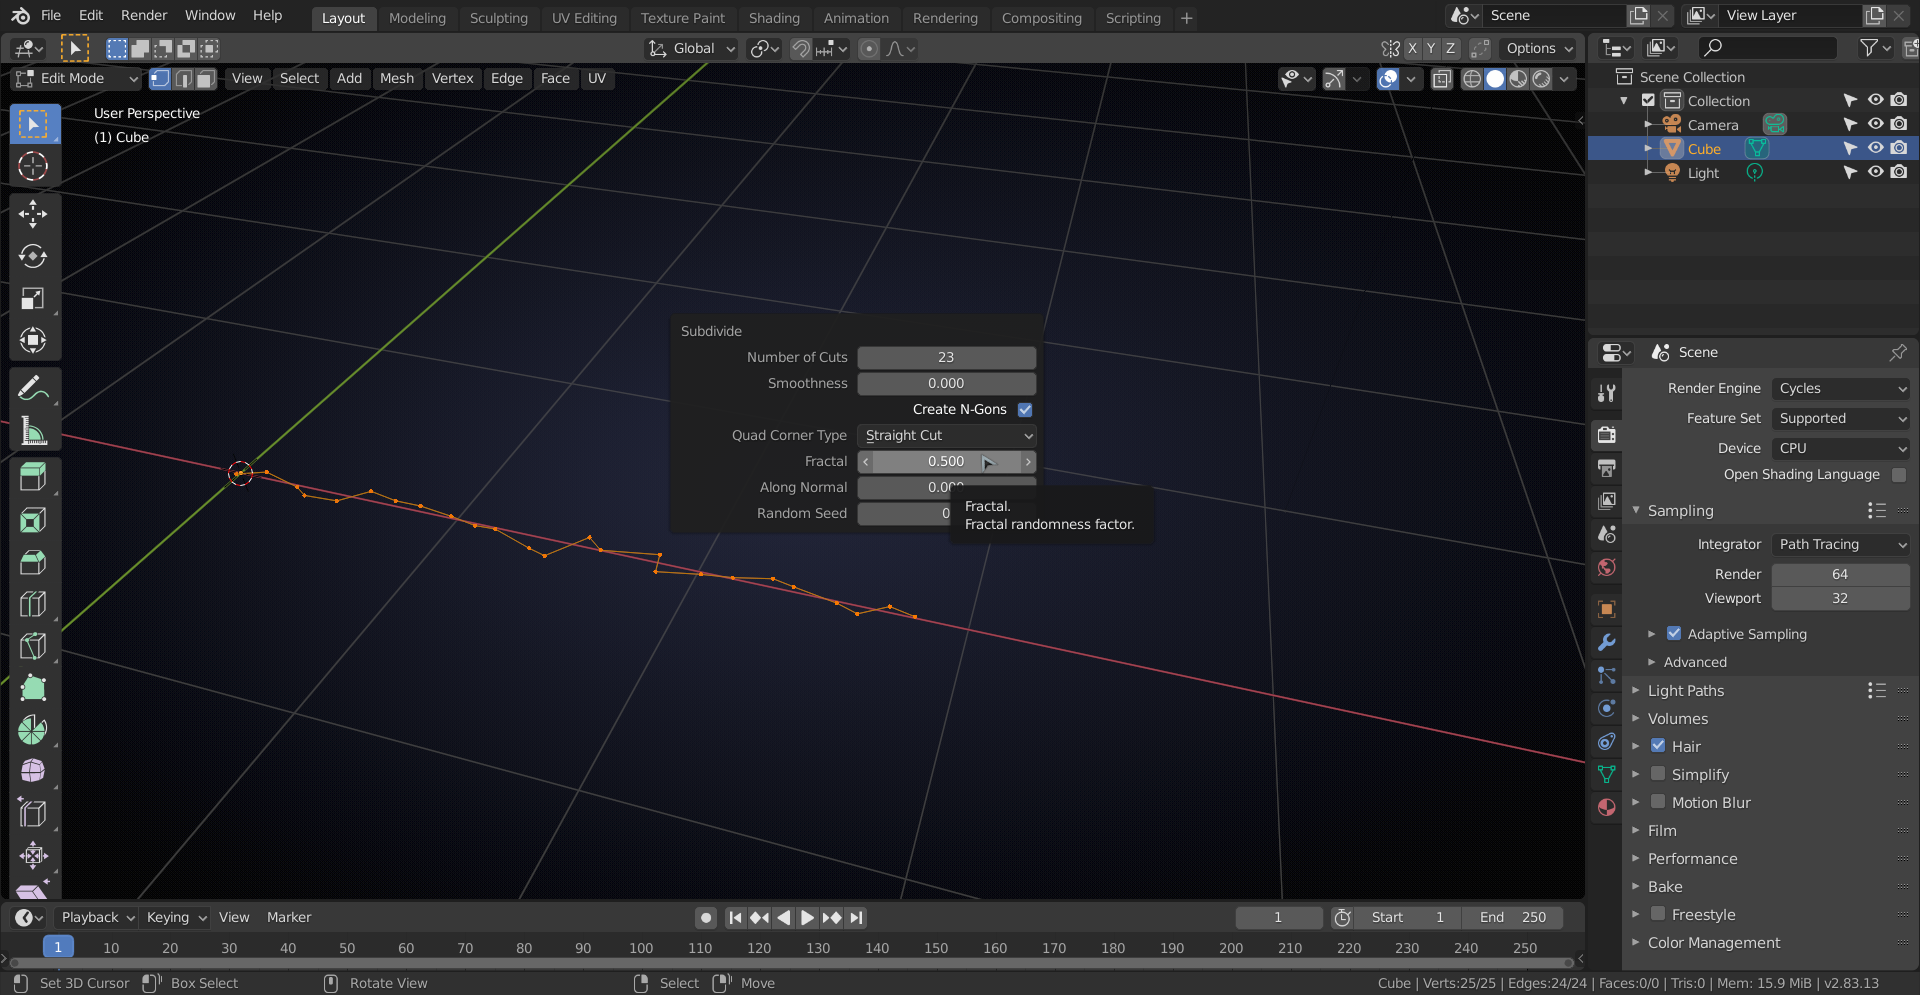
. S, SHIFT+X, 0, to straighten out the line. E, Z for height.
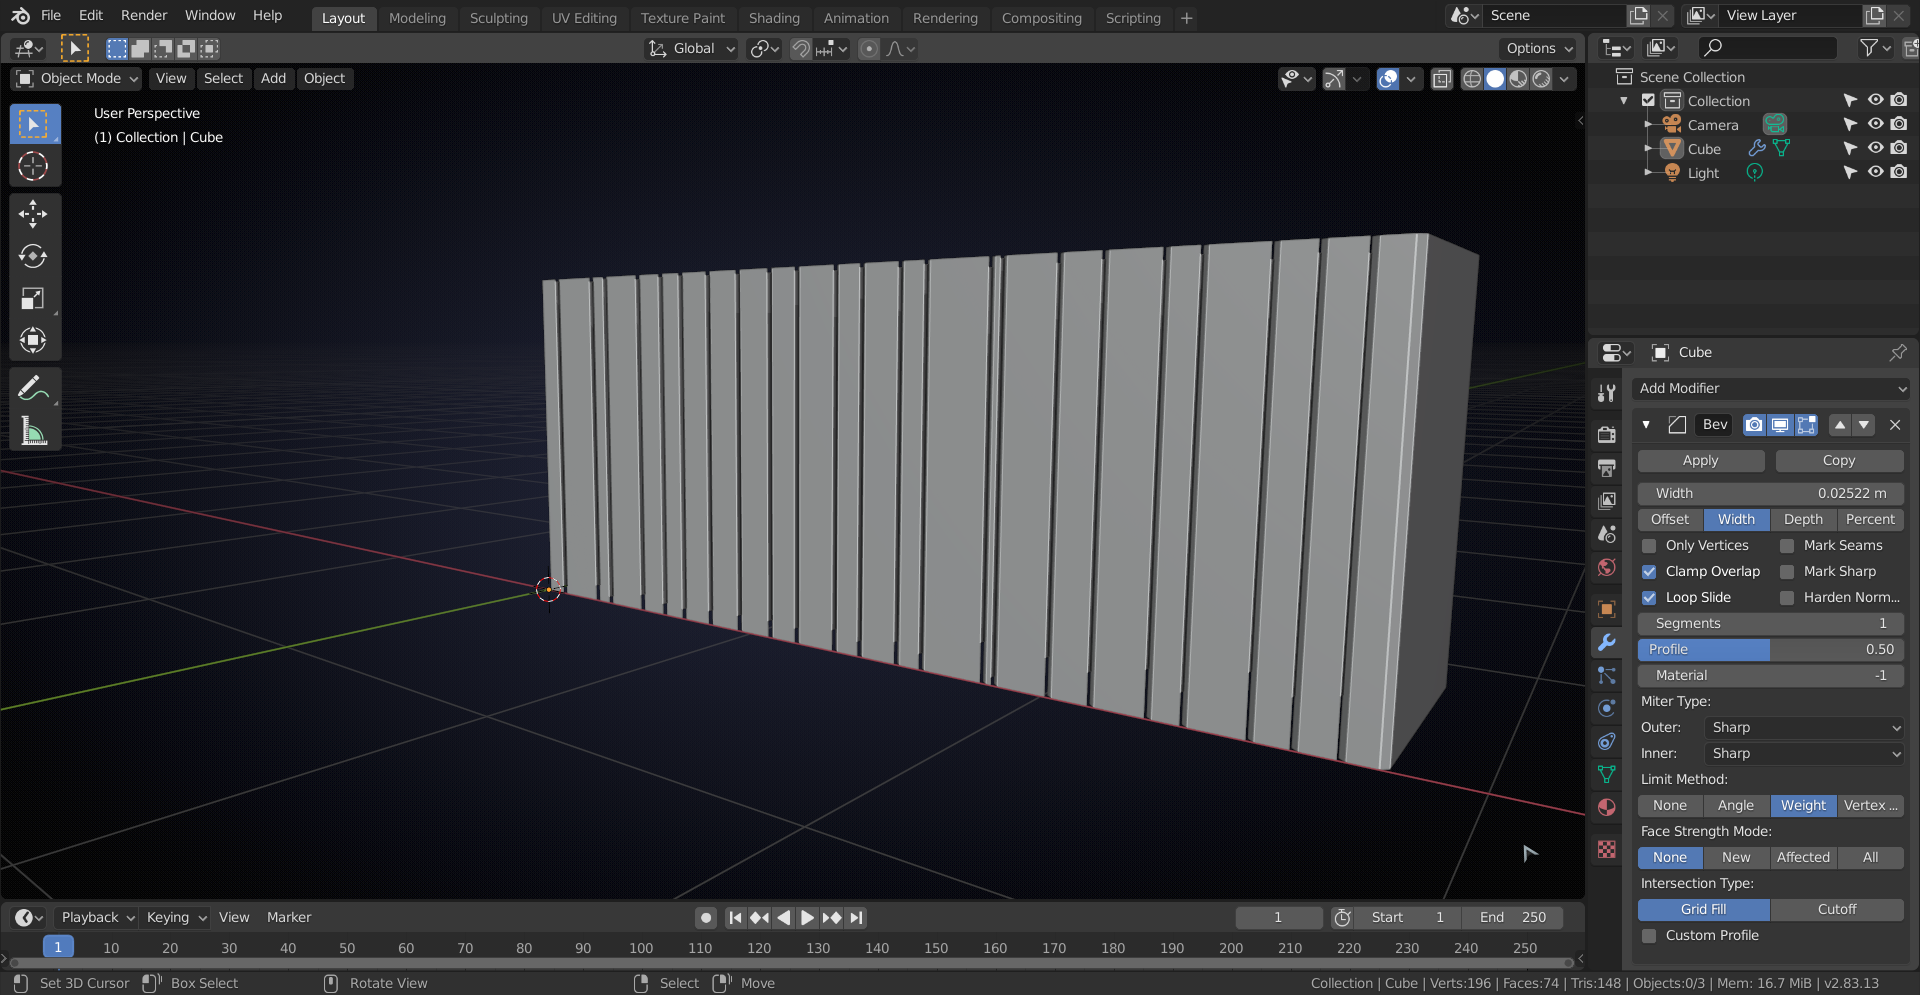
2 (Edge Select Mode), select all vertical edges. CTRL+E > Edge Bevel Weight all the way to 1. V, Enter.
In Wreframe Mode, select all vertical Edges. E, Y. Add Bevel modifier set to Width and Weight. Now you should have something like this (in Object Mode):
Re-name the Cube to Book and put it in a new Collection, called Books (for ease of selection later).
Select the Book and in Edit mode: A, P > Separate by Loose Parts. Back to Object Mode and select all the books.
This would be a good time to duplicate the and put them on the shelves (do not rotate the books! Rotate the shelves if necessary).
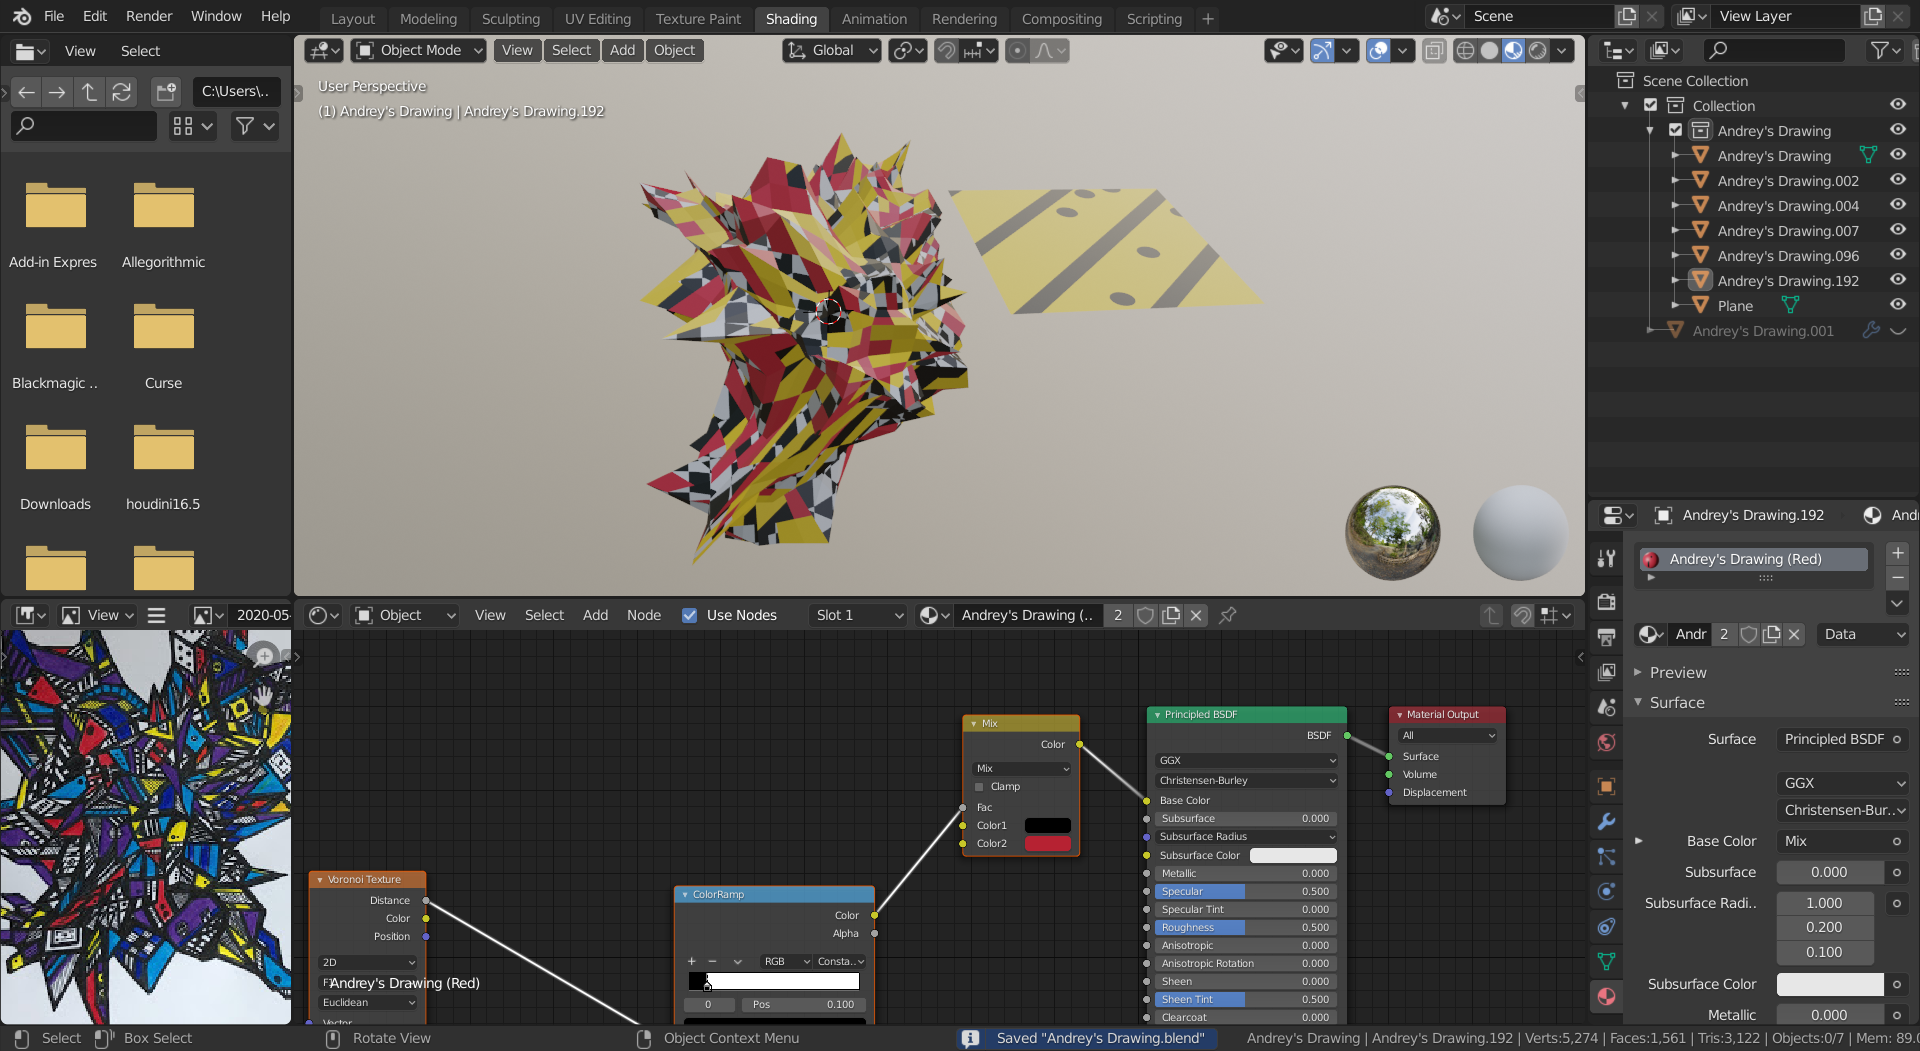
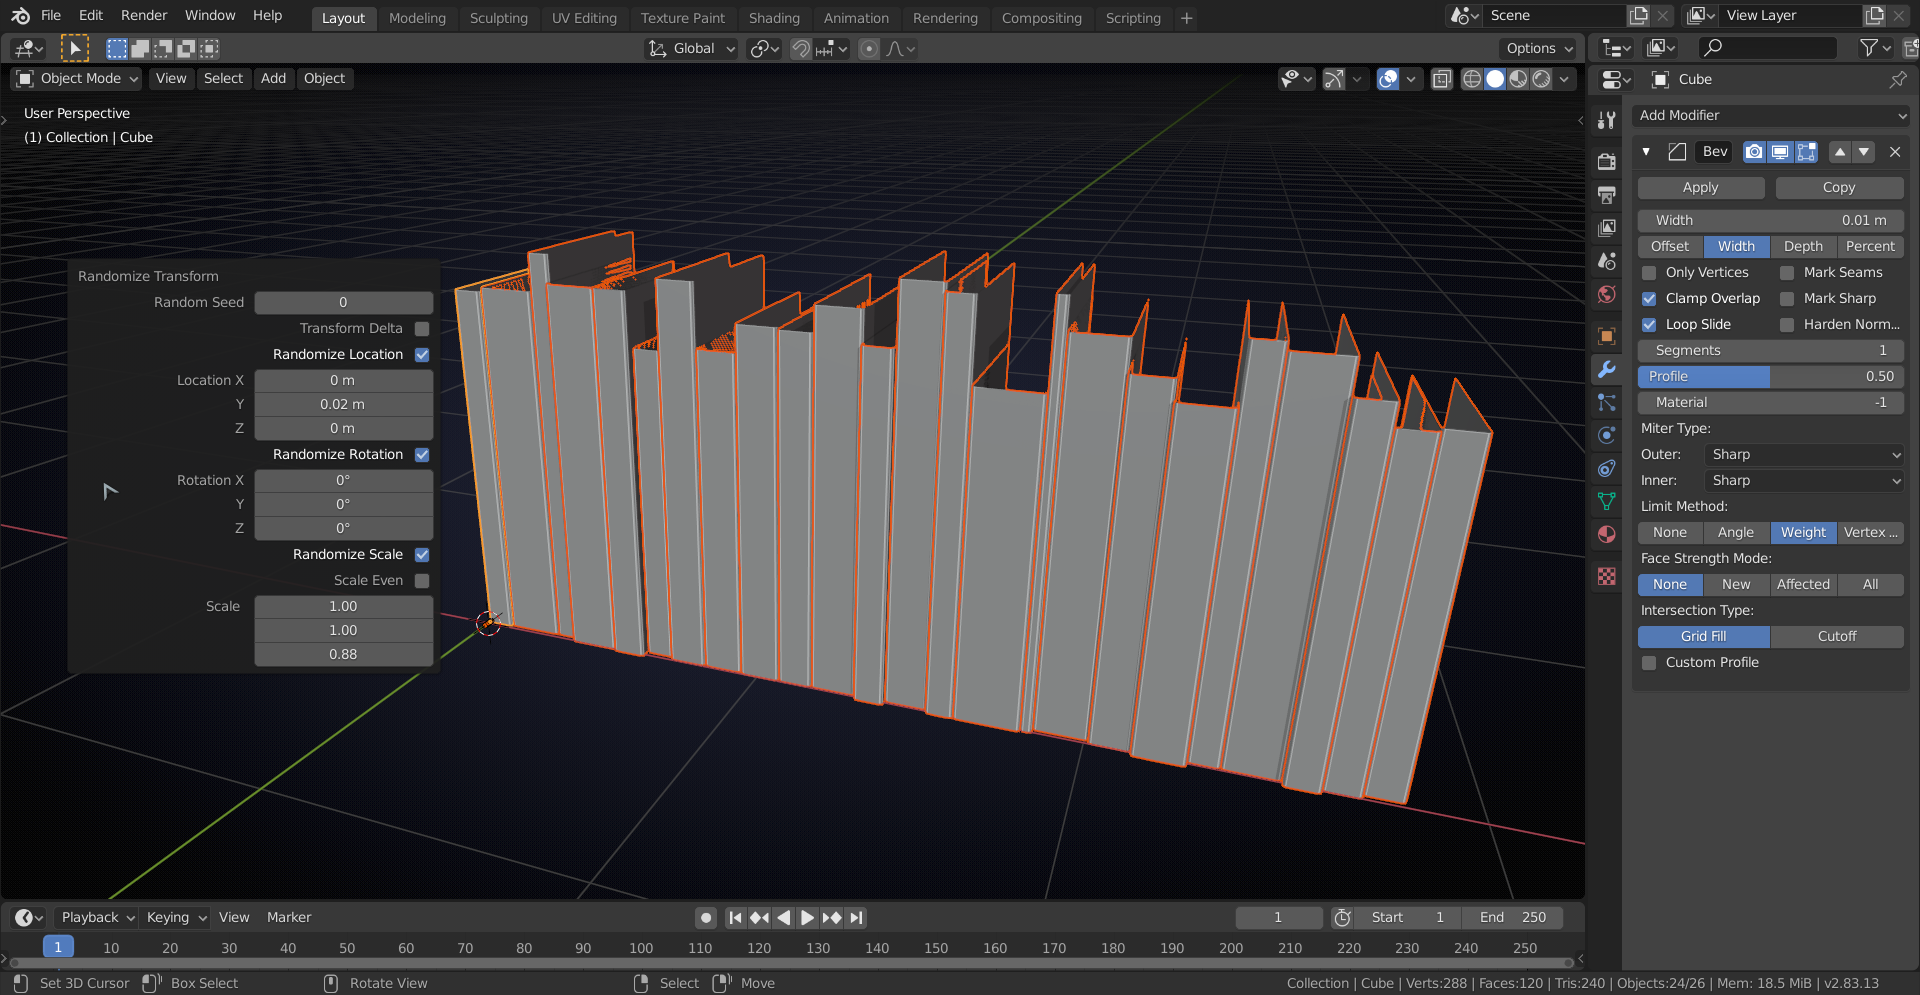
Then (this is the fun part) go to Object > Transform > Randomize Transform. Adjust the Z-Scale and Y-Location to your liking:
If I am not able to submit this challenge entry on time, should I just rush it so that I can submit something, or should I take my time and finish it up?
The problem is, I've already modeled a fancy book, and I don't want to replace it with a bland cube.
That is up to you, of course, but think of it this way, maybe:
Do you like making this image? Then take your time and make it into something beautiful that you are proud of!
Otherwise, ....you've got about 5 days left to make it into something acceptable;)
I tried using one or more pre-made books, but couldn't find a good way to get variation in sizes that way (especially the width is a problem). (That doesn't mean it can't be done....)
So my idea was that the majority of the books in a library shot would be too far away from the camera to see much detail and I could get away with this method and some texturing. The more books in shelves, the smaller they are.
Then place a few high detail books on the table that are closer to the camera. Maybe one lying open...
Don't use too many subdivision levels and try different Textures for your Displacement.
For instance with Distorted Noise:
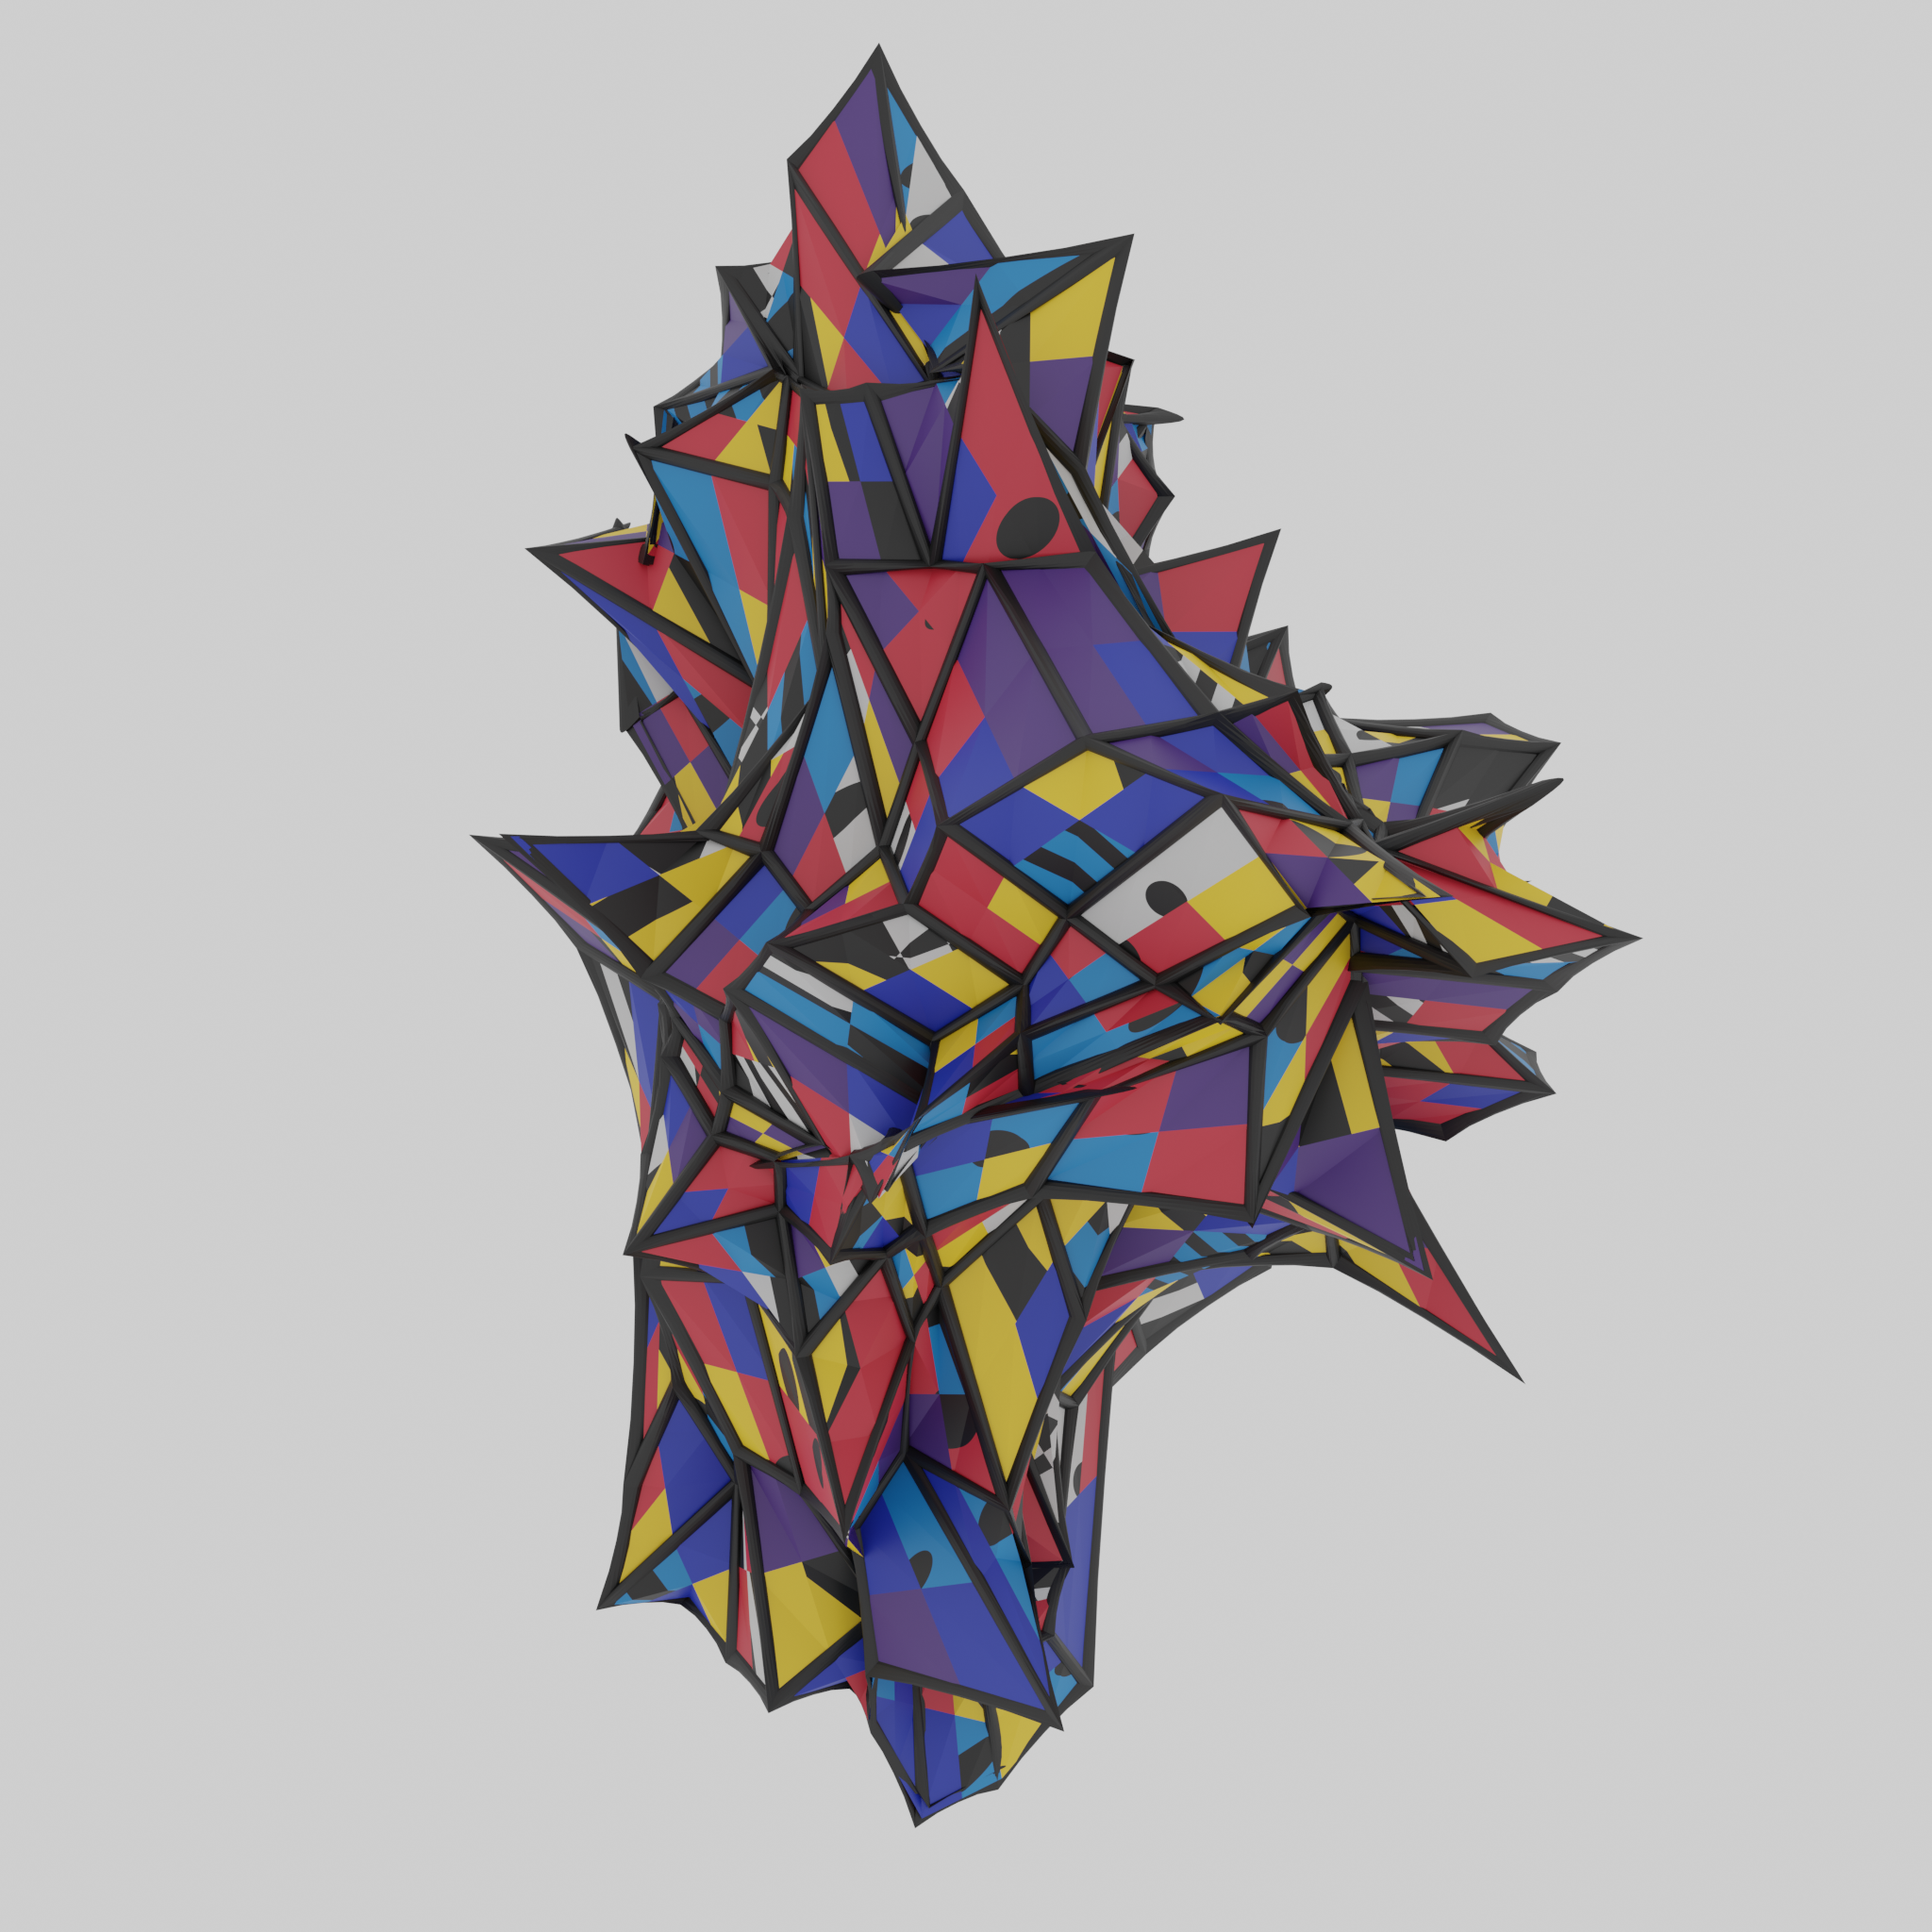
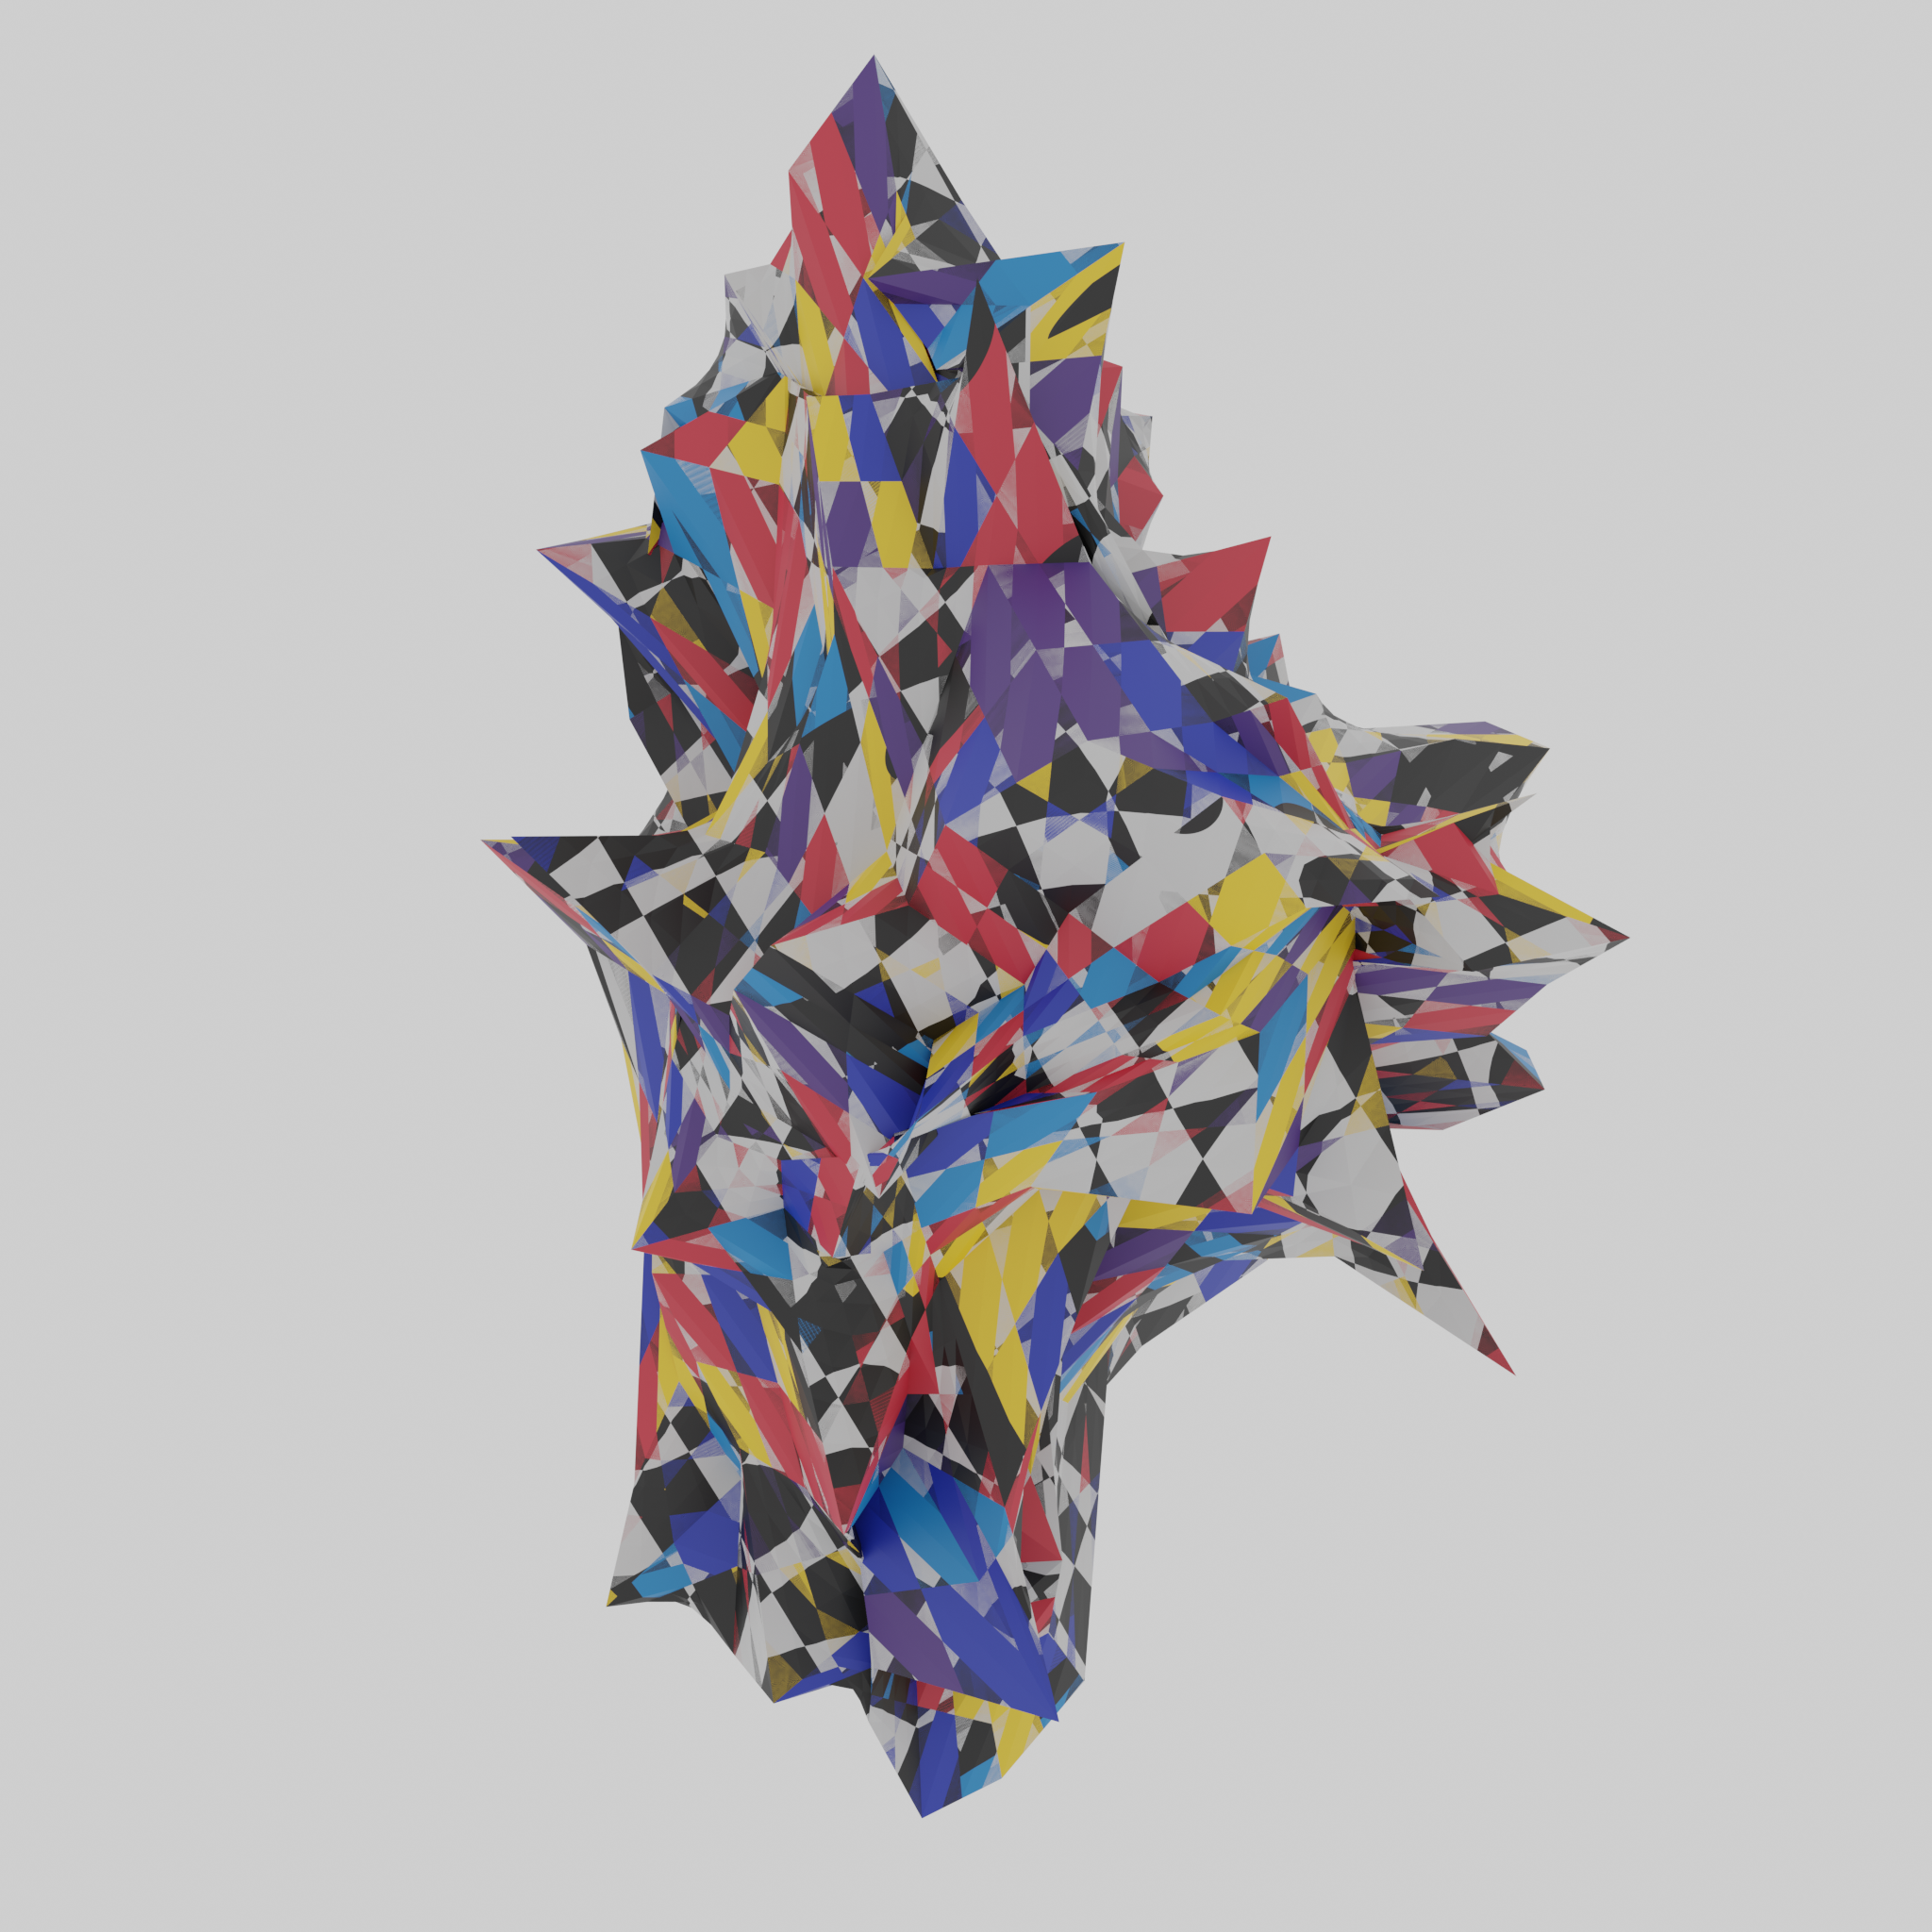
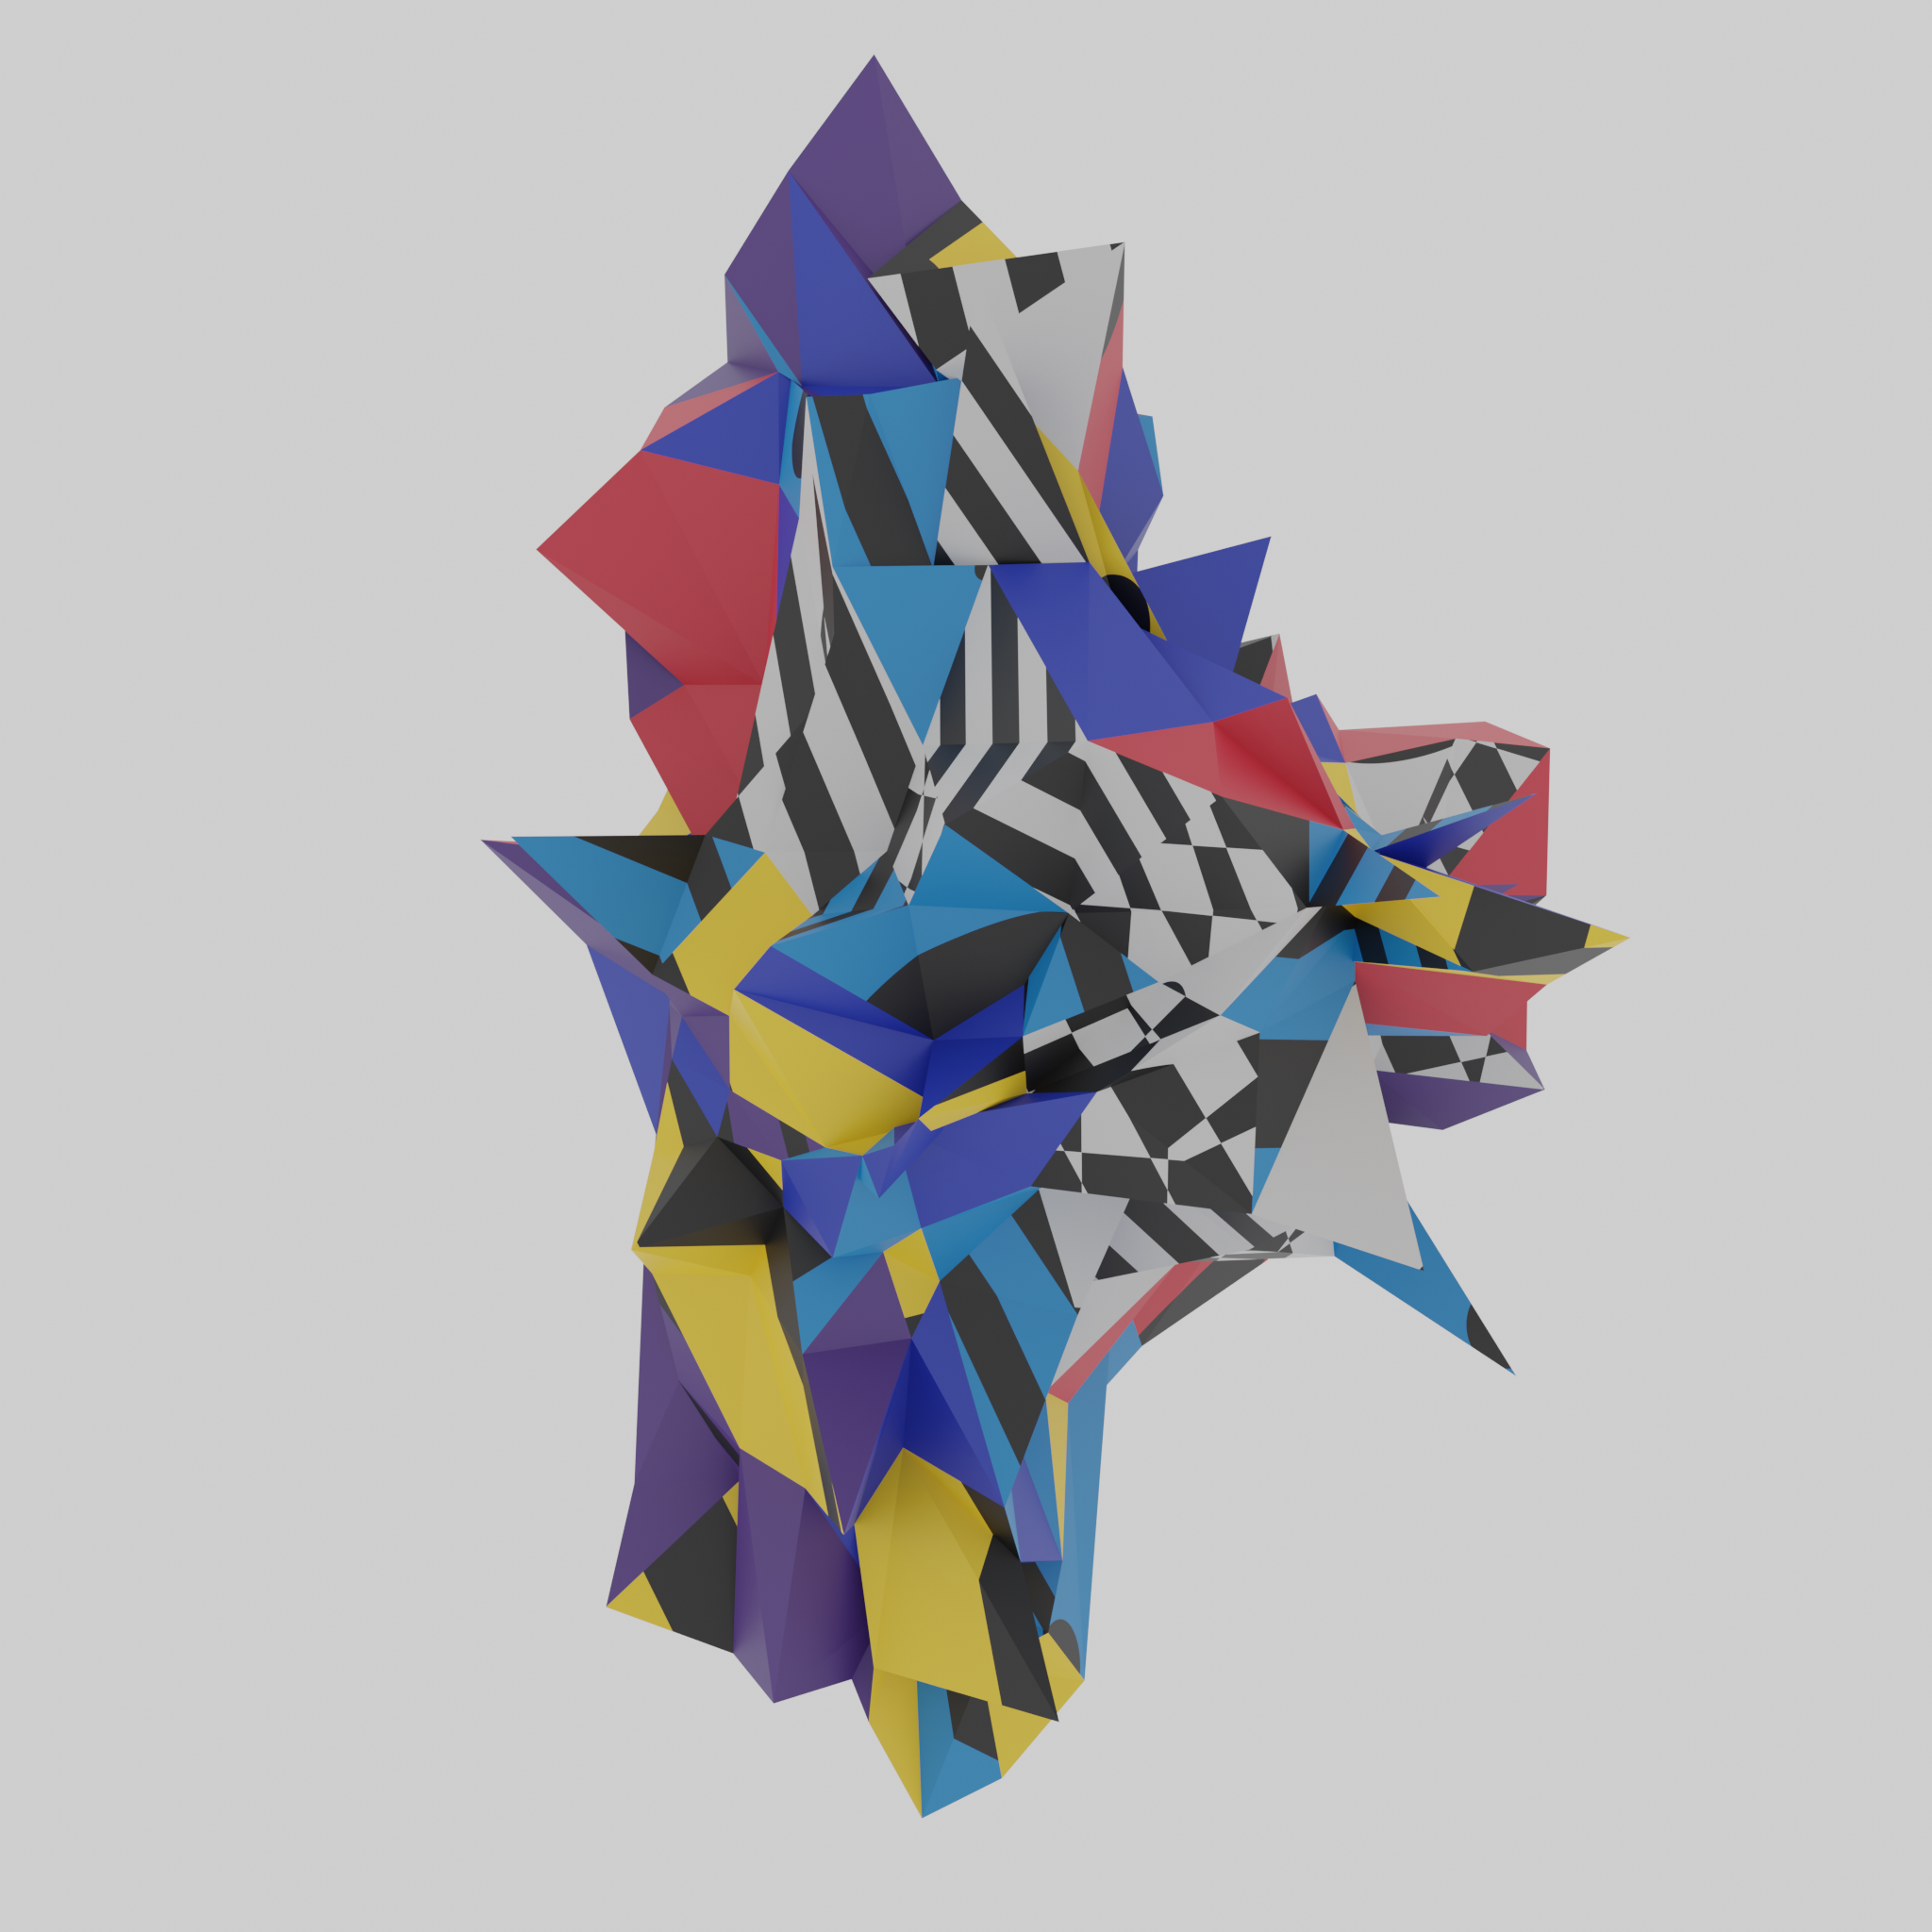
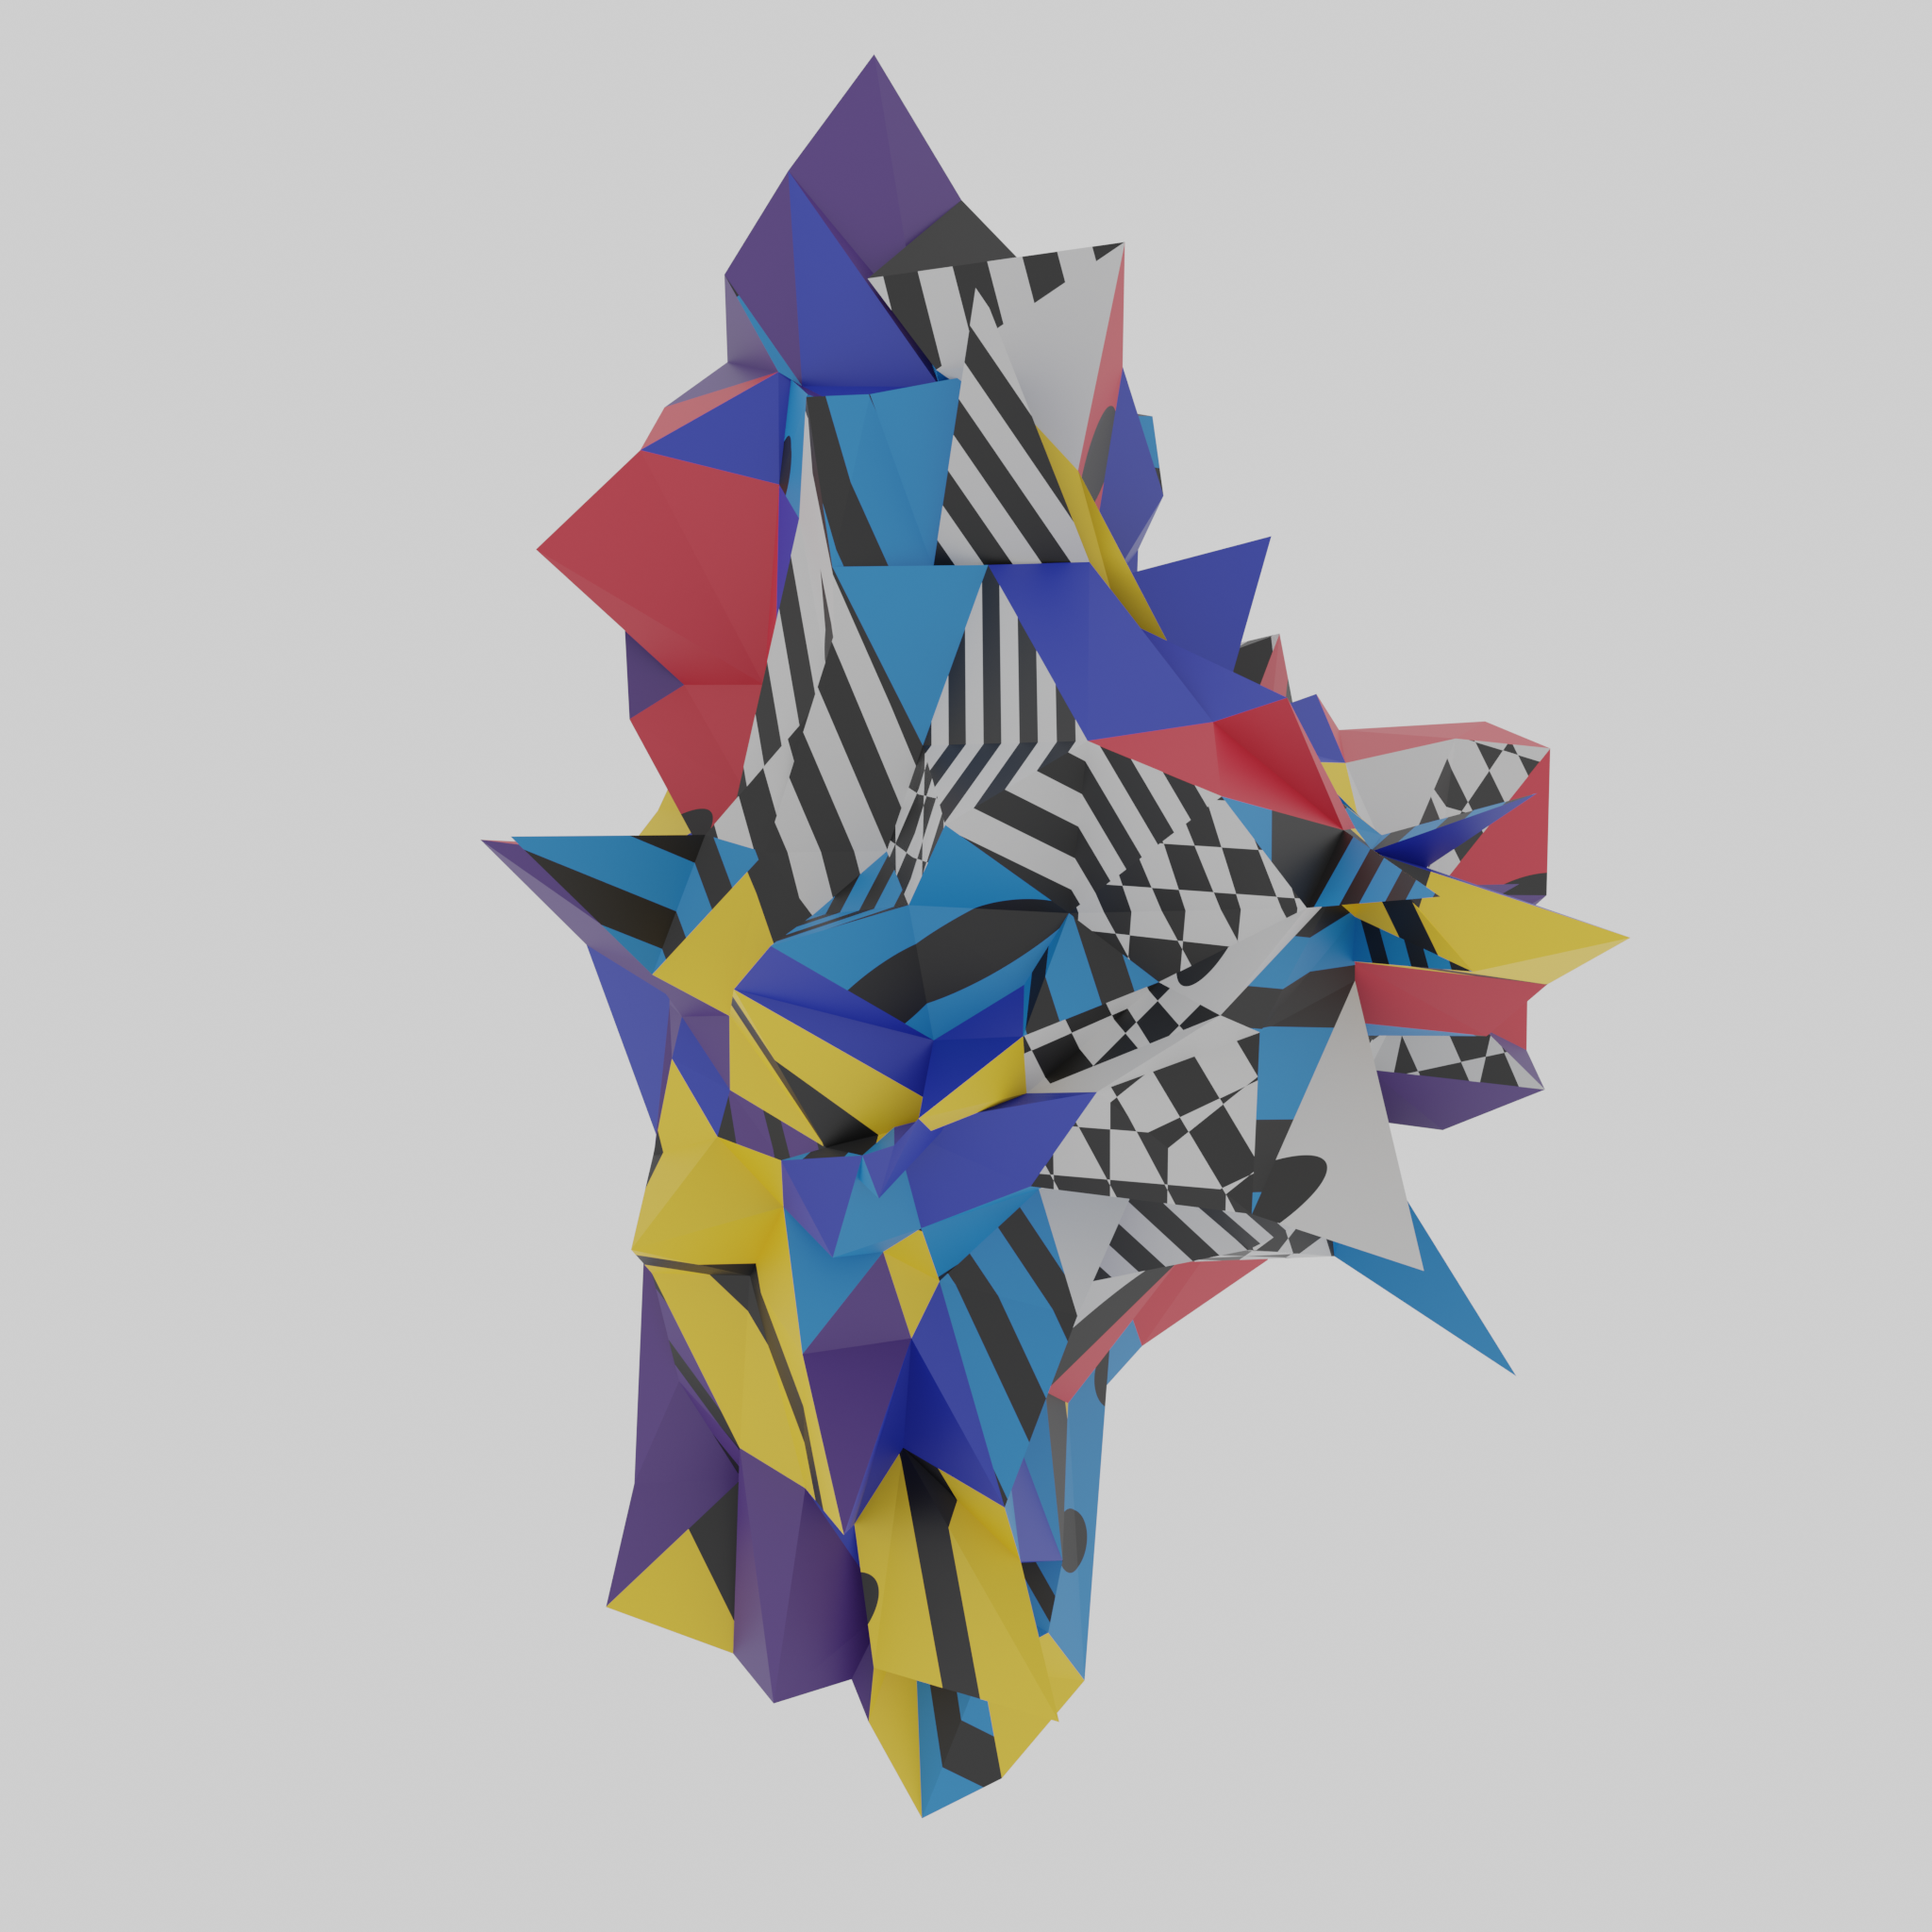
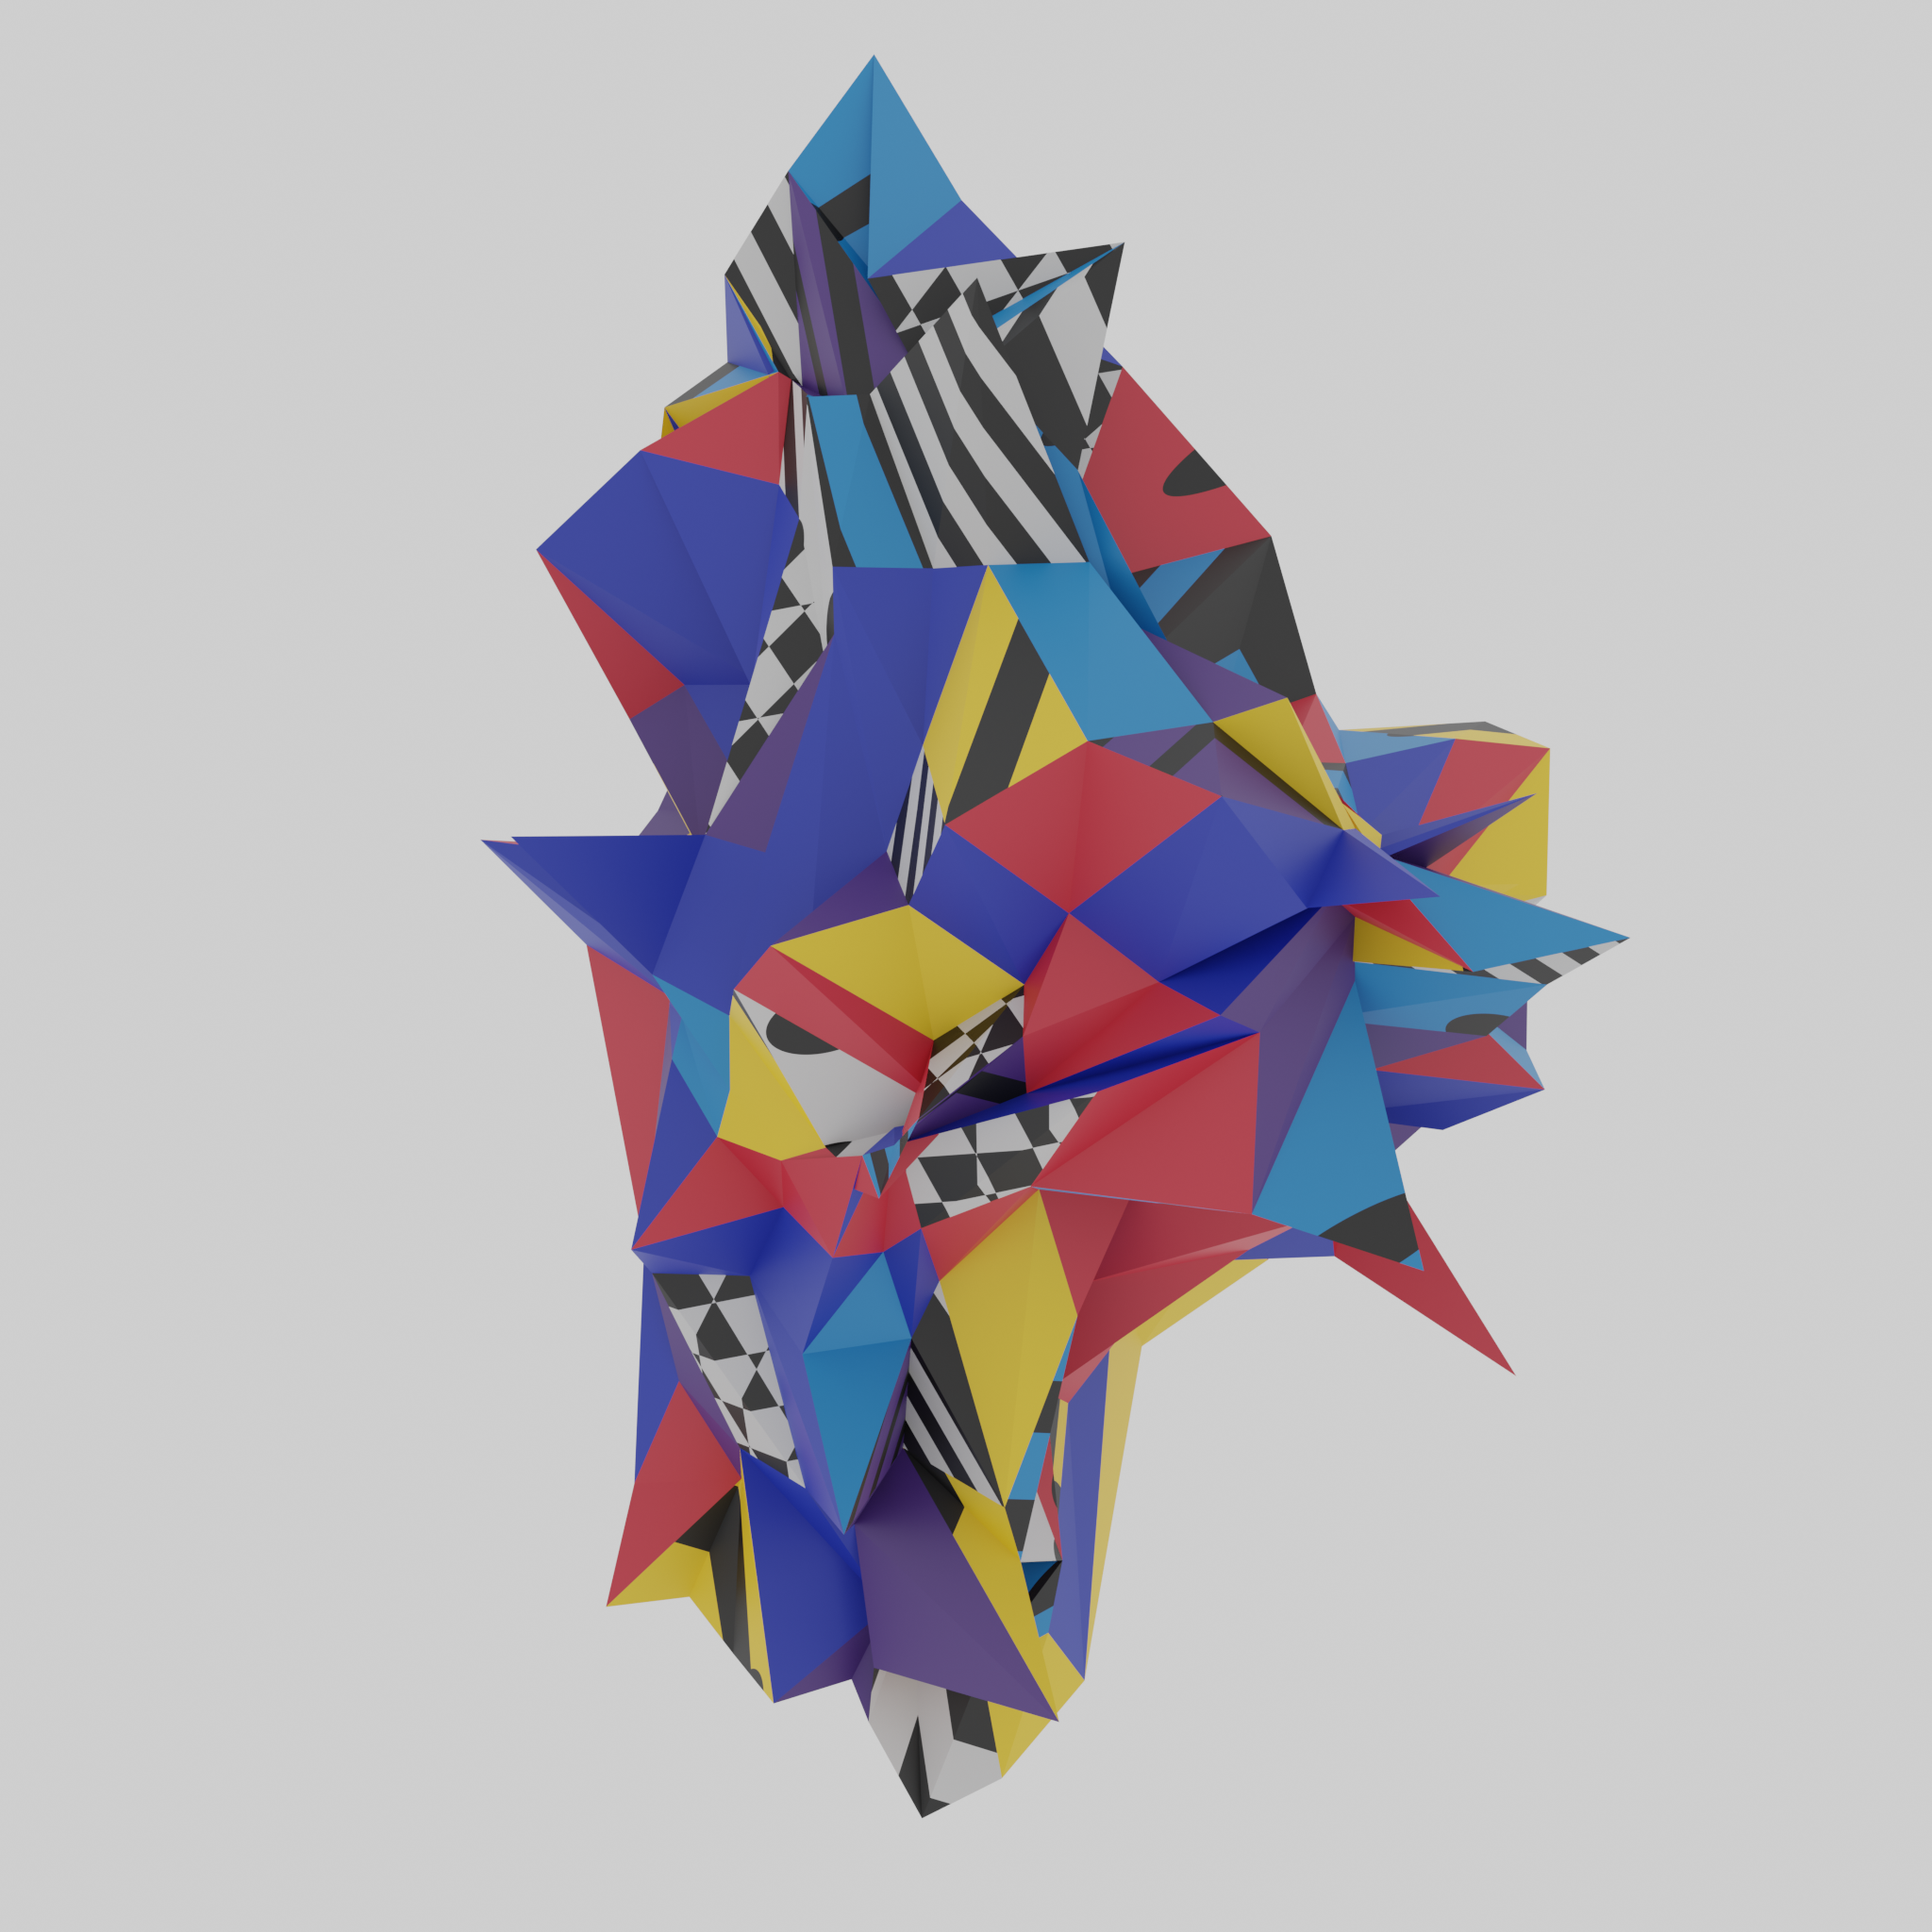
I completed all of the materials and made several variations. Which are your favorite and least favorite, and why?
Cool!
(Now see if you can make the 'edges' black, like in the original....(Maybe use Freestyle, or Wirefrma Modifier), if you want to, of course!)
2, 4, and 5 are my favorites. the 1st and 3rd, for me the added black and white textures made it look too busy.
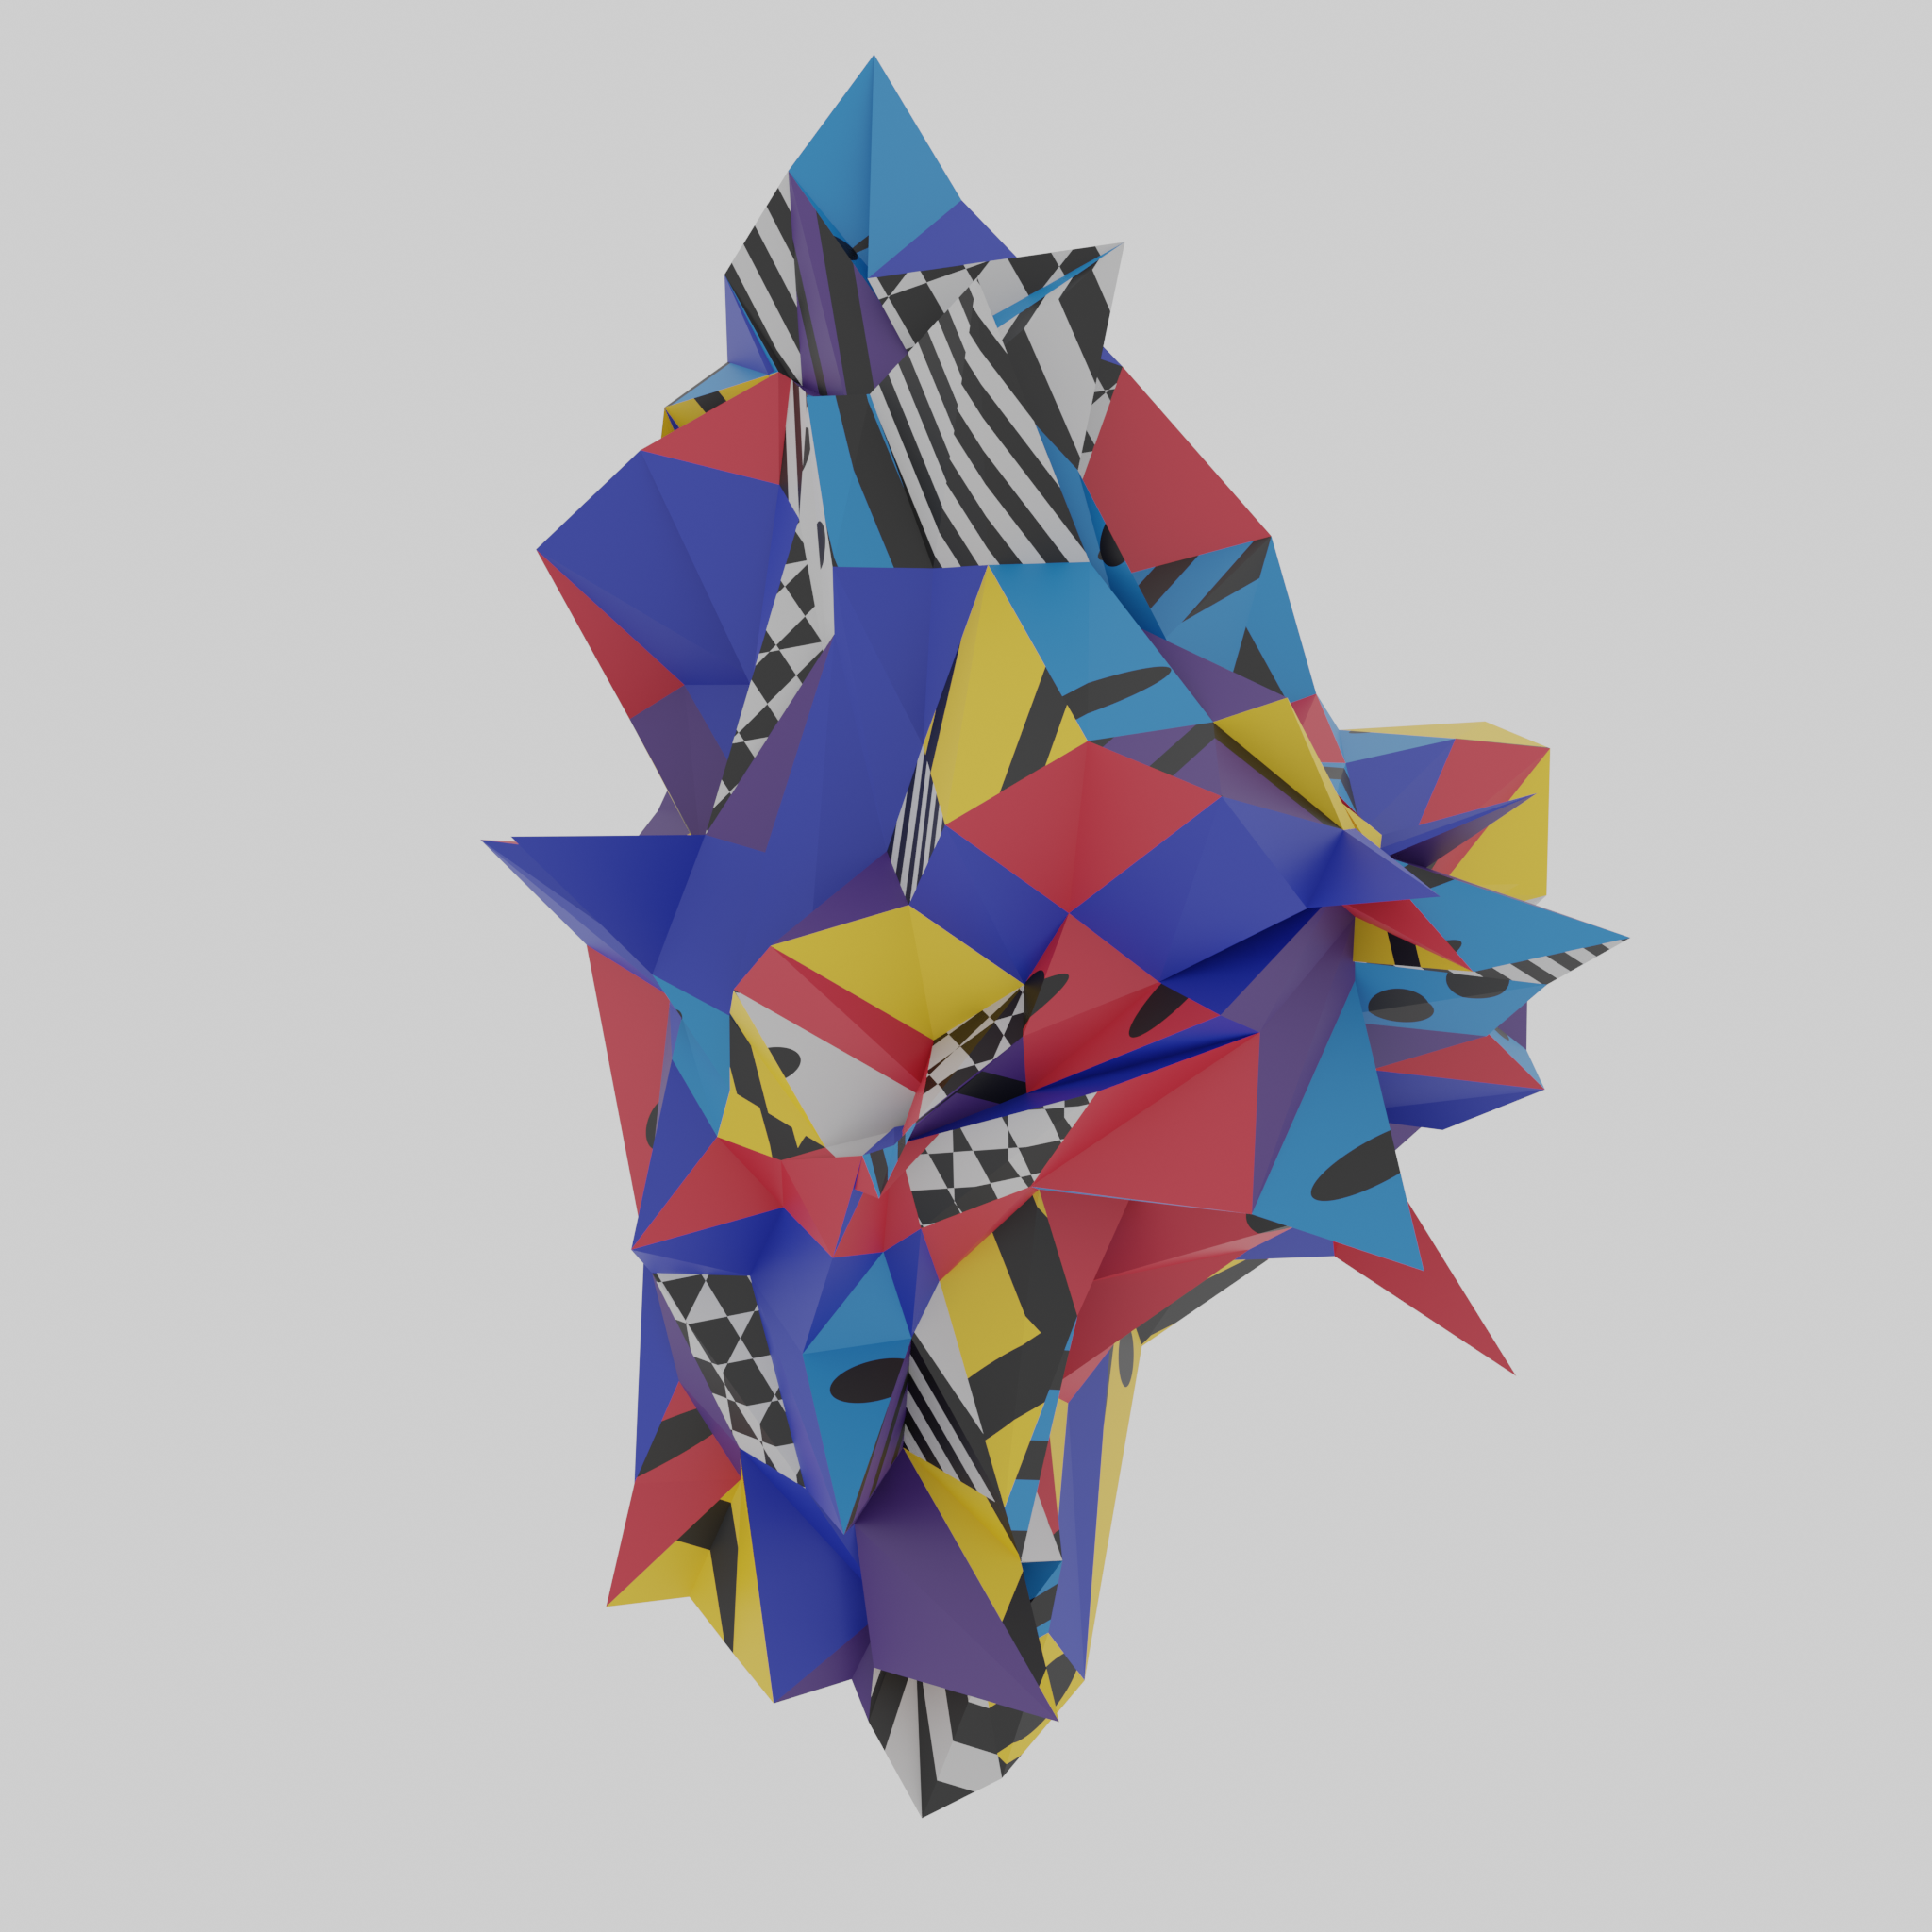
Here are two more variations with wireframes. I think they look a lot better than the others.