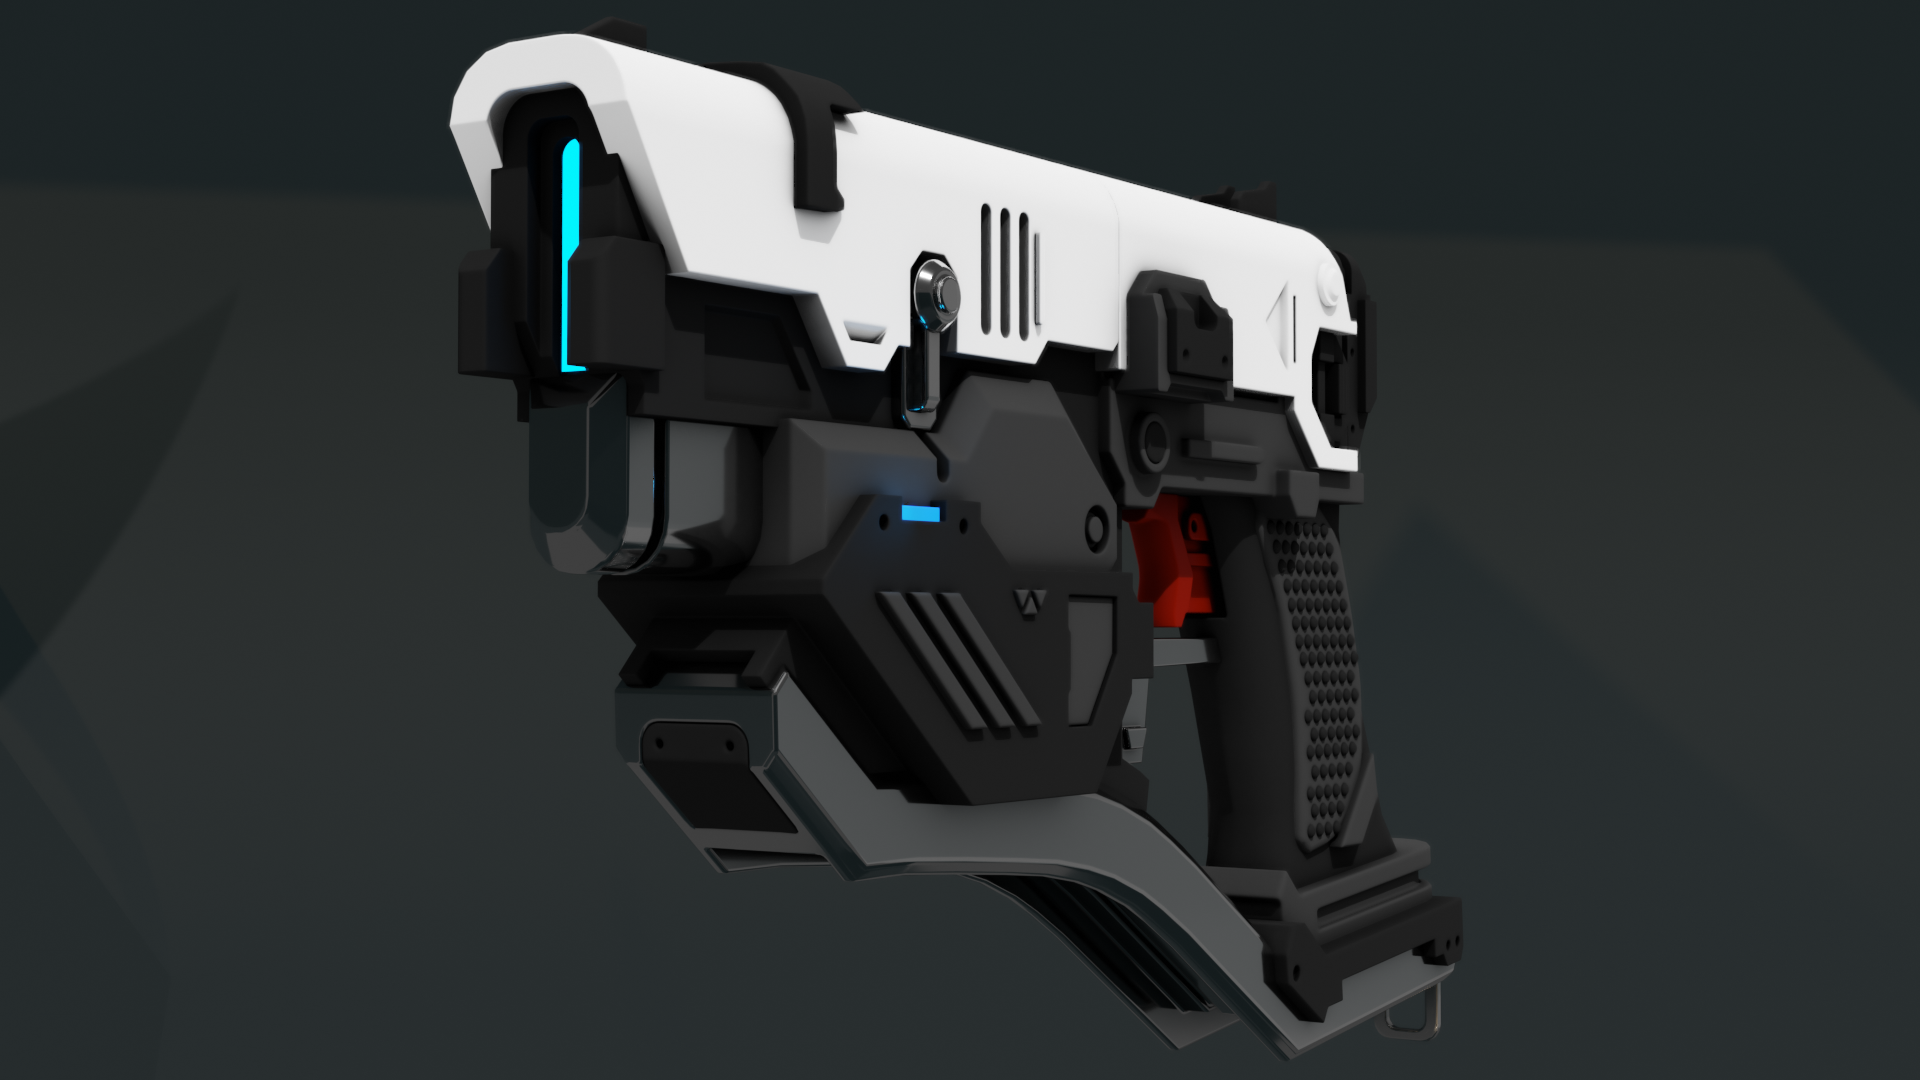
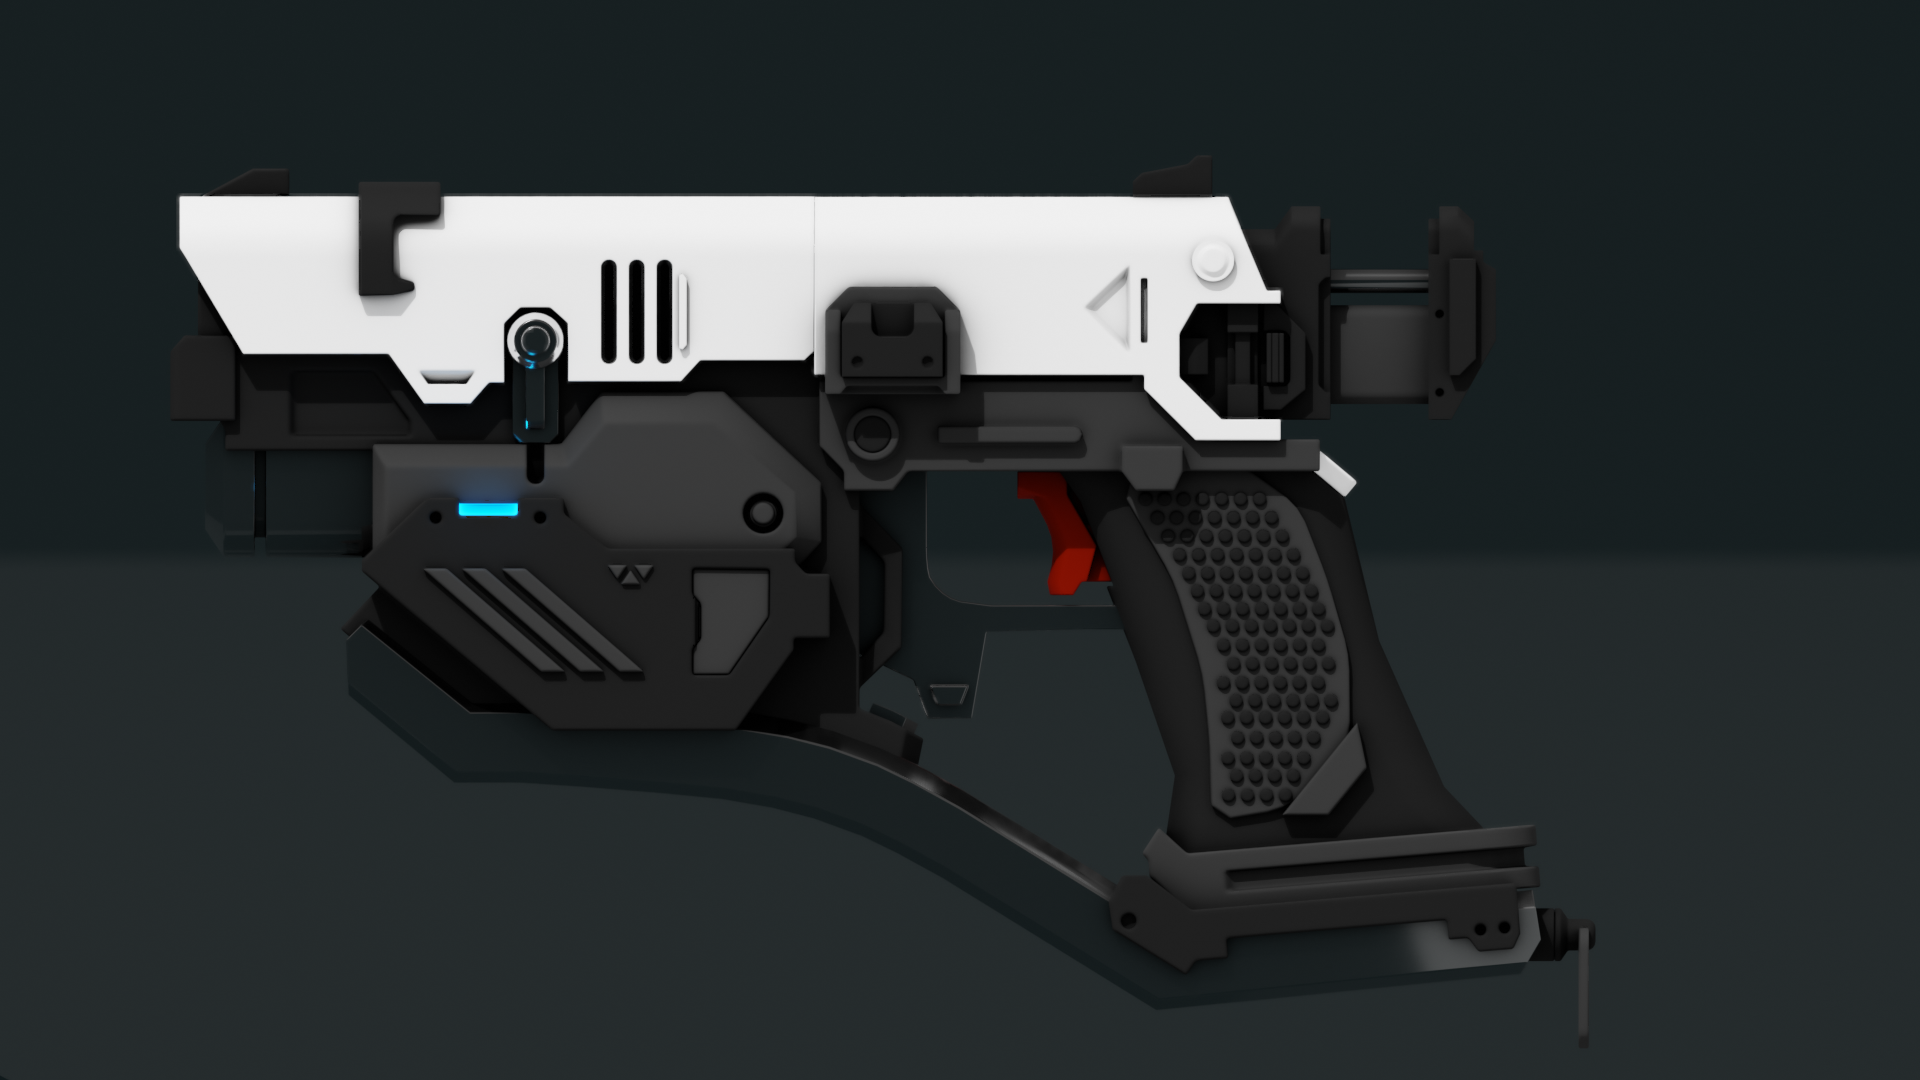
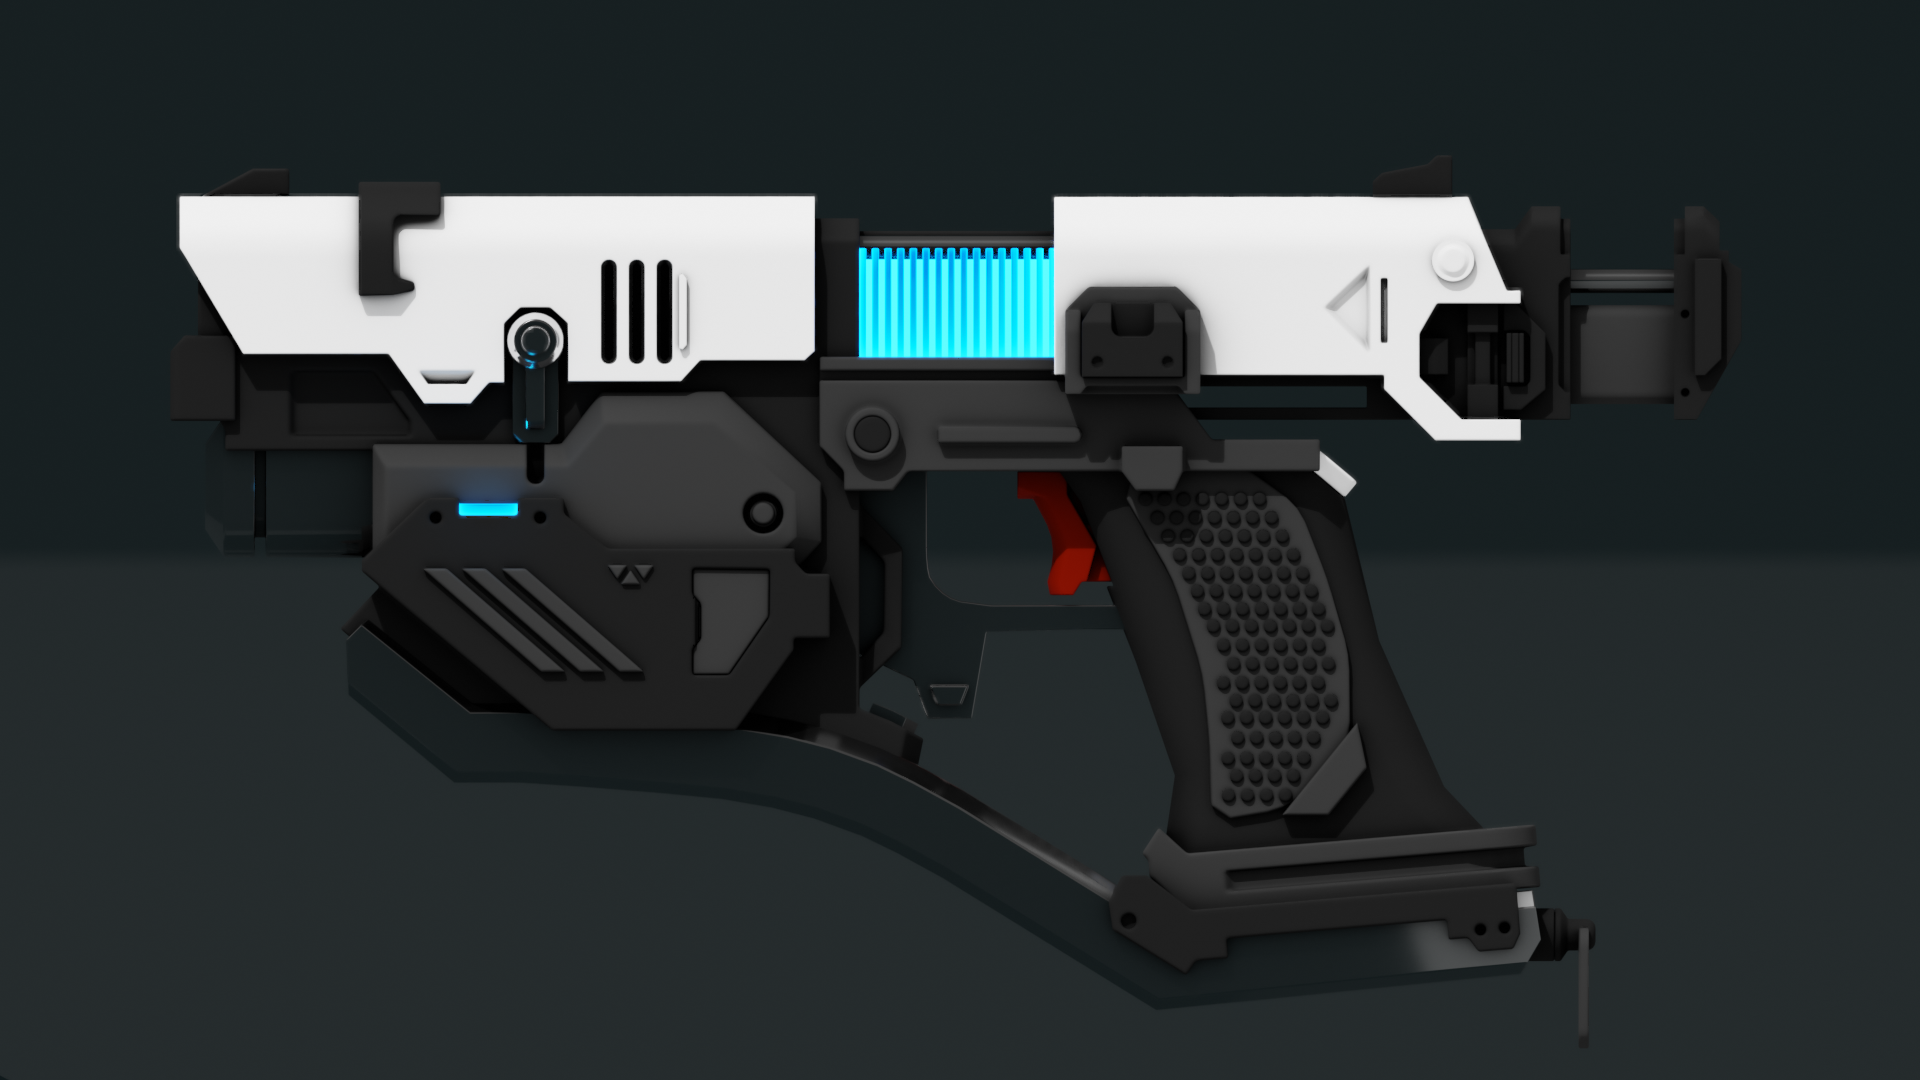
So I made a pistol *scifi style*. My inner geek is filled with pride.
Sadly, the model itself is only using a VERY basic nodes setup to generate materials, and while I'm happy with the result I need to reach *that next step*.
This is my first time trying to make UV's for...anything so I kind of need someone to judge and criticise my seams and island lay outs. Right now the main feedback I need is whether I am doing things right or wrong, as I fully understand this is as much of an art as making the thing in the first place.
Basically, I think they're a mess. I use the HardOps add-on as part of my major work flow, and part of what it does it make N-gons galore when you use the 'Clean Mesh' function. Largely I'm happy with the add-on, but it does cause some artifacts in the UV layout where it looks like an edge is joined by a face to another edge where there's a hole. I'm not sure if that will have an actual affect on the textures I choose to apply further down the line. I'm attaching the .blend file for people to judge it, but please don't be-moan me my collection organising skills, or lack of! :)
Basically, this is me before I move past my UV's for this piece.
Any tips, any critiques, any golden nuggets of advice for applying dirt, edge detection, etc will be appreciated and consumed so voraciously my cheeks would inflate like a hamster's. Thanks in advance for your time!
(I'm not worried about the tri count at all for this piece, and if you do have advice to give that relies on what the project is for, if you could provide feedback for all aspects as this is a multi-discipline project for me, I would greatly benefit from that)
My main question is what to do about arrays and mirror modifiers. I can apply the arrays and link the object data across them, as although the array is a simple shape to begin with, UV space is precious. I know there was a way to apply mirror to UV's in 2.79 but I'm not at all sure how to apply that in 2.8.
Some profile pictures of the gun and it's stages:

neutral pistol state (I derped on the trigger here, I forgot to bring it back to it's neutral position)
Trigger pulled state.

Pistol overheated state.
Pistol Manual Venting state.
Then return to Neutral state.
EDIT: Since these pictures I have deleted the bobbles on the grip and plan to replace those with a normal map pattern instead. Don't need no hundreds of dots on my UV.
i'll point you to one of the masters. https://www.youtube.com/watch?v=L3654VGZObg&t=1s
daniel explains uv-mapping well on that video.
the uv problems with ngons after clean mesh with hops, for that you'll need to triangulate mesh, or atleast fix the problem areas by adding edge between verts where the ngon face goes out from the uv area.
That said, if you are going for game models, you will need to triangulate the mesh regardless. game engines will triangulate any mesh imported, but you have no control over how it does it. so its better todo it before exporting the mesh out from blender so you klnow they are correct and don't cause problems in game engine.
as for tricount's. that is solely dependant on the project and what is needed. base rule is that everything that is contributing to the silhoutte starys, rest is waste.
as for mirrors and arrays, those you need to decided which to apply and which to keep. for example those hole in the grip, that could easily be mirrored and shared uv:s since you are never going to see both sides at the same time, so it doesnt matter if the textures are same on both side.
however, those places that can be seen at the same time should have unique uv:s.
hope it helps. :)