Hi there!
I am watching the course "Short Film Character Production" . Currently I try to paint my model with bump-map. Although I think I understand how this works, I still have a couple of questions.
The first question is about the use of a texture brush. My goal is to texture-bump-paint my model with 'scales'. For this I made a 'test' picture of something that could represent scales. Later, because I found the results of the image-photo very bad, I made a clean test-image in Adobe Illustrator. See below what I mean.

Above is the test-picture I made.

Above is the clean Illustrator Image.
In Blender the pictures above gave the following results:

As you can see, the 'photo' (right) didn't give good results. The results of the clean image (illustrator) (left) is much better.
Now a comparison with the course video:
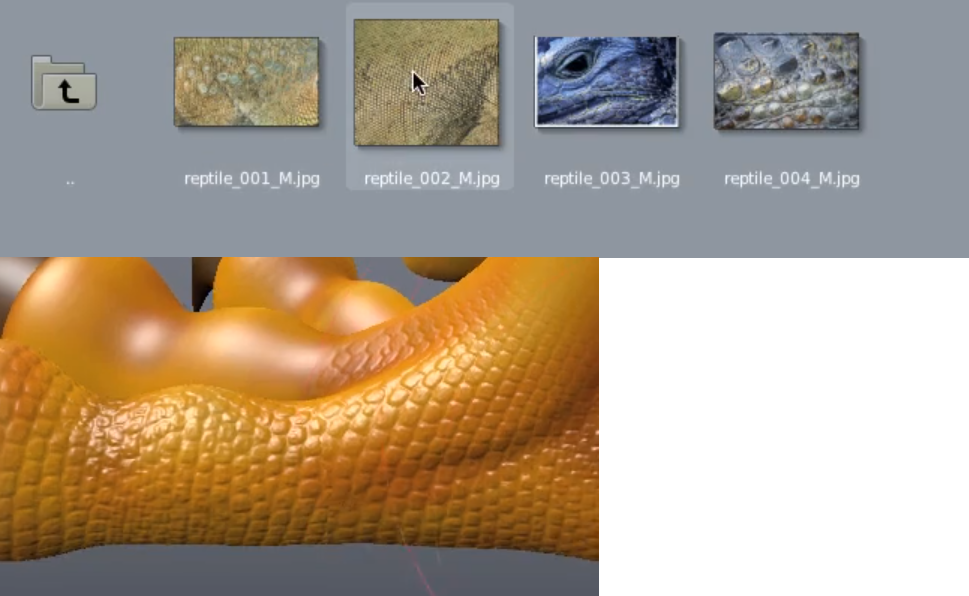
The pictures above come from print screens I took during the "Short Film Character Production".
So, finally, question 1: Is there a general rule about using images for a bump-map-brush? With this I mean: do detailed images create more noise (comparing the photo-image and the illustrator image)?
Question 2: As seen on the print screen image (first image above this text) the 'reptile_002_M.jpeg' creates a beautiful result. How is it that this picture creates such a good looking bump-map and that the photo I used looked so 'not beautiful'?
I have 1 more question. For this I have the image below.
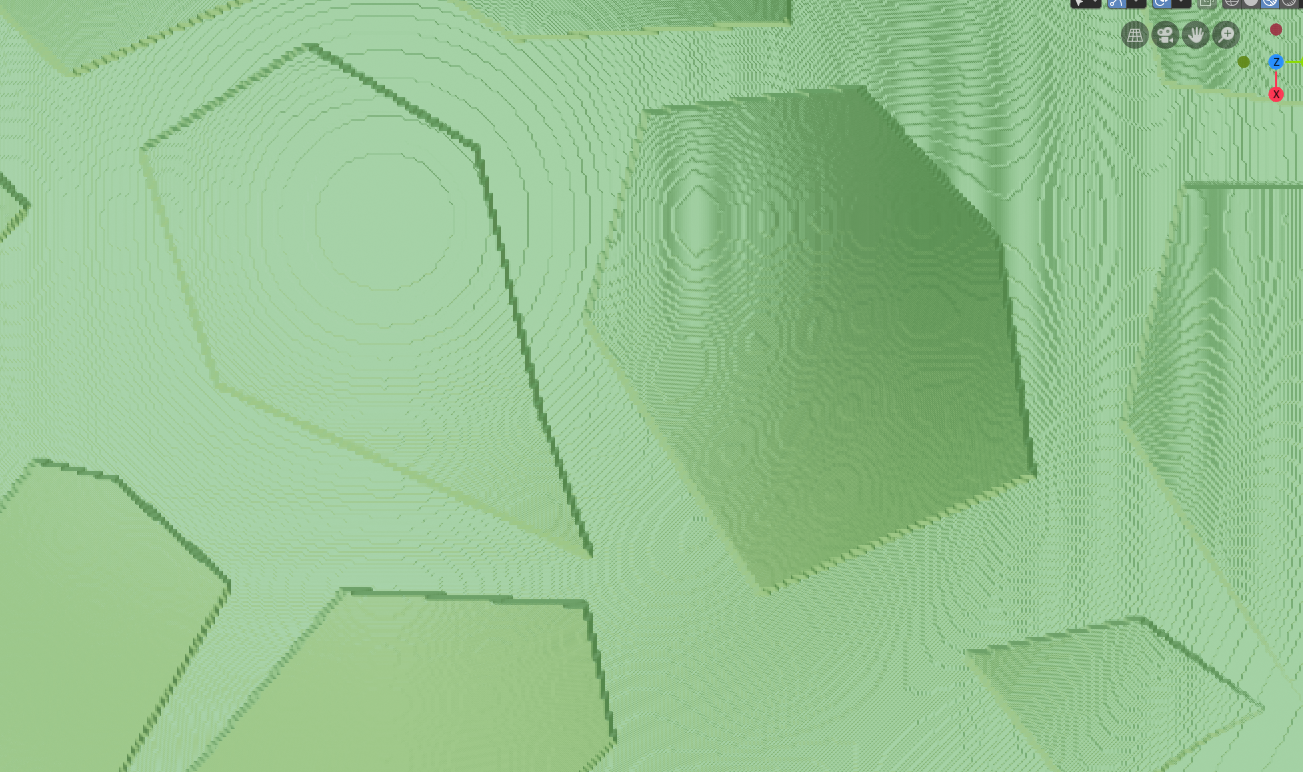
Although the 'clean image' looks much better than the 'photo-image', it still looks 'not oké' when I zoom in. With this I mean: it looks pixelated on the edges and it looks like there fingerprints all over the bump-stamp. I am aware of the resolution of the image so I made images that are (1024x3) 3072x3072 pixels.
Question 3: I tried multiple high-resolution photo's and they all gave very much pixelated bump-stamp-results. They also all have this fingerprint-looking pattern. What is the cause of the pixelated image? And why are there 'fingerprint' patterns?
Thanks in advance! Any my apologies in case my English isn't correct all the time!
After some trying I found out how to fix the 'fingerprint' pattern. It looks like changing the 'distance' in the shader editor. A distance value of 1 gives strange patterns. Lower values don't have this; see the images below.
So, now it remains a mystery why the images are still so 'pixel' looking. Does anyone know why this is? After looking a lot on the internet I found that it might have to do something with the viewport resolution. So I tried to paint on the UV map instead; unfortunately that gave the same results.


Is there a general rule about using images for a bump-map-brush? With this I mean: do detailed images create more noise (comparing the photo-image and the illustrator image)?
There's no general rule, but they definitely do have more noise. You could try to reduce the noise and bring out the lower frequency details in a program like Bitmap2Material (now Alchemist?) or even Photoshop's camera raw filter. Illustrator images will always be sharper, but that's not always the effect that you want. I think most bump map brushes are painted from scratch like yours or derived from photos but then heavily edited to bring out the right details.
Here's a version of the rocks texture that I tweaked with Photoshop:
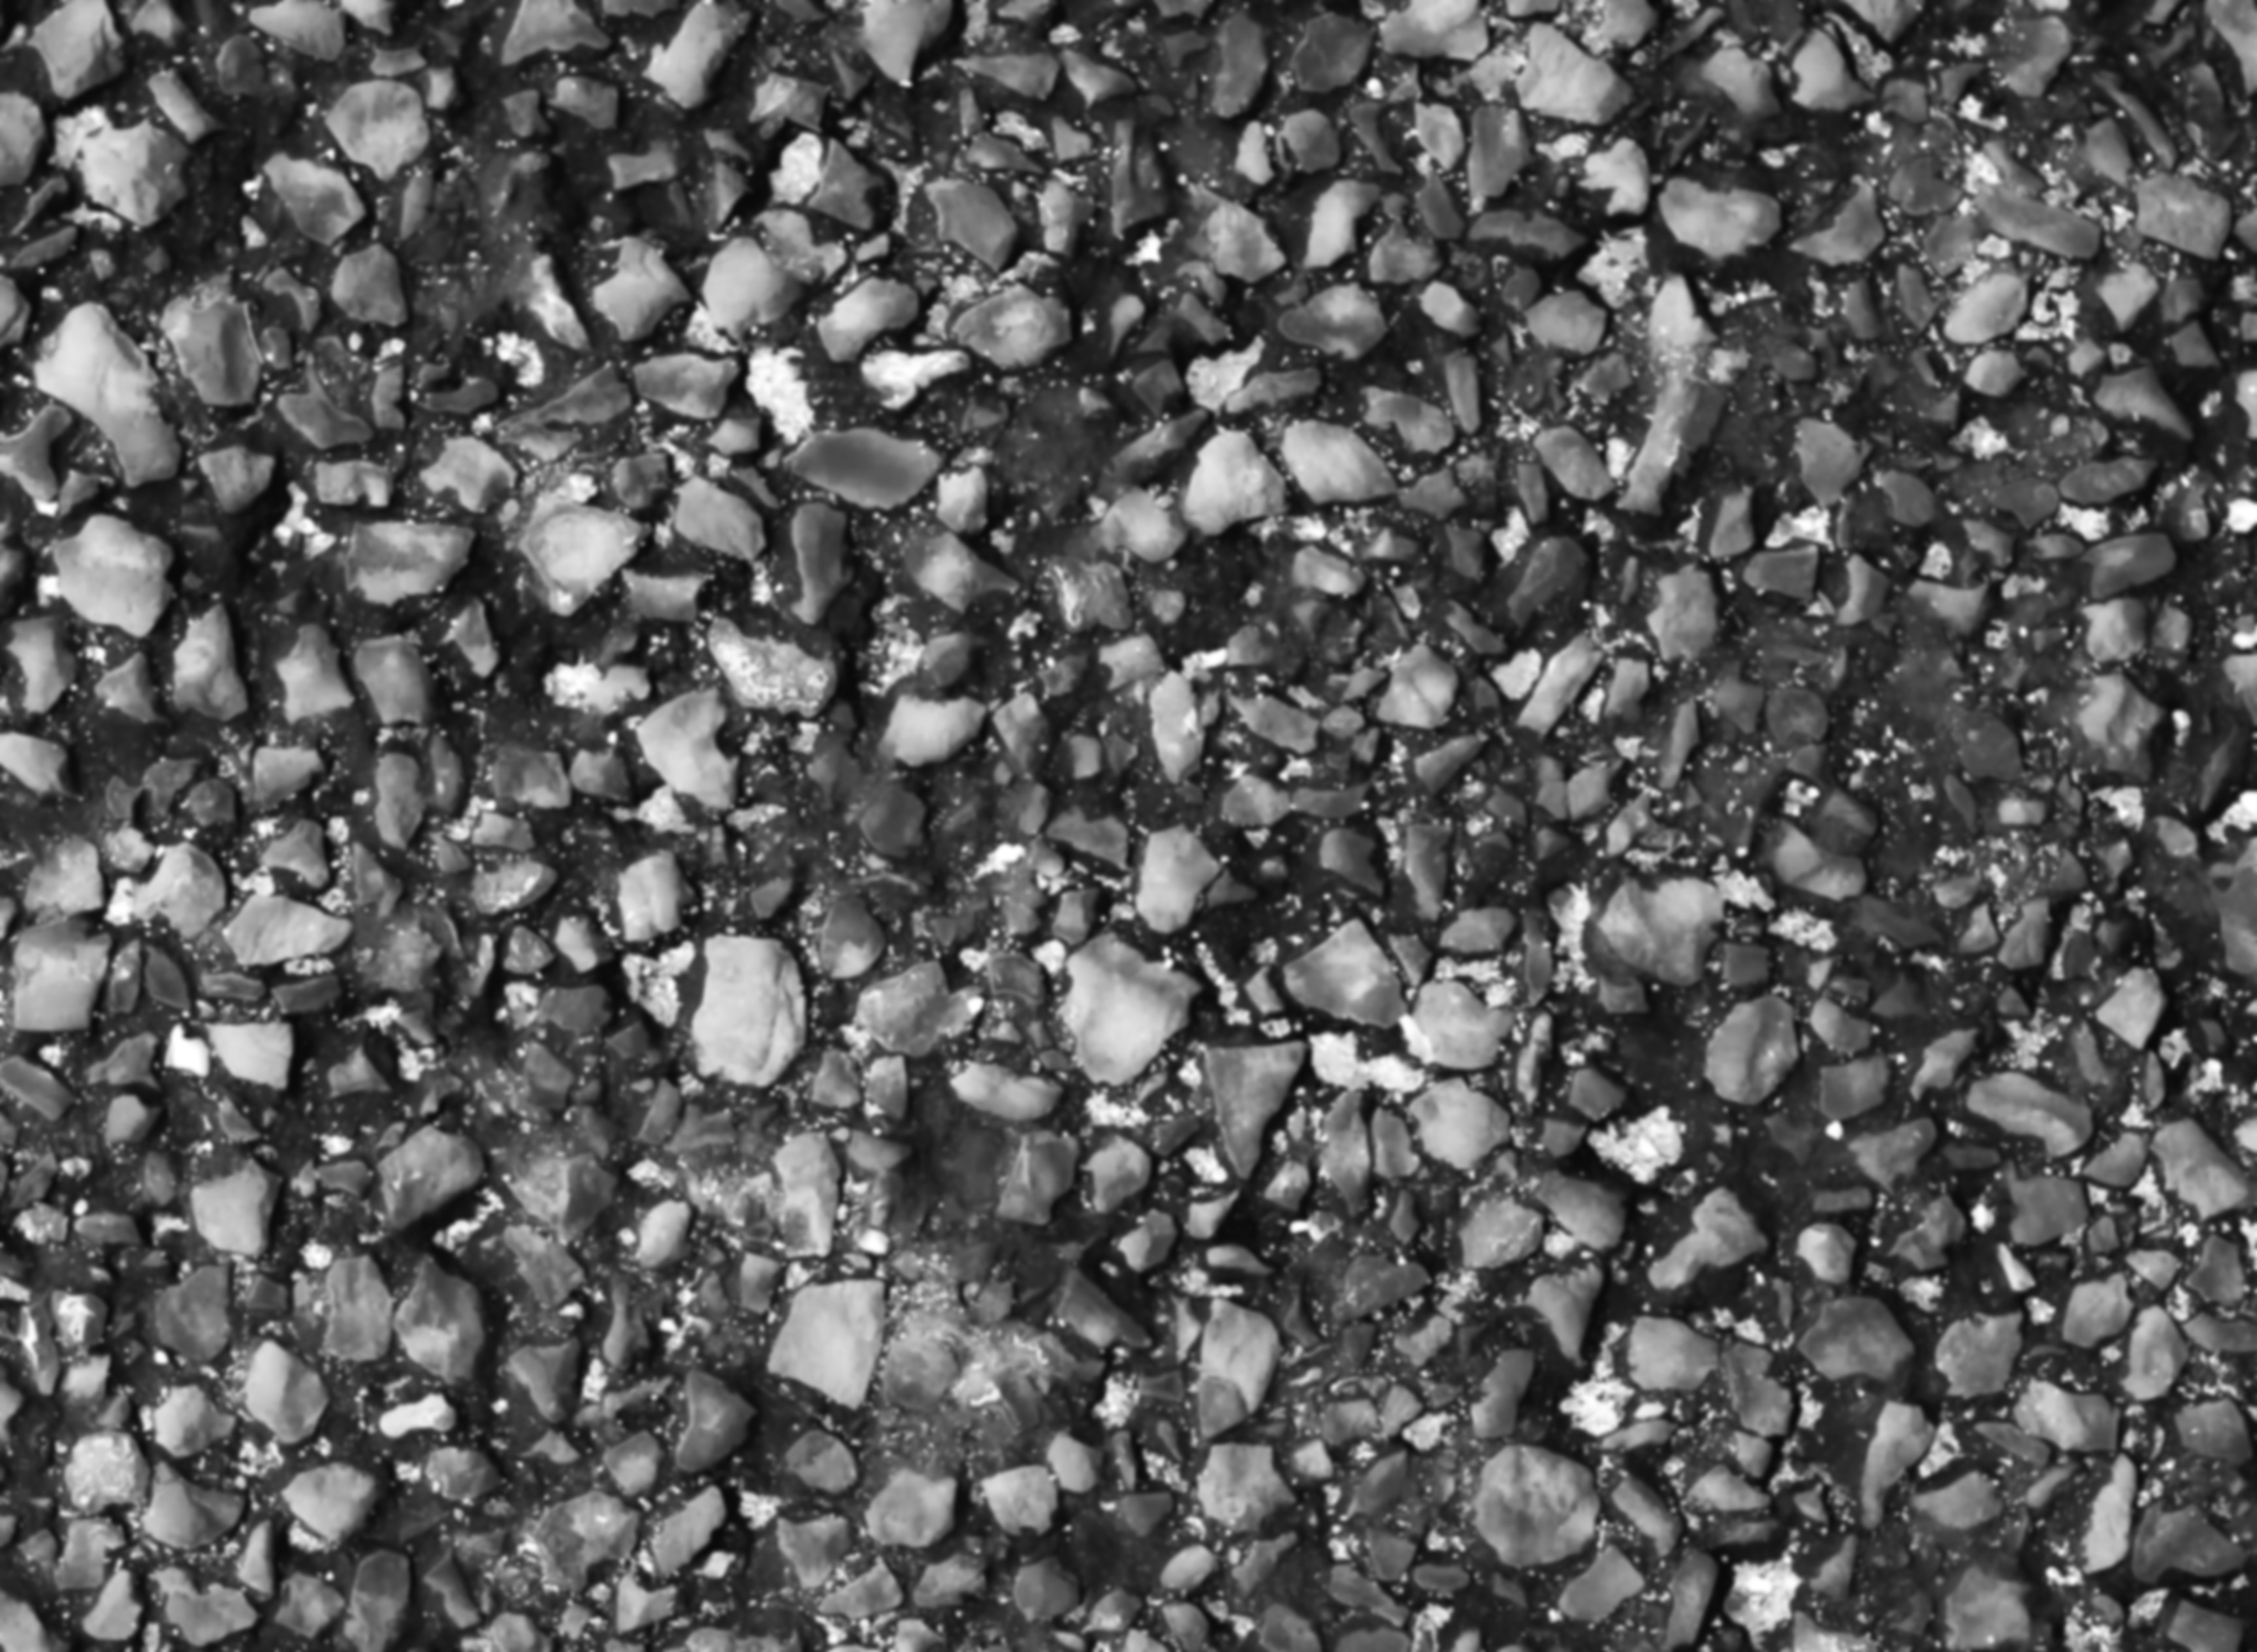
And a comparison (original is top):

I'm pretty sure the pixelation is due to the resolution of the image you're painting on.
Hope that helps!
Hi Jonathan,
Many thanks for helping me out with this!
After reading your hints I did 2 things:
- 1: Creating a new Blender test-file with a high resolution.
- 2: I used the test photo and edited it in Photoshop.
The UV map of my original model might be large (4k), but the UV's of the texurepainted faces might be small in the bigger picture. Maybe that this created the lower resolution (pixelated bump map). To test this I started a new Blender file and used the edited photo. In this Blender file I made a plane and a map of 4k. In this case the resolution of the bump map was much better. Beside, the bump map (edited like you said) was much cleaner.
Thanks again!