 I've followed the tutorial exactly, but I am getting a different result when thickening the chest top after separating the side boards.
Select everything.
Hit E, right click to cancel. Alt S to scale, and I even have my mouse in the same location.
When i check my "shrink/flatten" mine says -0.109, while the video has a positive number, but a positive number for me goes the wrong direction.
Where am I going wrong here?
Hi ffighter2g , that will be because your normals are are facing the other way, compared to the video.
Select all (in Edit Mode) and press SHIFT+N to recalculate the normals.
ALT+S scales along the normals, so if the normals are flipped, it scales in the opposite direction.
So that's okay then. The minus says it's shrinking and not fattening and that's what you want;)
If it's the other way in the video, then the normals were flipped there, I guess...
This is happening because the 'rounded planks' are connected to the sides. But you scale them separately.
Try this: in edge select mode select the rounded edge loops like this:
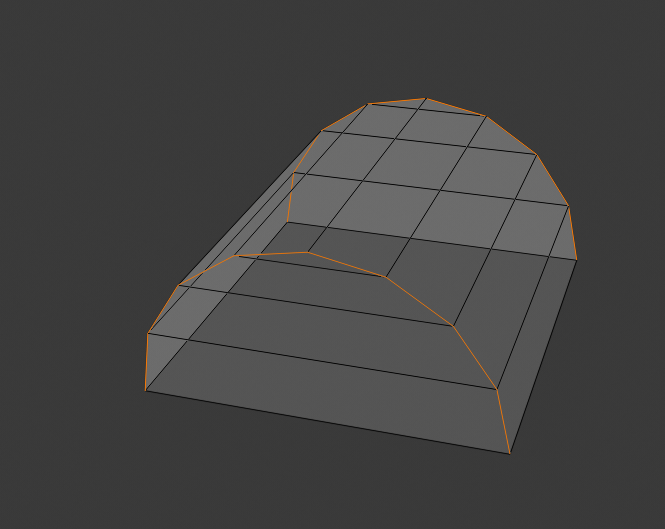
Then press V.
Now you can select the rounded planks by hovering over one of the edges and press L.
Go ahead and do what you tried before: E right click (or Escape) and then Alt S.
Extrude the sides separate...
I don't know what you are doing wrong.
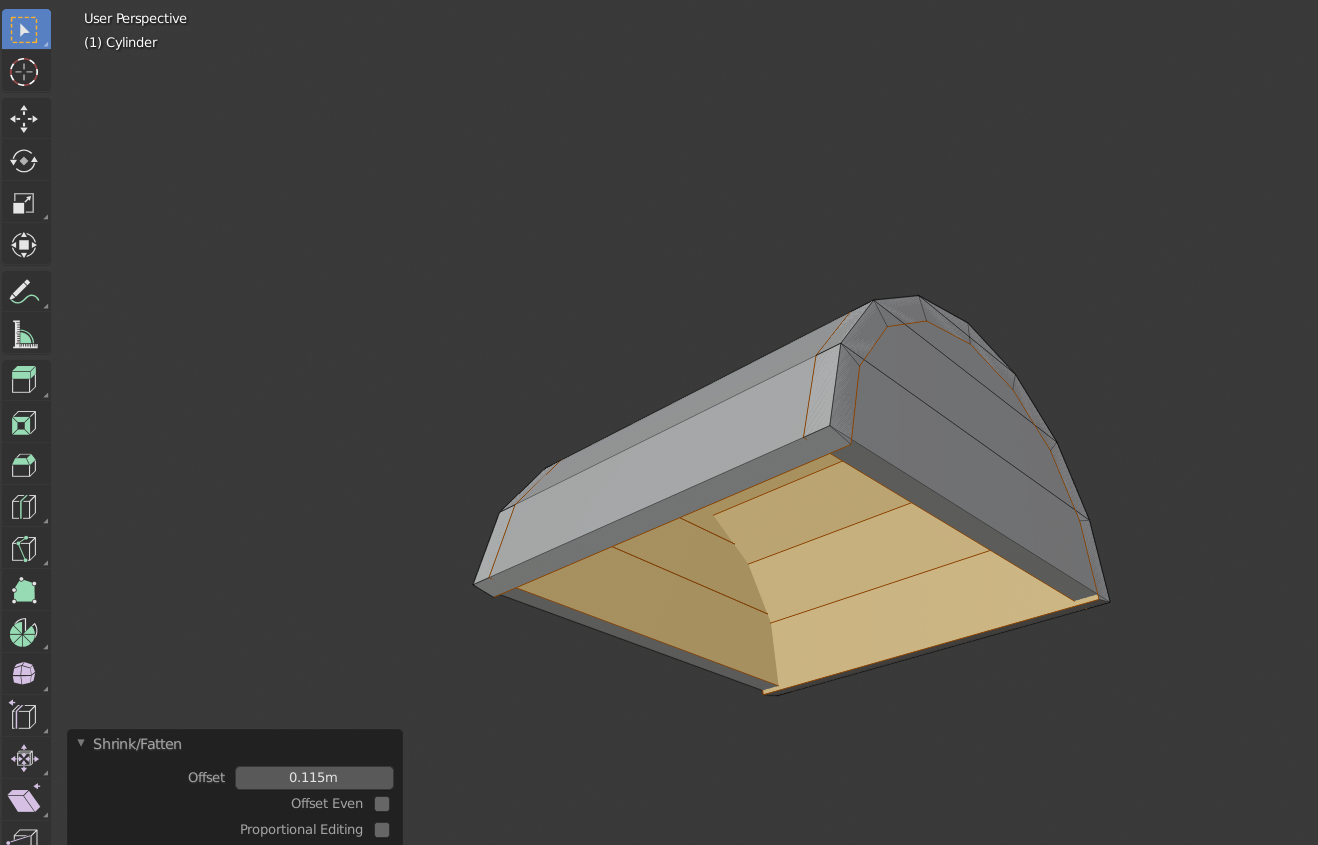
I followed the exact steps Kent used in the video and got this:
I suggest you start over with the lid and do exactly like Kent. Step by step. Now it probably works.
You've done something wrong somewhere, but I can't figure out where or what.
(Also he couldn't move it anywhere after Extrude, there was a blue line along which he could move it.)
Could be that you had some double vertices (maybe from extruding and then using CTRL Z to undo, which undoes the Transform, but not the Extrude). Then the rounded planks would be connected to those double verts, causing the 'indentation'.
Something like this has happened to me a lot: I followed a tutorial to the letter, but at a certain point, my results were (completely) different! Then, when I couldn't figure out what I was doing wrong, I just started over and then it worked (usually finding out what I did wrong the first time, by doing it again...)
