My homework thread for the august 2018 class
Week 1 submission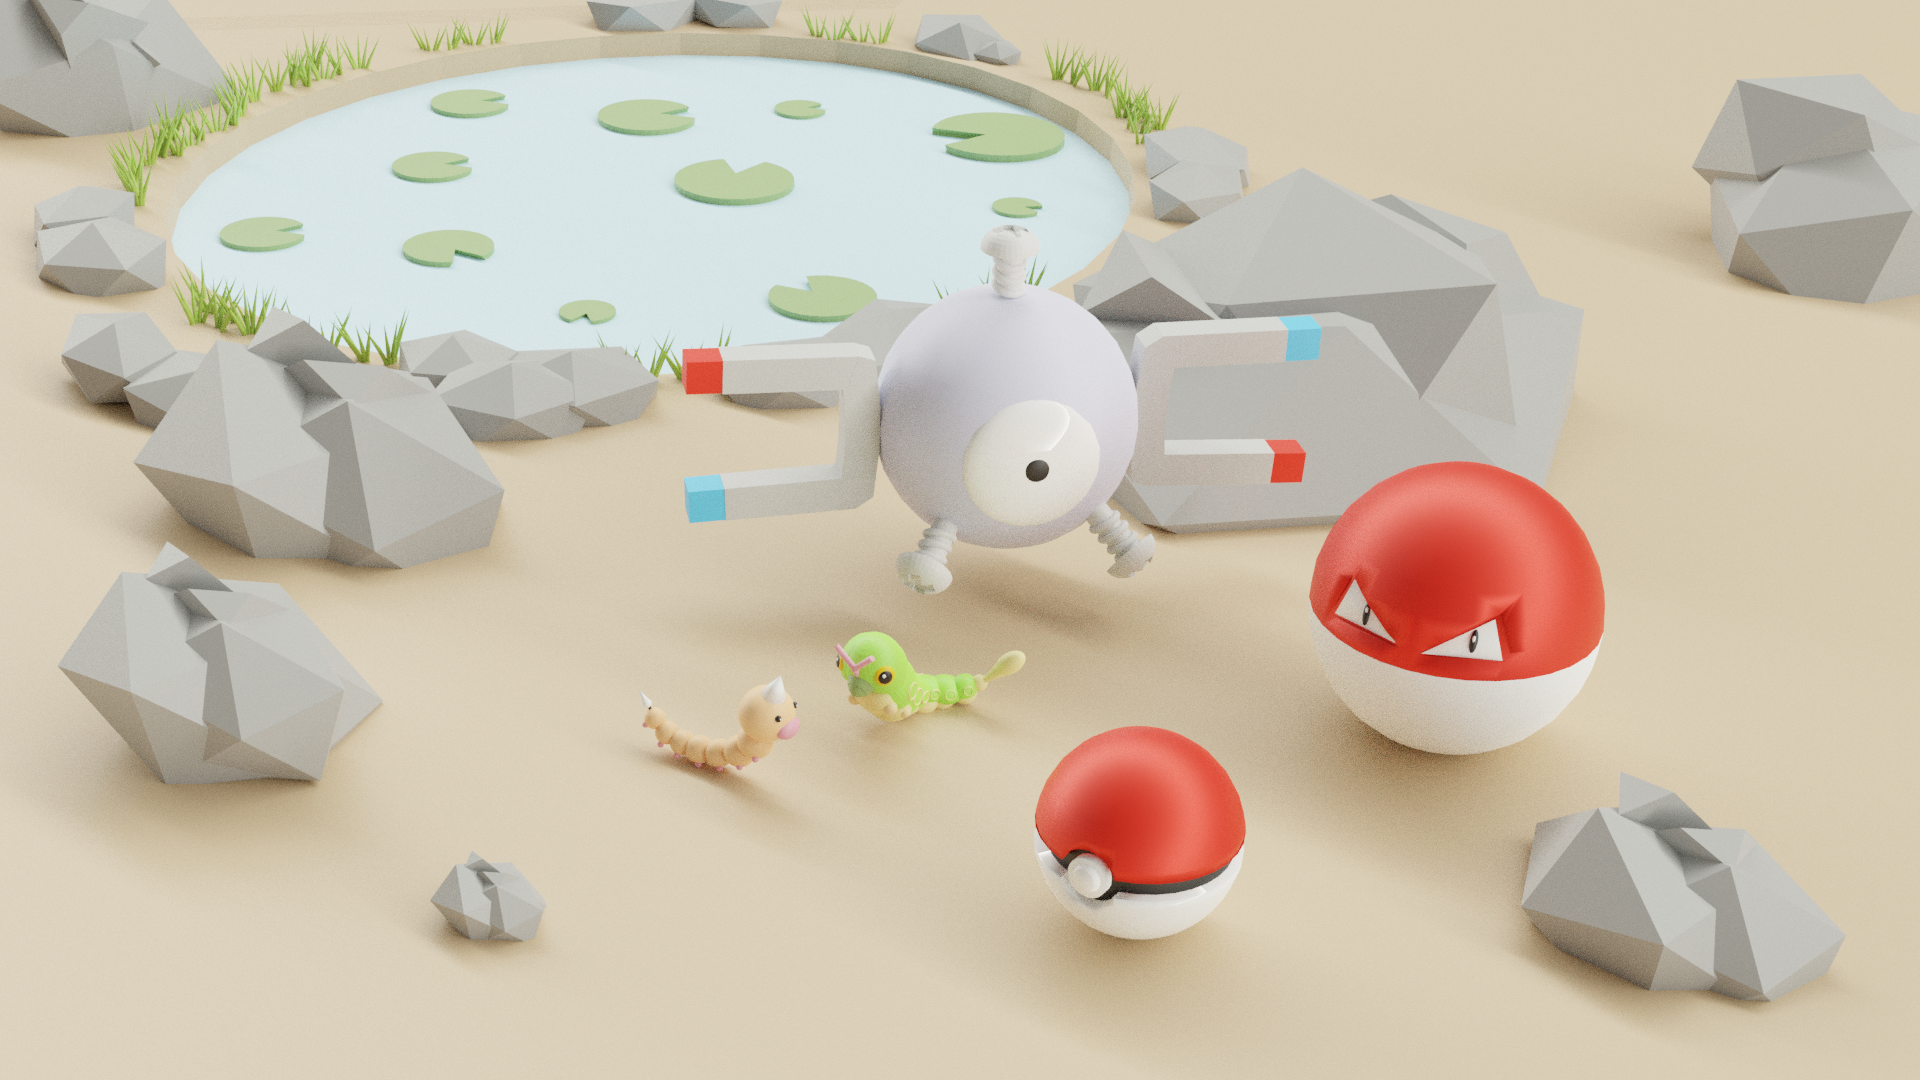
Week 2 submissions

Week 3
melvin: Melvin sculpt
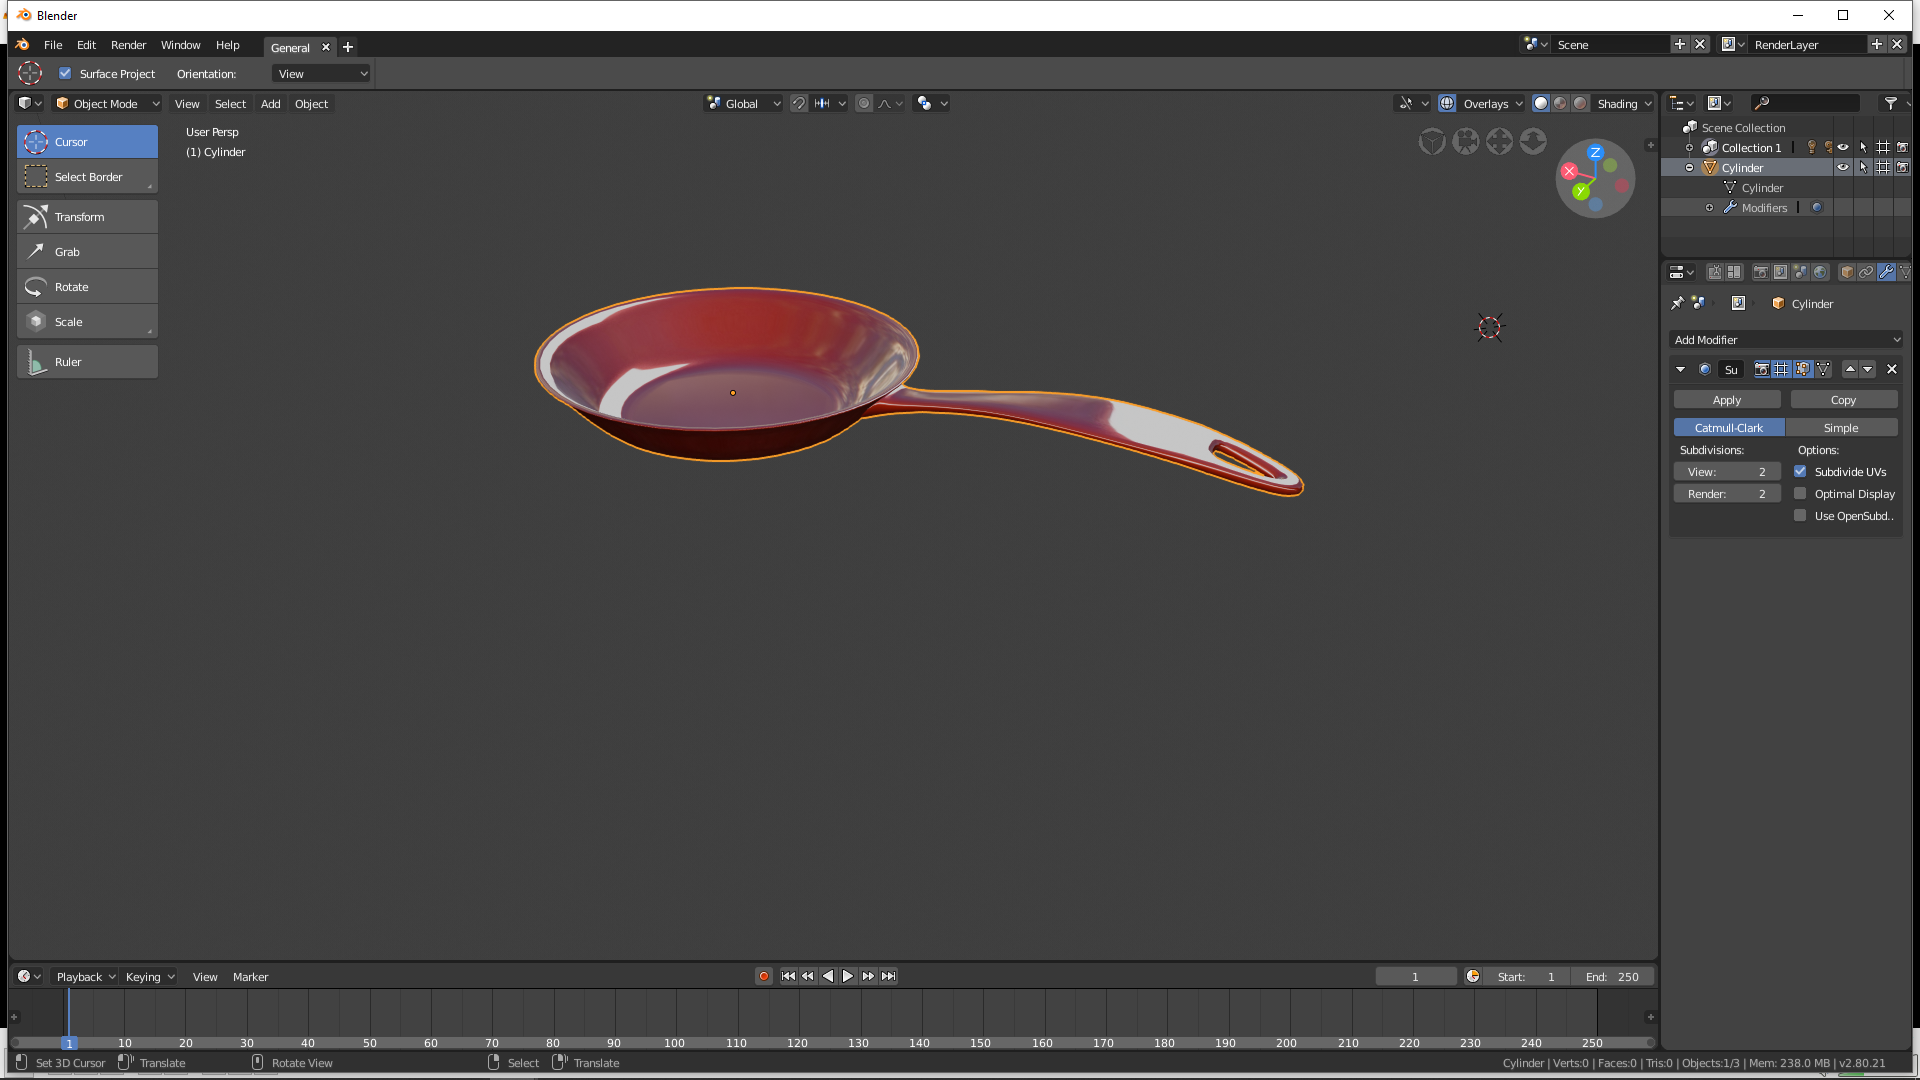
WEEK 4


gesture sculpting 34 minutes
gesture sculpting continue (35 minutes)
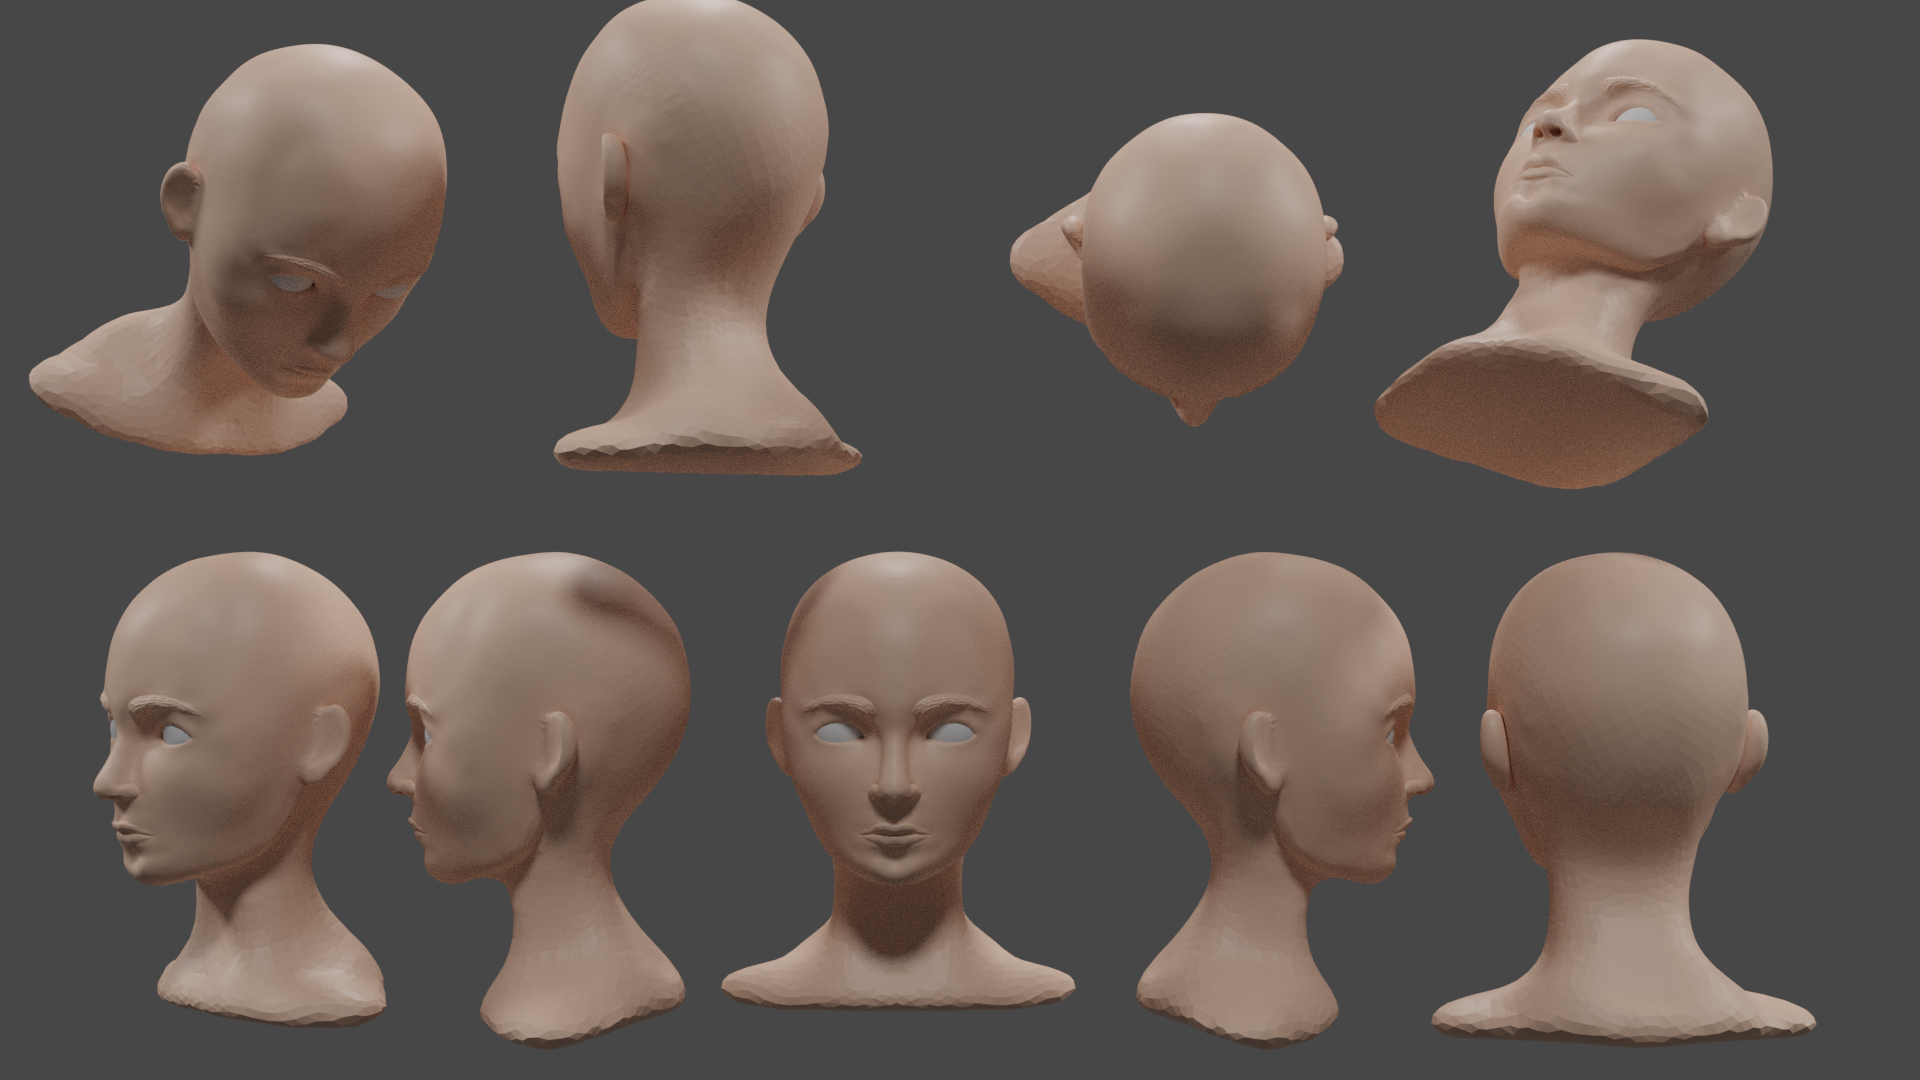
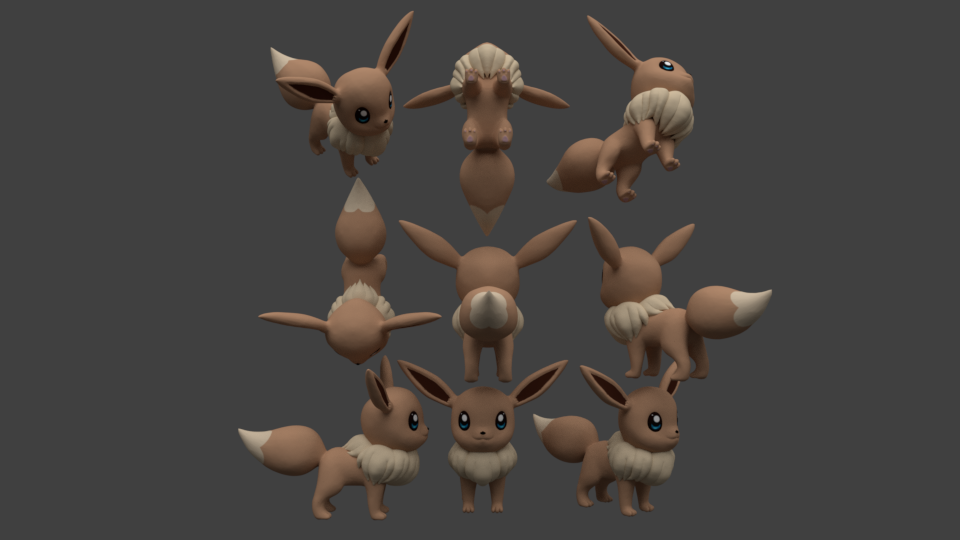
this week i learned to get even more comfortable with sculpting and learned to texture paint. also did i try the gesture and i was surprised to see how far i got in 34 minutes . i never tought i would get him that far. knowing hoe long i strugled with eevee. so i am really happy i joined this community and class . i learned a lot and i am gonna keep continueing.
yep that is the file but i also cannot open it directly. You first have to open blender 2.8 and then load the blend file.
yyukinoh1989 This doesn't seem to be possible due to it being a Blend1 file as opposed to a .blend file, unless there's something about 2.8 I'm missing?
![]() thecabbagedetective I couldn't open it either, it is indeed the wrong file type..
thecabbagedetective I couldn't open it either, it is indeed the wrong file type..
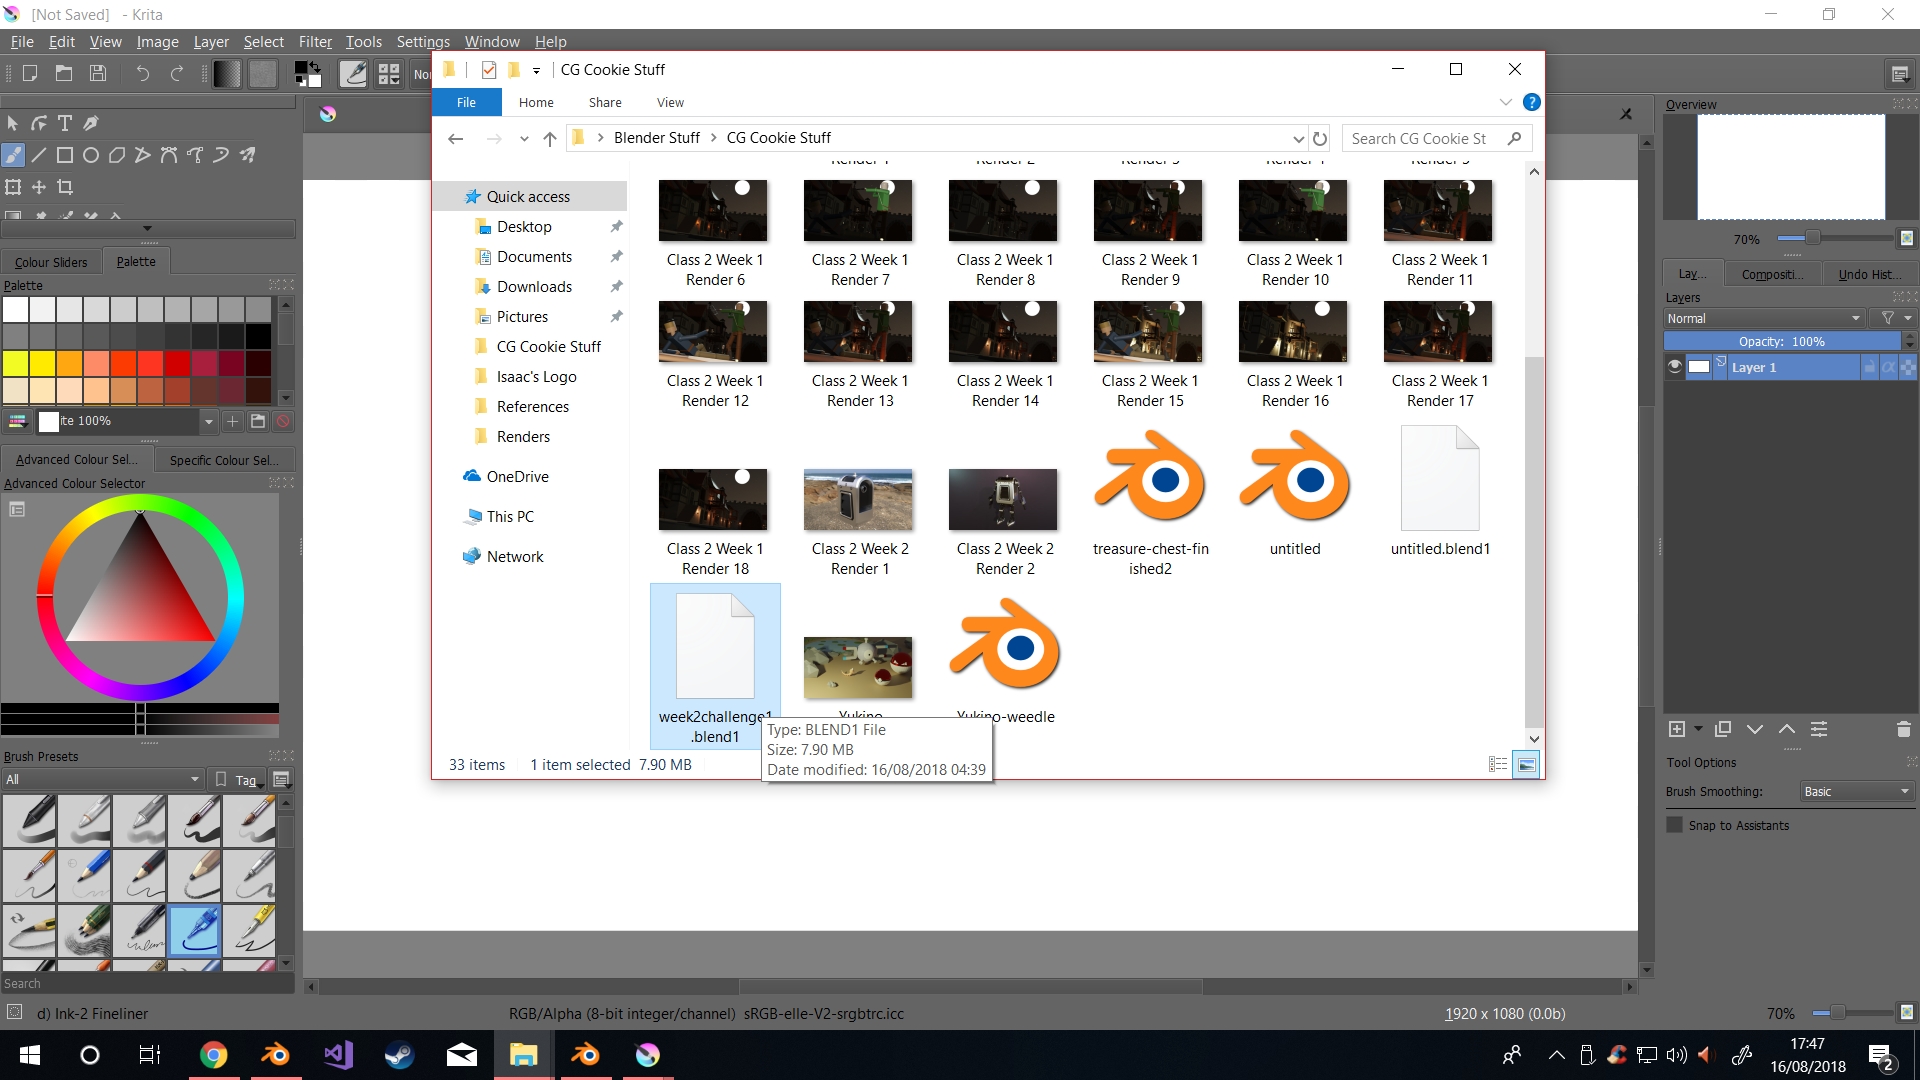
![]() thecabbagedetective ssmurfmier1985 You can open .blend1 and .blend2 files with Blender. Just enable this icon in the file browser:
thecabbagedetective ssmurfmier1985 You can open .blend1 and .blend2 files with Blender. Just enable this icon in the file browser: 
Sorry gonna reupload it
.blend file
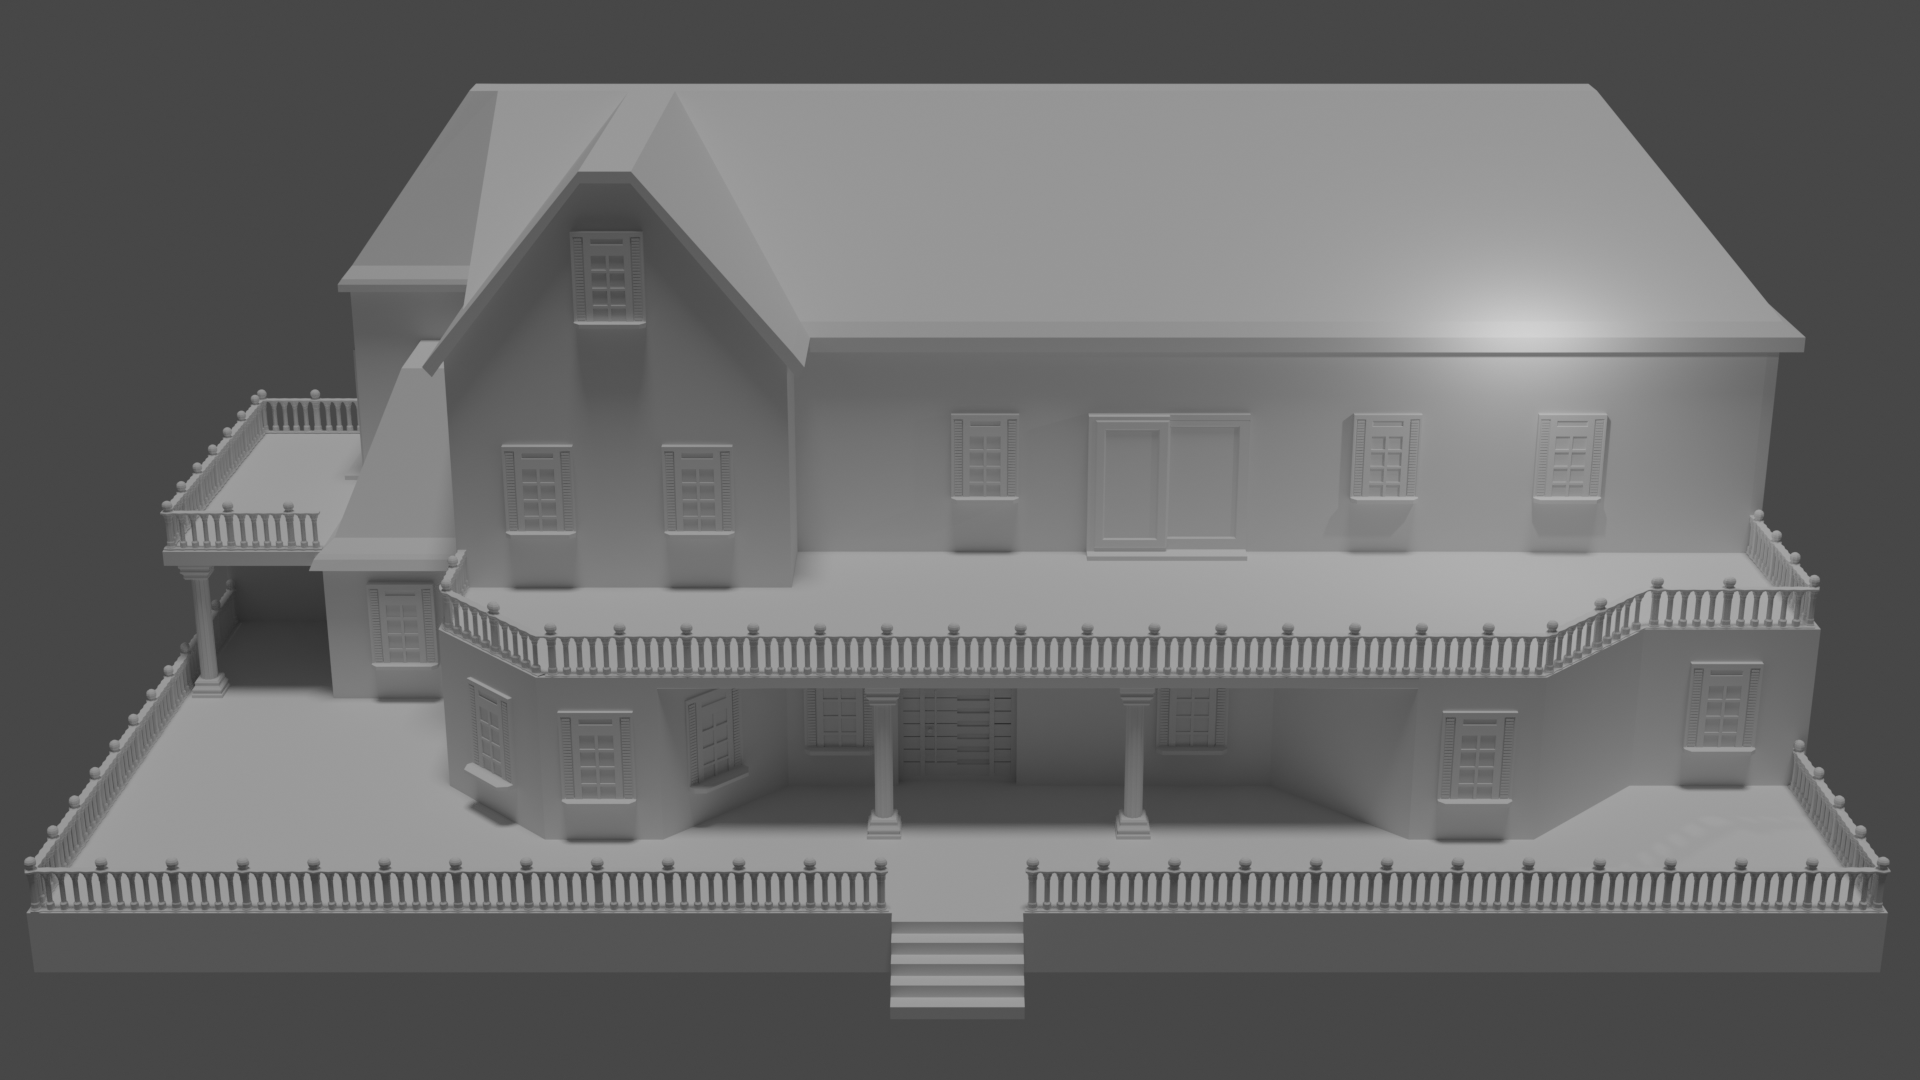
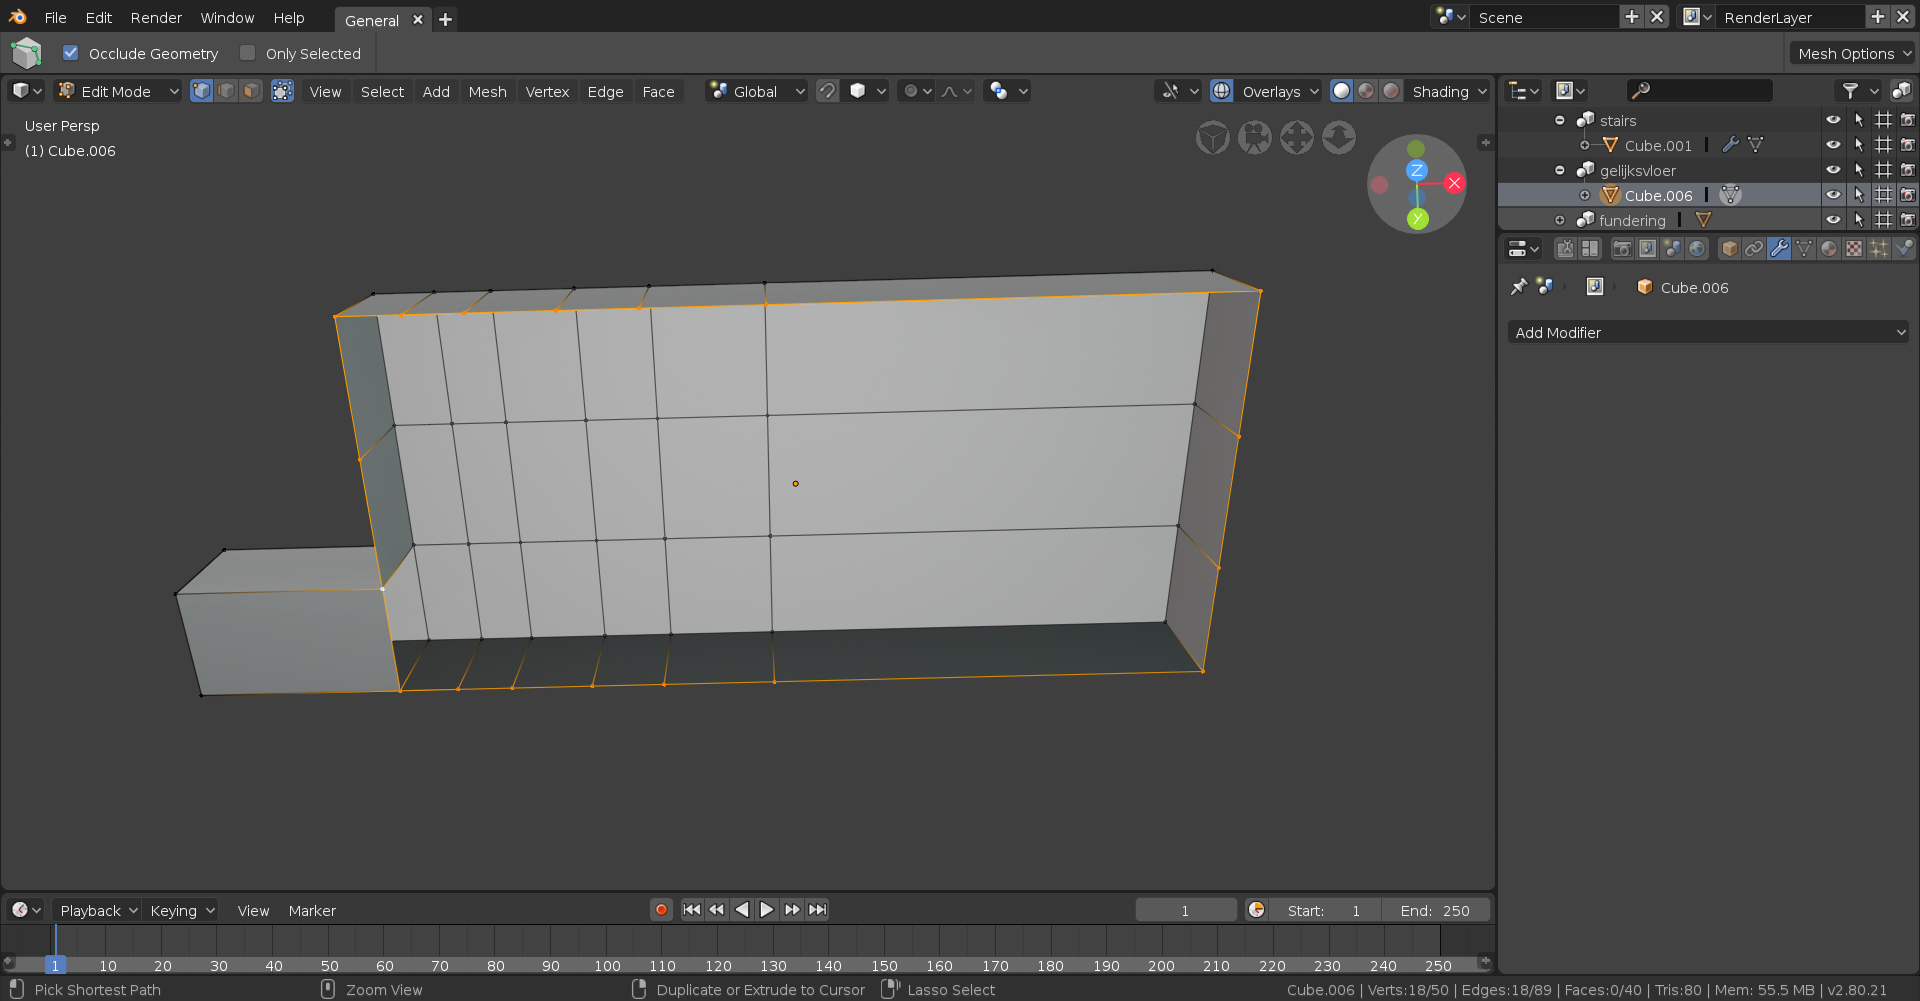
since i could not figure it out i deleted that part and actual just remodeled the block( since it didnt had too much details)
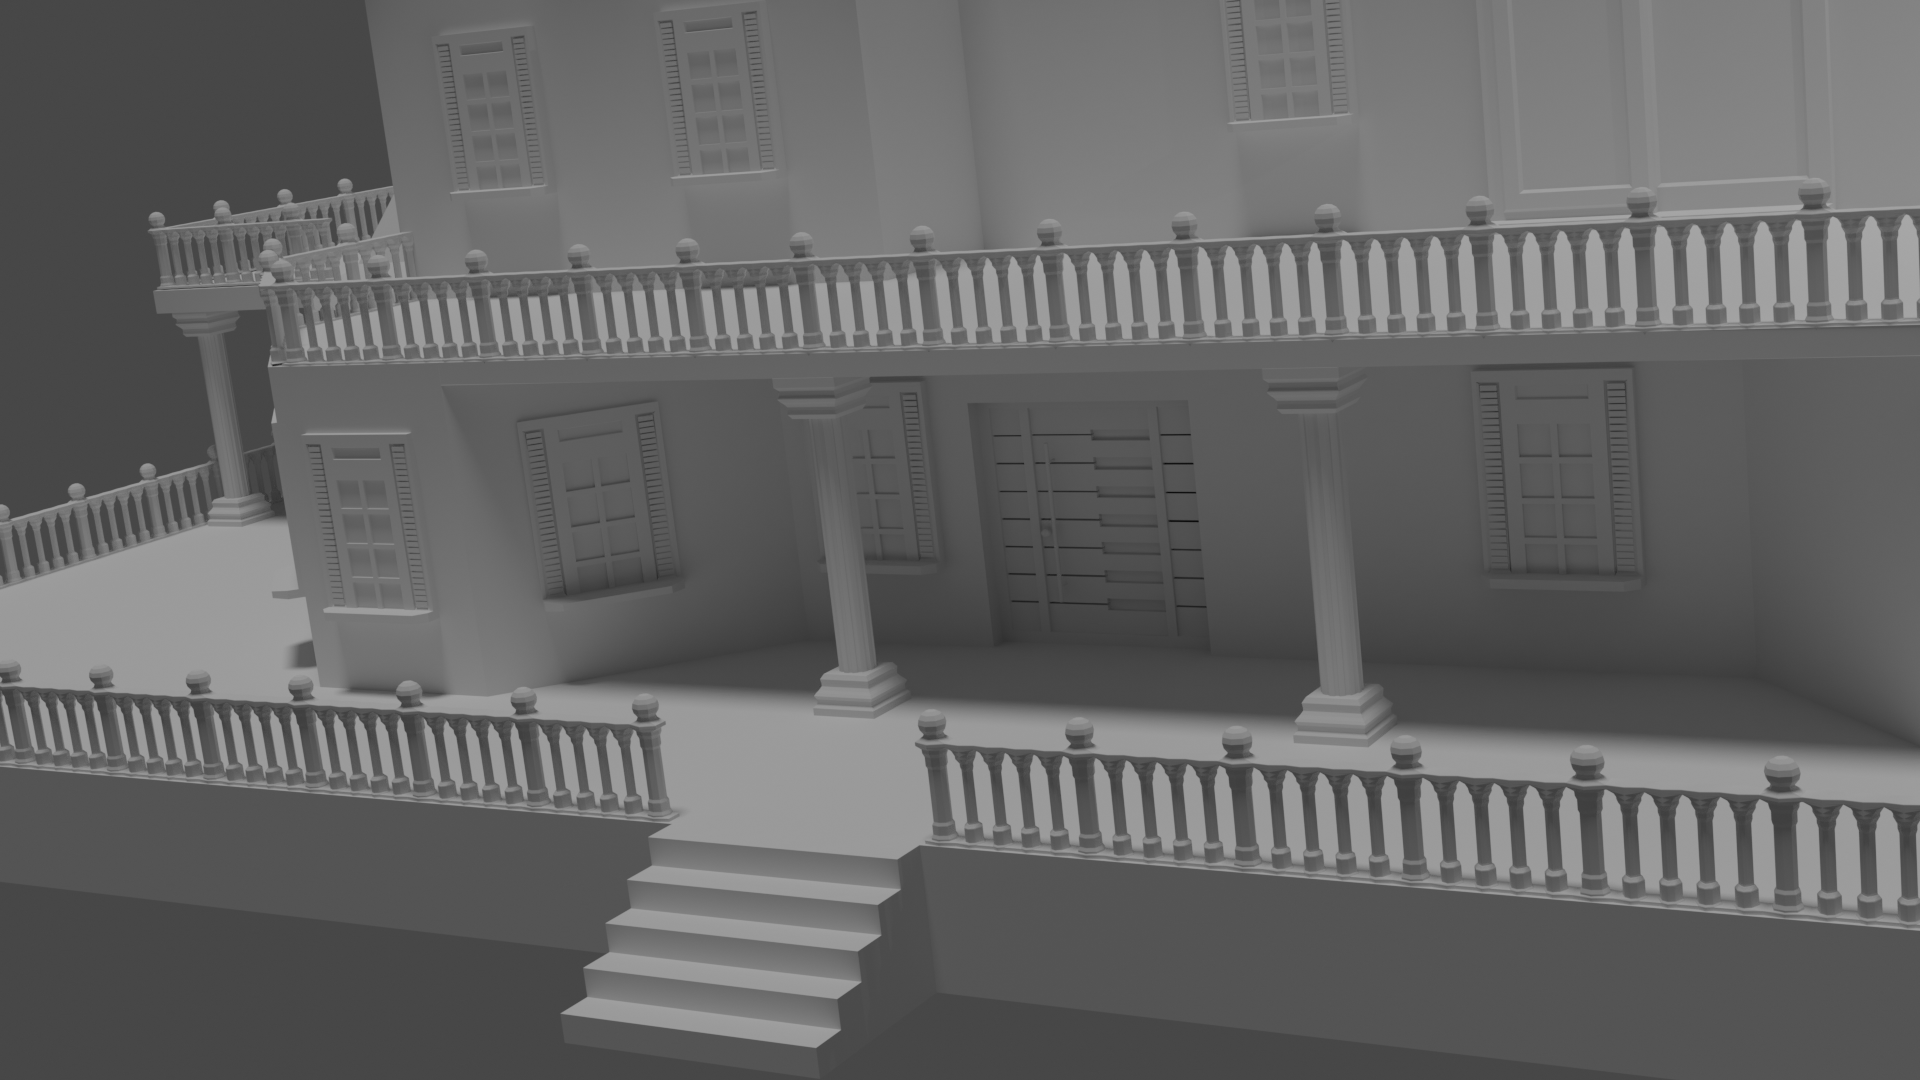
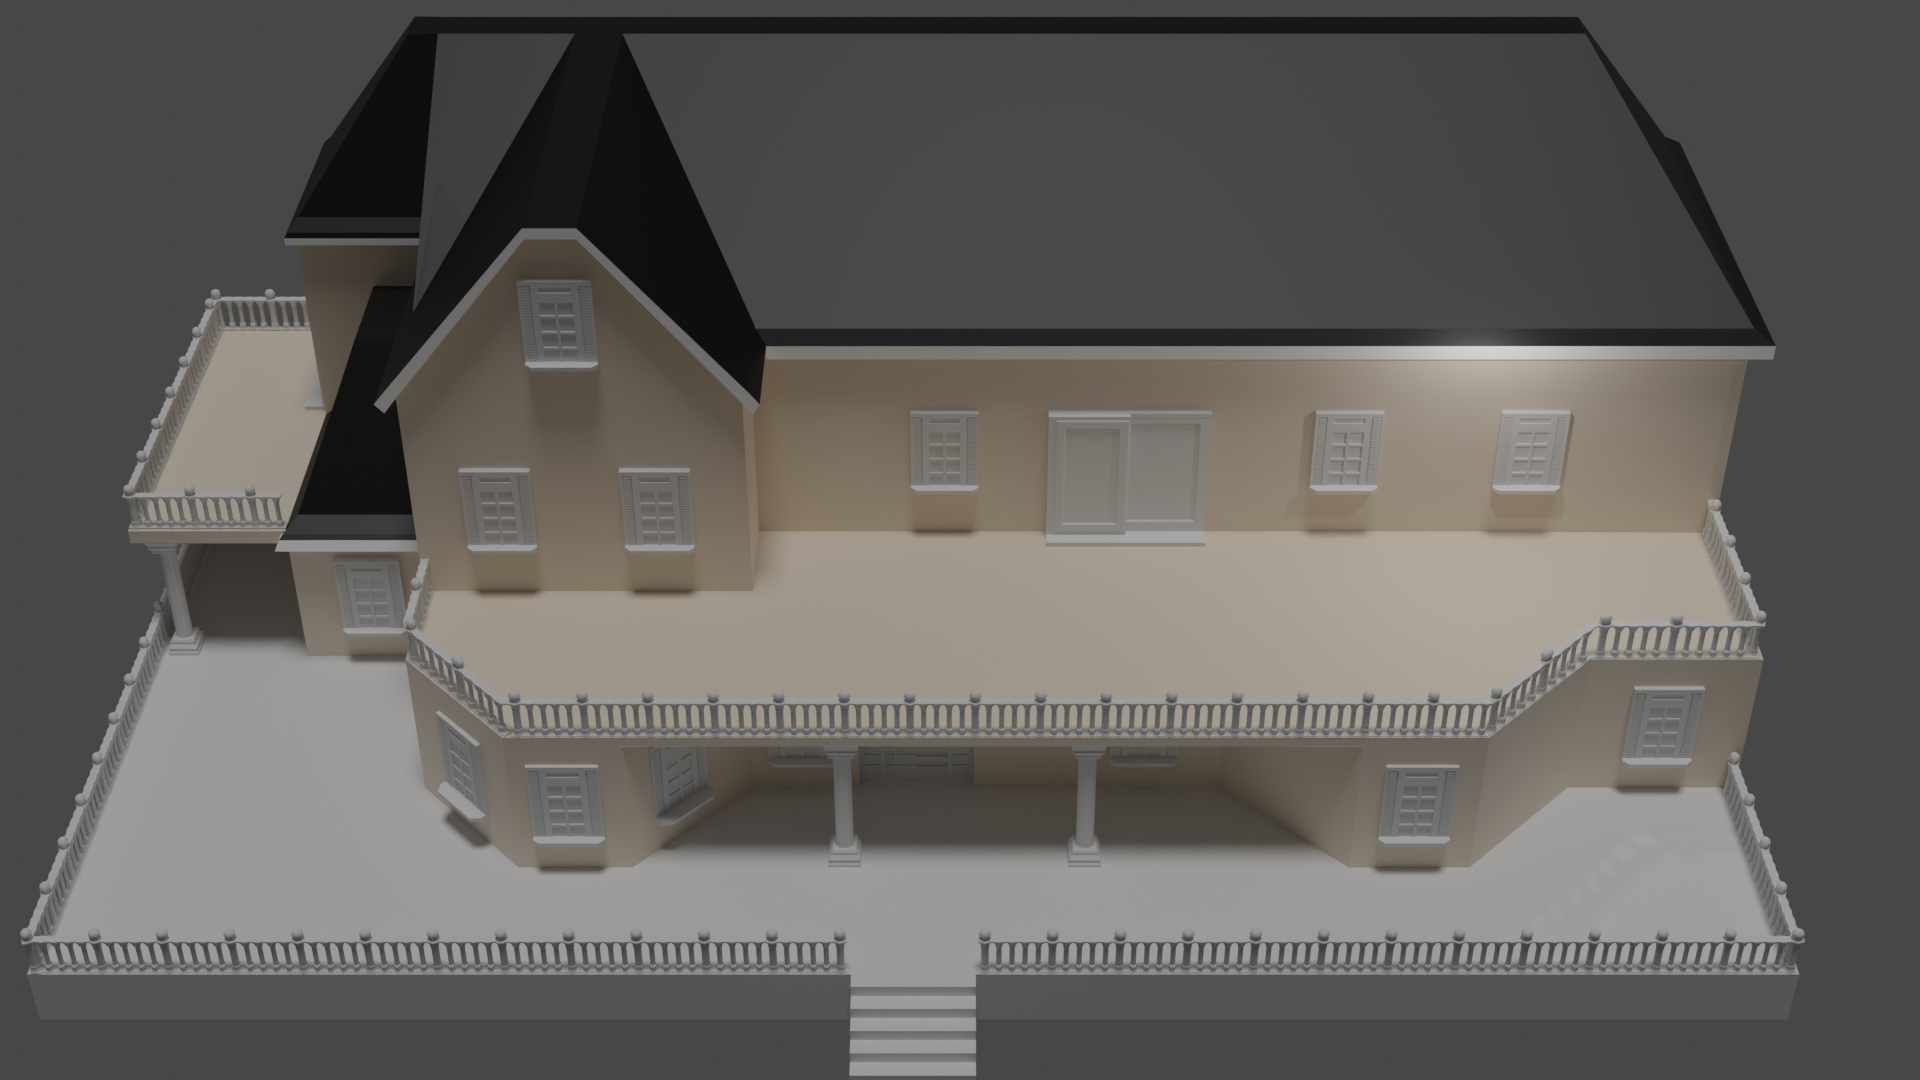
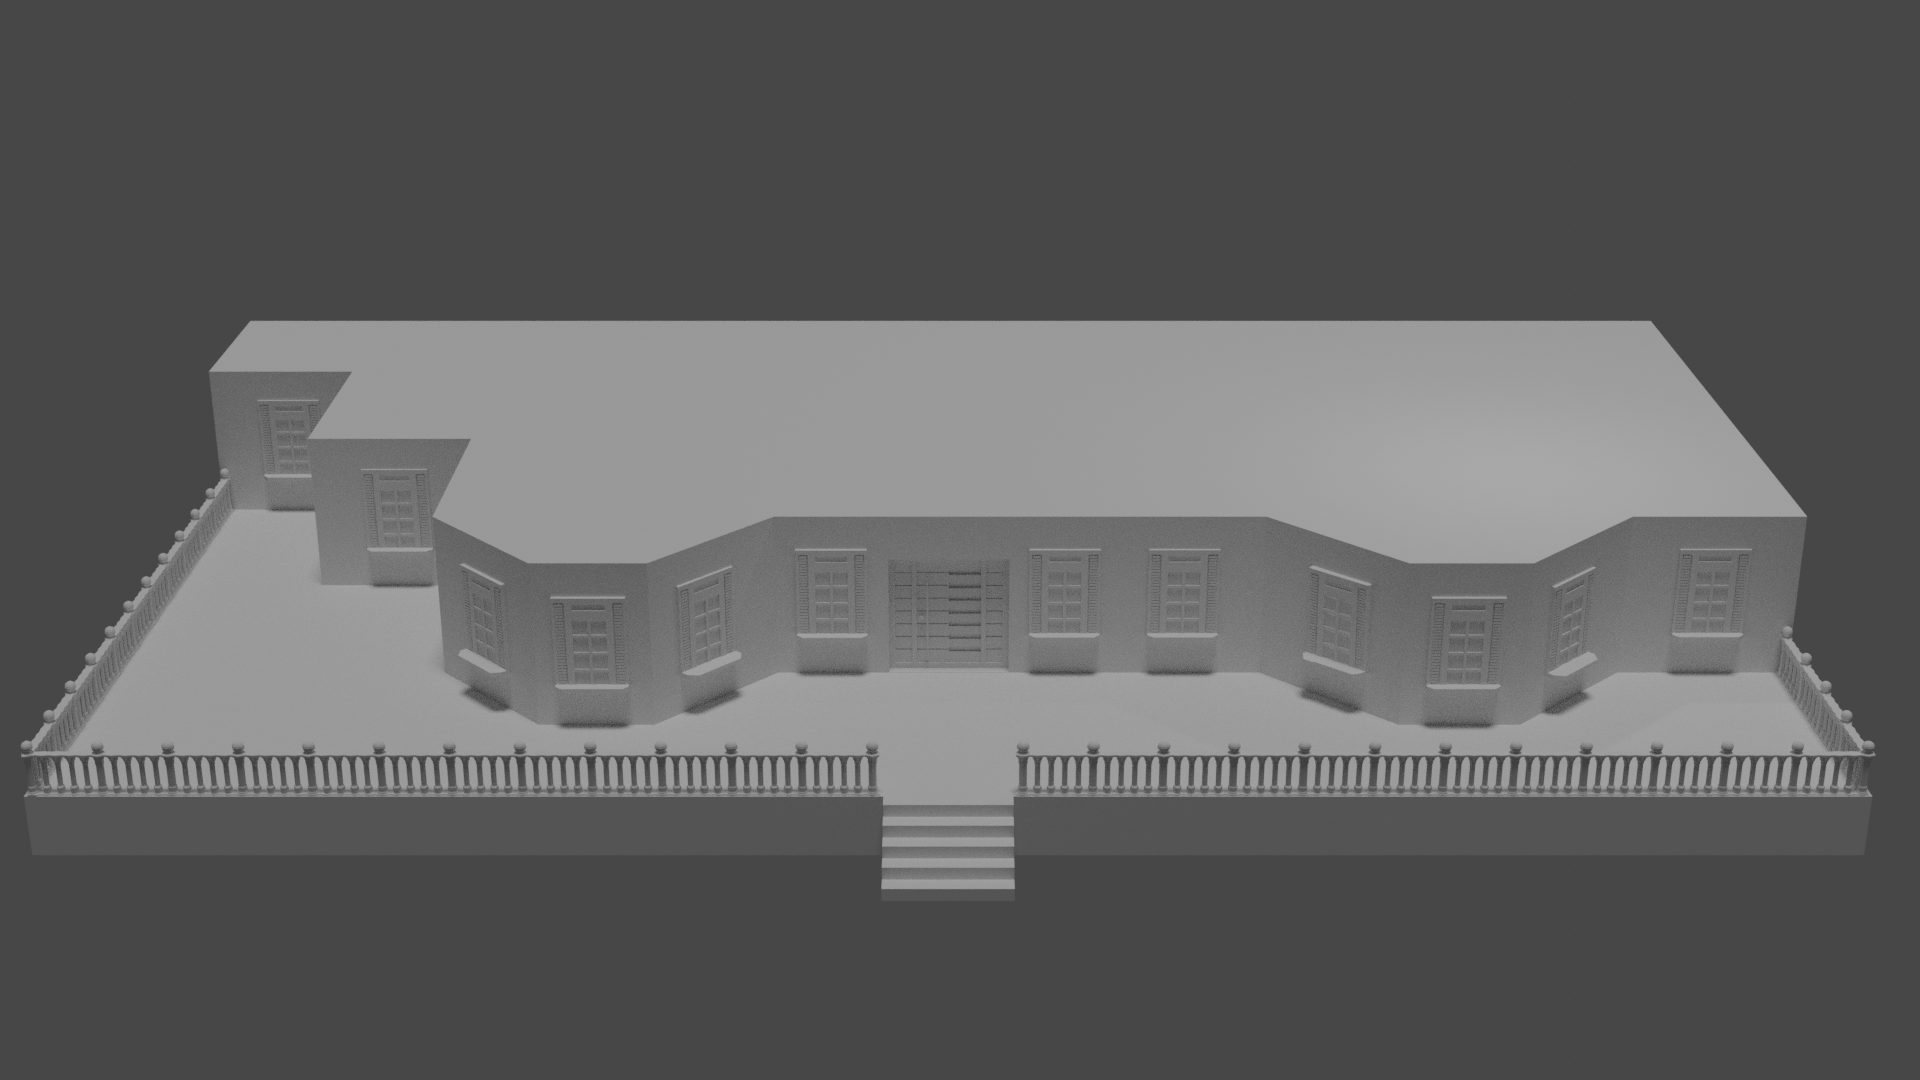
this is what i have so far . trough it goes slow i am happy so far
edit mode make me remind of Knex and Geomag xD but harder then .
So far i learned to get more comfortable with moving the verticies edges and (forgot the other word xD) the squares .
i learned to work with the modifiers mirror and array and how to duplicate objects .
I also learned how to use the knife tool and loop cut (trough somehow sometimes this doesnt seems to work)
Also learned how to dissolve certain places and how to incest(do i spell and say it right ? )
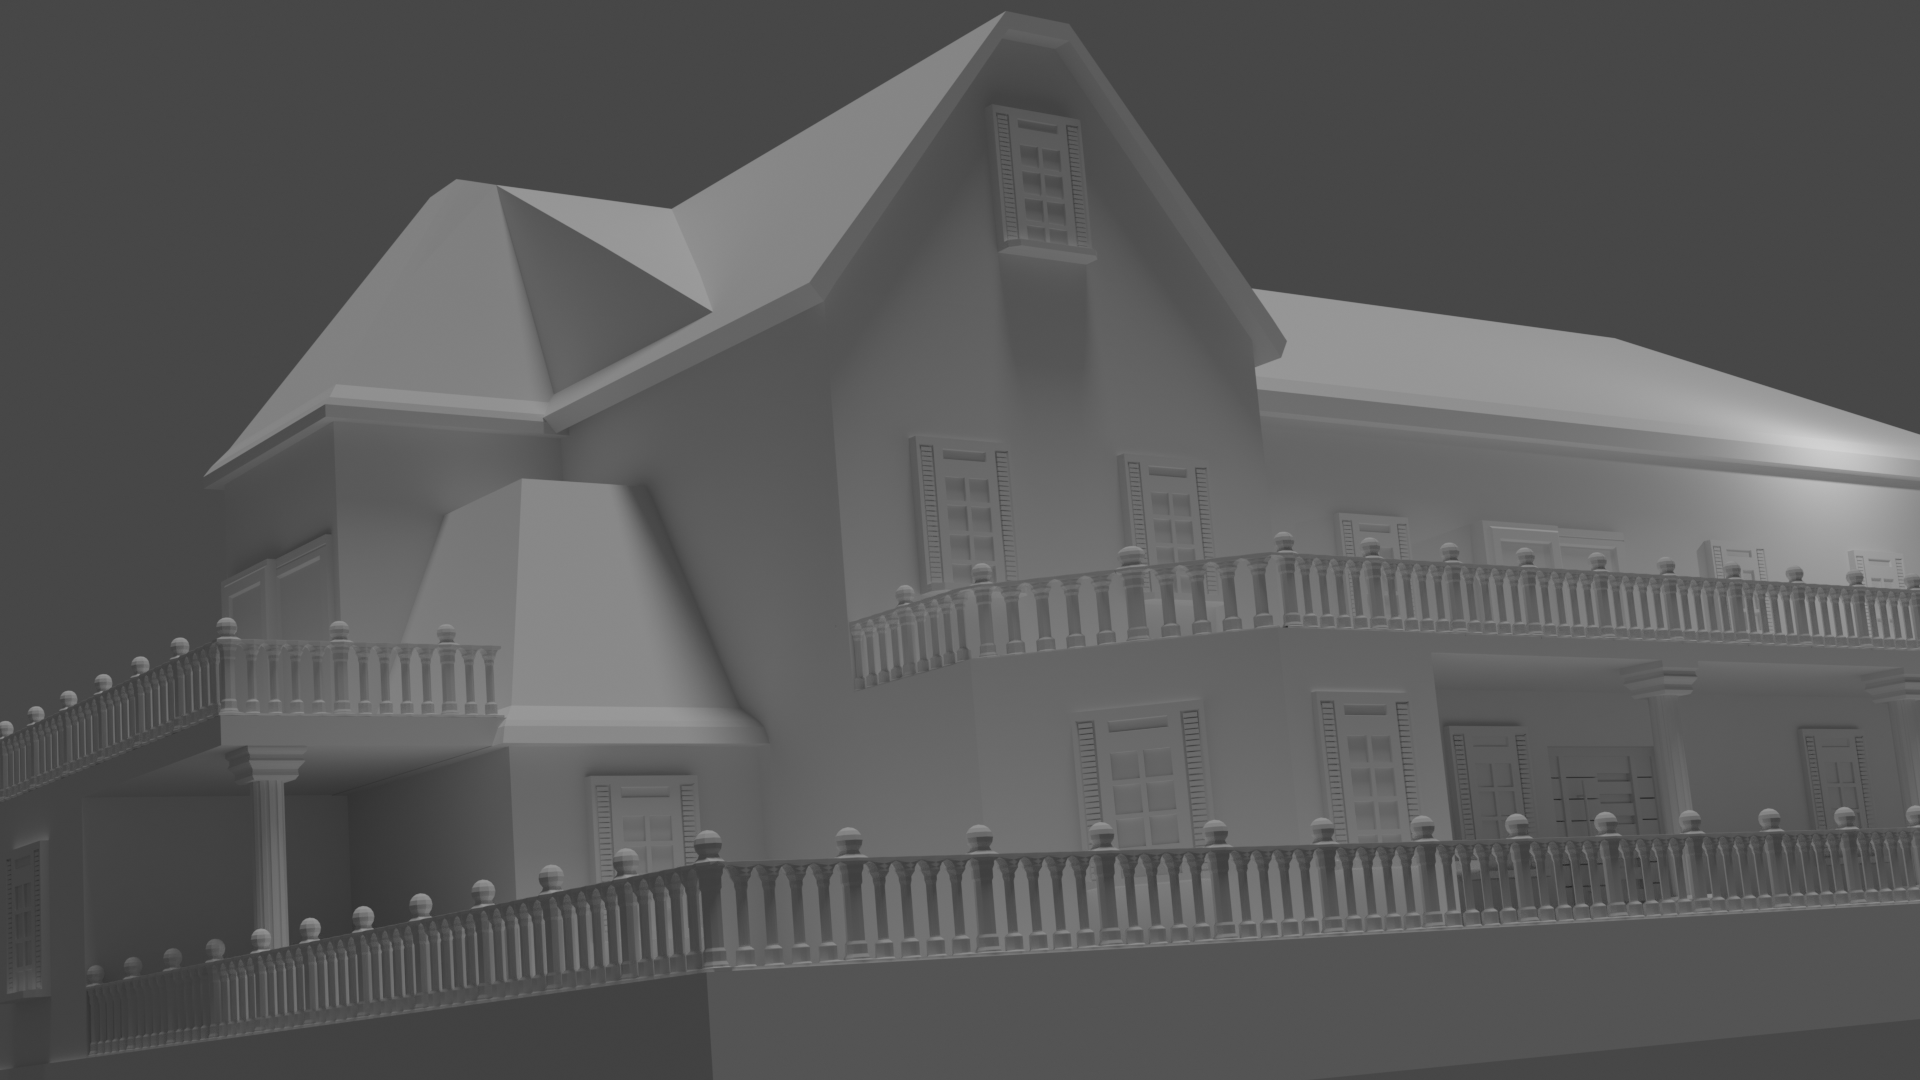
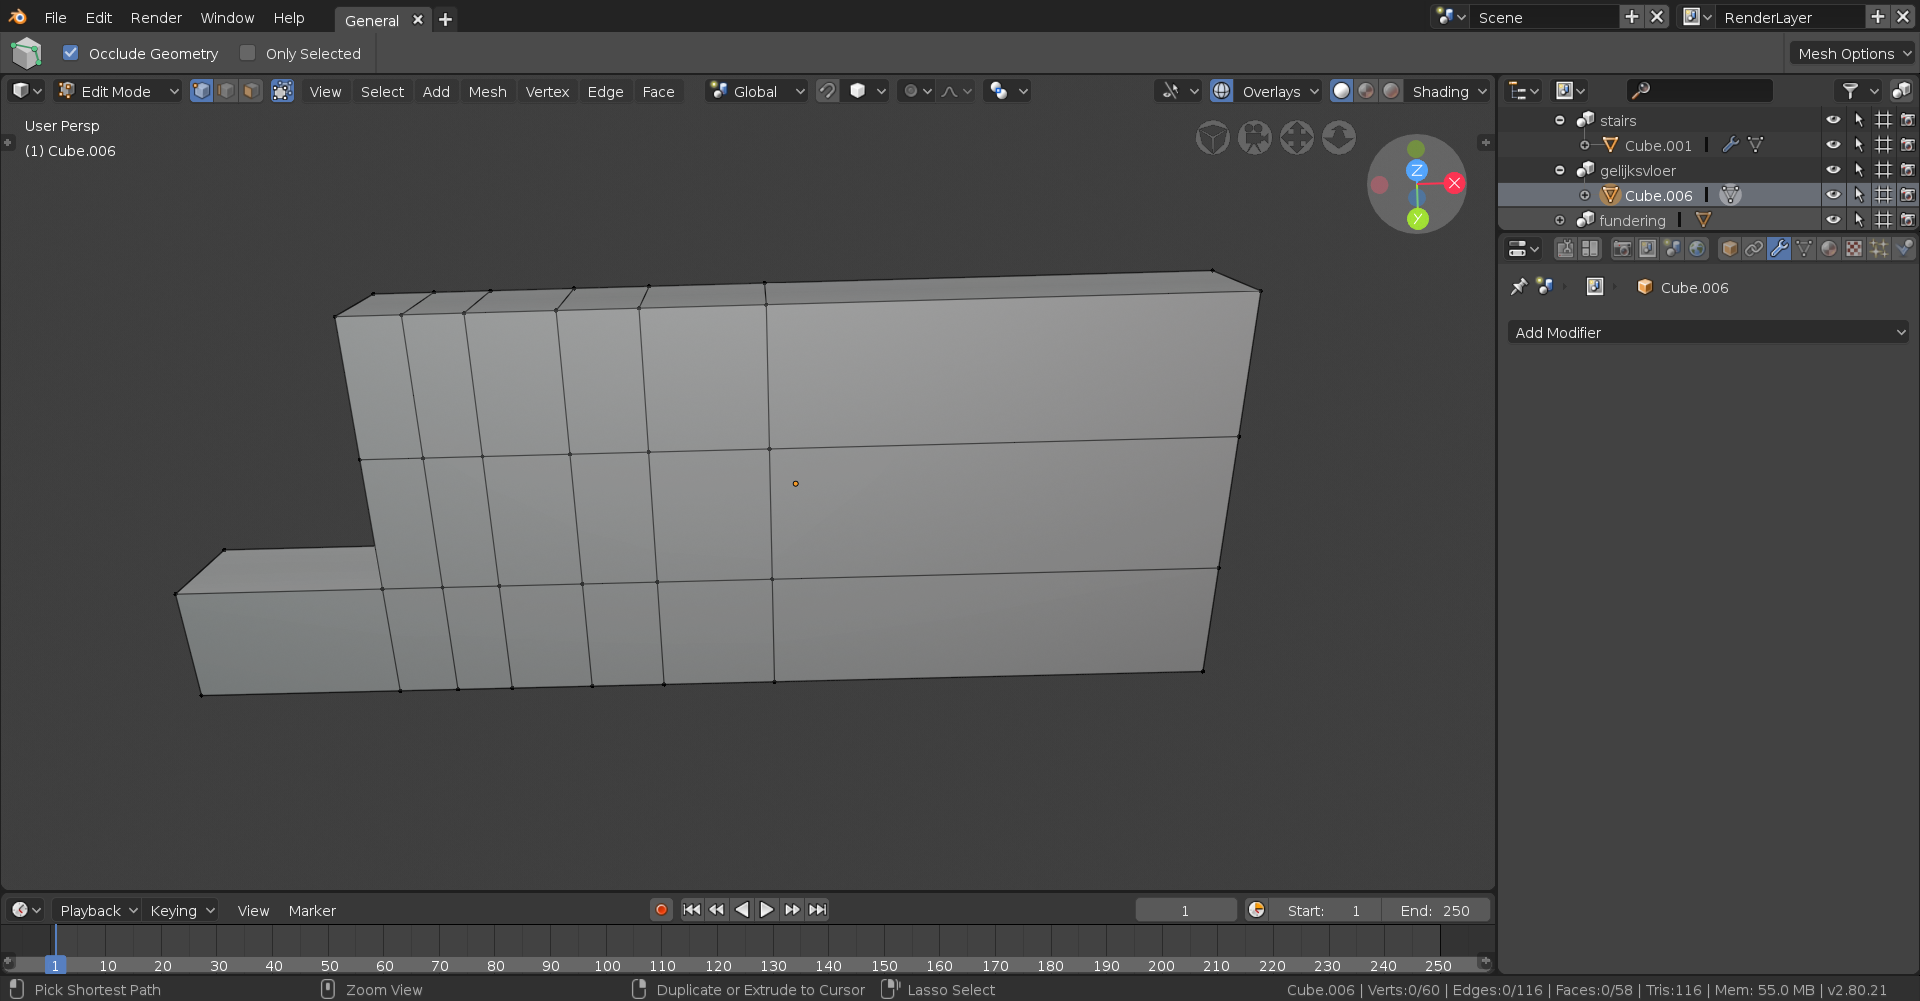
This is the result
Trough i made a mistake the door isnt a seperated object so now i wonder if i gonna add a material later if i have time i guess the door will get the same right ? is there a way to undo this ? i know its just one door but it took some time to model for me so if i can fix it without redoing i would love to hear this :D
@theluthier
another thing i learned :D . is it possible that it is automaticly enabled with me ? somehow i still could open it without touching it(the icon) ?
yyukinoh1989 Just rendering something right now but once that's done I'll be sure to have a proper gander. I believe the missing word you're looking for is faces by the way, and the other word is spelt "inset", so you were pretty close.
With the door problem there are a few ways to go about this. One is the assign two materials to the mesh, then go into edit mode, select all the faces that you want changed, then go over to the material you want assigned to it and hit "Assign". The other way is the select all the verts that you want to be separate (in this case the entire door) and hit P to separate, then hit "Selection". You now have two separate meshes.
![]() thecabbagedetective
thecabbagedetective
Thanx . Indeed faces was the word i looked for :) .
Gonna have to try that out to add 2 materials to the object. Can you assign even more to one object or is there a certain limit to it ?
yyukinoh1989 As far as I know you could theoretically assign as many materials to an object as you'd like.
![]() thecabbagedetective Awesome to know . Blender is such a awesome program .
thecabbagedetective Awesome to know . Blender is such a awesome program .
yyukinoh1989 I don't know if you can set that as the default. .blend1 and .blend2 files are meant to be automatic backup files. So they're not really designed to be accessed all the time - only when needed; often an emergency.
@theluthier
Now i see. That is why i always ends up with 2 files. founded it strange but handy since last time when i modeled the door blender crashed but when i took recover auto save i had a big part of that door back . i was happy this was not all lost :) .
Now, I'll be honest, I'm not *entirely* sure what your issue is, but after looking at your original file I've found two issues which would disrupt edge flow.
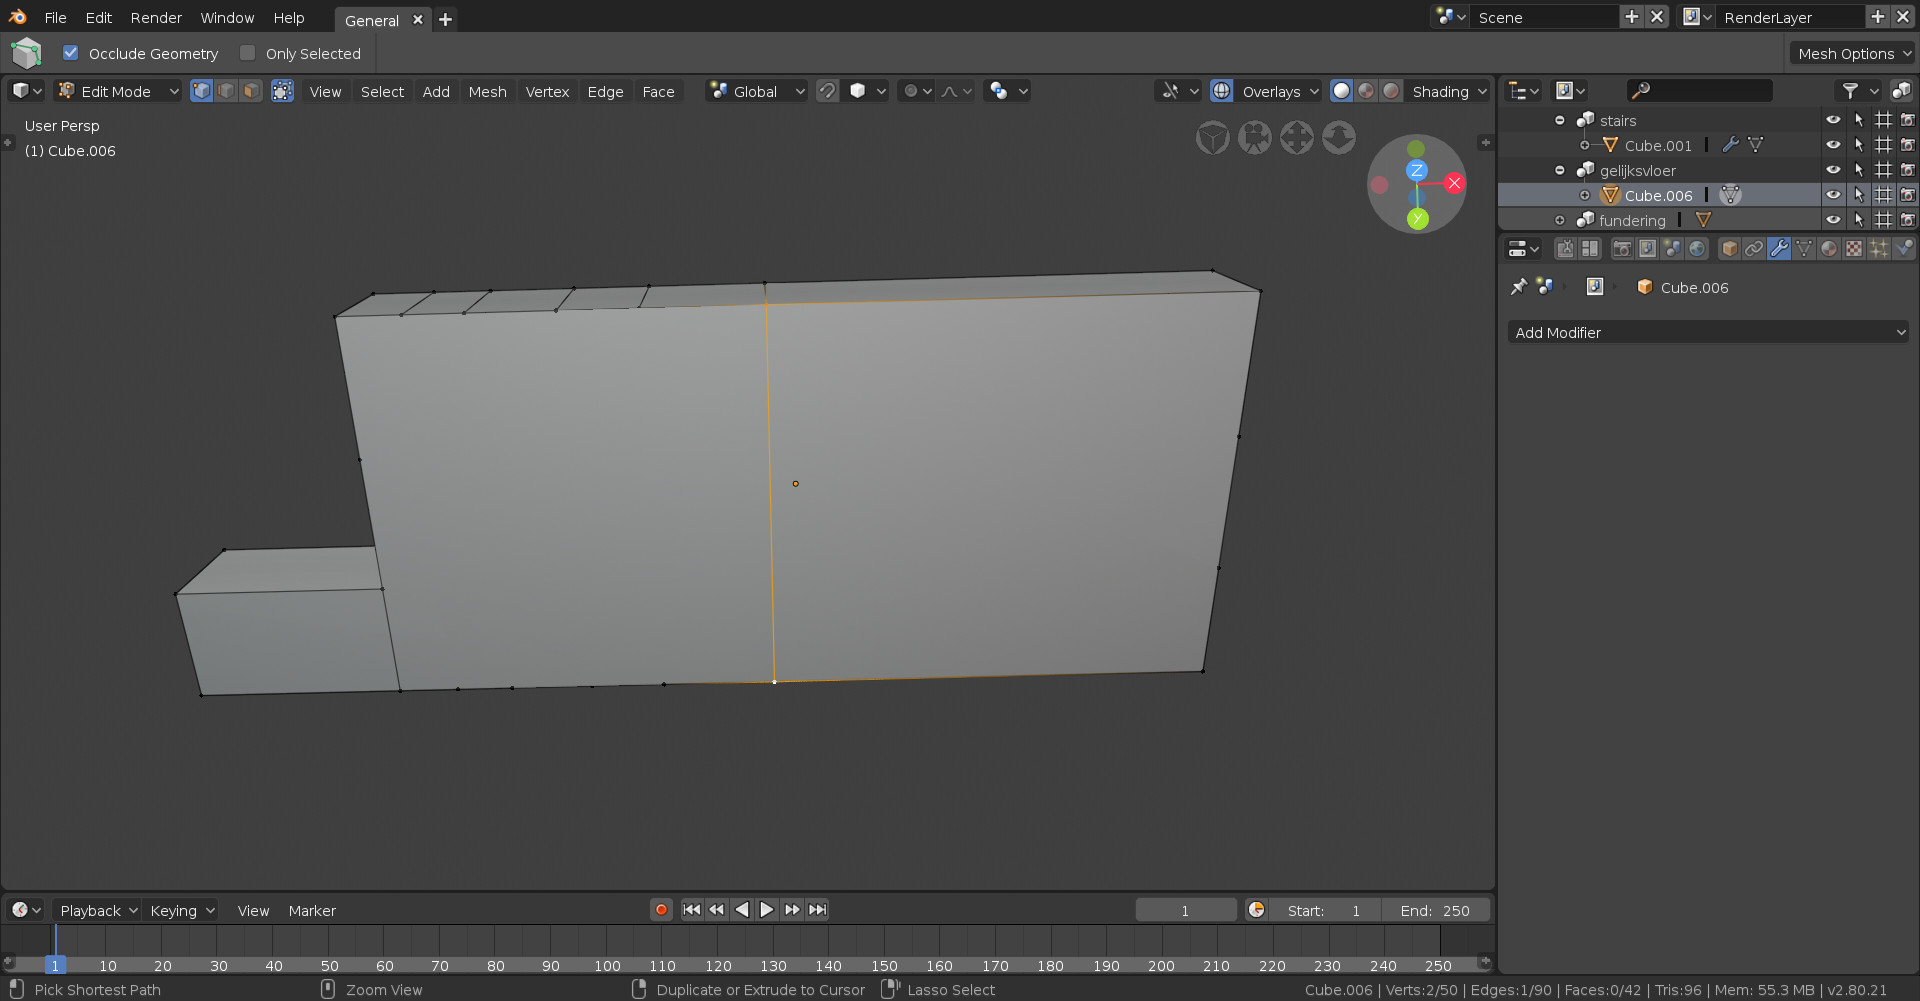
The first one is that there is a face inside the mesh. This is never a good thing, it'll disrupt edge flows, make is so that you can't place new edge loops, and can seriously warp a mesh if you have the subsurf modifier enabled. If you're having edge loop issues, go into "wireframe" mode and make sure there are no faces inside the mesh.
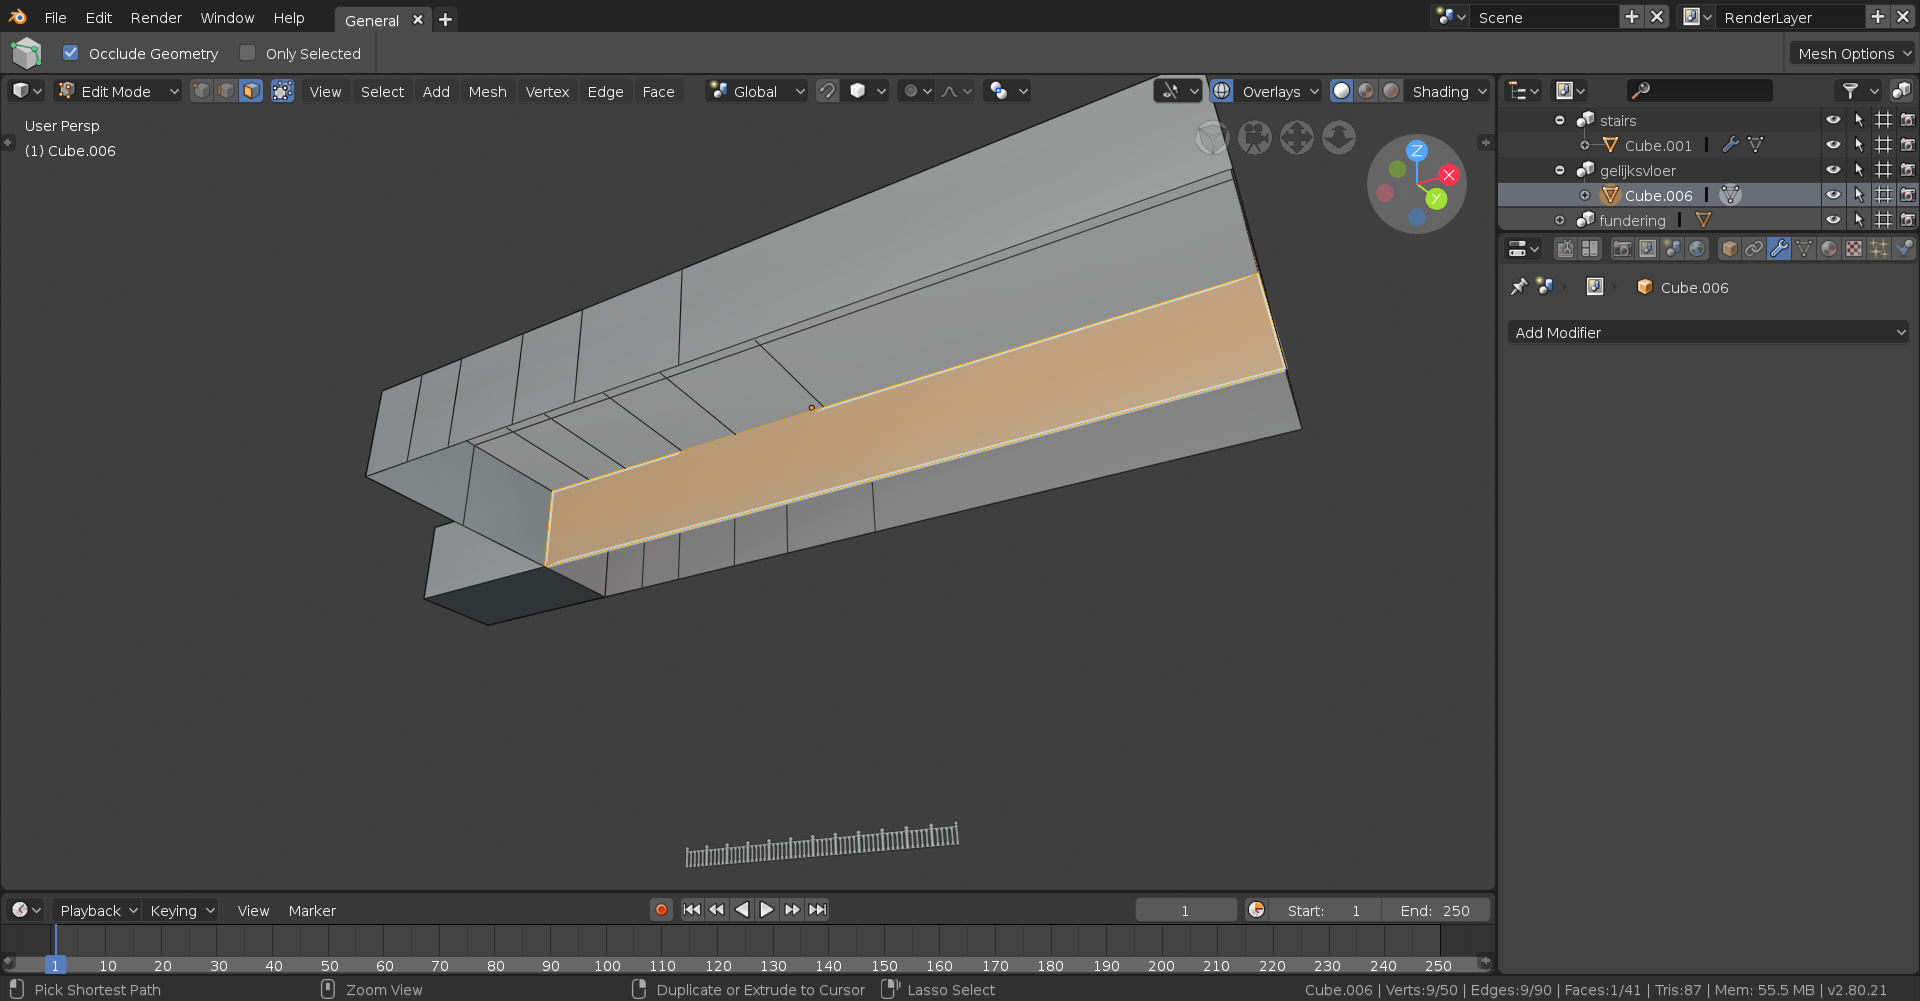
The other is that you have some N-gons. In case you're unawares, an N-gon is a face that has five or more verts attached to it. Now, edge loops cannot flow through tris or N-gons so if you're going to be making an edge loop be sure to have quads only. Your N-gons were on the bottom, so we're going to rectify them. First, delete all the N-gons (and the quad in between them, it'll make sense soon), then select all the surrounding verts.
You'll then want to make them one giant N-gon, so hit F to make a face. Now comes the important part. You're going to want to pick two verts that you want to connect together and then hit Ctrl+J (or just simple J if you're using the default 2.8 control scheme). This is different from making a face because any new verts formed due to a crossing of edges will be a part of the face, and not an entirely new face, which in this situation would cause some unsightly deformities.
You'll then want to repeat this until you have all quads.
Hope this clears up any problems you may have had, and hey if not, hope you learned something!
![]() thecabbagedetective Hey thanx for all this info. a lot new things that i get to.learn . so actually disolving certain area' s could cause this problem then. hoe can i figuren out of i have a ngon ? or check on triangles since everything had to be made of squares right?
thecabbagedetective Hey thanx for all this info. a lot new things that i get to.learn . so actually disolving certain area' s could cause this problem then. hoe can i figuren out of i have a ngon ? or check on triangles since everything had to be made of squares right?
![]() silentheart00 Thanx you so much silentheart for the comment . i sure make a lot mistake but after a while it form the right shape or do what i hope it would. any advice for the model i have so far? or someting that could be better
silentheart00 Thanx you so much silentheart for the comment . i sure make a lot mistake but after a while it form the right shape or do what i hope it would. any advice for the model i have so far? or someting that could be better
yyukinoh1989 If you go into face select mode and click on a face you should see a bunch of little dots on the edges. These are the verts connected to it.
So i have to check all meshes then to check if there are always 4 edges . Also the ngon could you point out where i have this? Having some trouble finding it. Sorry for the trouble