So I've animated a spinning cylinder that also moves up and down, kind of like a drill. I would like to have several spinning cylinders, but offset so they don't move all in unison.
I've duplicated the objects with a group and now have an empty with which I can move them around, that's working. But I can't figure out how to offset the animations. Someone mentioned the NLA editor when I googled but I can't seem to get separate tracks there or anything.
This is what it looks like: https://i.imgur.com/6bSwtCH.png
I'd like to create some small animations, but this is one of the very basic things I'm not sure about at the moment. Would be cool if someone could help.
You need to use the dopesheet and graph editor for animation keyframes. If you keyframe your three animations, you can then go into the dopesheet and move those frames to different parts of the timeline to offset them.
The best thing you can do is use an armature, with a bone for each cylinder you want to rotate , that way you can have all the animation data in a single action and work on it all in one go because you can see it all on the dopesheet. Anyways, here is a quick breakdown of what I would do :
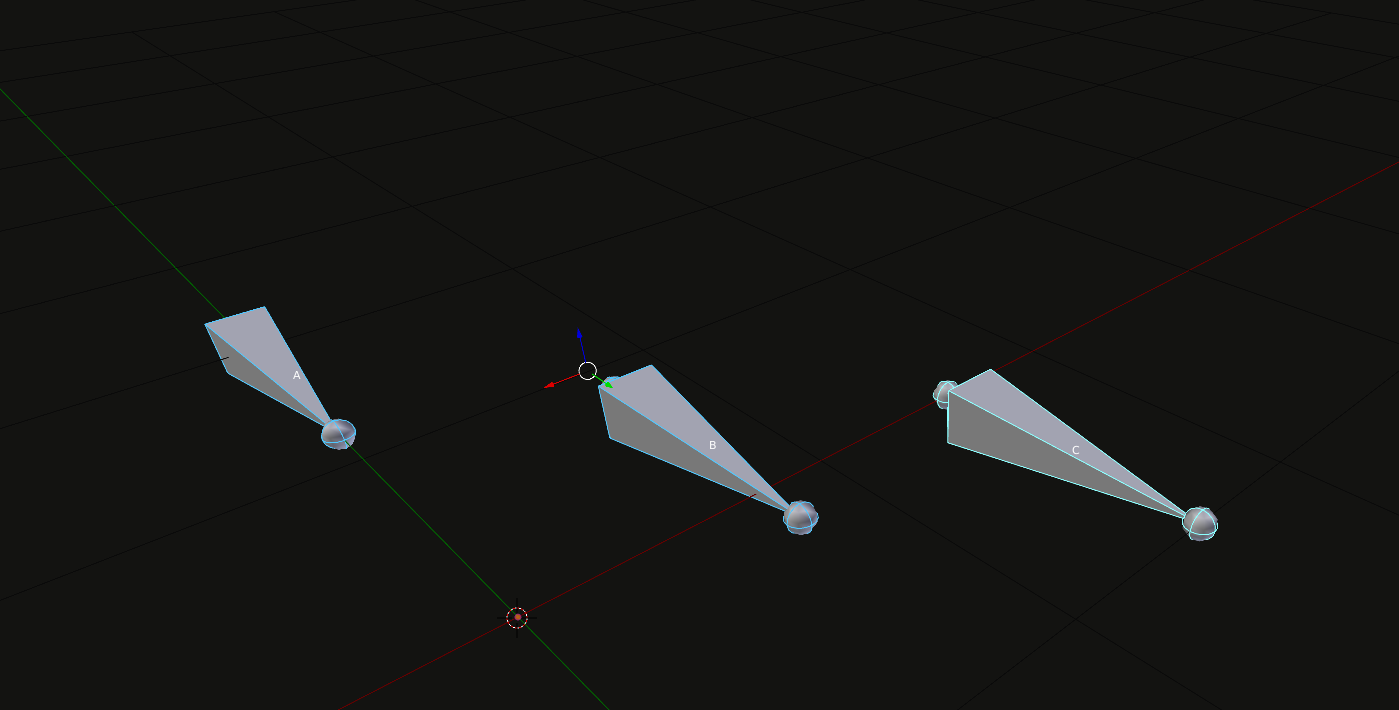
Add your armature and add a bone for each cylinder. Here they are labelled A , B and C :

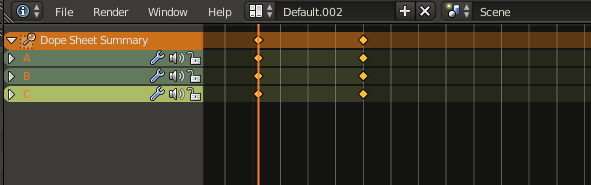
Parent the cylinders to the bones so you can animate the bones and the cylinders will move too. Now go into pose mode and open up the dopeshet , select action editor (CIRCLED RED) and add a new action with the plus button and name it (CIRCLED BLUE) I called mine "Example" :

Now keyframe the bones on frame 0 , animate them all the same how you want (in my case I went to frame 20 , dragged them along the Y axis in the 3D Viewport a bit and keyframed them again) You will see the keyframes in the dopesheet represented by white diamonds (or yellow when selected) :
Now you can move the keyframes of each bone in the dopesheet by selecting them and hitting G , to offset the animation.(Remember to select the start and end keyframe when moving to keep each individual animation the same length) Here I moved bone B along and C a bit further :
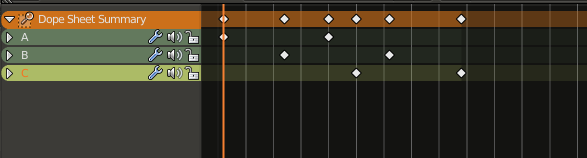
Now you can see if I jump to the middle of the animation , that the bones are moving at different times rather than all at the same time like they were originally keyframed to do :
Hope this helps and please ask if you need better explanations of certain stages. Its hard to guess what you know and don't know about Blender so I hope this is in depth enough.
Hey Matthew, thanks for your very thorough answer. That’s a great explanation, I tried out this method and it works of course. If possible, could you also explain how to do this without using bones? Because in this case I used this cgcookie tutorial for perpetual animation with F-Curves. From there I decided to try to create a small endless/seamlessly looping animation. For that I first needed to find out how to copy objects and move them without messing up the animation due to the offset.
After I solved this (with groups, as you can see in the screenshot) I wanted to see how I could offset the animations so I could quickly create multiple objects that don‘t move in completely the same way.
I also think that sometimes it might not be practical to work with bones. Therefor it would be awesome if you could explain an alternative way to do this with the setup I described, because then I feel I‘d be prepared to tackle some more things when trying out these endless animations.
Thanks again for the reply and let me know if you need to know more details. I‘m rather familiar with Blender but not so much in the animation department yet.
IF it's object based animation (empties for exemple).
You can use the Delta transform option to offset the whole animation without modifying any curves.
This doesn't work with posed bone but will work if you want to offset the armature object.
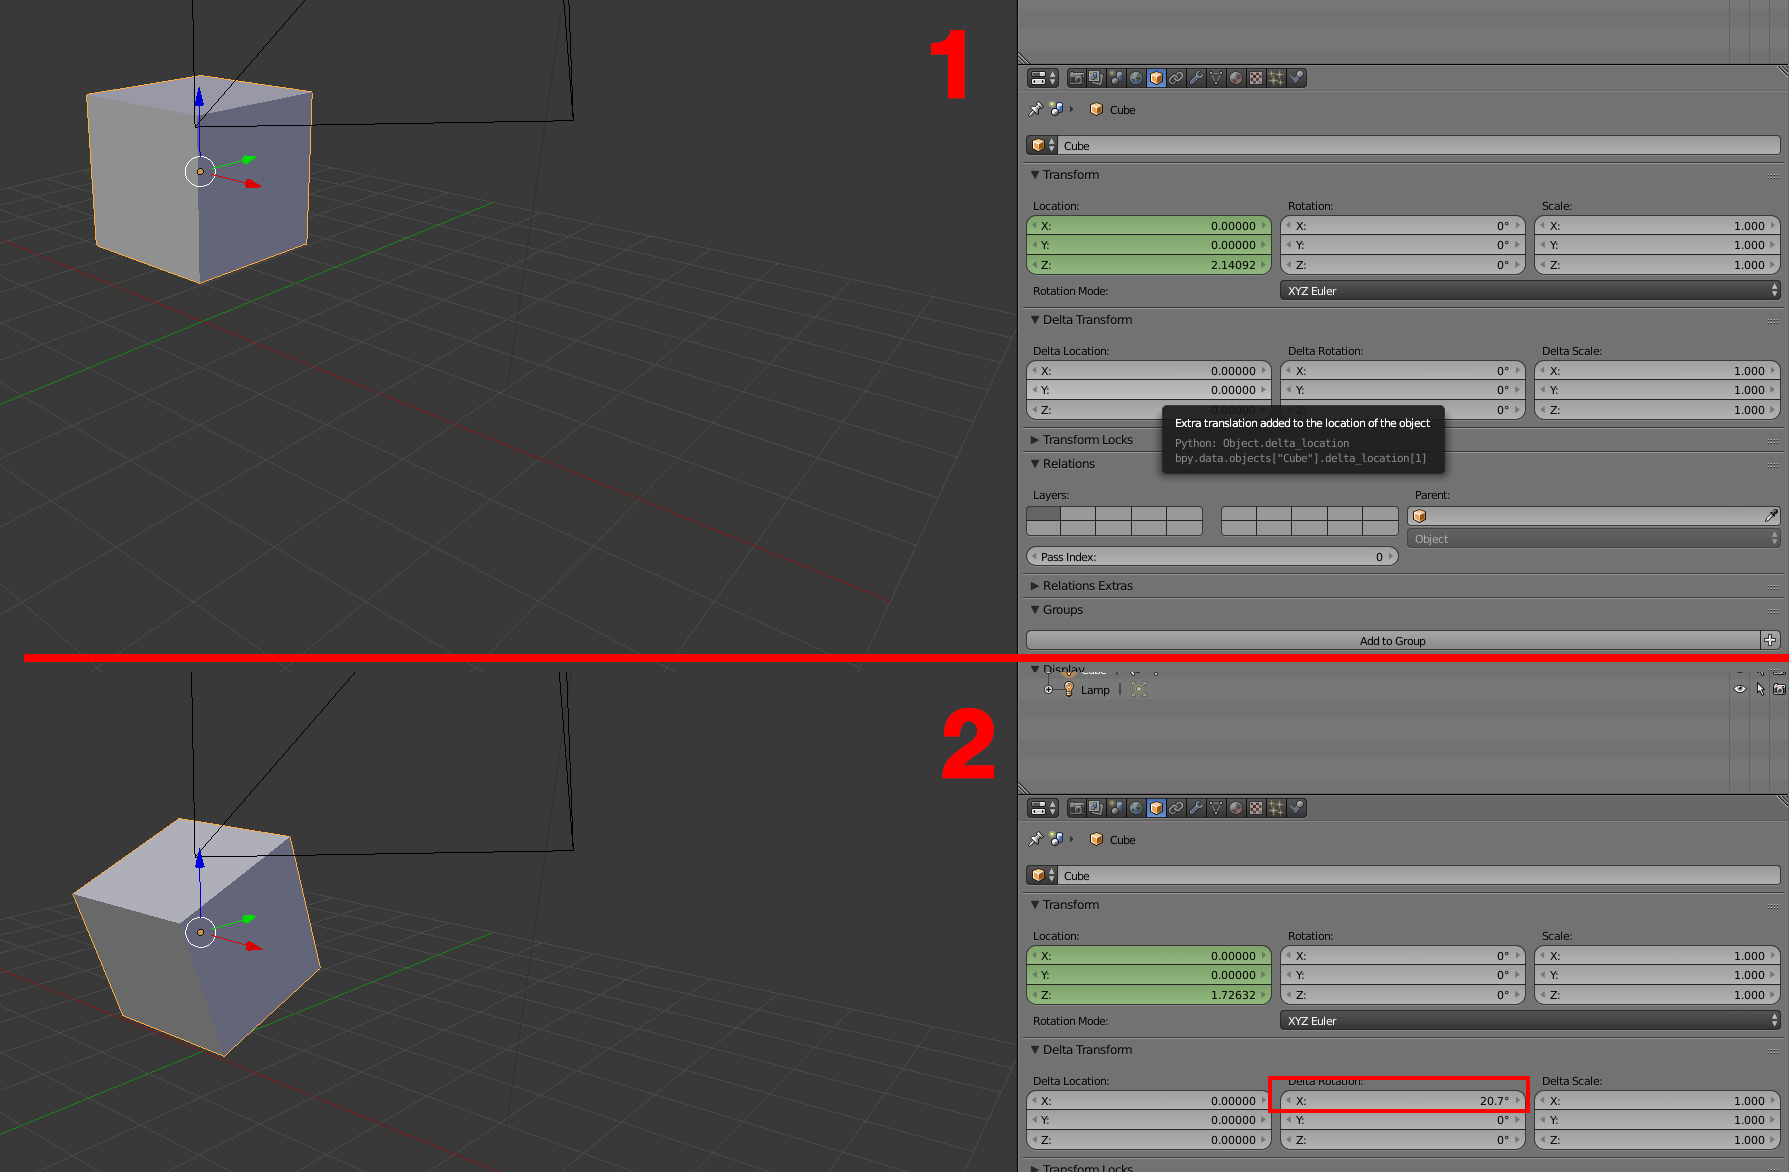
Here I have a cube object wih 3 key frames to make it going up and won.
If I want to execute it's animation from any other location or in with another orientation, I just need to modify the Delta transform values.
1) I have a cube going up and down in a straight position
2) Using delta transform I've rotated the cube and it still goes up and down but it is also rotated.
 This is very usefull to make correction on object animation.
When it comes to posed armature animation, you have to offset the curve in the graph editor (for exemple the root bone position of a character while working to offset its position).
Thanks, that‘s also something that I was wondering about so this explanation was very helpful.
The other question I had is how to offset the “timing“ of the animation of copied objects. In this context, what I mean with offset is shifting the animations so they don’t all play the same. For example spinning fans that don‘t all spin the same way. Or waving grass. I would like to copy the objects but offset the playing of the animation so they don‘t all wave to the left or the right at the exact time.
If you had some advice for this as well, that would be awesome.
If you have a complex scene that you want to do this for, I would recommend using Jacques Lucke's Animation Nodes or Gottfried and Frederik's ARewO.