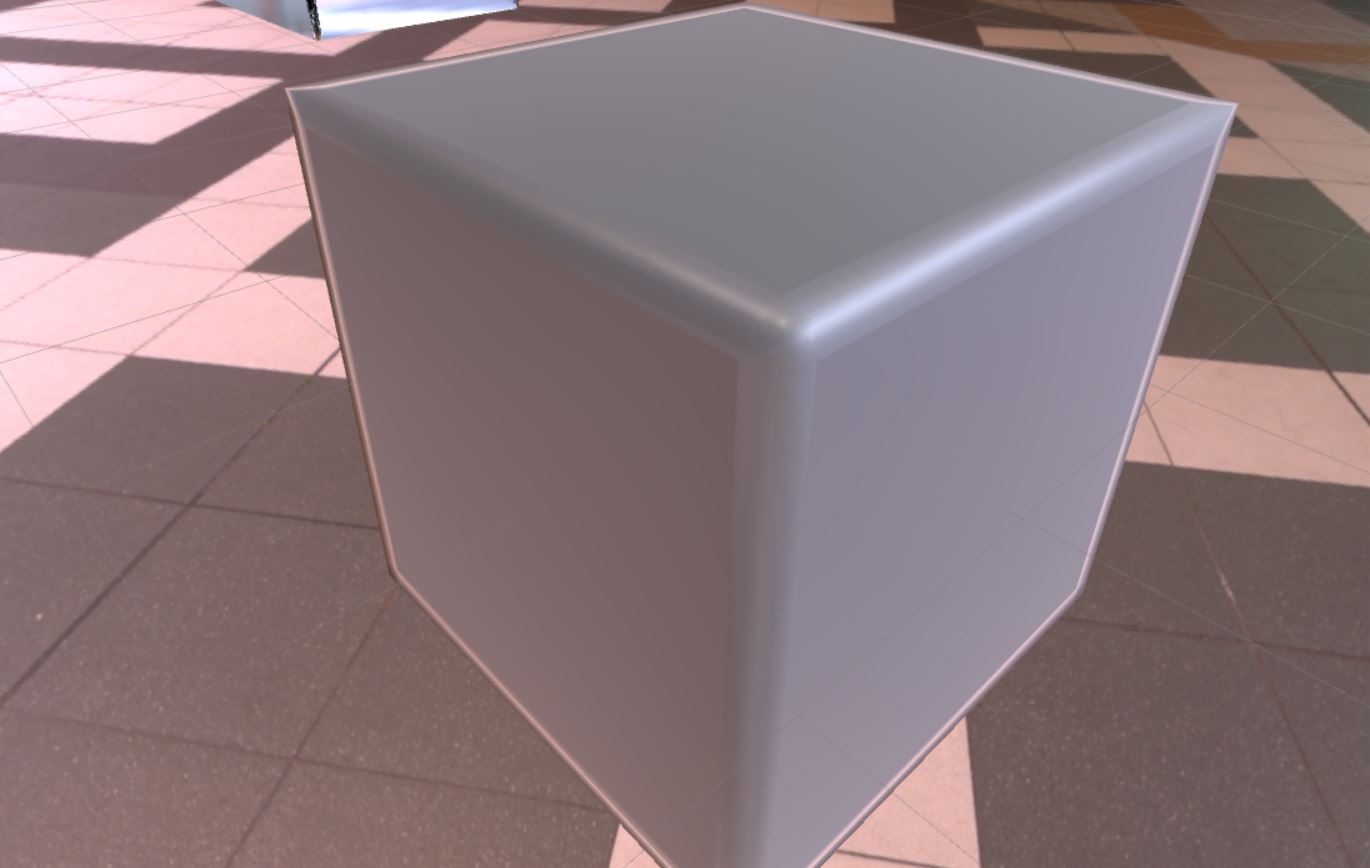
Hello everyone! My question might be stupid, but there is a problem I have with baking normals in Cycle. I'v wathced courses about Introduction in Normal Maps and Modeling a Weapon for a FPS, but I still have no solution... So, I bake normals from hi-poly cube with bevelled edges to a low poly cube with just 6 faces. I bake it in Cycles Render. I have hard edges at every low-poly cube, this cube is smooth (autosmooth at 180 degrees), and along the hard edges I also have UV seams. UV islands have enough "place" between each other. I bake with cage, low-poly cube is a little bit smaller than the hi-poly, and the cage is of course bigger than the hi-poly.
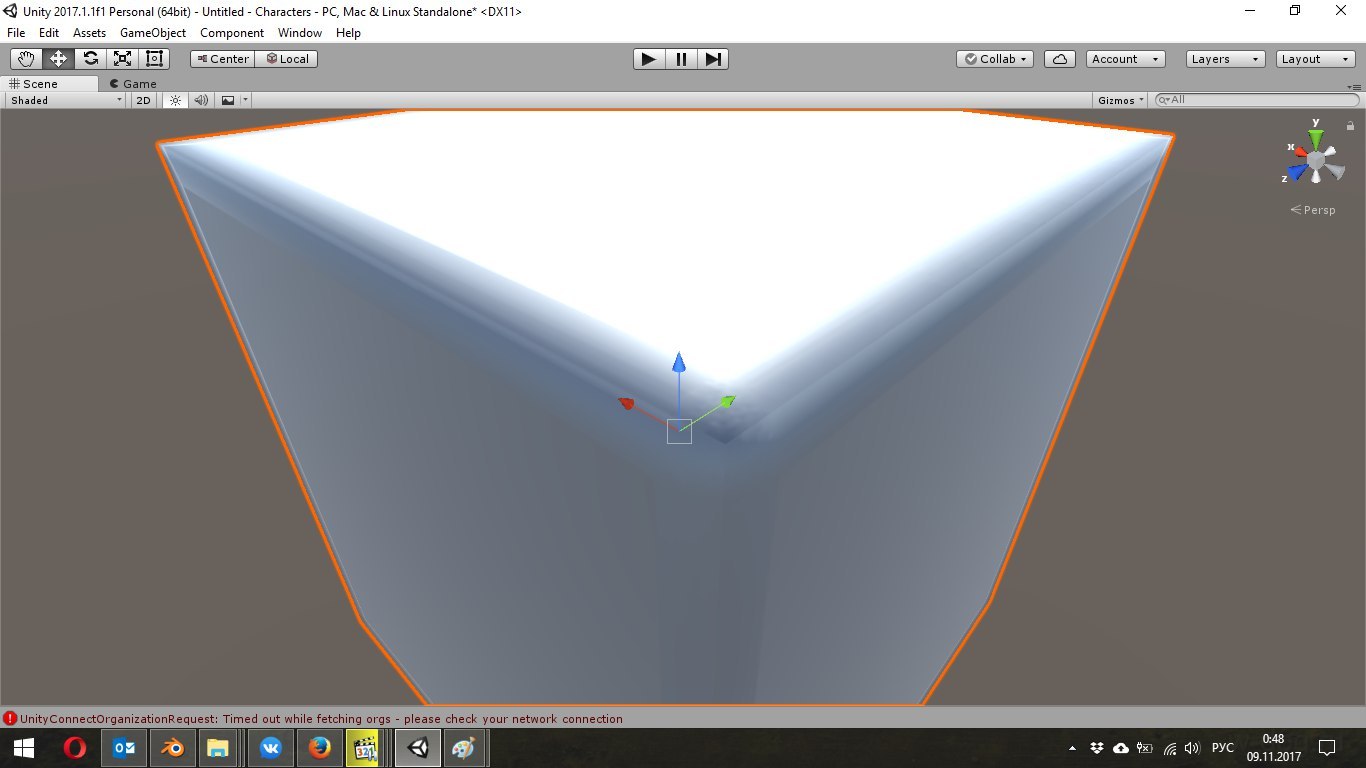
But after I bake I still have this awful dark line along the edges when it's gotta be smooth (or at leasat be close at its appearance to the smooth). It also may be seen in Unity. What I'm doing wrong? Or am I expecting too much from baking normals? However, at all lessons here at CGCookie normals in Cycle are baked perfectly!
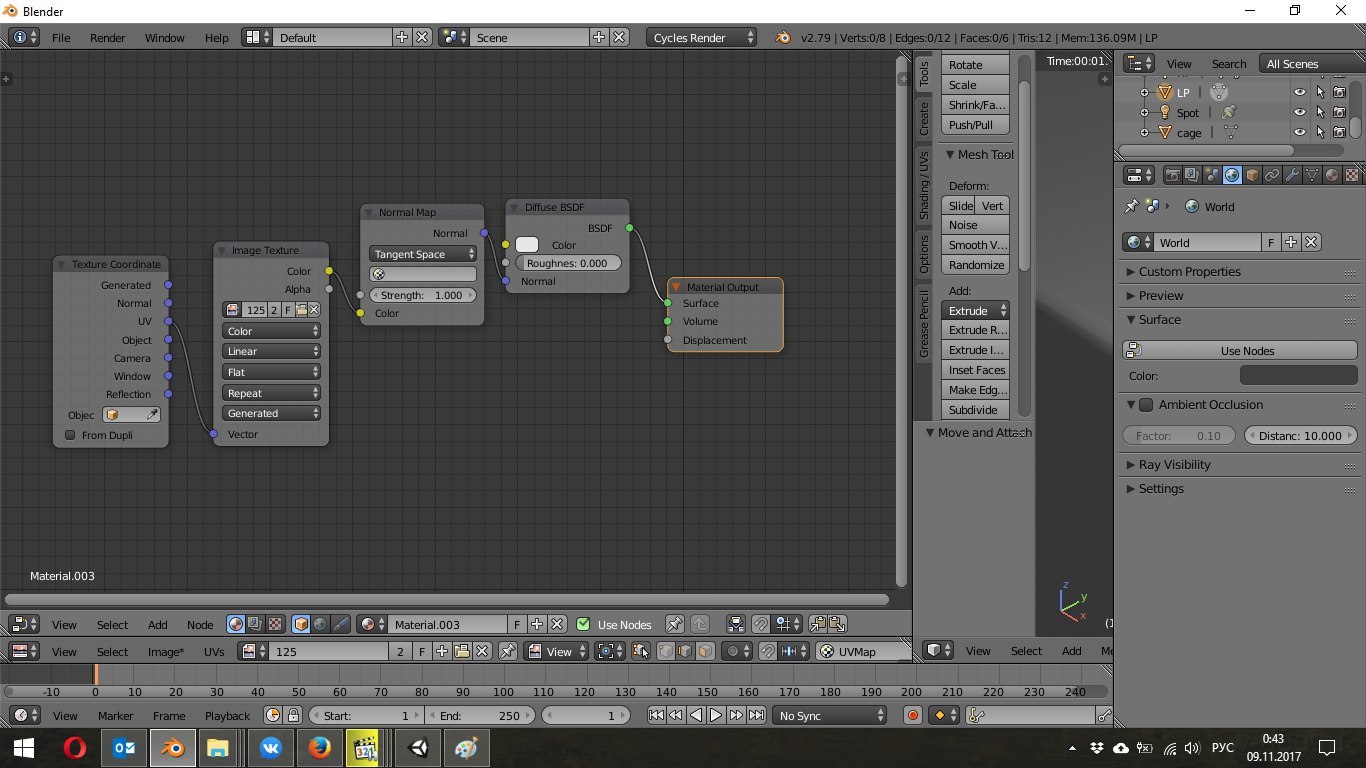

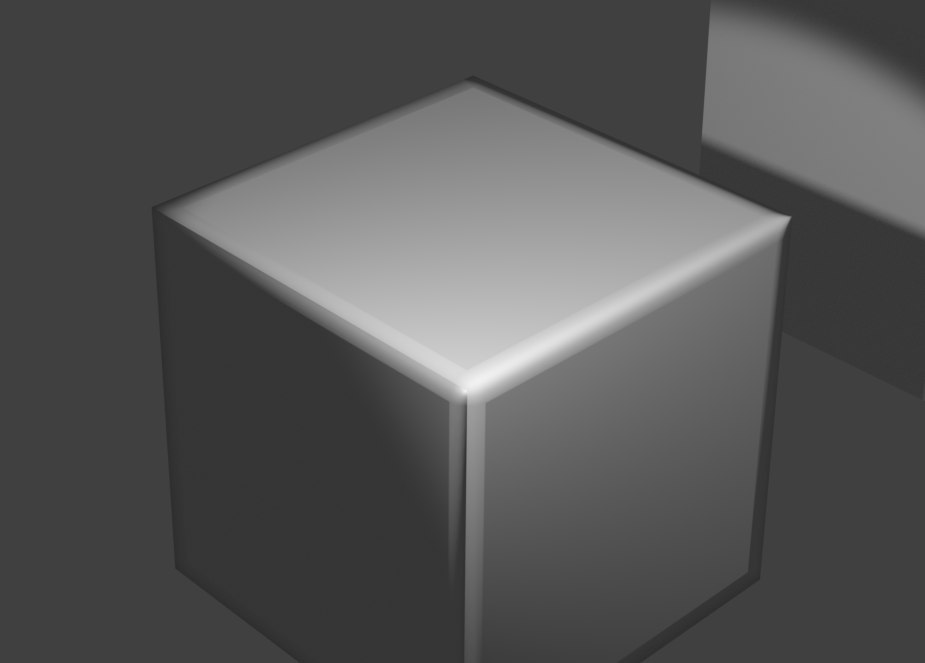
Hey Arthur, since you're using a cage, the high poly and low poly can be overlapping. That will help a little bit. Second, you'll need to switch the texture node to non-color data to get rid of that seam in Blender. In Unity make sure that the texture type is set to normal map. If you do that, it should look like this:

Wow, that really helped! Thank you so much for your advice!
And while your are so greatefull to answer my stupid questions, might I hope for another piece of your help?...
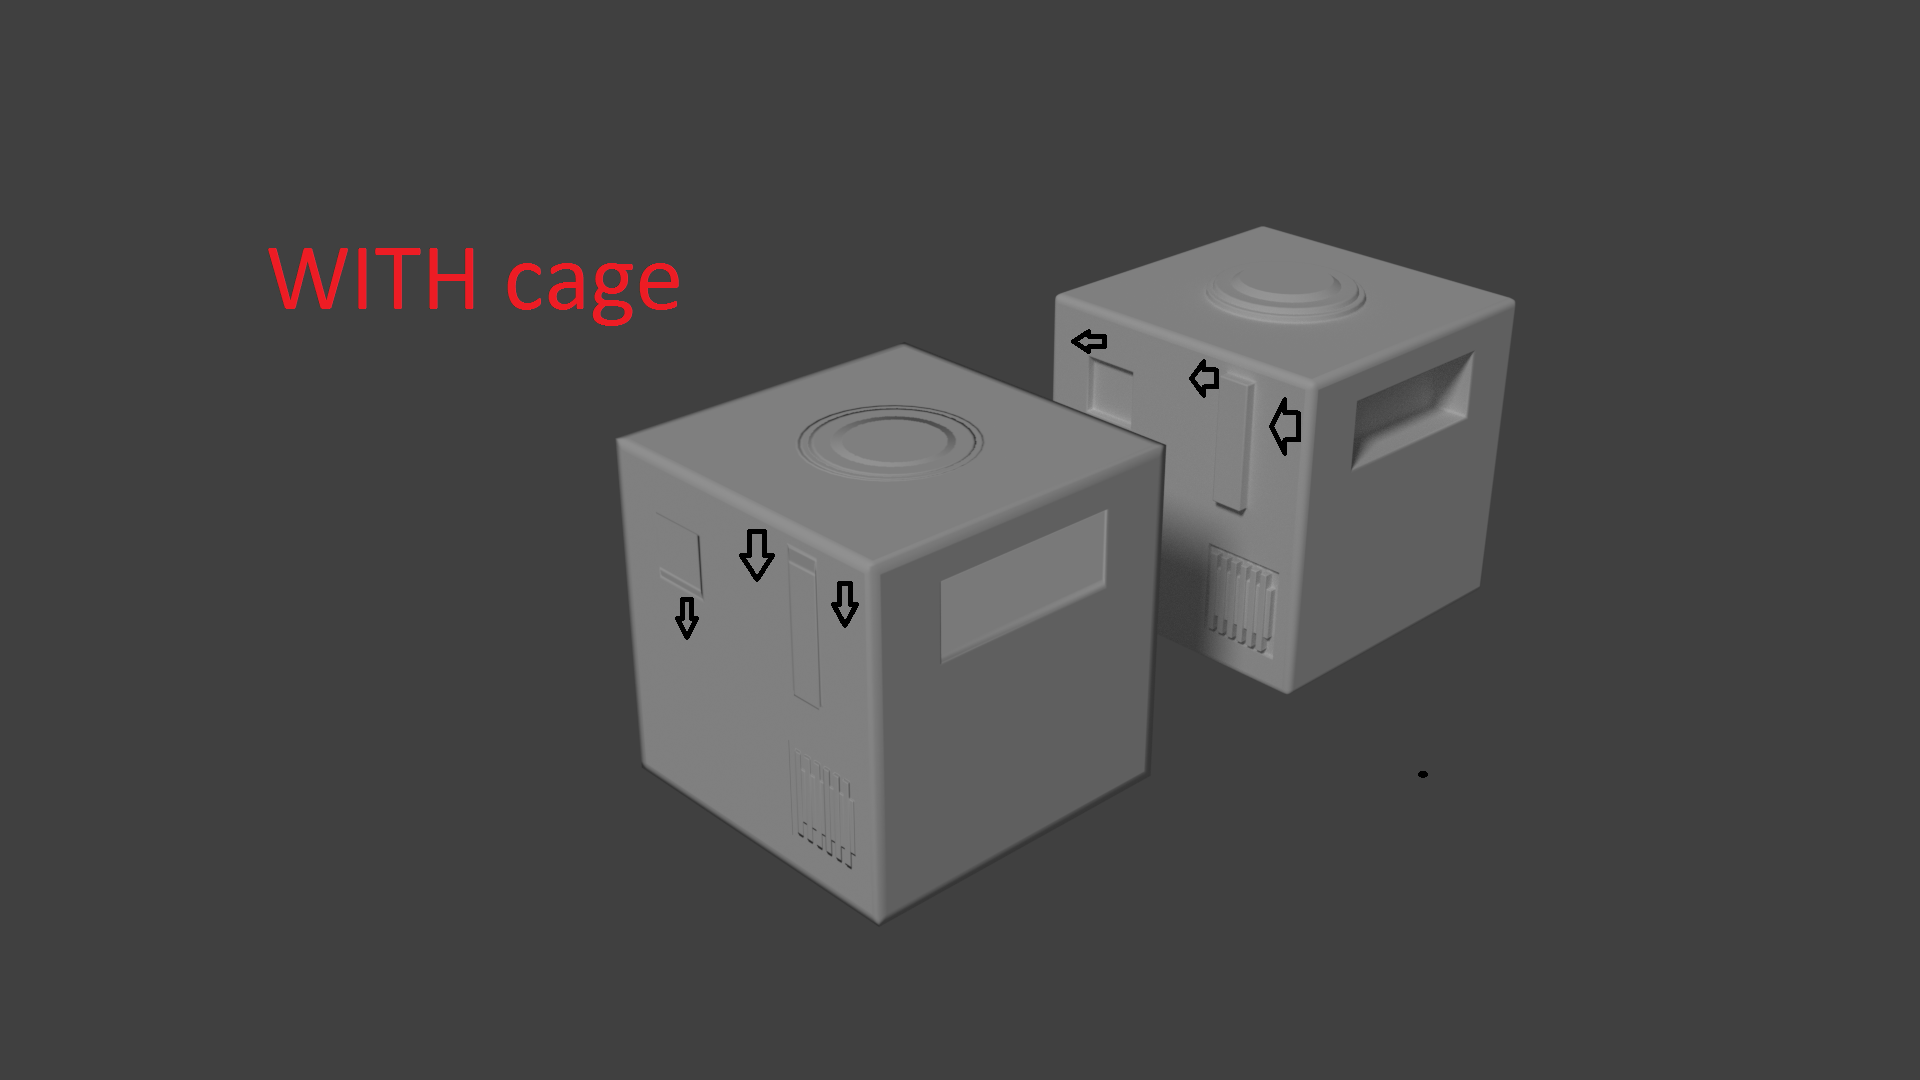
I bake details from the same HP cube to a LP with cage and without cage. Without cage details look not so impressive, it is quite flat! And again I have that unpleasant dark line from me previous message. But when I use cage it's quite more "volumetric" and have no lines, but on the other side all the baked details - how should I say... - they are imaged from some angle, like with the incorrect projection. So... where should I search for the golden mean?
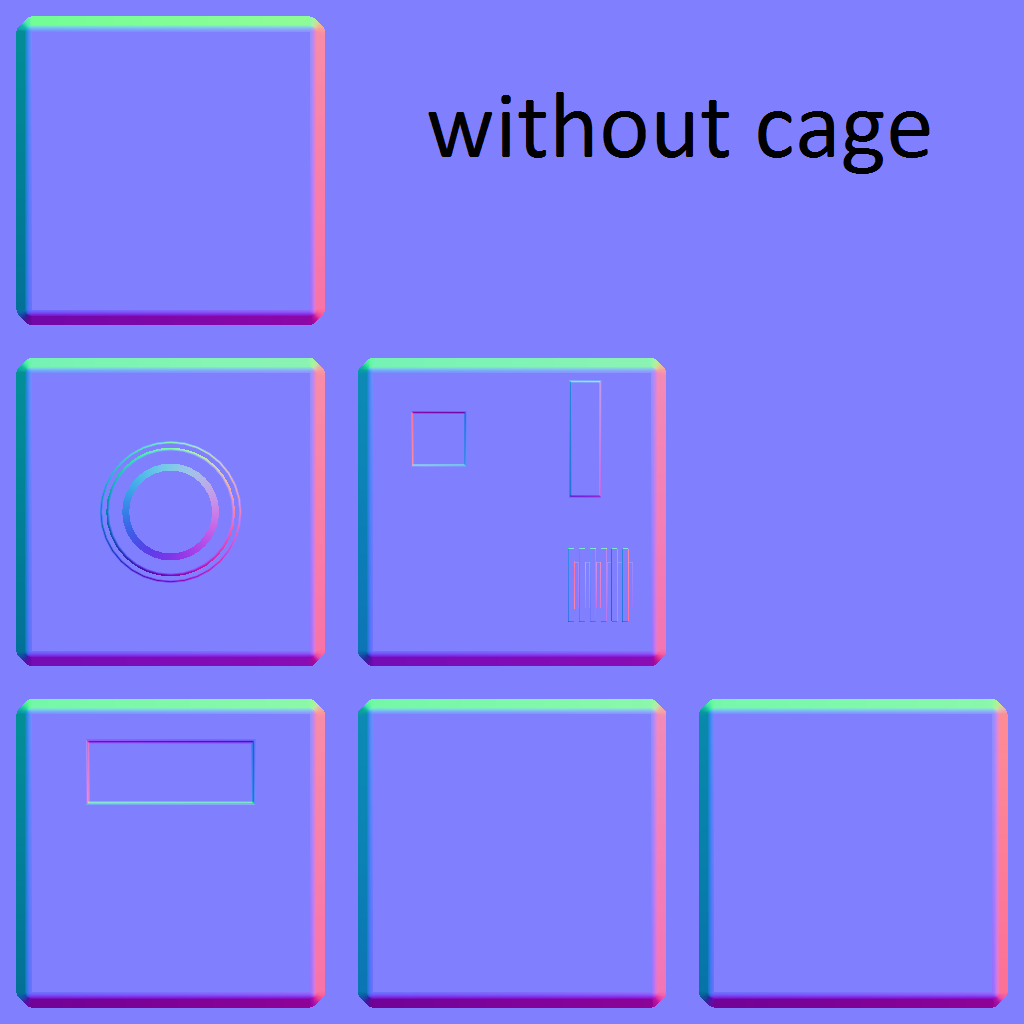
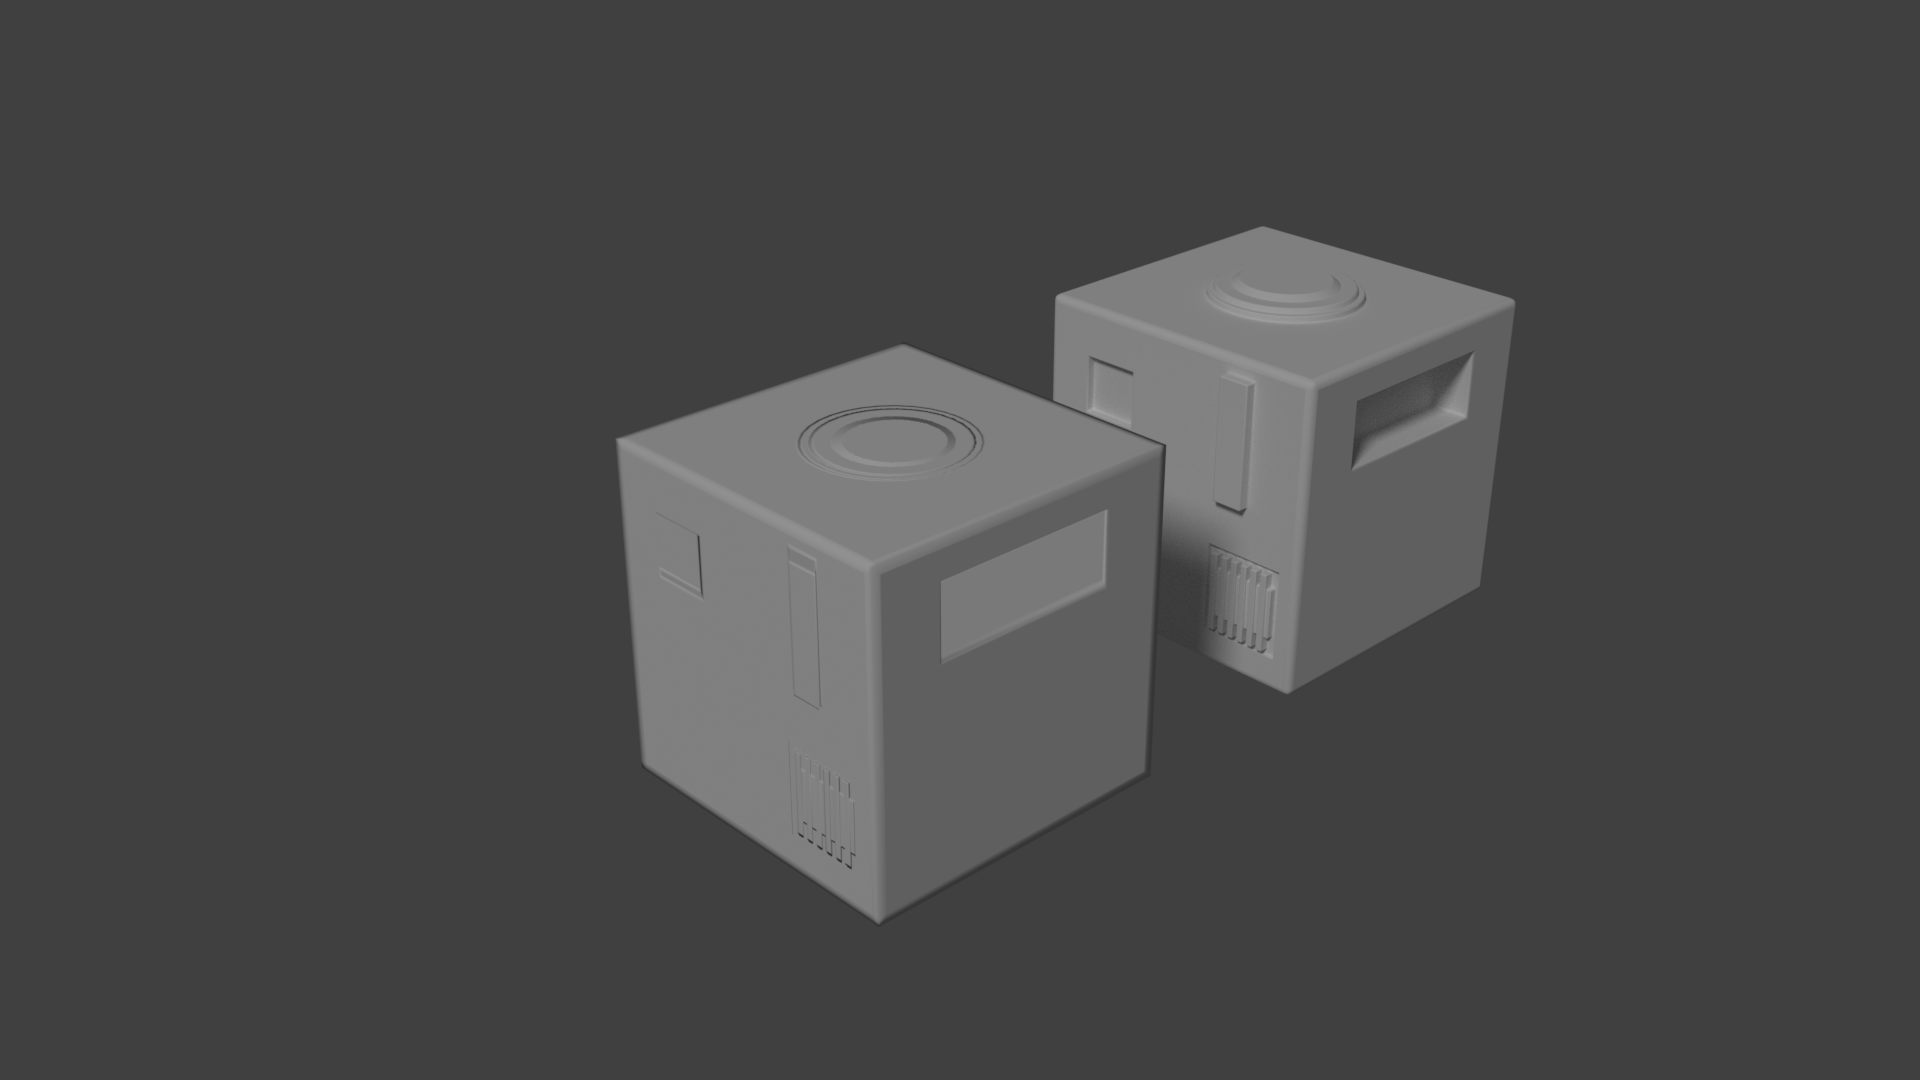
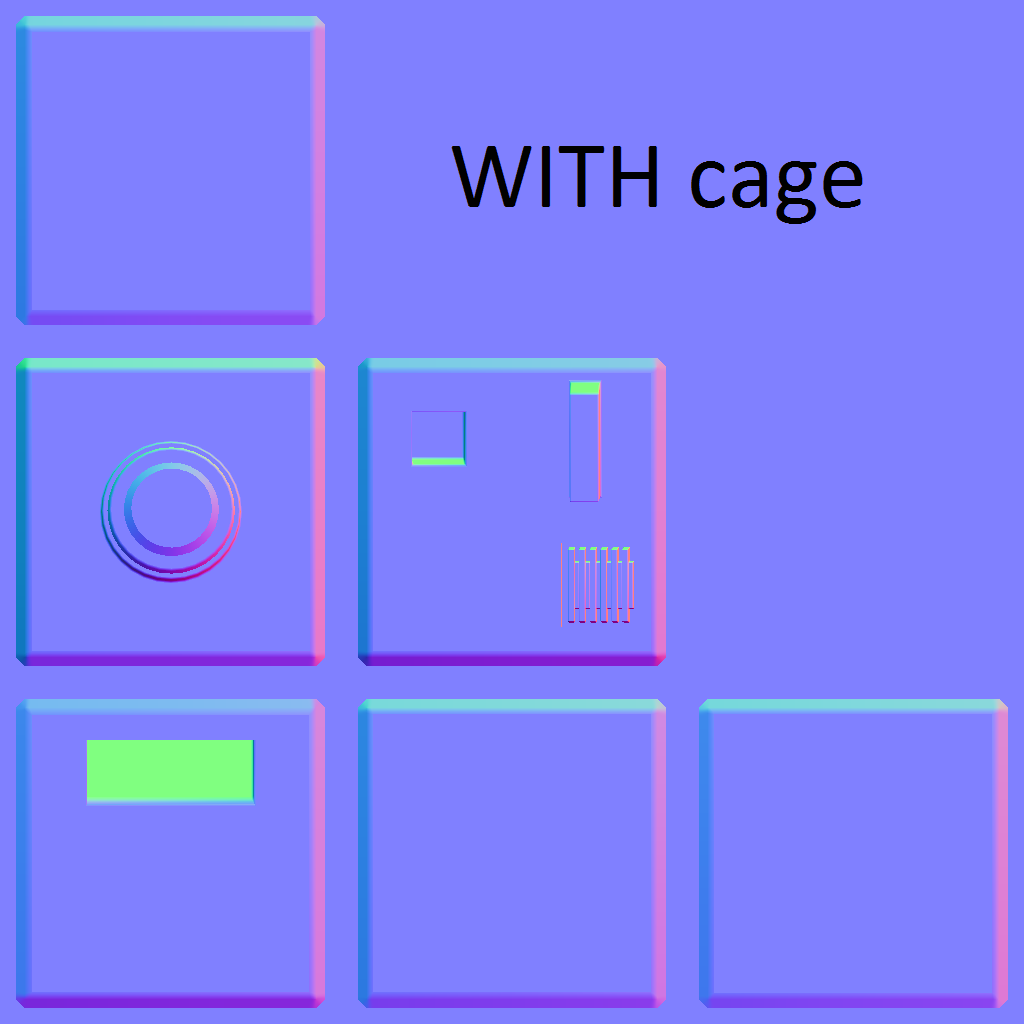
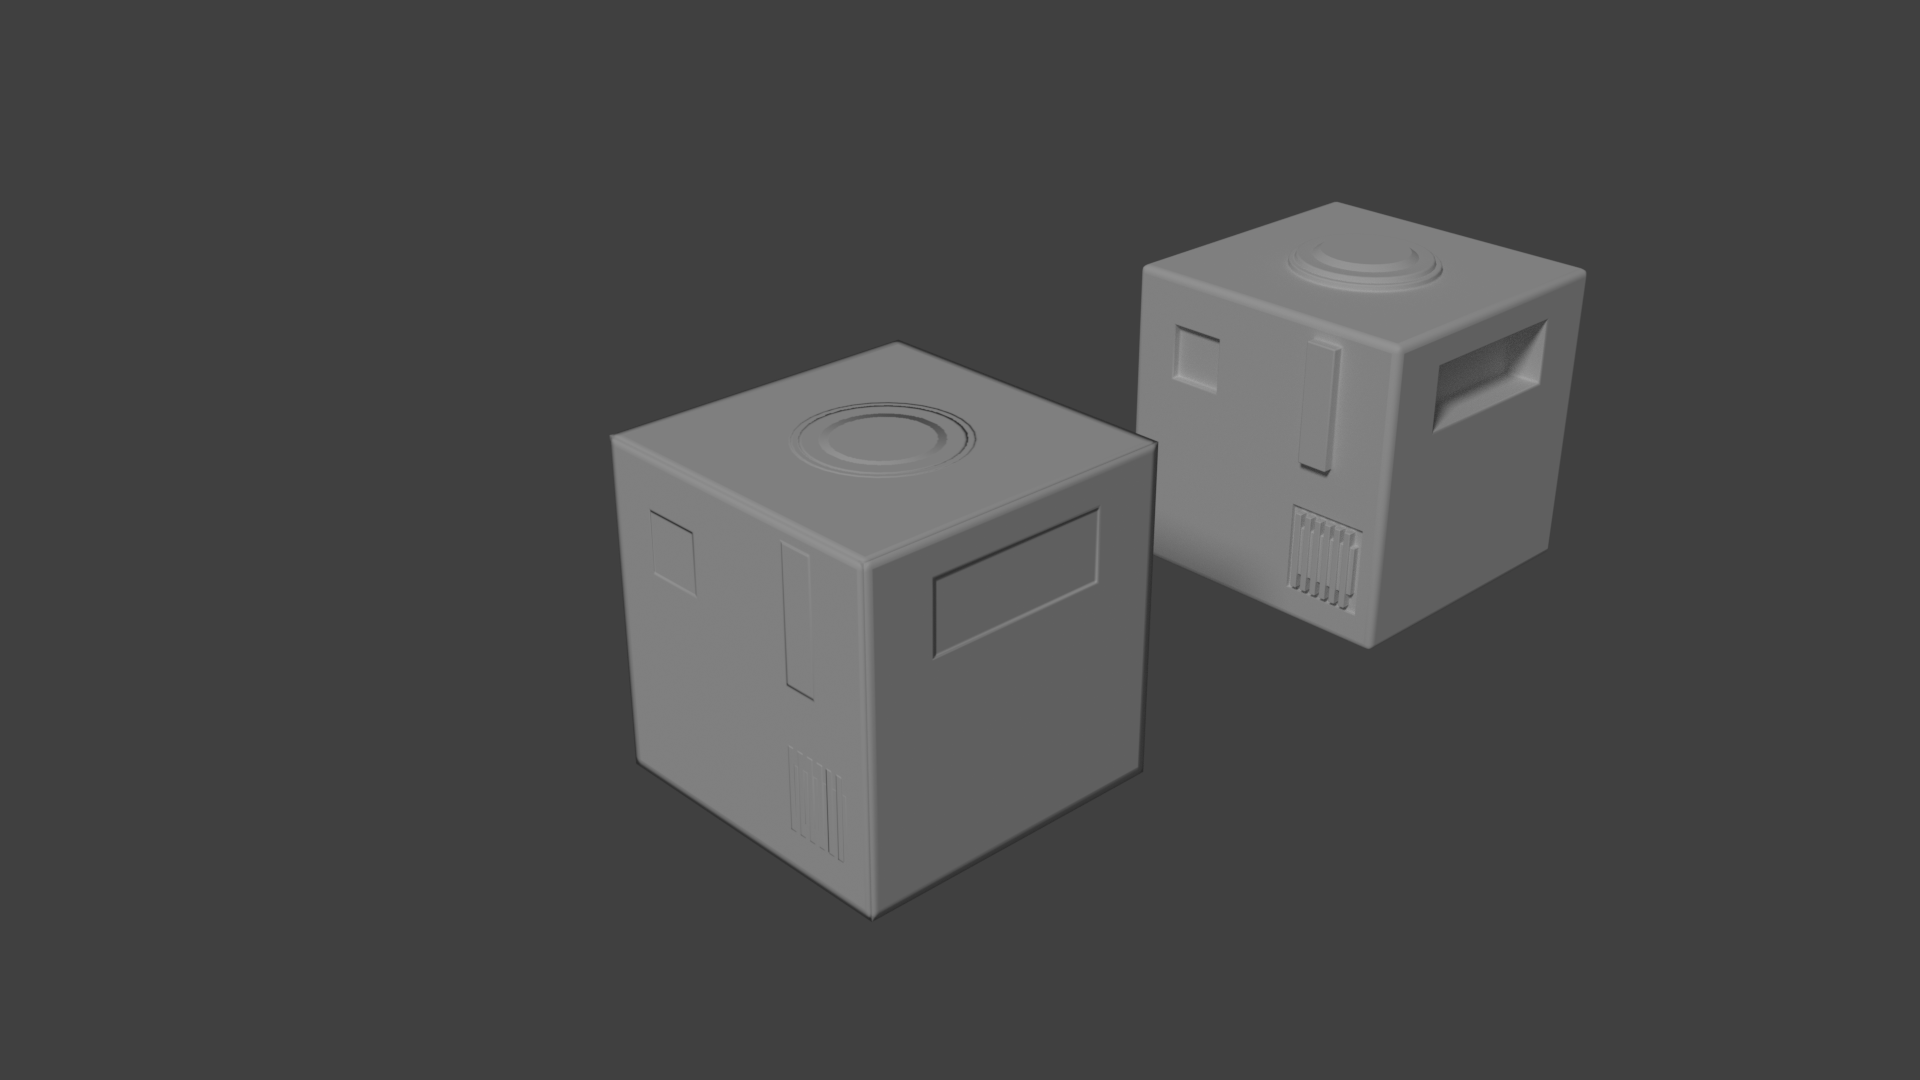
Sorry, the first render is WITH cage, as you can see the details "look" to an incorrect side. And the secon one is WITHOUT cage
I tried to subdivide cage and low poly cube, but it didn't make any effect(( It's still baked from some wrong view
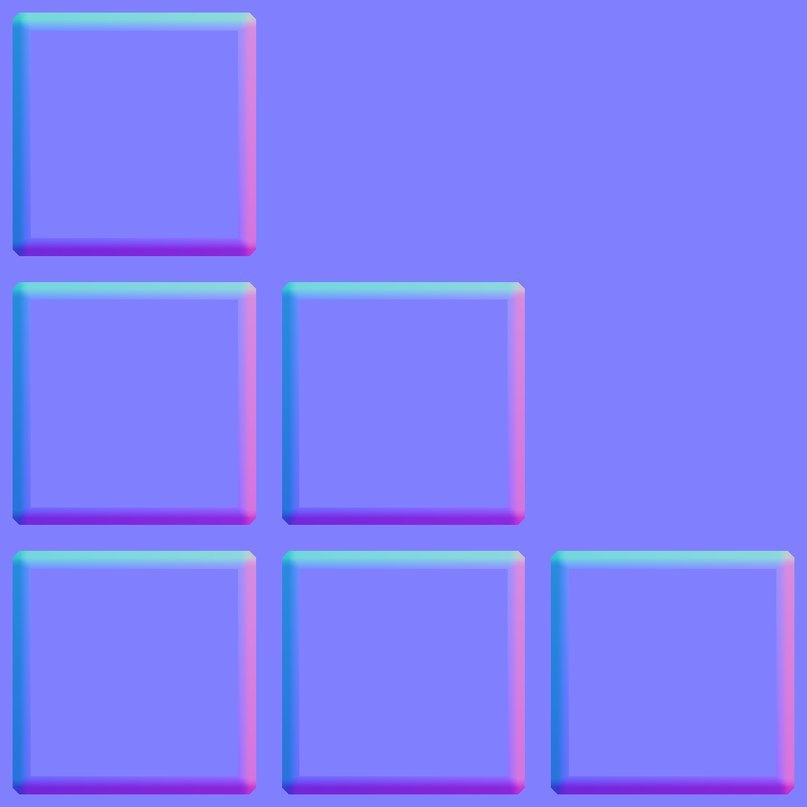
Hey, so I tried the file and I think I found the problem. The low poly object should be exactly the same size as the main geometry (ignoring details) of the high poly, and the cage should be exactly the same as the low poly except displaced. The cage in your file was shifted around a bit and didn't have subsurf:
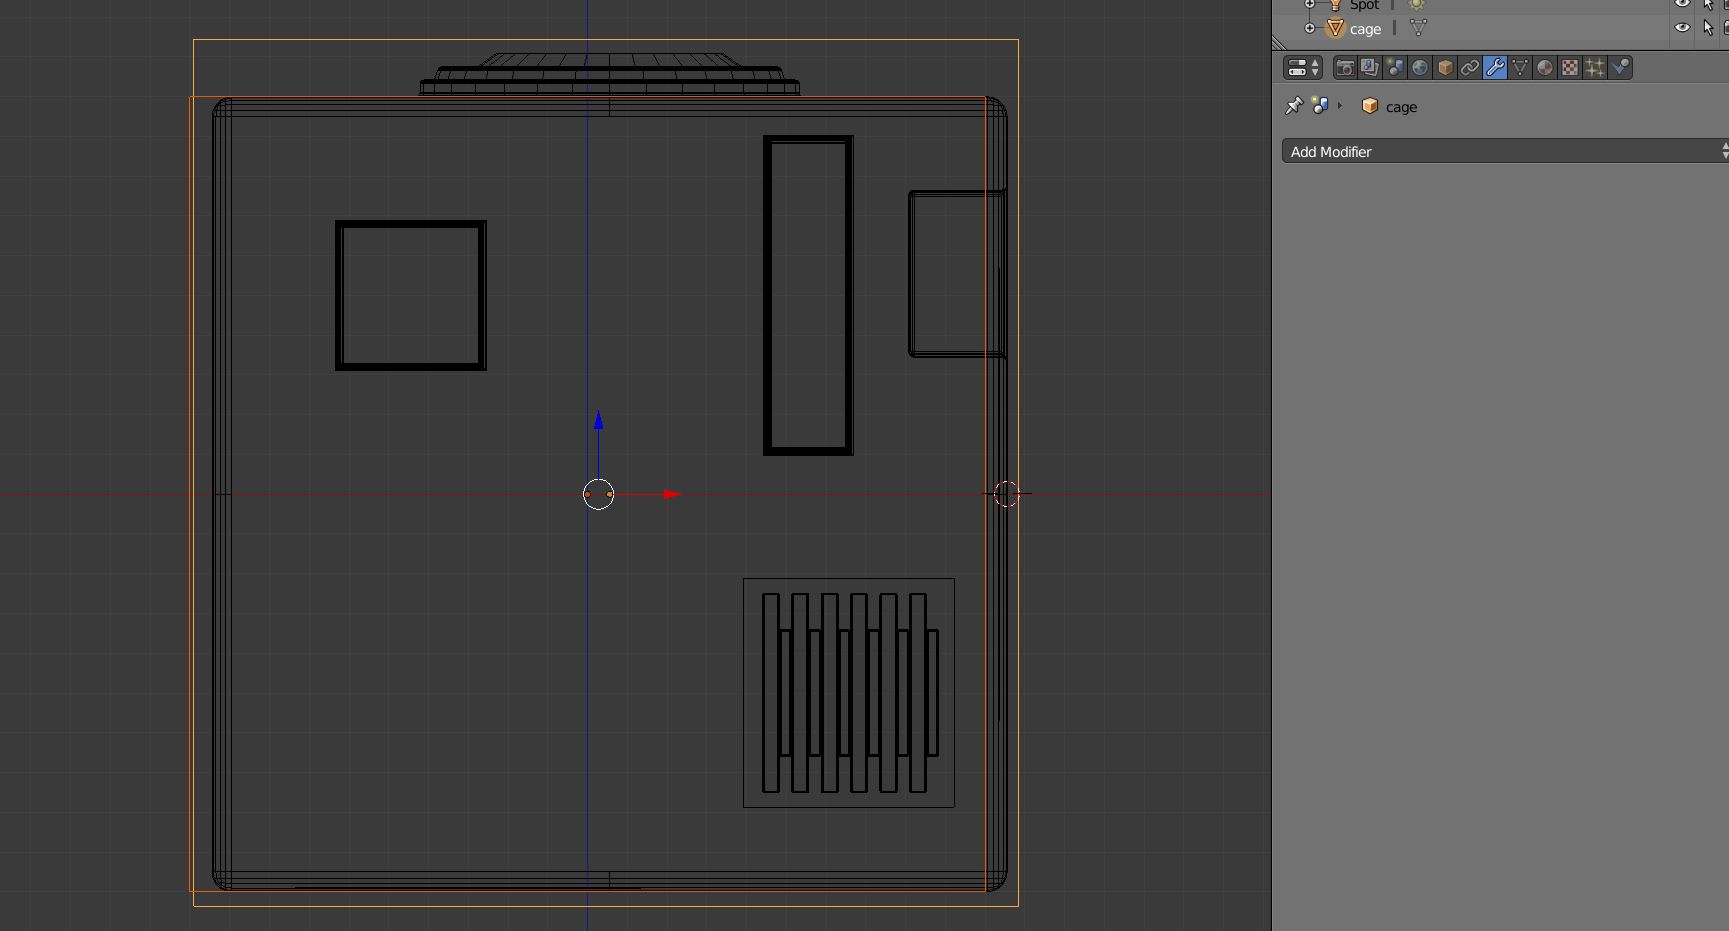
Fixed, notice how the spacing of the cage around the low poly object is all equal.
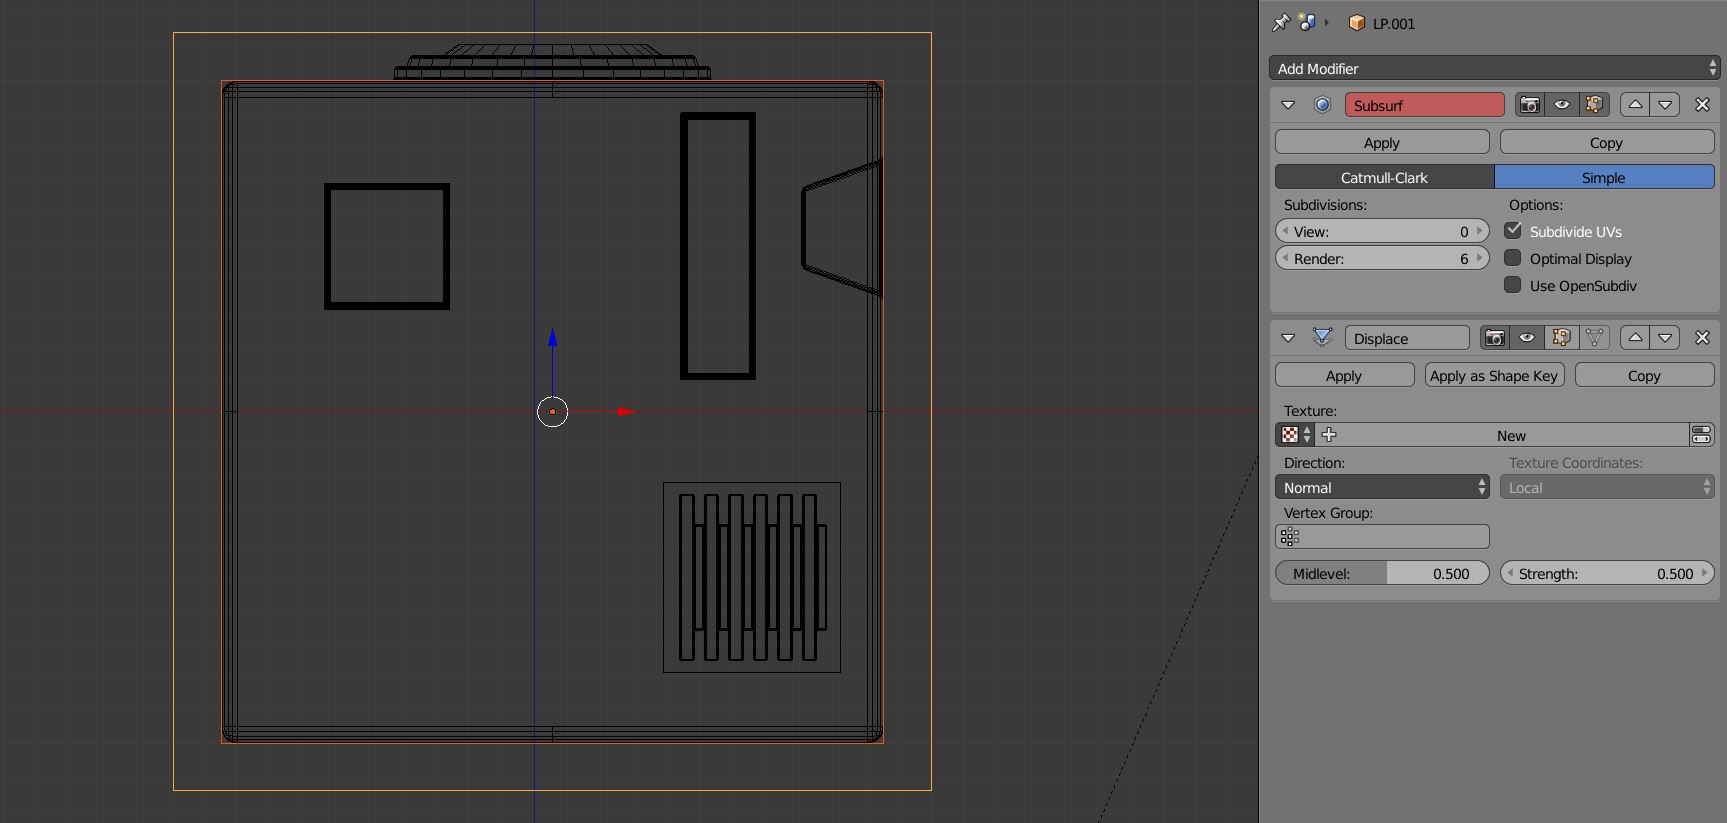
The flatness comes from everything being 90 degree angles. In the second picture above, notice how I adjusted the inset on the right so that it's extruded in at an angle. That'll give you the slope you need to make it not look flat. Do that with all your details. (check this video at about 1:30: https://www.cgcookie.com/lesson/high-poly-detailing ). Hope that helps!
YES! It helped me great! And the major improvement was achieved by turning on the Displacement modififer to the cage. With that modifier and making hi poly object more lowpoly-friendly (e.g. getting rid of 90 degrees and too small details) now I have much more detailed and relevant normal map.
Thank you VERY, VERY much, Jonathan, your courses and advices really improved my understaning of normals for my future activity.