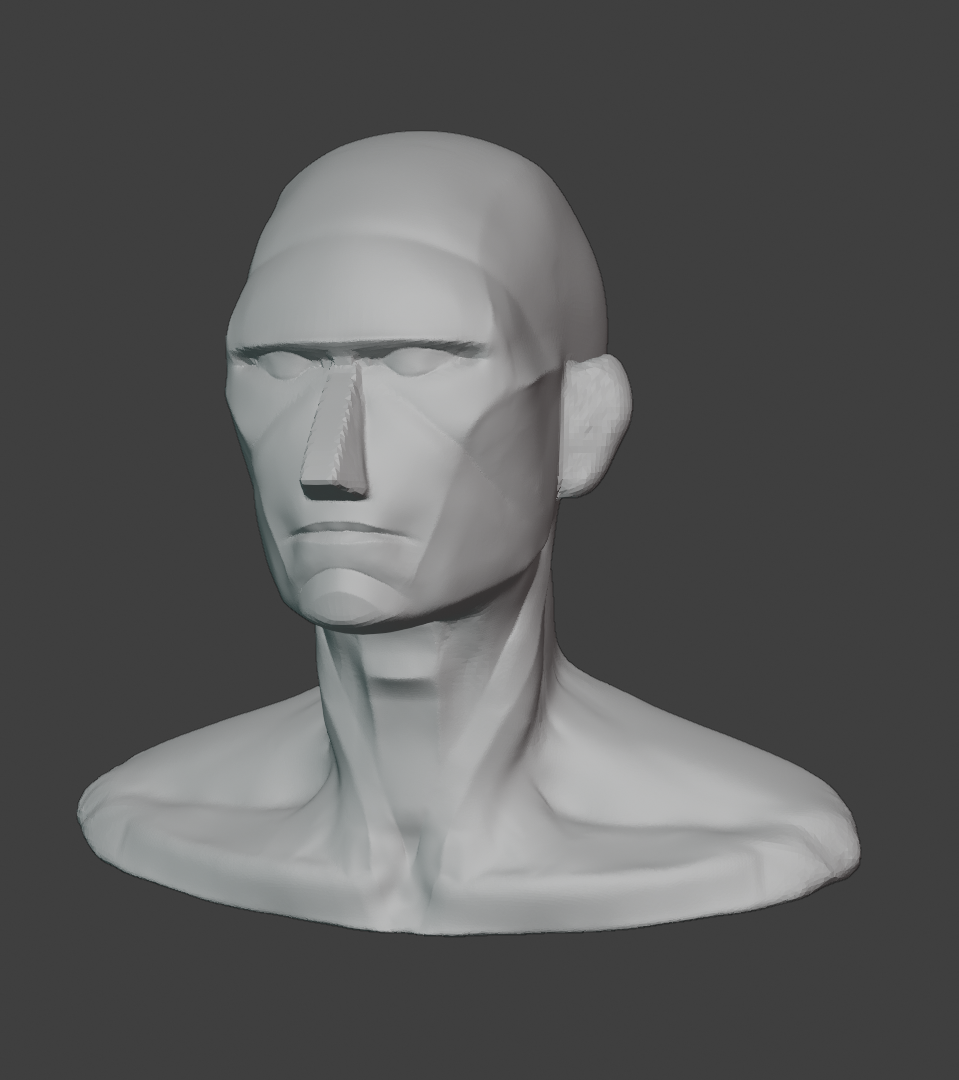
Well, we're off to a slow start. 25 hours of eating popcorn over Thanksgiving break takes COMMITMENT! Especially cause I still don't see how it's relevant, but I trust @theluthier is pulling some kind of Miyagi move here. After getting over the discomfort, I managed to get into Blender. Here is take one of the planes of the head.
I had some difficulty maintaining super clean edges, but I'll give it a couple more passes before moving on. These initial steps will be the most relevant to me as I ultimately prefer to do stylized work, but I'm pretty excited by what I've seen in the course. I'll continue to post progress here.
pprocyonlotor Oh no, I meant for you to watch sped up and not necessarily over a holiday weekend 😬 But I did release the course in a holiday week didn't I...I hope this proves true for you but the idea is that an initial viewing of the course will give far better context to the many individual tasks along the way once you start following along directly.
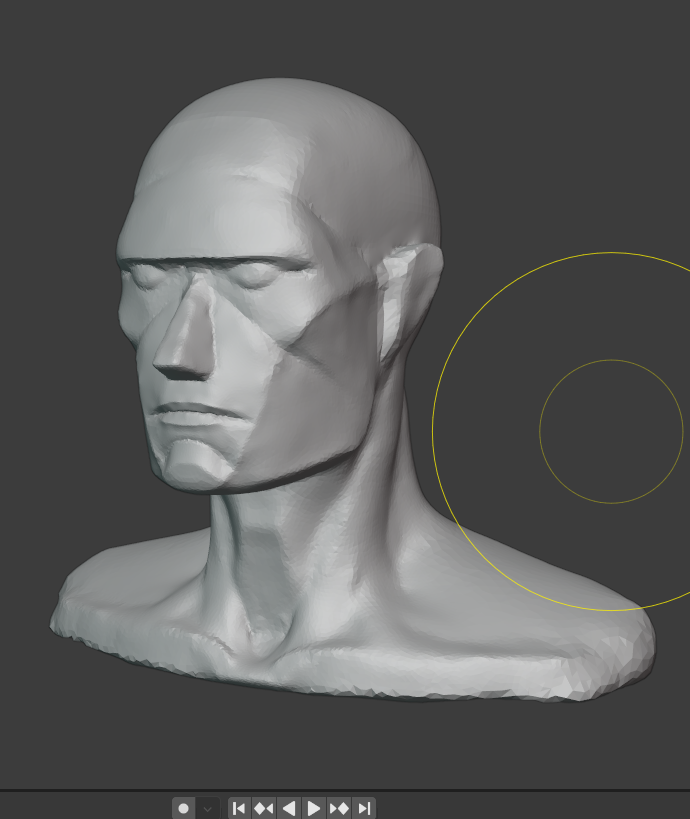
Your planes-of-the-head (PotH) version looks great! Shapes and proportions feel very nice. Thanks for posting a thread. I look forward to following it!
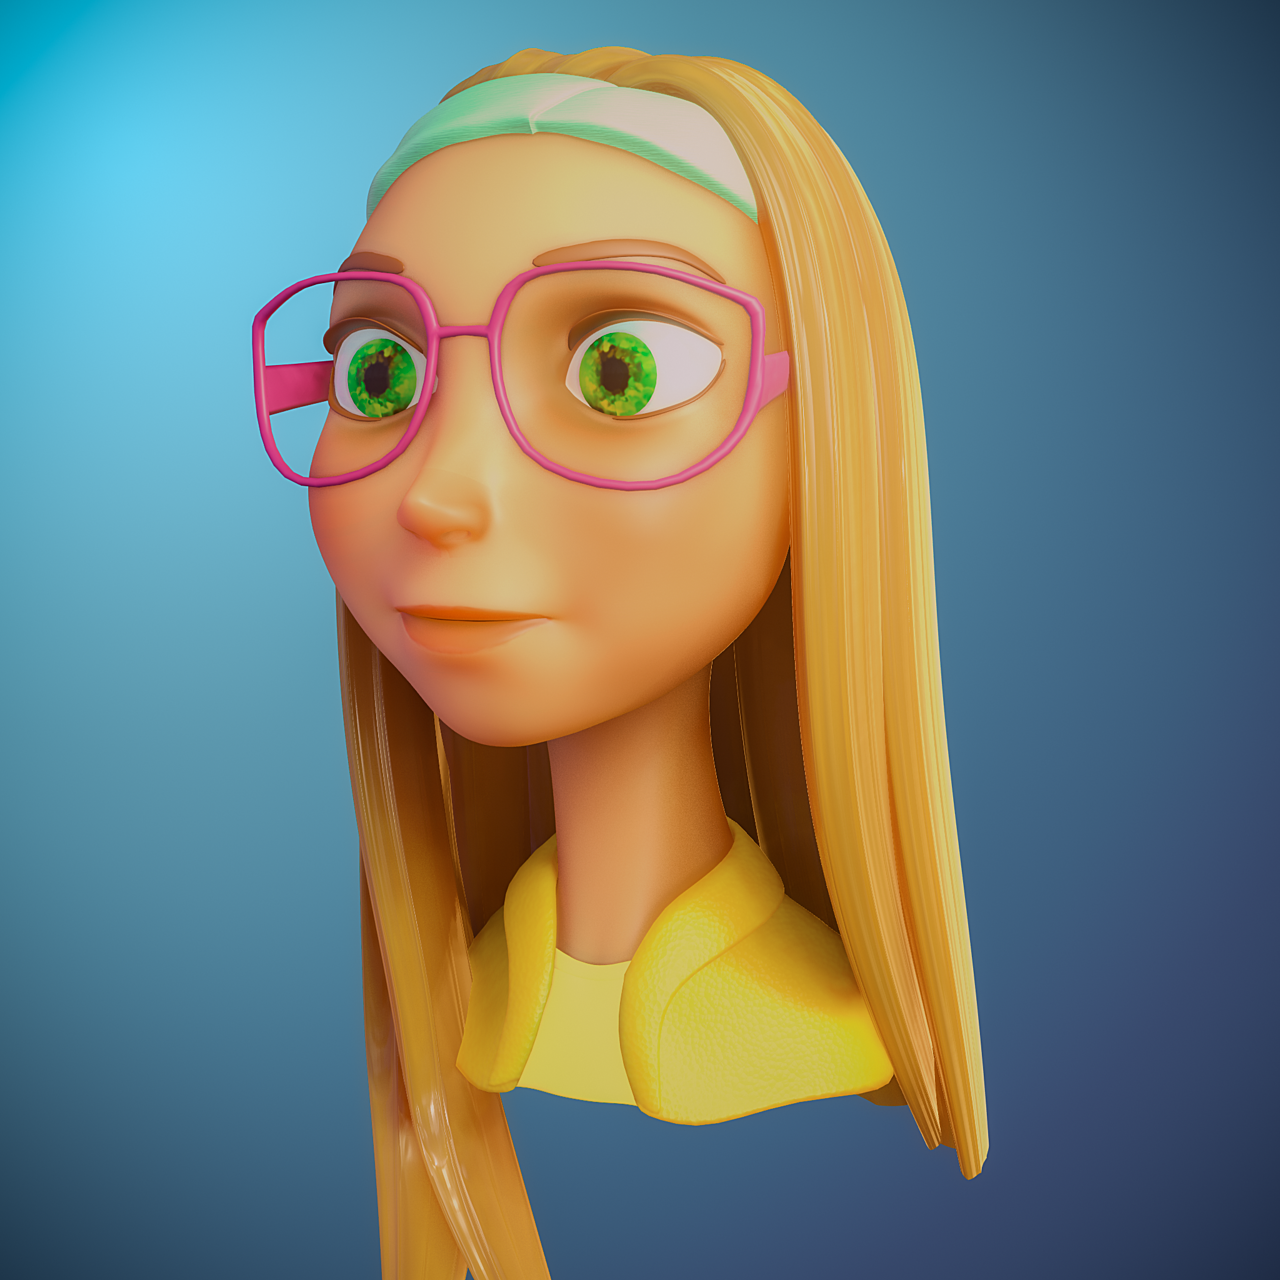
I'm still here, I promise. This one isn't a realistic human, but it felt like a real level-up for me in my stylized practice so I'm posting it. Materials are still sort of place holder.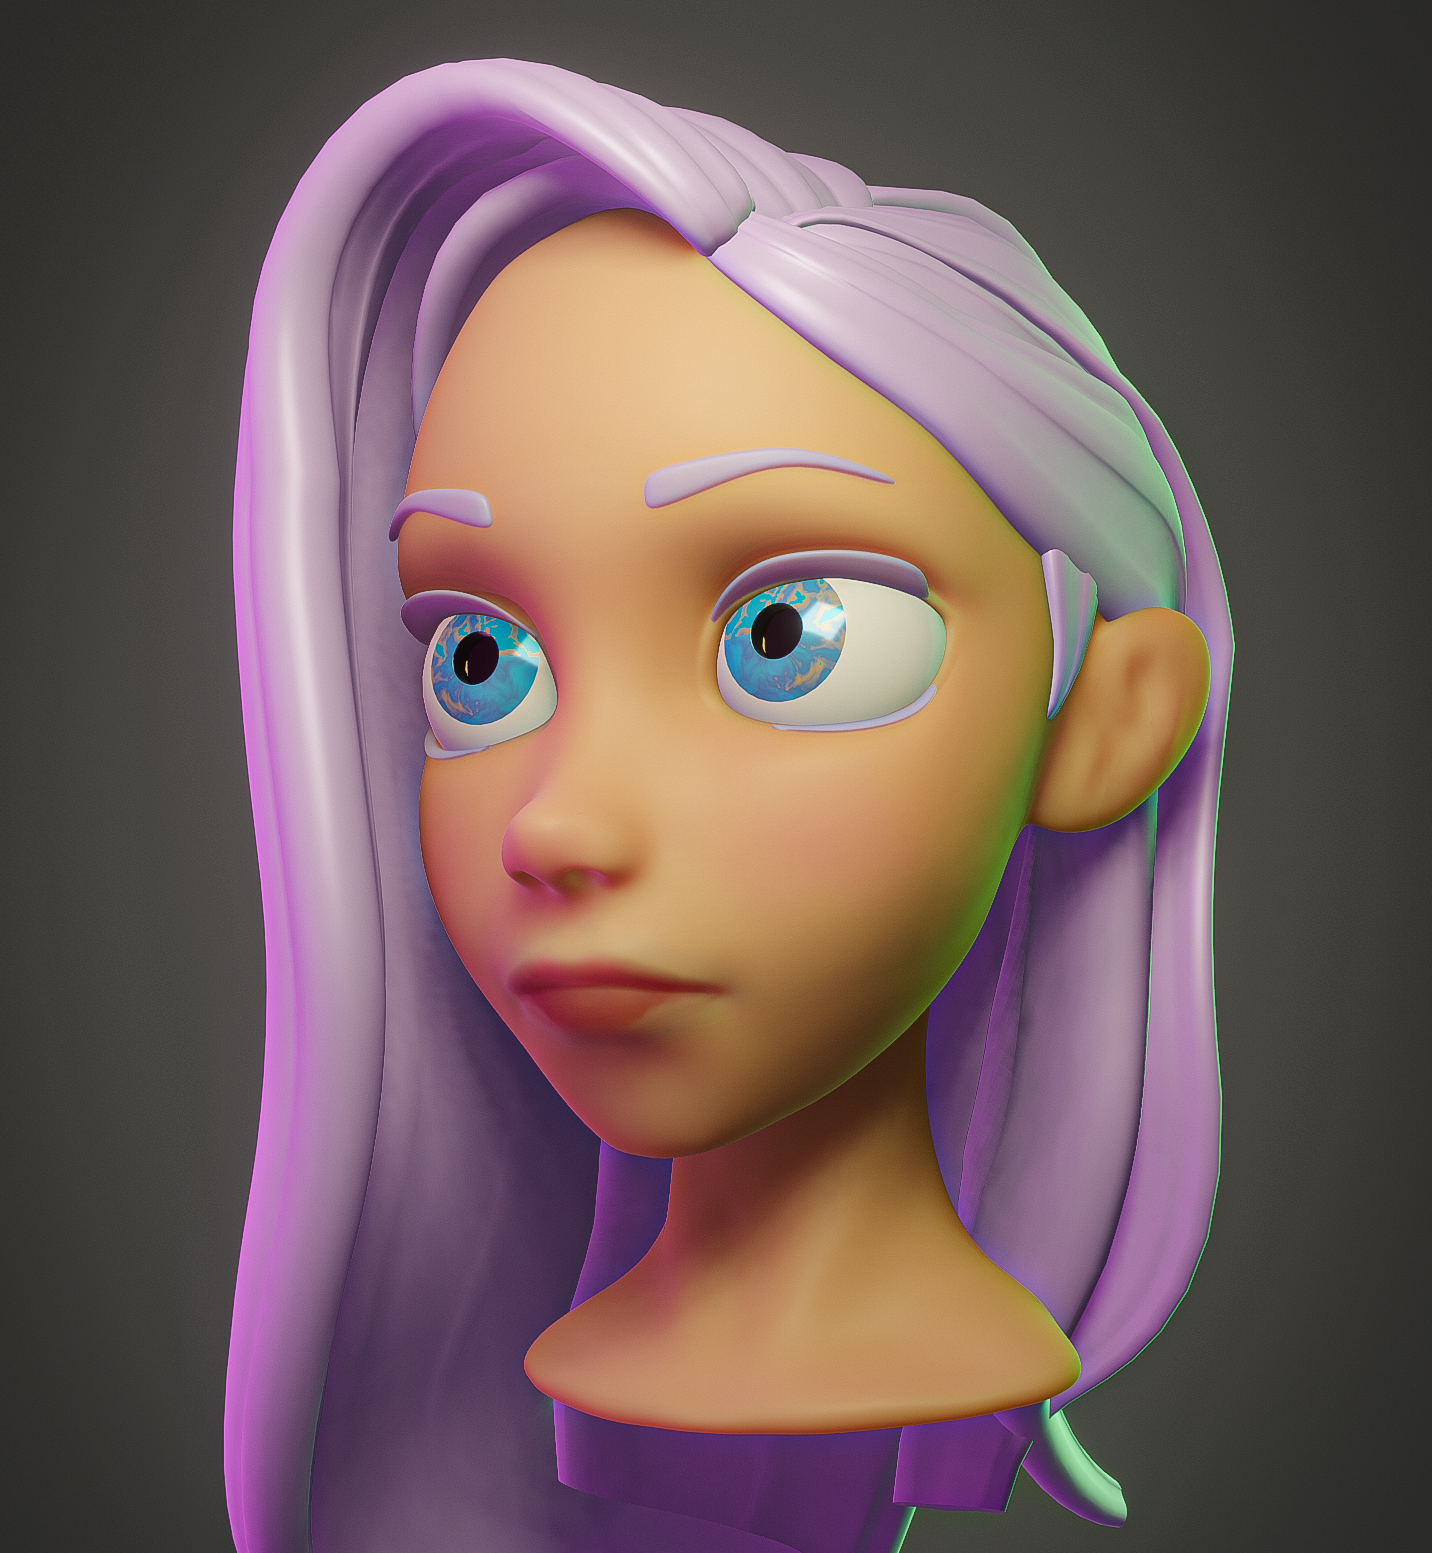
Another stylized bust sketch. Little by little getting more comfortable with my sculpting. I think the next character I will try to actually finish and give proper materials.

Having trouble with SSS random walk. Getting those blue patches, but not sure why or how to go about solving it. A little bit at the corners of the eye and mouth, but mainly those brow wrinkles are the problem. Any solutions/suggestions appreciated. ![]() dostovel
dostovel ![]() adrian @theluthier Tagging folks cause my posts still don't sort to the front of the forum.
adrian @theluthier Tagging folks cause my posts still don't sort to the front of the forum.
Here are the inputs for base color and subsurf (value for subsurf is mostly between .02 - .04).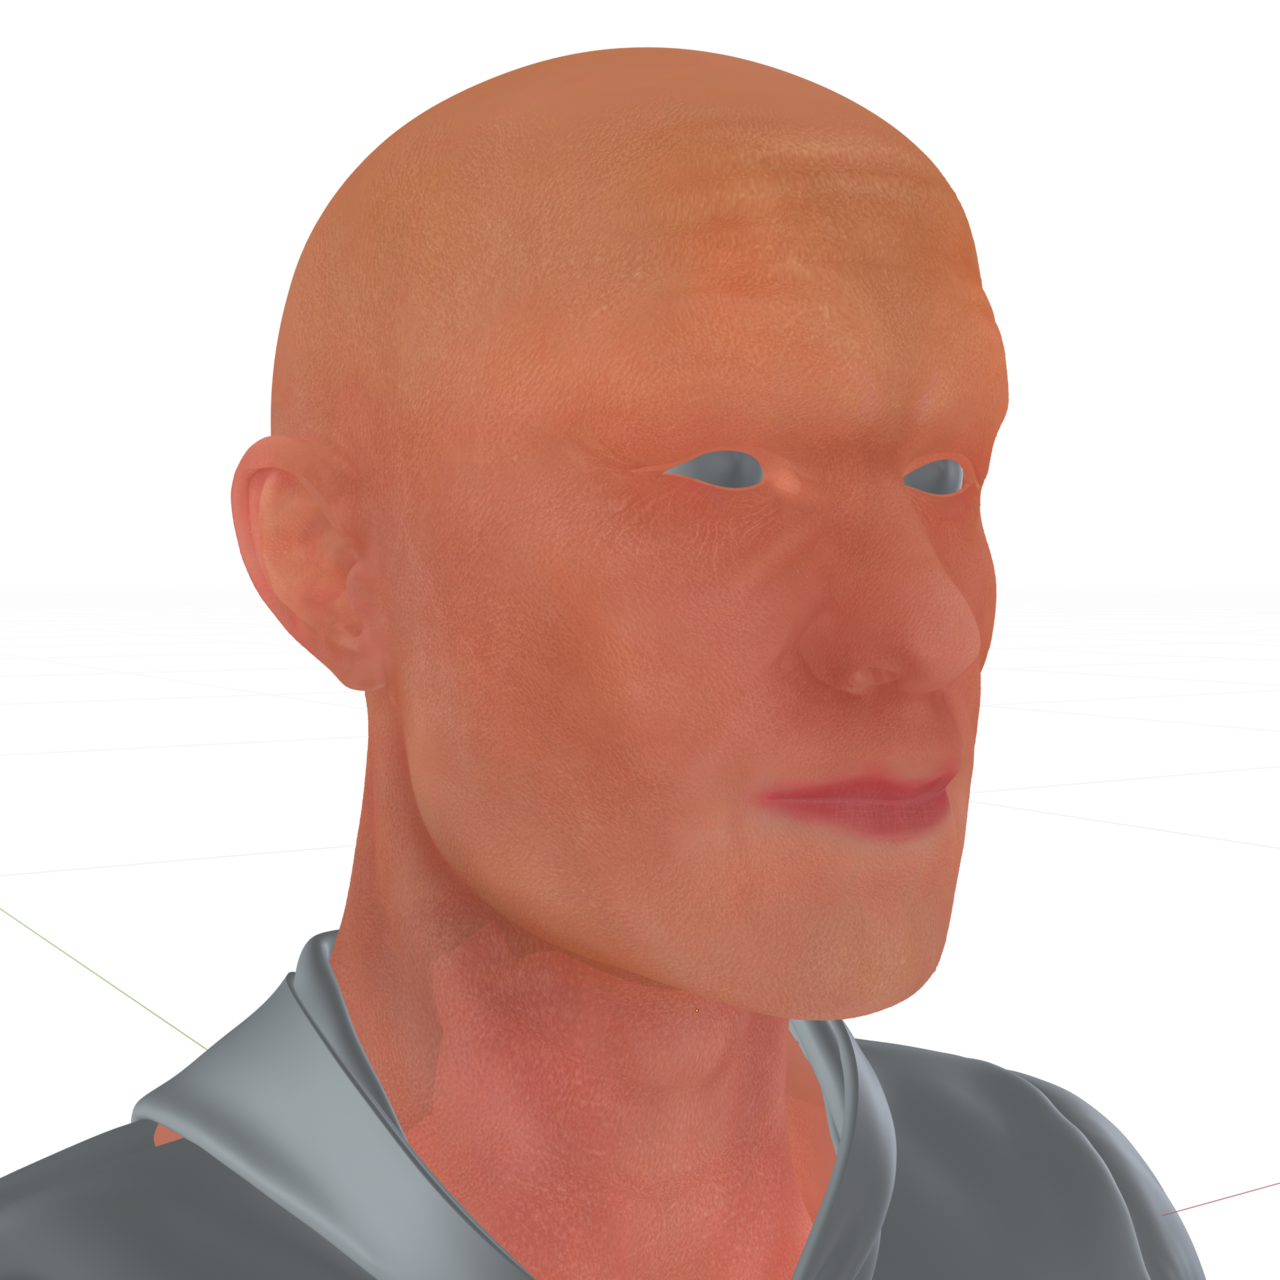

Hello John. I'm not a human figure master like the other guys, I want to learn though, but still I may offer a bit of ideas to get the ball rolling. Seeing your textures are fine, it is most likely a shader thing.
What I normally do when I run it snags like these is that I go node by node, unplugging and plugging back in stuffs, to see what gets rid of the trouble, and when I identify the troublesome node, I delete it and plug in a new one and hopefully with all the values as they come in by default the problem would go away . Getting rid of the material overall might be an idea, to see if the problem persists if I assign a new material. And maybe is a mesh thing, perhaps your model has rogue verts or something there? So as a crazy idea, assign that material to some other human form mesh, if the problem is not there then it might be the model. Again I'm no SSS expert, but that seems like there might be a value that is set to high and causing that tint? Also try changing the lights, who knows, it might be some lighting thing. But I think what will give you the answer is isolating the problem, seeing node by node what things are doing, plugging stuff out and seeing what makes the tint lines go away.
Kent will probably come and tell you like oh yeah, I've seen that a lot, it's this and that. But try troubleshooting on you own until then.
Thanks Omar! I’ve tried many of these things. The second two pictures aren’t my textures but the actual outputs going into the principled bsdf. I don’t see an obvious cause in the outputs. I’ve encountered the same problem across multiple light setups so I don’t think it’s a lighting thing. Which leaves me with geometry, but I can’t see in the geometry what the cause could be. No stray verts that I can see, normals look good, crease depth is on par with other creases that don’t exhibit the problem as far as I can see. So that’s where I’m at. I’ll keep looking at it (come too far to give up now), but it is a discouraging snag so I thought I’d reach out for help. I appreciate your suggestions. I’ll give them a try tomorrow.
Hi John pprocyonlotor ,
you might want to try to switch to Random Walk (Fixed Radius). this is the 'old' Random Walk behavior and gets rid of most of those blue issues.
![]() spikeyxxx is that a newer thing? I’m in 2.92 and don’t see that option on the principled bsdf. Or is it a box I have to tick somewhere else. I made some adjustment to the geometry this morning that greatly mitigated the issue. Got it within acceptable range so thank you guys for the help, but would love to try the other subsurface algorithm.
spikeyxxx is that a newer thing? I’m in 2.92 and don’t see that option on the principled bsdf. Or is it a box I have to tick somewhere else. I made some adjustment to the geometry this morning that greatly mitigated the issue. Got it within acceptable range so thank you guys for the help, but would love to try the other subsurface algorithm.
Here is the after pic for comparison. A little still at the corner of the mouth, but much better than before.
Hi John,
That was first introduced in 3.0, but when you are using 2.92, that means, you were already using the Fixed Radius, because that was the only option...just wasn't called that way untill later, when a new algorithm for Random Walk was added.
It was just, that I have seen that issue before with both my own models as well as with other peoples and then the switch to Fixed Radius helped...
It is going to look good! The next few lessons will take this a lot further into realism (with a lot less effort!).
Keep us posted.
So I’m pretty proud of how this has turned out, and I’m going to try to go ahead and “finish” it before collab kicks into gear, but I’m starting to realize that a lot of mistakes were made and I’ve been warring with whether it’s better to try to go back and fix likely destroying lots of work in the process, or just start again on a new one after collab learning from those mistakes. And I think I’ve sided with the latter. Here’s the progress so far. Let me know if I got close enough with the likeness. 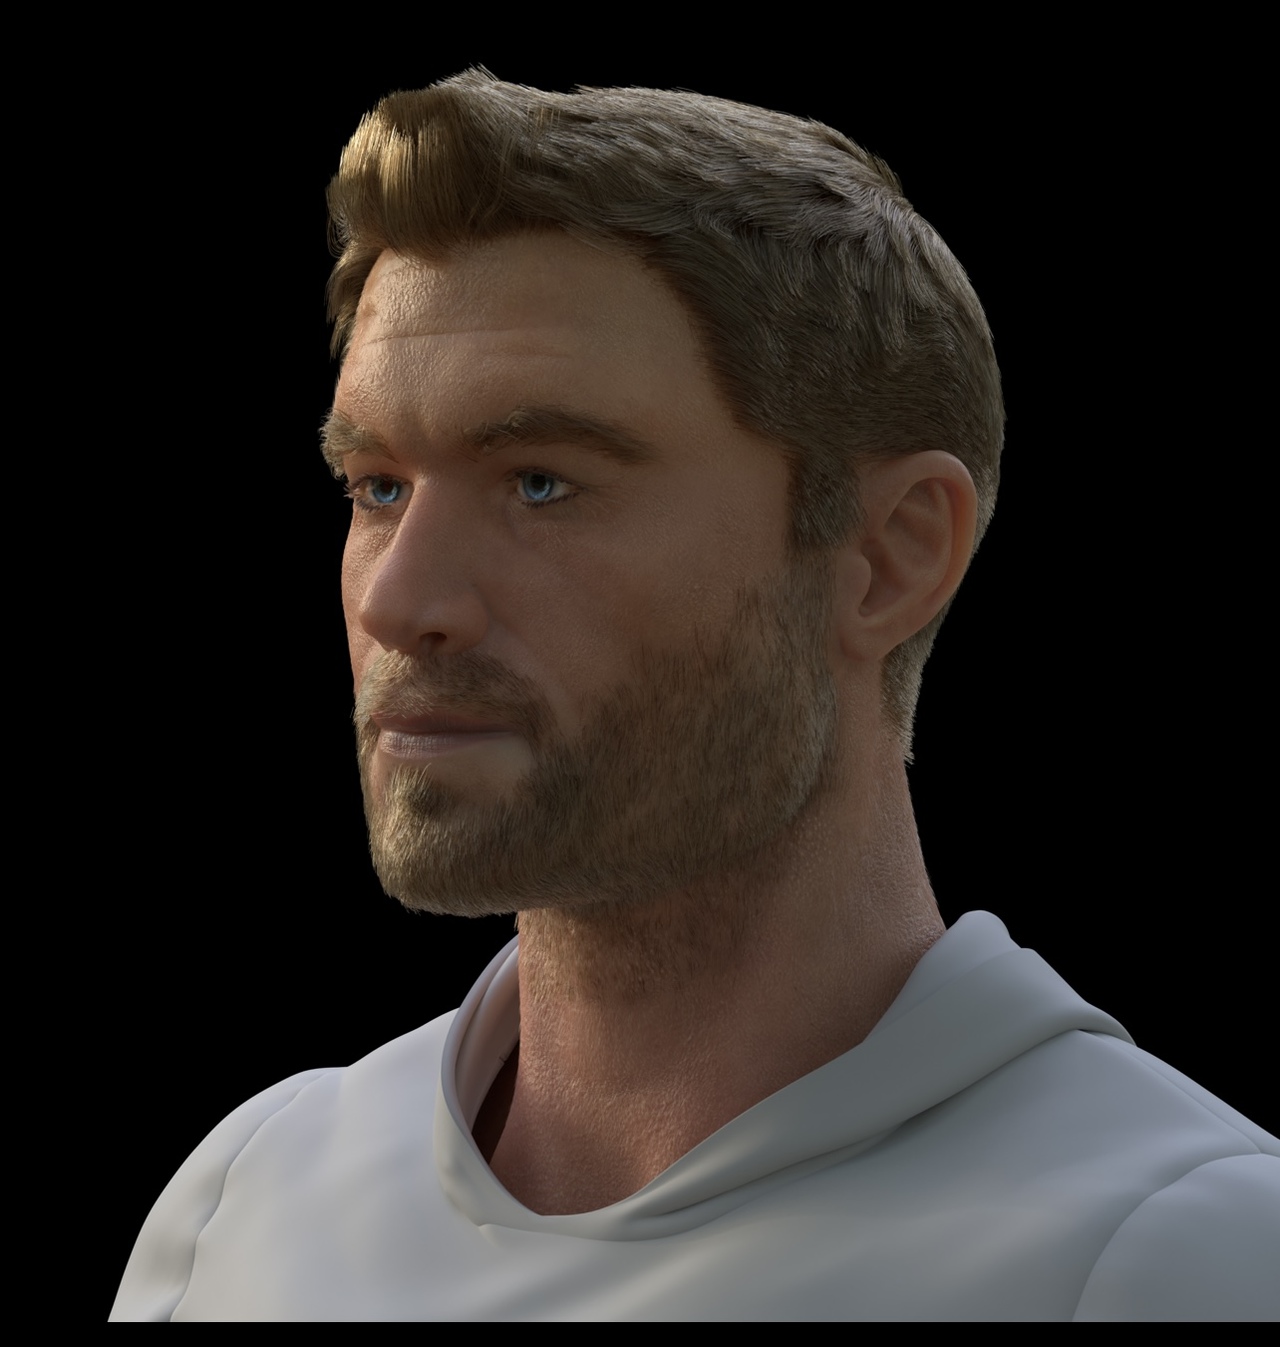
Also hair is really hard. Definitely got a new appreciation for that.
That's looking really good, John!
The eyes seem a bit off, almost fake and 'emissive' (?)...and I totally agree, that hair, especially the scalp hair is very hard!
The eyebrows, beard and vellus turned out pretty well, I think!
(Don't know what you mean by likeness...I have face blindness...)
Thanks Spikey! You’re right about the eyes. Too bright and saturated maybe for realism. It’s supposed to be Chris Hemsworth. I think I got the likeness to “identifiable” but not spitting image, but maybe I’m overconfident about that. I’m still working on that hair but my strats for improving it are dwindling.
Looking good. The hair looks good, that seems to be a stumbling block for a lot of these portraits, but yours looks pretty close.
I did recognize Chris Hemsworth, even before reading your last comment, so I think you're doing well with the likeness.