This thread will show my work on the wooden beams. Any feedback is more than welcome! Thanks!
Homework Submission - Week 1 - Wooden Beam
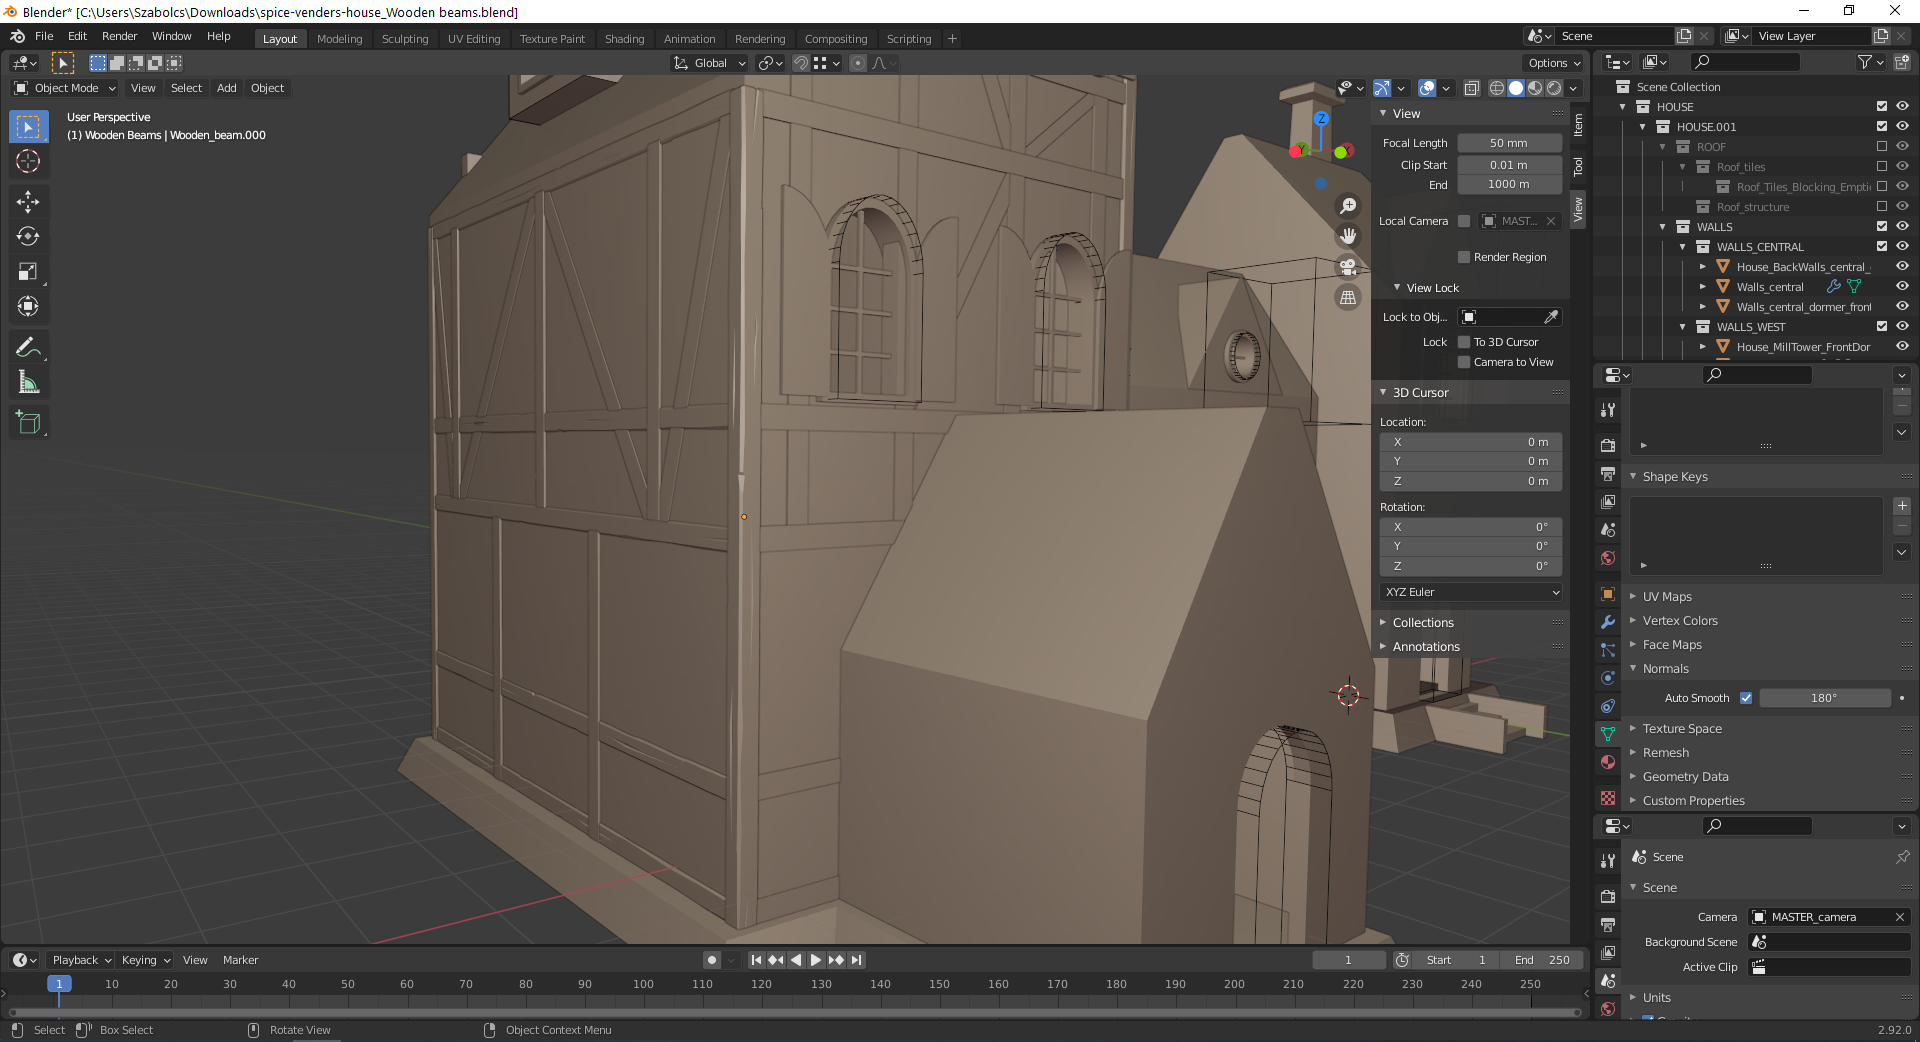
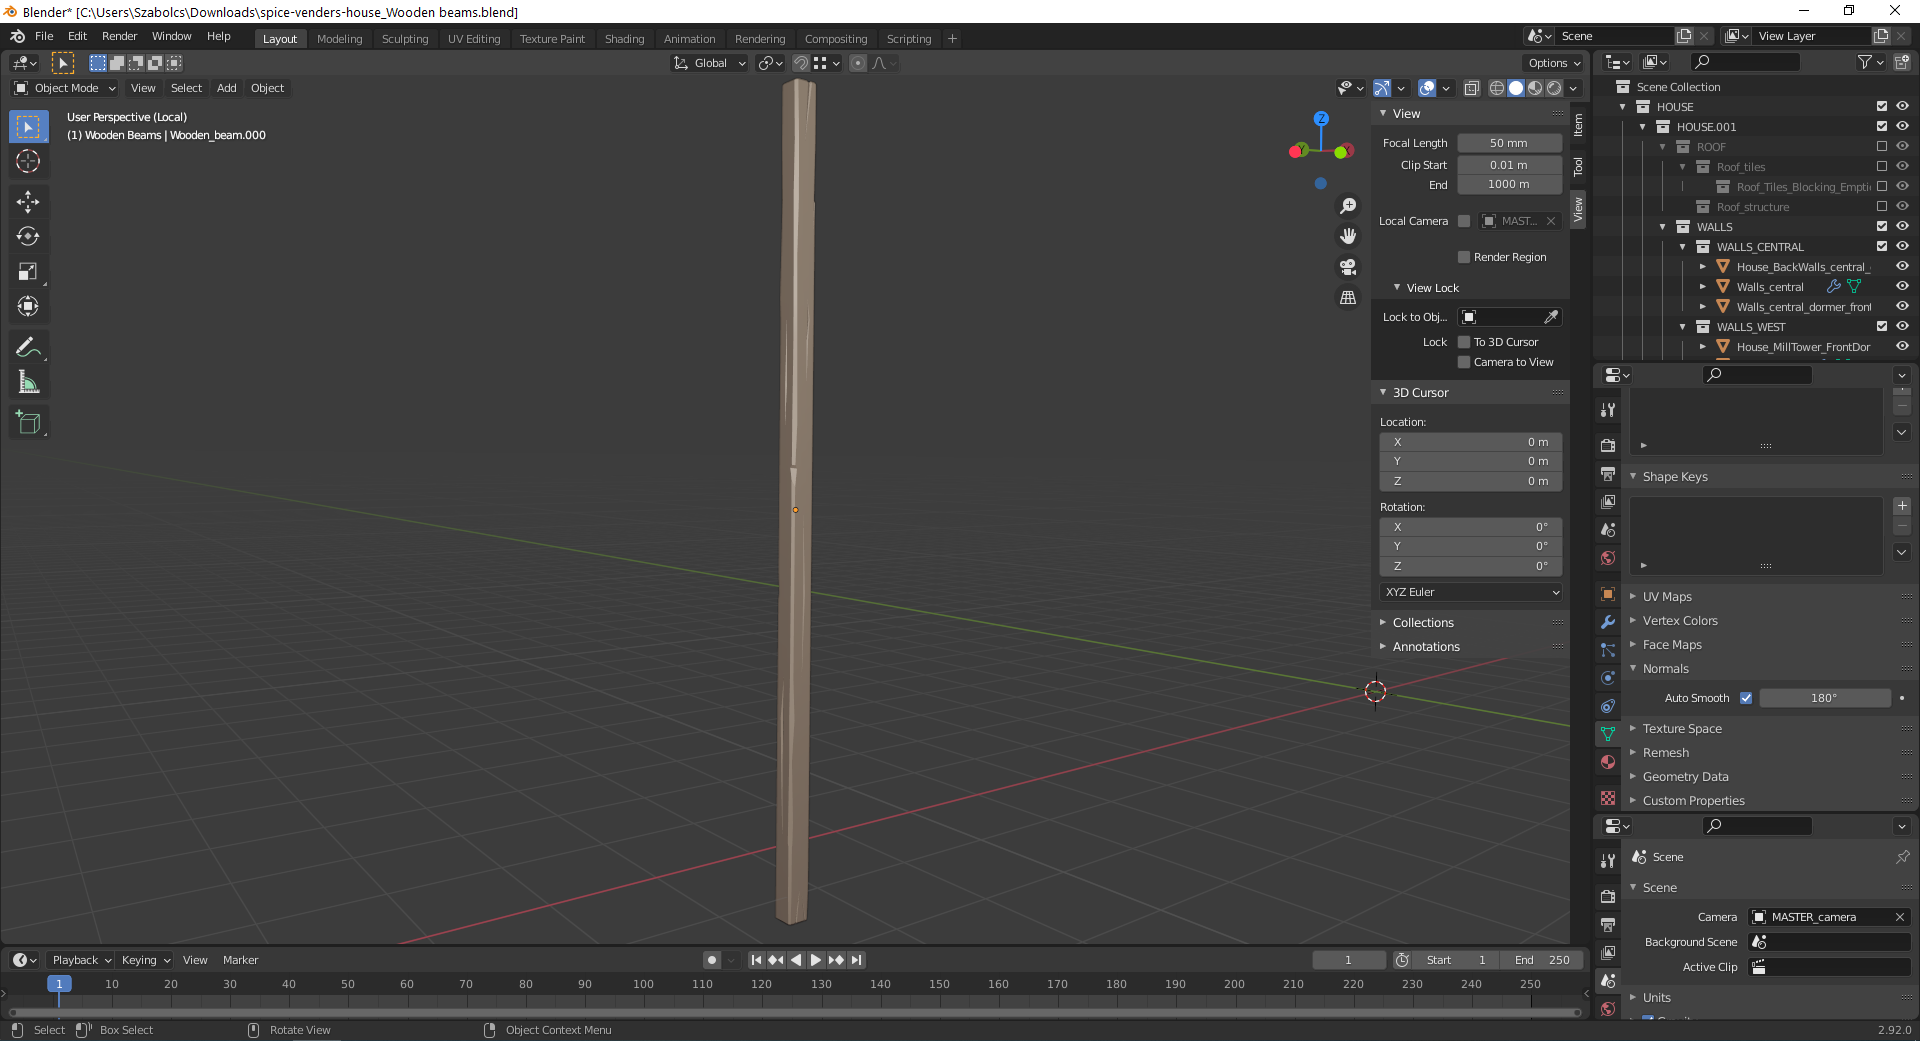
@theluthier Hi Kent, This is my homework submission for week 1. I tried to build up the wooden beam structure of one of the wings. Also I did some basic detailing of 1 beam, mainly getting inspiration from the treasure chest tutorial. I will have to create separate versions still, as using only 1 beam version will look quite repetitive (some beams on the sides share object data and the cracks look recognizeable). Thanks a lot in advance for any feedback!
![]() blanchsb Hi Shawn, I just noticed in one of the posts you asked to be tagged in our homework submissions, so I am adding you now. Thanks for any feedback!
blanchsb Hi Shawn, I just noticed in one of the posts you asked to be tagged in our homework submissions, so I am adding you now. Thanks for any feedback!
Thanks qqpola That is looking like a great blockout and you are already making it look imperfect on the lo poly version.
Fantastic week 1 submission qqpola! From the looks of it you're employing the smart duplication method 👍 and the result looks spot on 👍. You've earned full points this week!
I don't really have any constructive feedback...just keep doing what you're doing! Sculpted accents will look awesome on your beams 🤩
PS: I've combined the "walls" and "wall beams" asset into one asset: It's just Walls now. Kinda silly for me to separate in the first place..
Homework Submission - Week 2 - Wooden Beam
@theluthier , ![]() blanchsb Hi Kent, Shawn, here is my homework submission for week 2. You can find the sculpt updated on the Google Drive as well.
blanchsb Hi Kent, Shawn, here is my homework submission for week 2. You can find the sculpt updated on the Google Drive as well.
This was the first time I attempted wood sculpting, so I am eager to hear how I can improve. Please don't hold back when giving feedback. :)
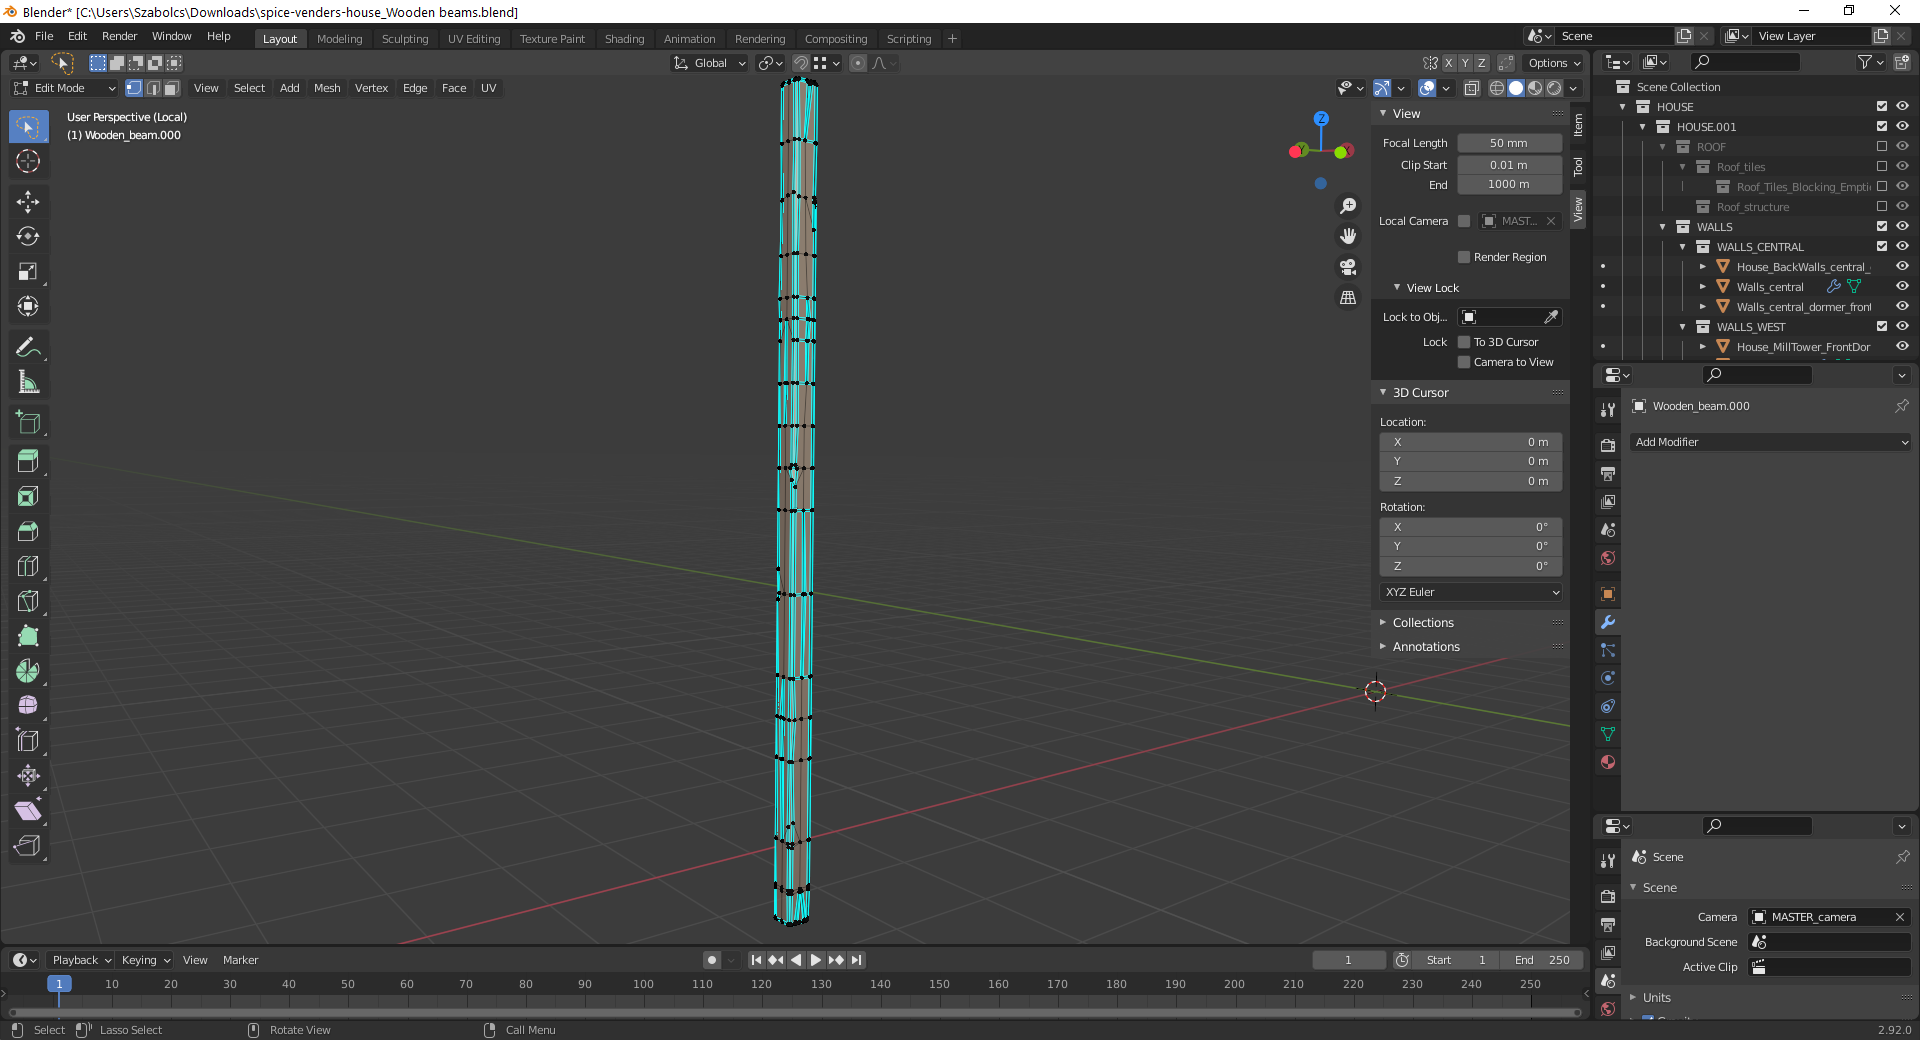
My process: I have been struggling to use the quick and dirty method of taking the LP version, beveling and applying the multires modifier. It kept producing artifacts, so instead I re-meshed the LP version and used dyntopo sculpting. I also cut my LP beam in half to save time sculpting. So now I don't have a matching LP mesh and will have to retopologize the sculpt before moving on to baking. Anyhow you mentioned Kent, that we might need to cut the polycount significantly for such assets like the beams, so I will keep this in mind and will minimize as much as possible.
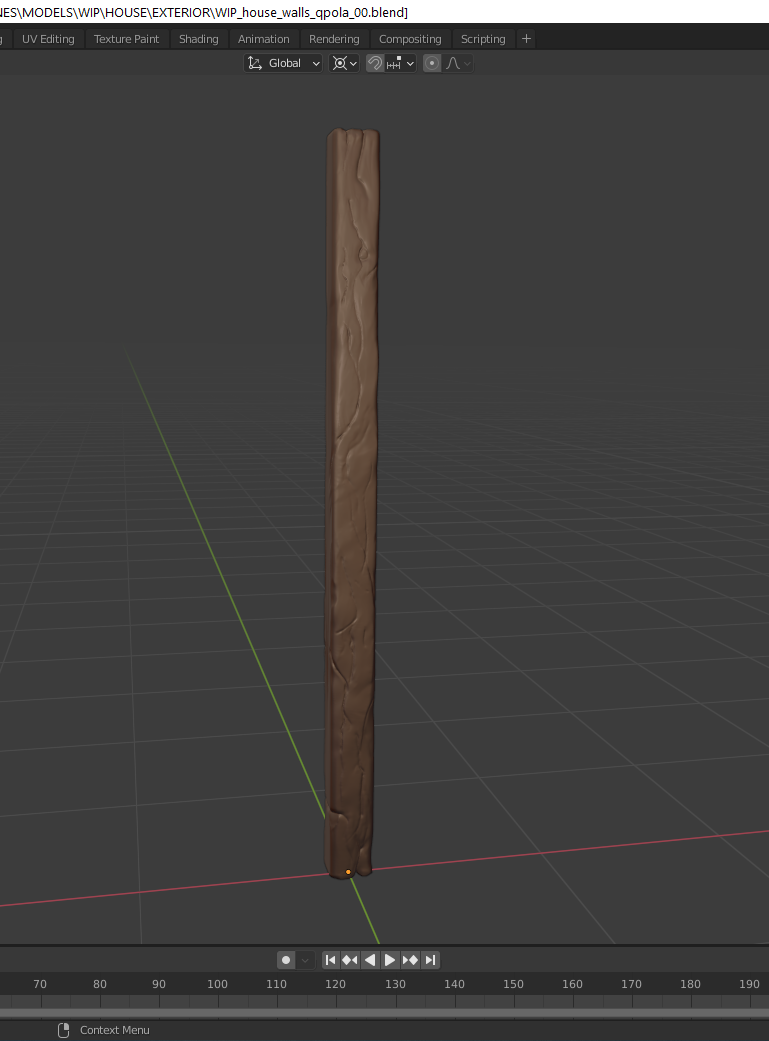
I only managed to sculpt the front and back sides as I ran out of time. I think it is also for the best as I might need to re-do the whole sculpt after your feedback. I remembered too late to look at the style sheet and once I did, to my horror the wood pattern is not as crazy as I formed it in my work. Message @tomyfuture self don't forget to look at reference before you start...
Regarding the walls I have a question: do I need to do any modelling there or can I take the reference blockout of the walls in the blend file that was shared? I guess here I only need to worry about texturing, so this will be next week's task?
Thanks a lot for your feedback in advance!
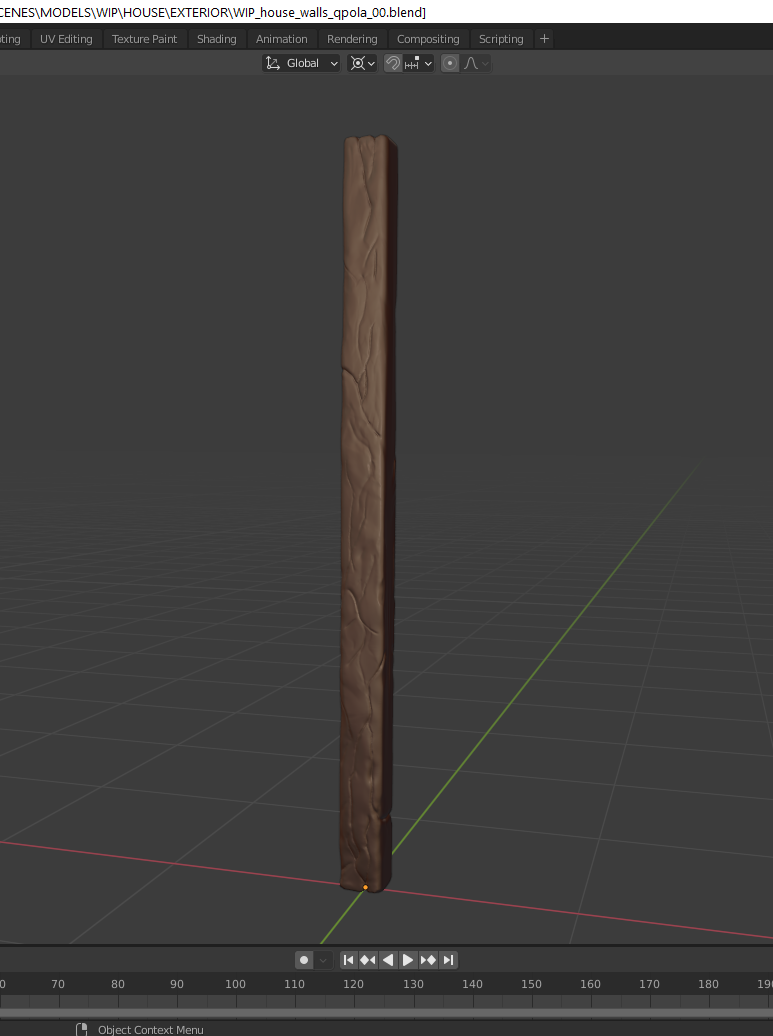
Front side:
Back side: (mirrored and modified afterwards)
Great job tackling a new task for the first time. Even when you ran into difficulty with the multires method you were able to regroup and audible into a totally different method. That resourcefulness will take you far 👍
It's possible to sculpt wood details like this with dyntopo. Unfortunately in my experience the resolution needed to get crisp, bake-worthy details is usually too intense for dyntopo. I either end up with A) mushy triangulated details or B) such a dense mesh that it's unworkable.
In your case it's more A: Details are mushier than they are crisp. Also the wooden characteristics could use a couple tweaks. I recommend using fewer wood grain crevices and stretching them out much further:
MAGENTA: Notice how short and numerous your crevices are next to this example.
CYAN: Also the flat surface of your machined wood beam is getting lost in wobbliness where the example still maintains a general flat surface despite the roughed-up details.
I wish I could see your multires setup because it's my much-preferred method compared to dyntopo. But since you're on dyntopo now, you could continue that way trying a detail size of 5 px or less using the subdivide edges mode.
Hey qqpola I too have been having my own growing pains with Multires. There are some bugs and quirks with it I am finding. All in all I am glad you worked around your issues.
There is always the masking tools in sculpt mode that can help keep certain parts of the mesh stable while also sculpting details. There are also some very unique line trim and other tools on the bottom of the brushes toolbard that may help flatten things that are looking mushy.
I even used the SCALE brush to accentuate some of my details in a direction (Z direction in my case) and then I used a combination of mask and the LINE PROJECT to cut things flat again.
Not sure if those will help or not but I'll be available some evenings on discord this week if you'd like to stream and brainstorm.
Homework Submission - Week 3 - Wooden Beam
@theluthier , ![]() blanchsb Hi Kent, Shawn,
blanchsb Hi Kent, Shawn,
First of all thanks to both of you for the feedback last week! Building on what you said I resculpted the beam (only one side) using the multires modifier. I realized only after sculpting that my LP verson, on which I applied the mulitres was too low poly, and the normal bake was very bad especially in the large cravices on the edges due to missing geometry.
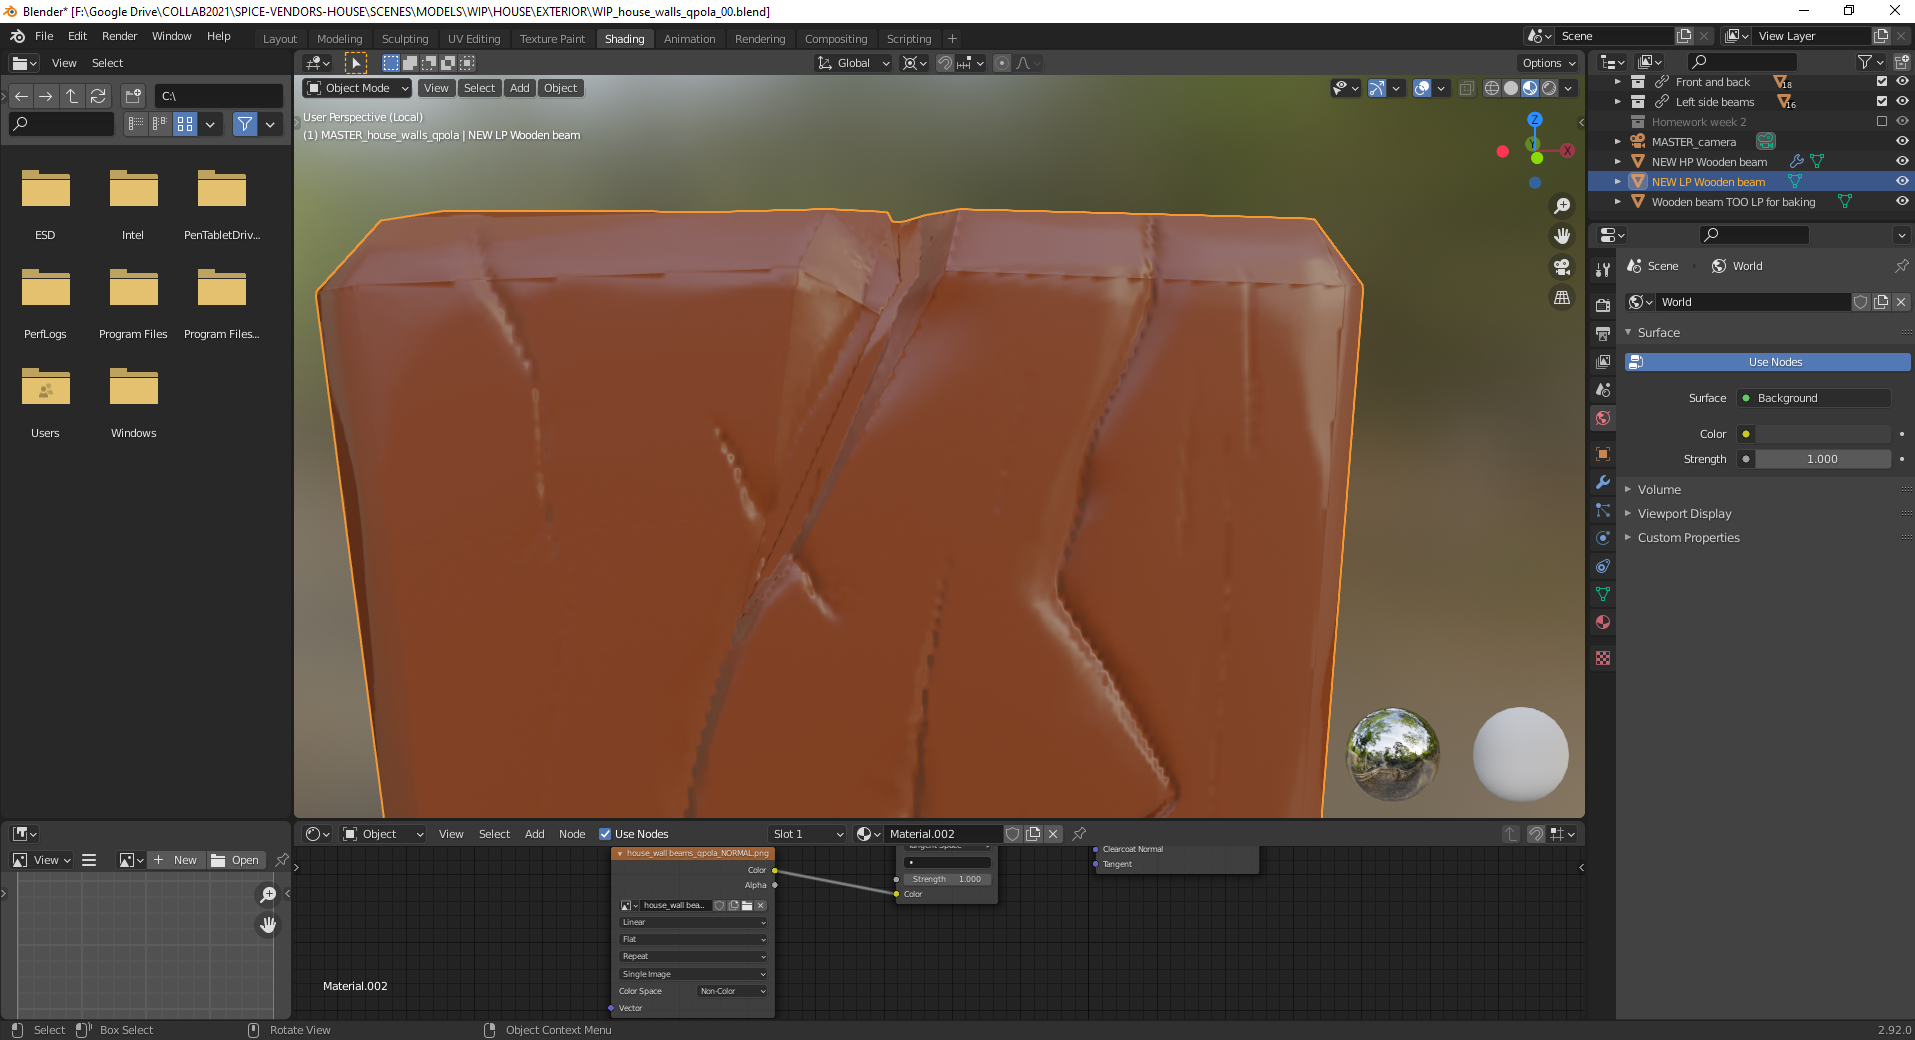
Therefore, I did a retopo of the HP version after the sculpting was done. The normal map's quality look better, but I seem to still get some artifacts. I am wondering if this is normal or am I doing something wrong (see dashed lines on the edges and in the crevices)?
I would really appreaciate if you could also check my sculpt again, hopefully I was able to incorporate your feedback Kent and yet achieve a better woodlike look. :)
 I am also not sure what is the reason behind the following artifacts on the edges. I tried to go as high as my computer allowed on the subdivision levels, but still was not happy with the resolution of the sculpt. Was it because I was pushing the geometry too far in?
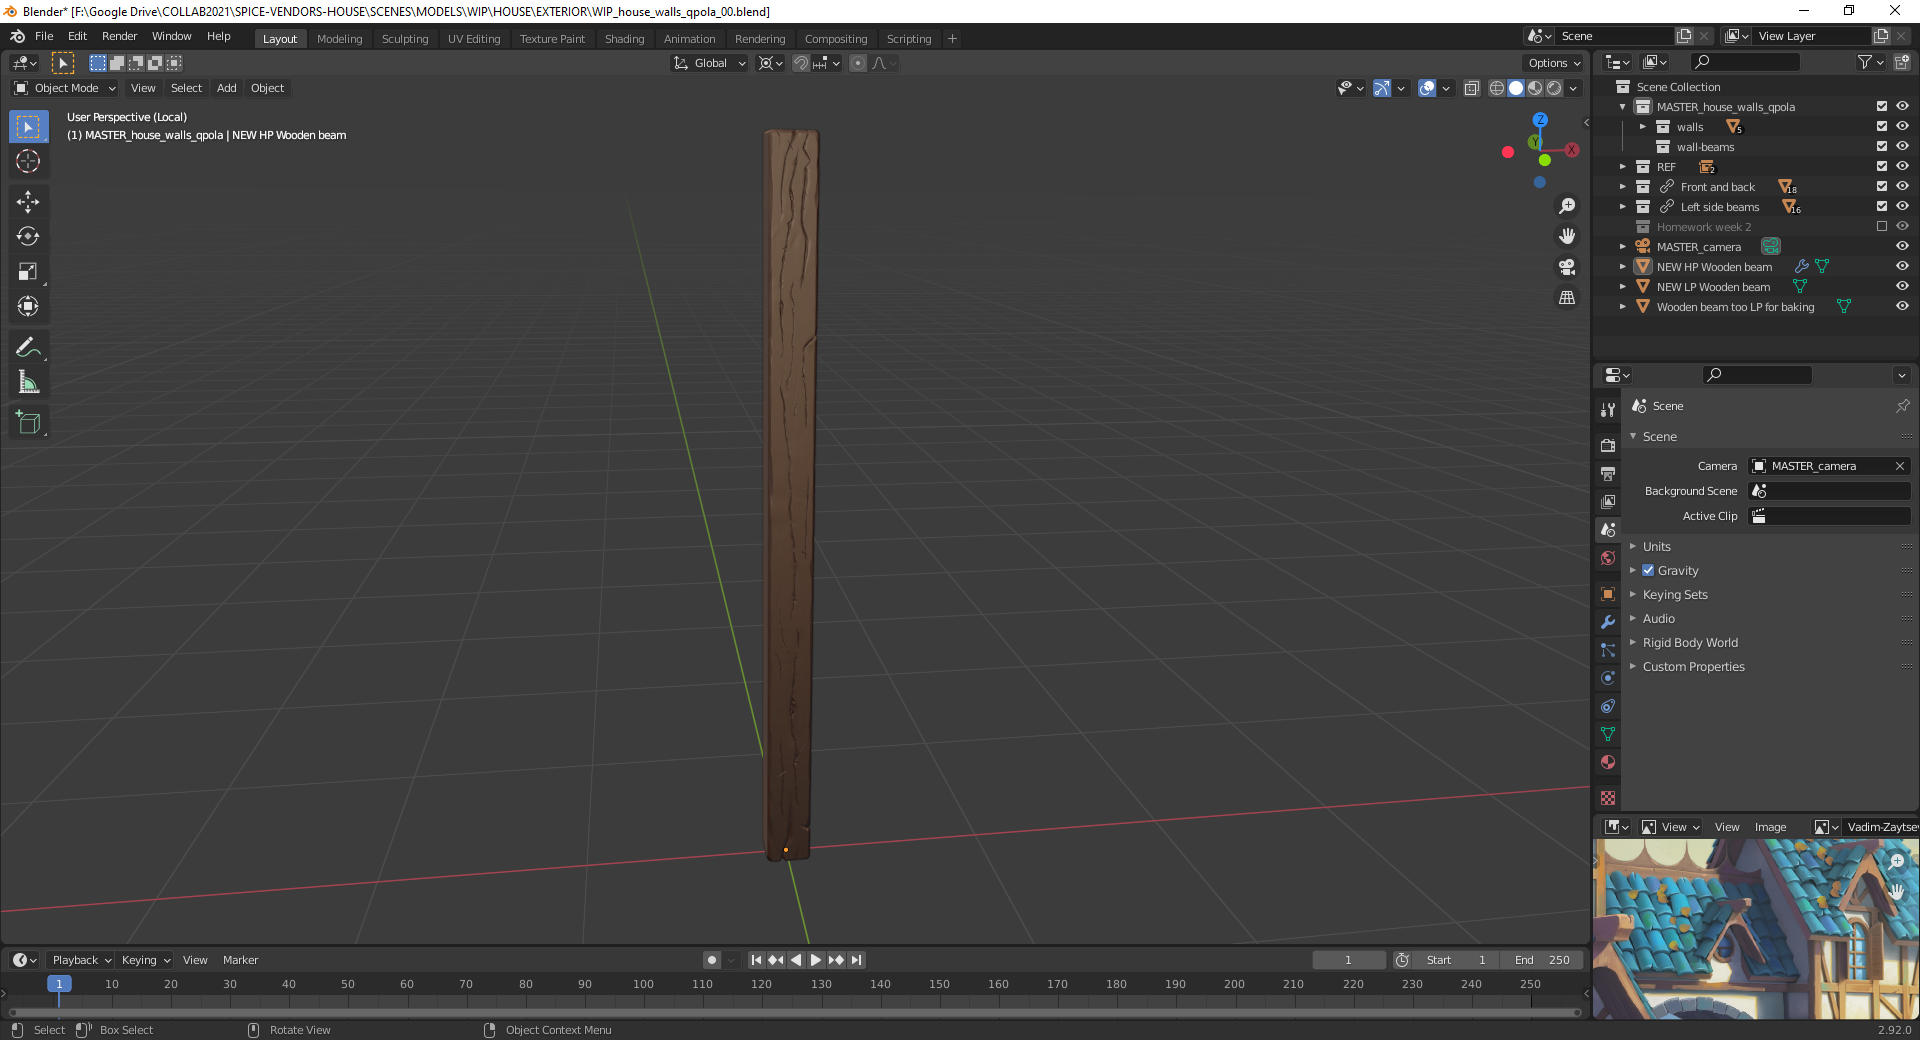
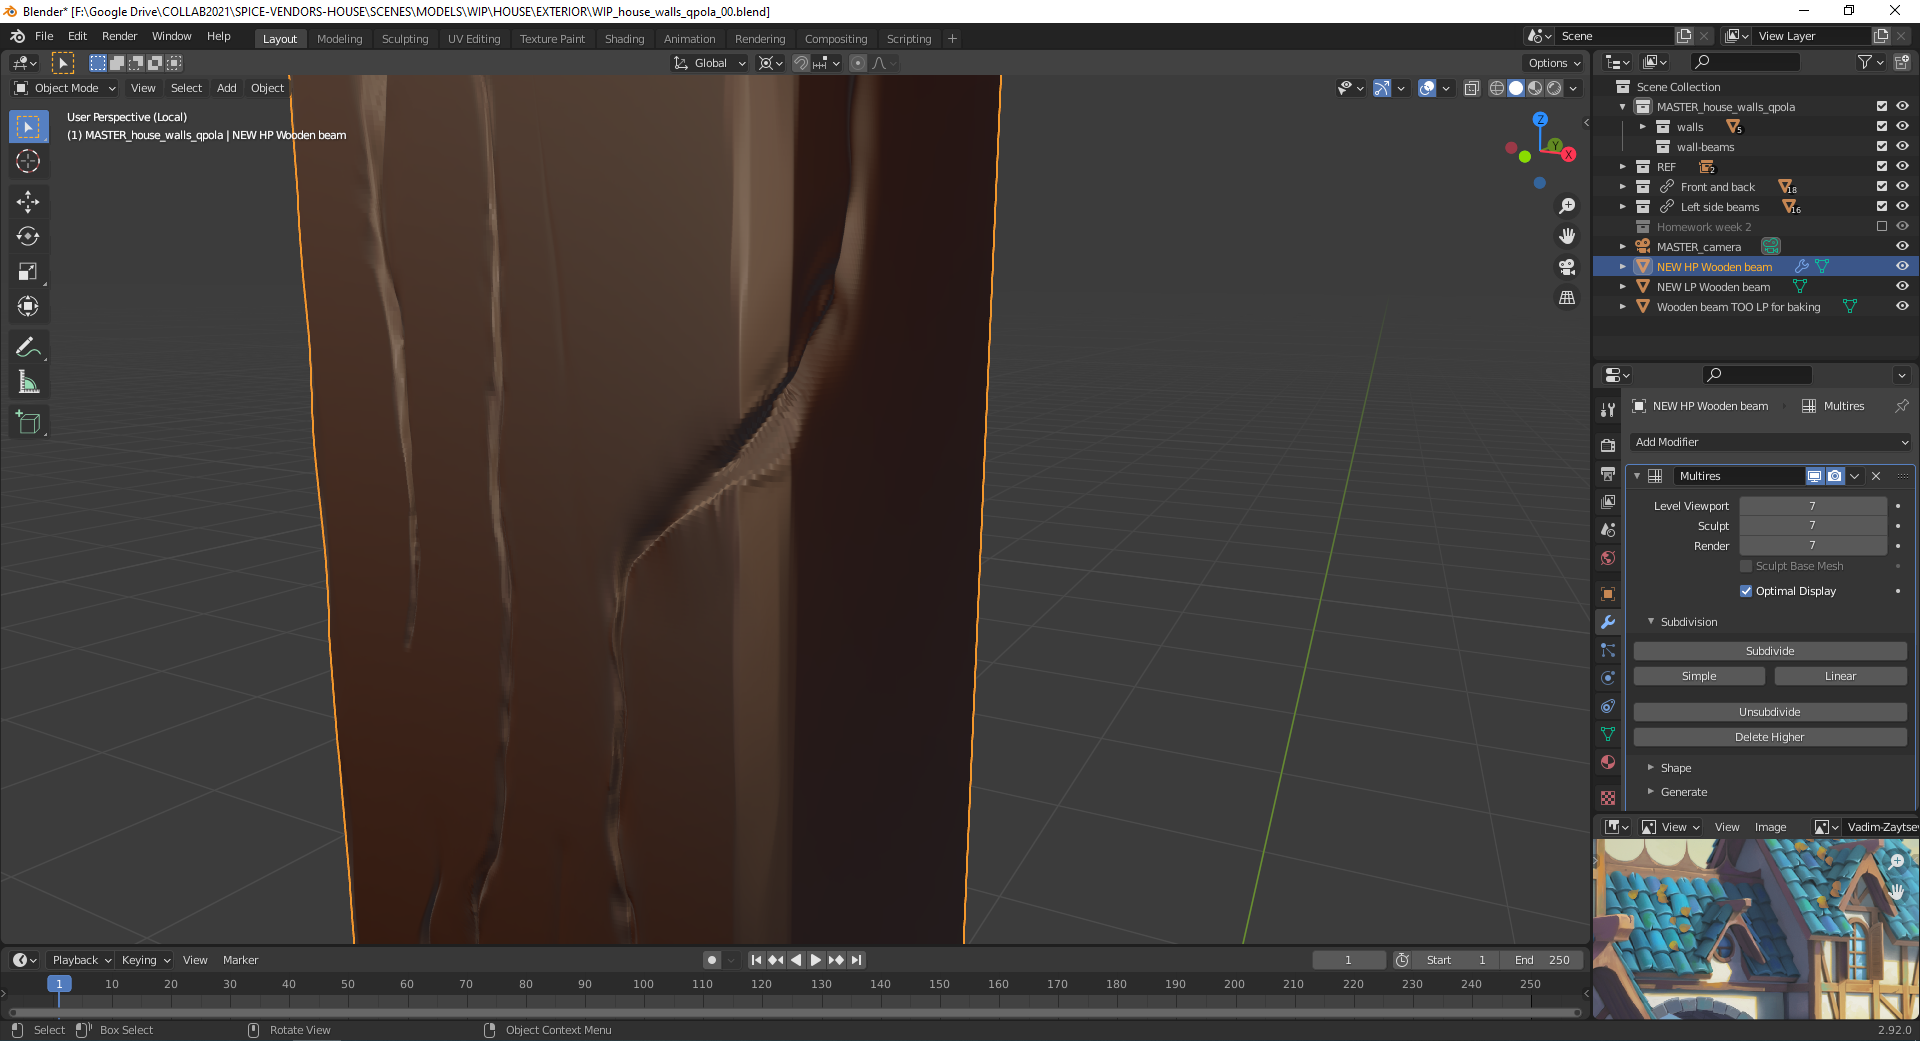 This is how far I got this week. I will try to finish the sculpt fully (after your feedback) and move on to the cavity map and painting. I am also unsure what is your expectation to the polycount of the LP model. I did try it with extreme low vert count, but the normal bake suffered.
Thanks a lot for your help in advance!
Wonderful update to your beams qqpola! It looks just like the reference sculpt in my opinion. Very nice work 👍
What resolution are you baking your normal map at? The artifacts could be a result of too low a resolution. Also it could be that you're not baking enough margin. Make sure you at 5px of margin at least.