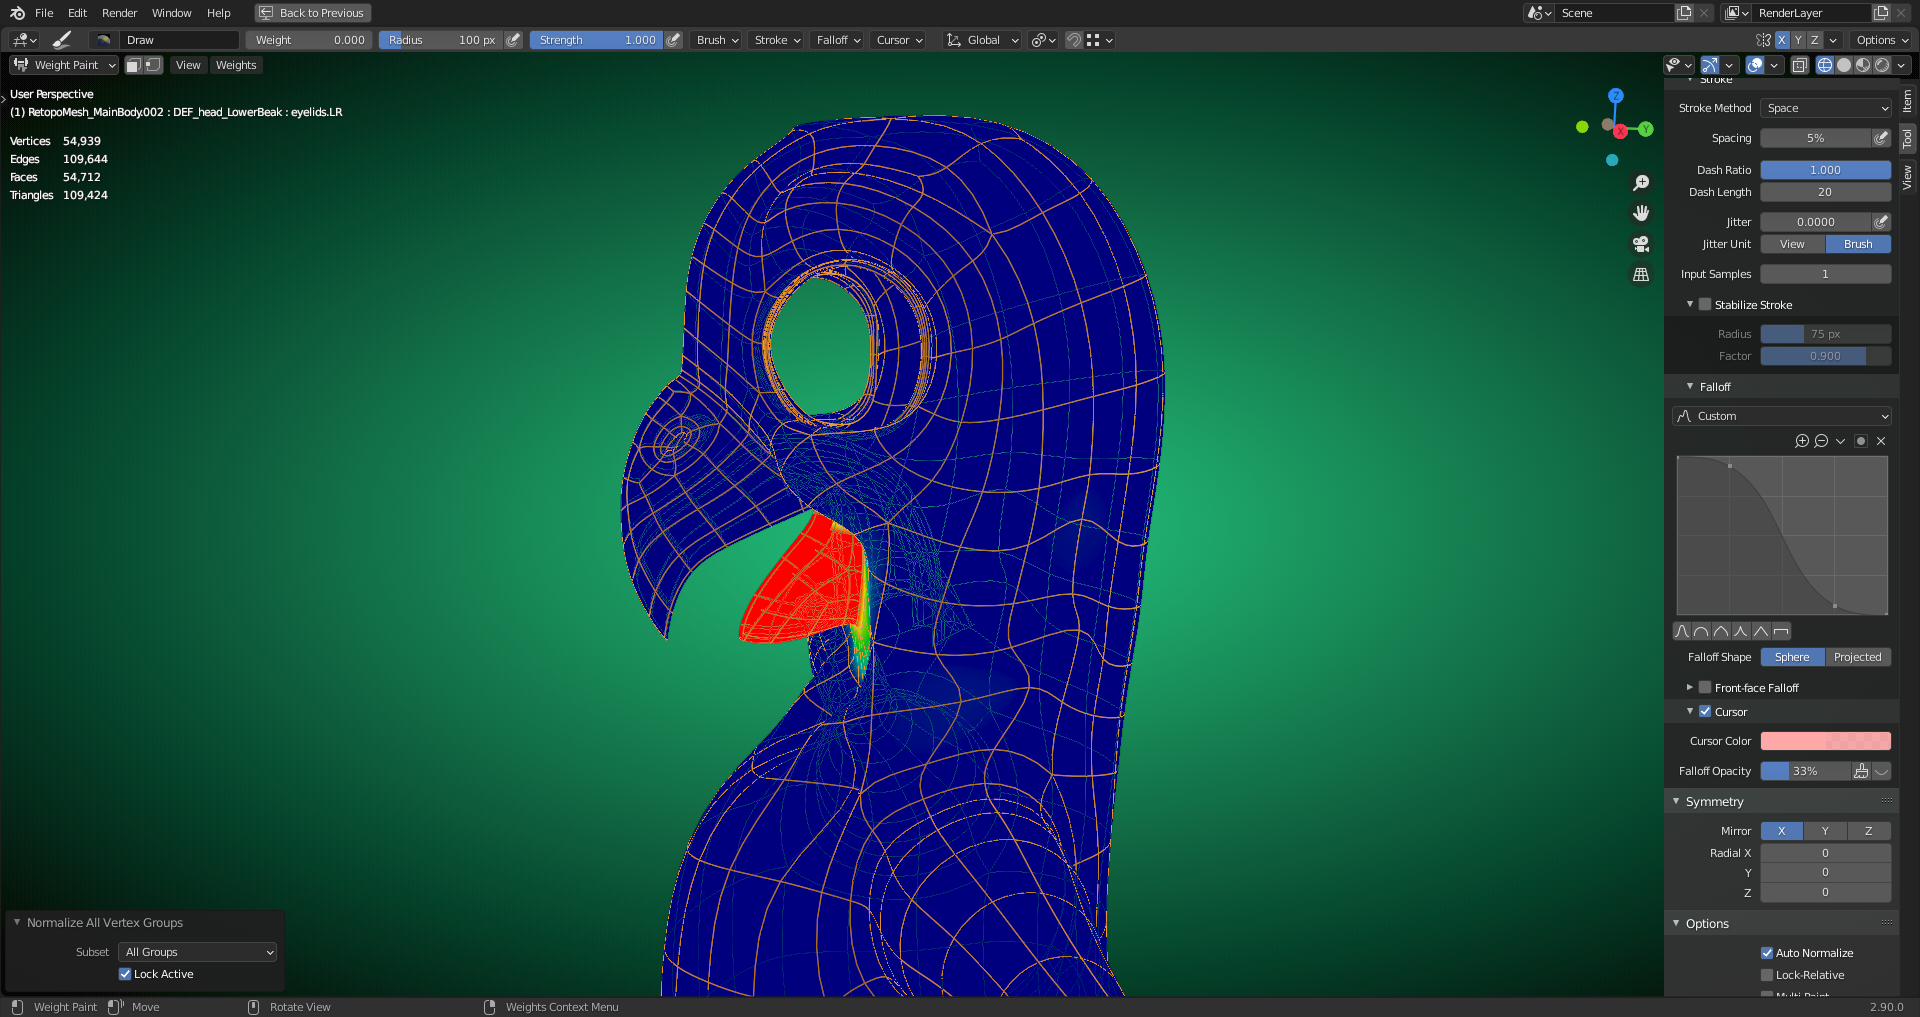
When using "Normalize all", this affects all "Vertex Groups" which aren't locked. This means that you have to lock especially the vertex groups controlling Piero's "Face Fur":


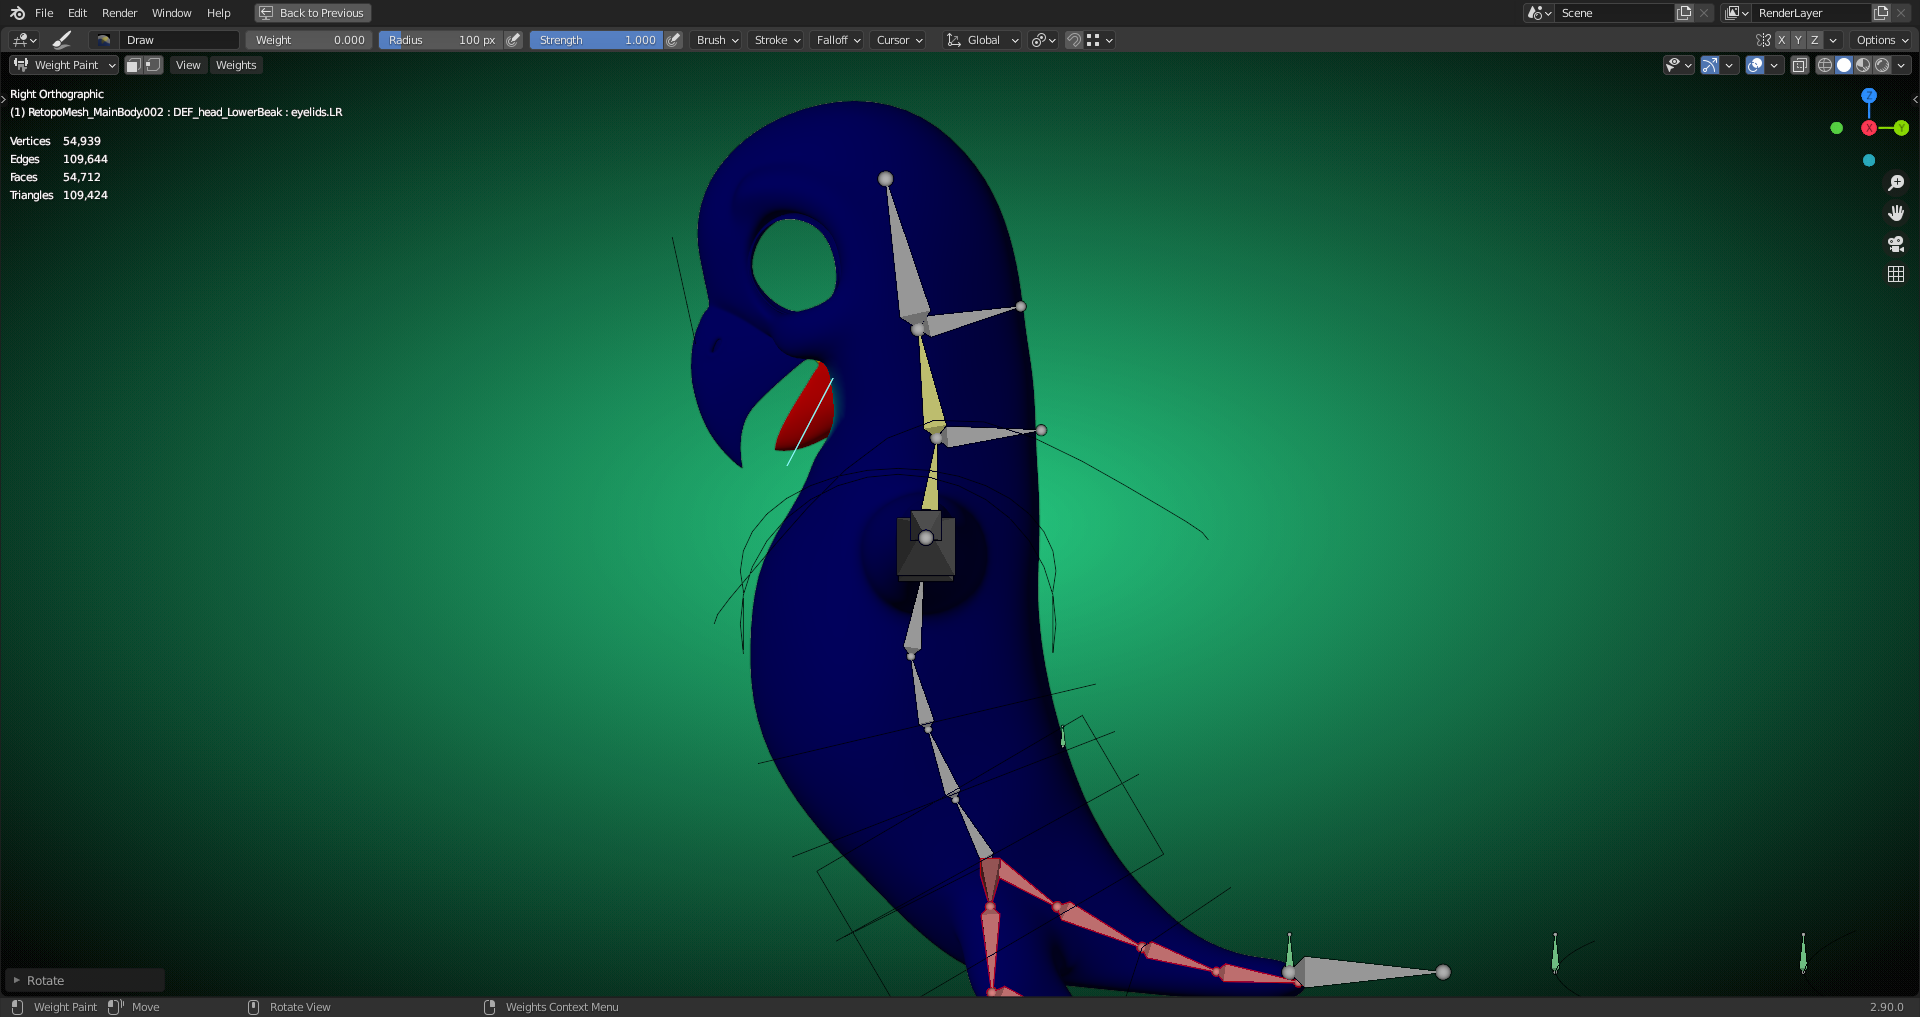
"Normalize All" also messes up the mesh skinning:
The "Neck Control Bone" no longer moves the whole head:

I did the first "Normalize All" with the "Head Bone" being active whereas the second "Normalize All" was done with the "Lower Beak Bone" being active. In this lesson video, both "Normalize All" operations were done with the "Lower Beak Bone" being active. I don't know whether it's necessary to do this operation only with the same bone as the active one. The "Blender 2.90 Manual" here doesn't recommend this.
I've found a solution: After clicking "Normalize All", choose "Deform Pose Bones" in the "Last Operator Panel" (stationary in the lower left corner of the "3D Viewport" or a moveable version with the "F9" key). This option is only mentioned in the "Blender 2.90 Manual" here, but the tooltip says "All Vertex Groups assigned to Deform Bones":

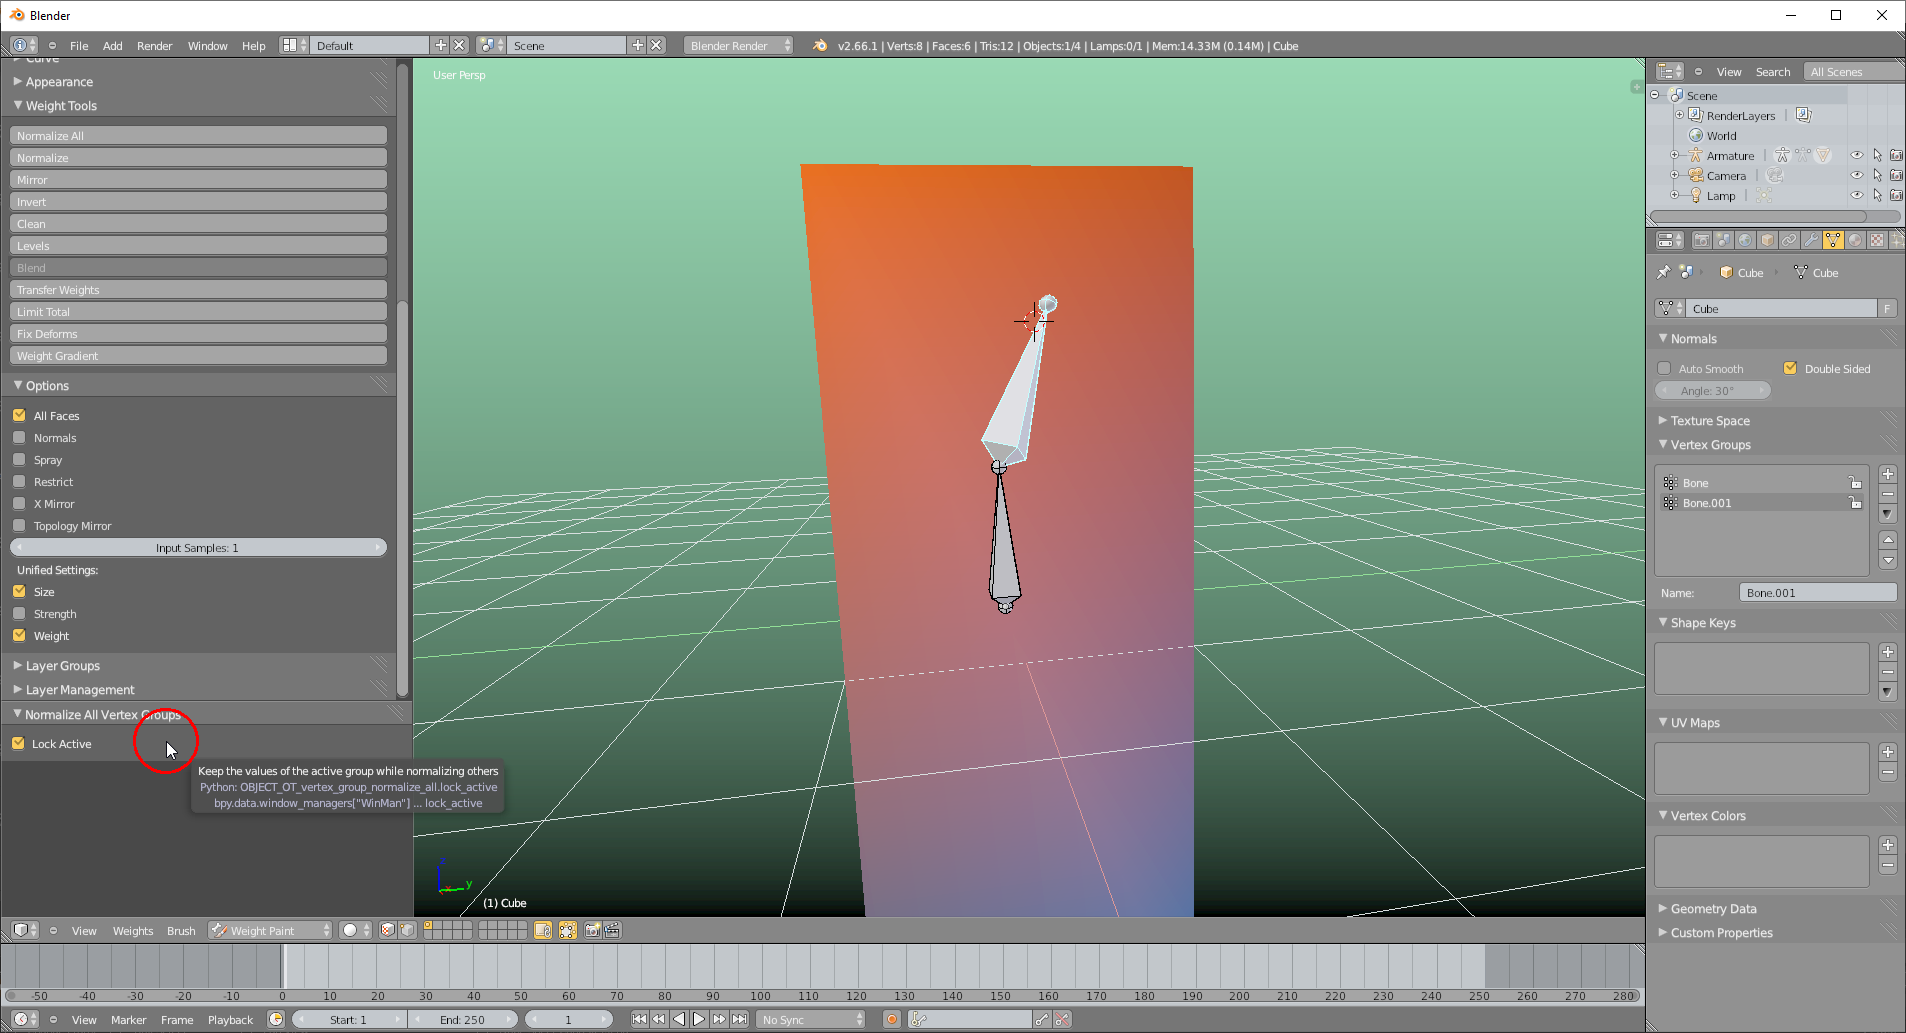
I keep the "Lock Active" box checked so that the weights in the vertex group of the active bone aren't touched:
Posing test:
Blender 2.66 didn't offer that possibility to choose a subset of bones that limits the influence of the "Normalize All" operator:
"Auto Normalize" being active in a weight painting brush's settings is automatically limited to "Deformation Bones" according to the "Blender 2.90 Manual" here:
- Auto Normalize
Ensures that all deforming vertex groups add up to one while painting. When this option is turned off, then all weights of a vertex can have any value between 0 and 1. However, when vertex groups are used as deform groups for character animation then Blender always interprets the weight values relative to each other. That is, Blender always does a normalization over all deform bones. Hence in practice it is not necessary to maintain a strict normalization and further normalizing weights should not affect animation at all.
This option works most intuitively when used to maintain normalization while painting on top of weights that are already normalized with another tool.
Since Blender according to this explanations only looks at the ratio of the weights of a vertex in different "Vertex Groups" assigned to their corresponding "Deformation Bones", the "Normalize All" operator mentioned in the previous posts only has an effect if "Lock Active" is checked so that the active "Vertex Group" keeps its "Vertex Weights" whereas the other "Vertex Groups" get their "Vertex Weights" normalized so that only the ratio between "Vertex Weights" of the active "Vertex Group" and those of the other "Vertex Groups" change.
@theluthier I've just seen in the "Facial Brow Shapes" video here at 2:30 that you were facing the same problem with "Normalize All" operator messing up the "Vertex Groups" for the "Face Fur" (Density and Length).