Top 5 Blender Modeling Tools (And a Simple Project to Try Them All Out)
Apr 15th 2022
Not all Blender tools are created equal. These 5 are our top picks and will have you covered for 1000's of workflows. Plus, a fun project where you can try all of them out and model your own pen in Blender.
Table of Contents
1. Bevel Tool
Hotkey: 🄱
What it does: This tool takes any edge and splits it, creating a new face.
The Bevel tool allows you to create chamfered or rounded corners on geometry. A bevel is an effect that smooths out edges and corners.
- Blender Manual (docs.blender.org)
How to use it: The Bevel tool lives in edit mode. To use it, hit Ctrl+B and
With the handy dropdown menu that appears, you can increase the number of segments and make it convex or concave.
Why you need it: In the real world, almost nothing is completely sharp.
Even between two planes, there is a little bit of surface, creating a flat area at the bend. The bevel tool gives your edges realism. Without it, nearly any edge would look fake.
Tip: When subdivision modeling, are bevels always better? Watch our video on when to choose bevels vs creases vs loops.
2. Merge Tool
Hotkey: 🄼
What it does: The Merge tool merges your vertices into one, removing the previous ones.
How to use it: Hit "A" to select all and type "M" for merge. This will allow to merge all selected vertices. The previous vertices disappear, creating a new one.
The merge tool cleans up your geometry which makes your model more efficient and easier to render.
Why do you need the Merge tool?
In Blender, we merge things all the time.
Especially after beveling your edges, you may be left with double vertices that you don't need.
That's where the merge tool comes in.
Merging vertices of course also deletes some edges and faces. But Blender will do everything it can to preserve edges and faces only partly involved in the reunion.- - - - Blender Manual (docs.blender.org)
3. Extrude Tool
<Hotkey: 🄴>
What it does: Extruding means extending your model. You decide what part of the model gets extended and into what direction. The geometry of your model remains the same, and the process is intuitive and satisfying.

Source: Blender Manual (docs.blender.org)
How to use it: Along with the basic extrude you also have a number of different wants to extrude. To access more extruding options press the shortcut keys Alt + E which will open up the extrude menu.
If you have vertex selection mode enabled you'll see all the options available to you to extrude.
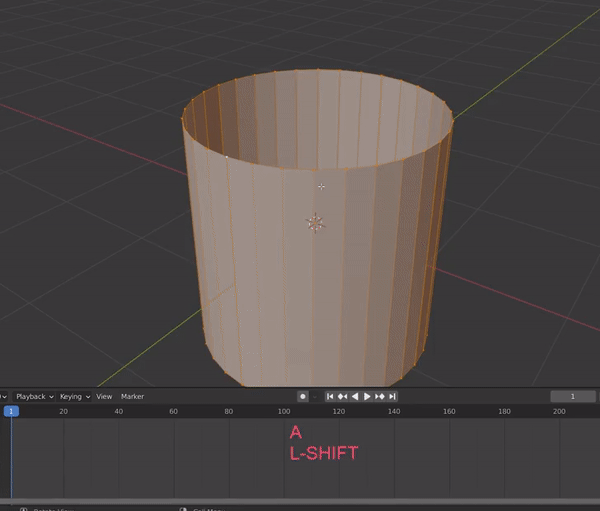
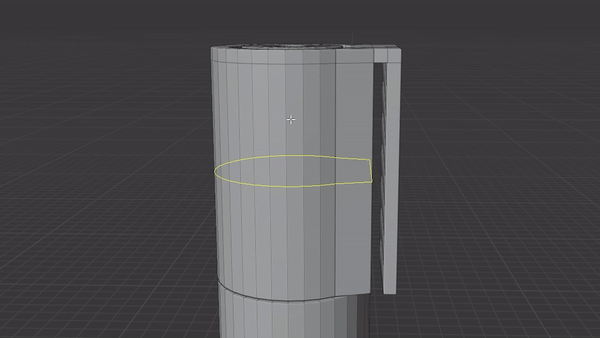
4. Loop Cut and Slide Tool
Hotkey: Ctrl + 🅁
What it does: The Loop Cut allows you to cut through the faces of your model. You loop cut first, then slide your loops - meaning you don't have to cut your model exactly in half, but slide the cut to the position you want.
How to use it: When you hit the shortcut Ctrl + R, an indicator will show you where your loop cut tool is at, by looping around your mesh. Scroll your mouse to increase the number of loops. Left-click to confirm.
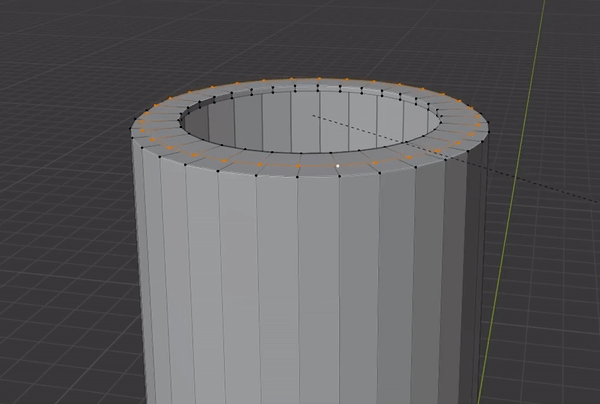
5. Grid Fill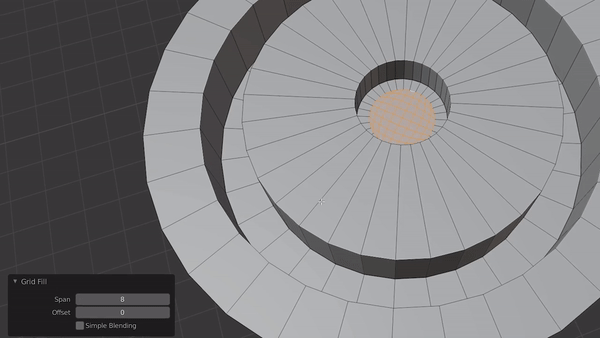
What it does: The grid fill is a powerful tool that fills grids by using two connected edge loops.
How to use it: Bring up your search menu with F3 and find Grid Fill. Select two opposite edge loops with the same number of vertices for best results.
When a single, closed edge loop is selected, the Span/Offset options allows you to adjust the way two opposite edge loops are detected from one closed edge loop.
- Blender Manual (docs.blender.org)
You can determine two parameters of the Grid Fill:
- Span determines how many columns your grid will have
- Offset rotates your grid
When satisfied, press G to snap the new geometry to the underlying surface.
Tip: Check the "simple blending" option to distort your mesh less.

Source: Blender Manual (docs.blender.org)
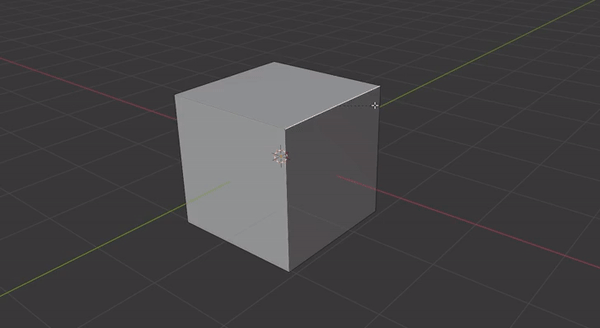
Simple Blender Project to Try These Out
Follow this tutorial to model a simple pen using the 5 tools we just described.
You will also learn how to polish the final model and add modifiers for a smoother look.
Don't stop here.
For a quick walkthrough of everything you need to get started with your own projects, check out our free course Blender Basics 3.
If you want fresh Blender and CG Cookie news in your mailbox, sign up for our newsletter 📰.