Course
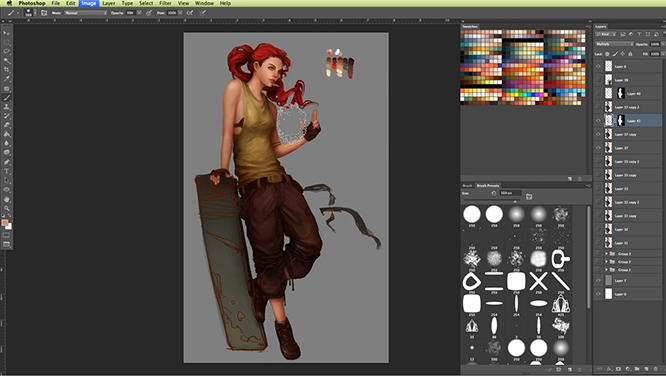
After the face and hair, I like to work next on the skin and clothing of the character. Below is a quick step summary of the process along with the tutorial. 1. Use the lineart and base colors as a foundation for coloring on top of. Keep in mind where that light source is coming from and choose your colors accordingly. To build up light values, I like to use lighter warm colors (yellows, oranges) rather than whites, which I prefer to use only for highlighted areas or surfaces with a high reflective value.  2. Build up your values/shading with laying your brushstrokes in the same motion and direction. So for example, on the skin I try to push my brushstrokes around the different muscles and compliment them.
  3. Build up your clothing with shadows. For clothing, remember that it’s not a highly reflective surface in most cases so your highlights should be subtle. Your shadows are what will build up the different surface tensions and folds.
 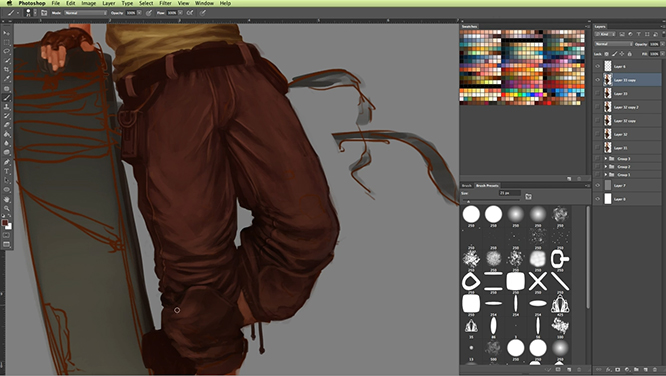 4. Texture brushes are a great polish for extra detailing and rendering. I use a skin brush on a multiply layer to add texture and value to the piece.