When it comes to working with mesh objects or mesh primitives in Blender 3D you will benefit from modifying the mesh in edit mode. You can do this in a number of ways, but in this Blender tutorial you will learn two of them, namely adding and removing vertices.
Add Vertex: You can add a vertex easily by holding Ctrl + Right Click anywhere in the 3D Viewport (when using Left Click Select mouse behavior, or use Ctrl + Left Click when using Right Click Select behavior). If you want to create an Edge you can select an existing vertex and Ctrl + Click to add a new vertex that connects to the selected vertex. This operation is called 'Extrude'. You can also extrude with keyboard shortcut E and move the new vertex before placing it.

You can also add vertices using 3D mesh primitives from the add menu or by using shortcut key Shift + A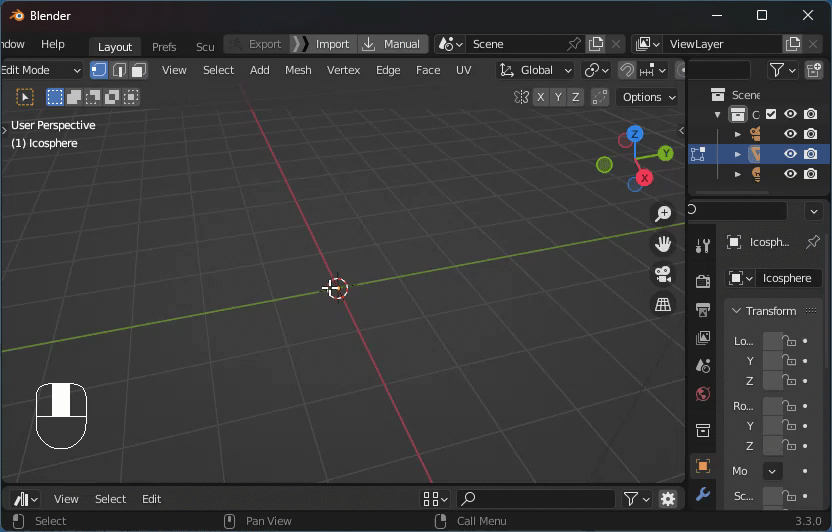
Remove Vertex: There are two ways to remove a vertex: delete and dissolve. Both will remove a vertex from your mesh. Delete will also remove edges and faces connected to the vertex. Dissolve will remove the vertex and try to keep edges and faces intact where possible. Activate the Delete menu using shortcut key X to gain access to both options
You can also remove entire objects by selecting a vertex and pressing the keyboard shortcut L to select all vertices tied to the 3D mesh, then use the X key and select Delete Vertices operator to remove the object.
